NOTICE: Certain links on this post may earn a commission for Western Hunter Magazine from Amazon or our other affiliate partners when you make a purchase. Thank you for your support.
Gear Repair Kit for the Backcountry
Recently, I was watching WHM’s Backcountry Editor Nate Simmons on The Western Hunter TV as he was packed way back into the mountains in Wyoming. An unexpected windstorm had flattened his tent, breaking the ridge pole and sending the sharp end of the broken pole tearing through the rainfly. You could easily see the look of disappointment, disgust, and discouragement as he faced a 12-hour round trip of hiking - precious lost hunting time and energy - to get a new tent back in town. If properly prepared, gear repair can easily be done quickly in the field.
I could feel his pain, as we’d had a similar calamity in camp a couple of years ago. Fortunately, on that trip, we had been packed in with horses and so one of the guys brought in a dedicated base camp tent.
The accident did get me thinking though. A little preseason time spent gathering a handful of supplies could easily make the difference between a trip cut short because of equipment failure versus a minor setback that can be overcome in the field. I’ll outline some of the things you might want to consider bringing with you this fall and some uses for it that you might not have thought about.
Tent Repair
Last year, as I was cruising the aisles of the Outdoor Retailers Show, I stopped at the McNett booth. They offer the most complete toolbox you could ask for if you’ve got some items that are in need of gear repair.
Tent Pole Splint
Two of their products could have remedied the broken tent and torn rainfly both Nate and my hunting partner suffered through. The Tent Pole Splint is a short piece of aluminum tubing that will slip over the break-in your tent pole, protecting the rainfly from the sharp edges of the broken pole, while effectively returning the pole to its original function. Wrap 6”-8” of duct tape around the tube for storage; it’ll come in handy to anchor the splint in place on the freshly repaired tent pole.
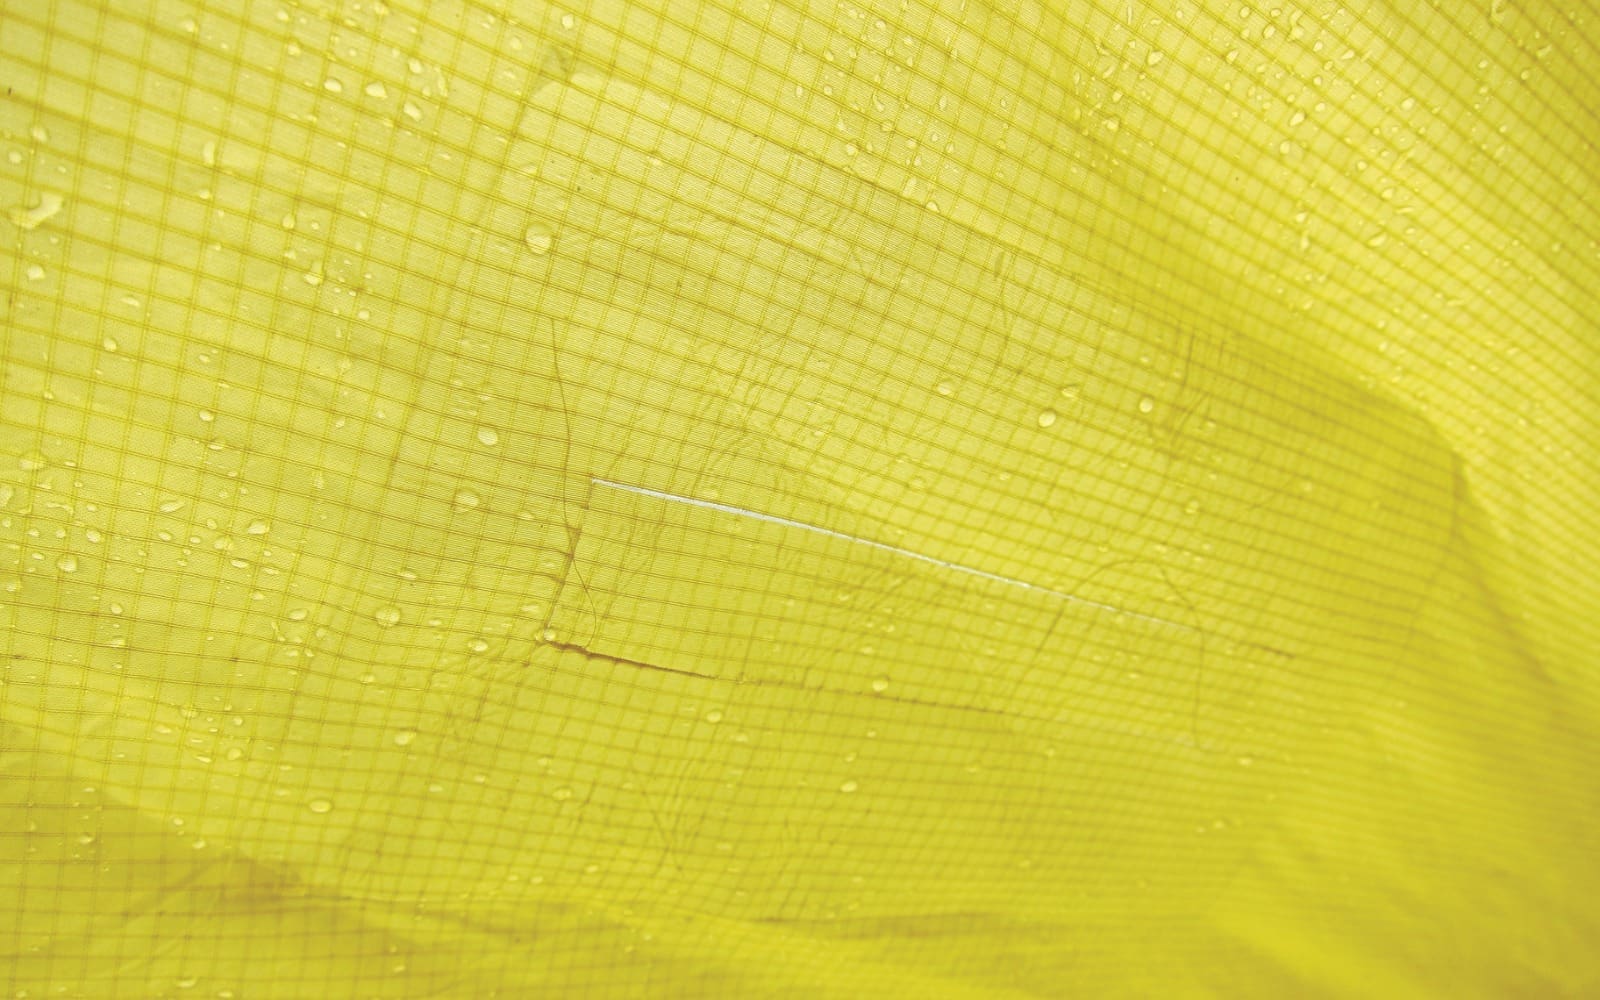
Tenacious Tape: A roll of their Tenacious Tape provides quick gear repair to the torn rainfly. Just clean the area with an alcohol swab, lay the rainfly out flat with something supporting it from underneath, but the two edges together, and carefully lay the tape down over the tear. Extend the tape an inch or so beyond the tear in both directions. Round the corners of the tape before applying; it’ll be less likely to be lifted or torn off.
If the tear is in an area that is put under a lot of stress by stretching, place a patch on both the inside and the outside of the tear to really reinforce it. I got a tear in my rainfly this past summer and used it as permanent gear repair. It has held well with no signs of peeling off.
Sleeping Pad Repair
I’ve become a huge fan of inflatable sleeping pads since they started making the 2” thick “luxury” models. Now that I’ve gotten used to my “Mountain Posturepedic”, I don’t think I could ever go back. The only downside - aside from getting really light-headed blowing them up at 12,000’ - is the possibility of puncture. I’ve spent more than one night rolling off my pad to re-inflate my pancaked sleeping pad.
Previous gear repair kits that I’ve gotten have involved hot melt adhesive to hold the patch in place. Now, I’ve added my sleeping pad to the list of items that can be repaired with a small square of Tenacious Tape. Most of the time I’ve gotten a hole in my sleeping pad, it has been a pin-sized hole - almost impossible to detect without the use of water. I submerge the inflated pad underwater and look for a stream of bubbles. Keep your eye pinned on the spot and mark it with a Sharpie, as you’ll lose it as soon as you take your eyes off of it. An alcohol swab to clean it and you’ll be back sleeping like a king.
Buckles and a Sewing Kit
It’s a very good idea to carry replacement buckles for your pack. I like to go over my pack and buy a replacement buckle for each size buckle on my pack - especially the waist belt. I had the buckle break one year on my waist belt, and packing a load for several days without that extra support isn’t fun, trust me. For a few bucks, it’s cheap insurance. Replacing buckles on some pack models may require some sewing, depending on the buckle location and pack design, so make sure you have a needle and thread for such repairs.
Speaking of sewing, it’s a good idea to carry a needle and a few yards of stout nylon thread for sewing up tears in your clothes, pack, or tent. Of all of the gear repair items I’ve carried, my needle and thread are the most frequently used.
One year on the Pacific Crest Trail, I tore halfway through the stitching that held my waist belt onto my pack. With 40 miles yet to hike and having left my gear repair kit at home, I babied my pack for the next two days to the trailhead. A needle and thread, weighing only grams, would have alleviated a lot of anxiety!
Ripstop
A hole in your down sleeping bag isn’t likely to end your trip, but dealing with a cloud of feathers inside your tent and the loss of insulation isn’t desirable. Again, the Tenacious Tape comes to the rescue. Another option is Coghlan’s Nylon Repair Tape. The adhesive-backed ripstop nylon comes in a pack of four colors and will work for repairing not only your sleeping bag but also your jacket, tent, stuff sack, and other similar items. The tape is waterproof and immediately ready to use, but it’s not intended to hold up to washing. If you want to make the gear repair permanent, stitch around the edges of the patch.
Old-Fashioned Ingenuity
Sometimes fixing your equipment doesn’t require any special knowledge, just a little detective work. Last summer my wife and I, along with one of our kids and his buddy were on an 80-mile hike on the Pacific Crest Trail. On the second night of the trip, my JetBoil refused to spark. I dug through my pack for a Bic lighter, only to discover I’d left it at home.
When I announced to my cold and wet hiking companions that we were going to have to go without hot meals for the rest of the trip, I got some cold, icy stares. That’s when Teigan suggested scraping the igniter. “My dad had the same problem once and that fixed it,” he suggested. Sure enough, a few seconds of careful scraping, and we were back on our way to a hot dinner. Note to self: don’t forget the backup lighter just in case!
Zippers
Zipper failure is a common occurrence in packs, tents, and clothing. There is hardly anything more sickening than when your zipper fails to weave and lock the two sides together. If the zipper has been in use for an extended period, often the gaps on the sides of the slider will have opened up, which prevents the two sides from meshing together.
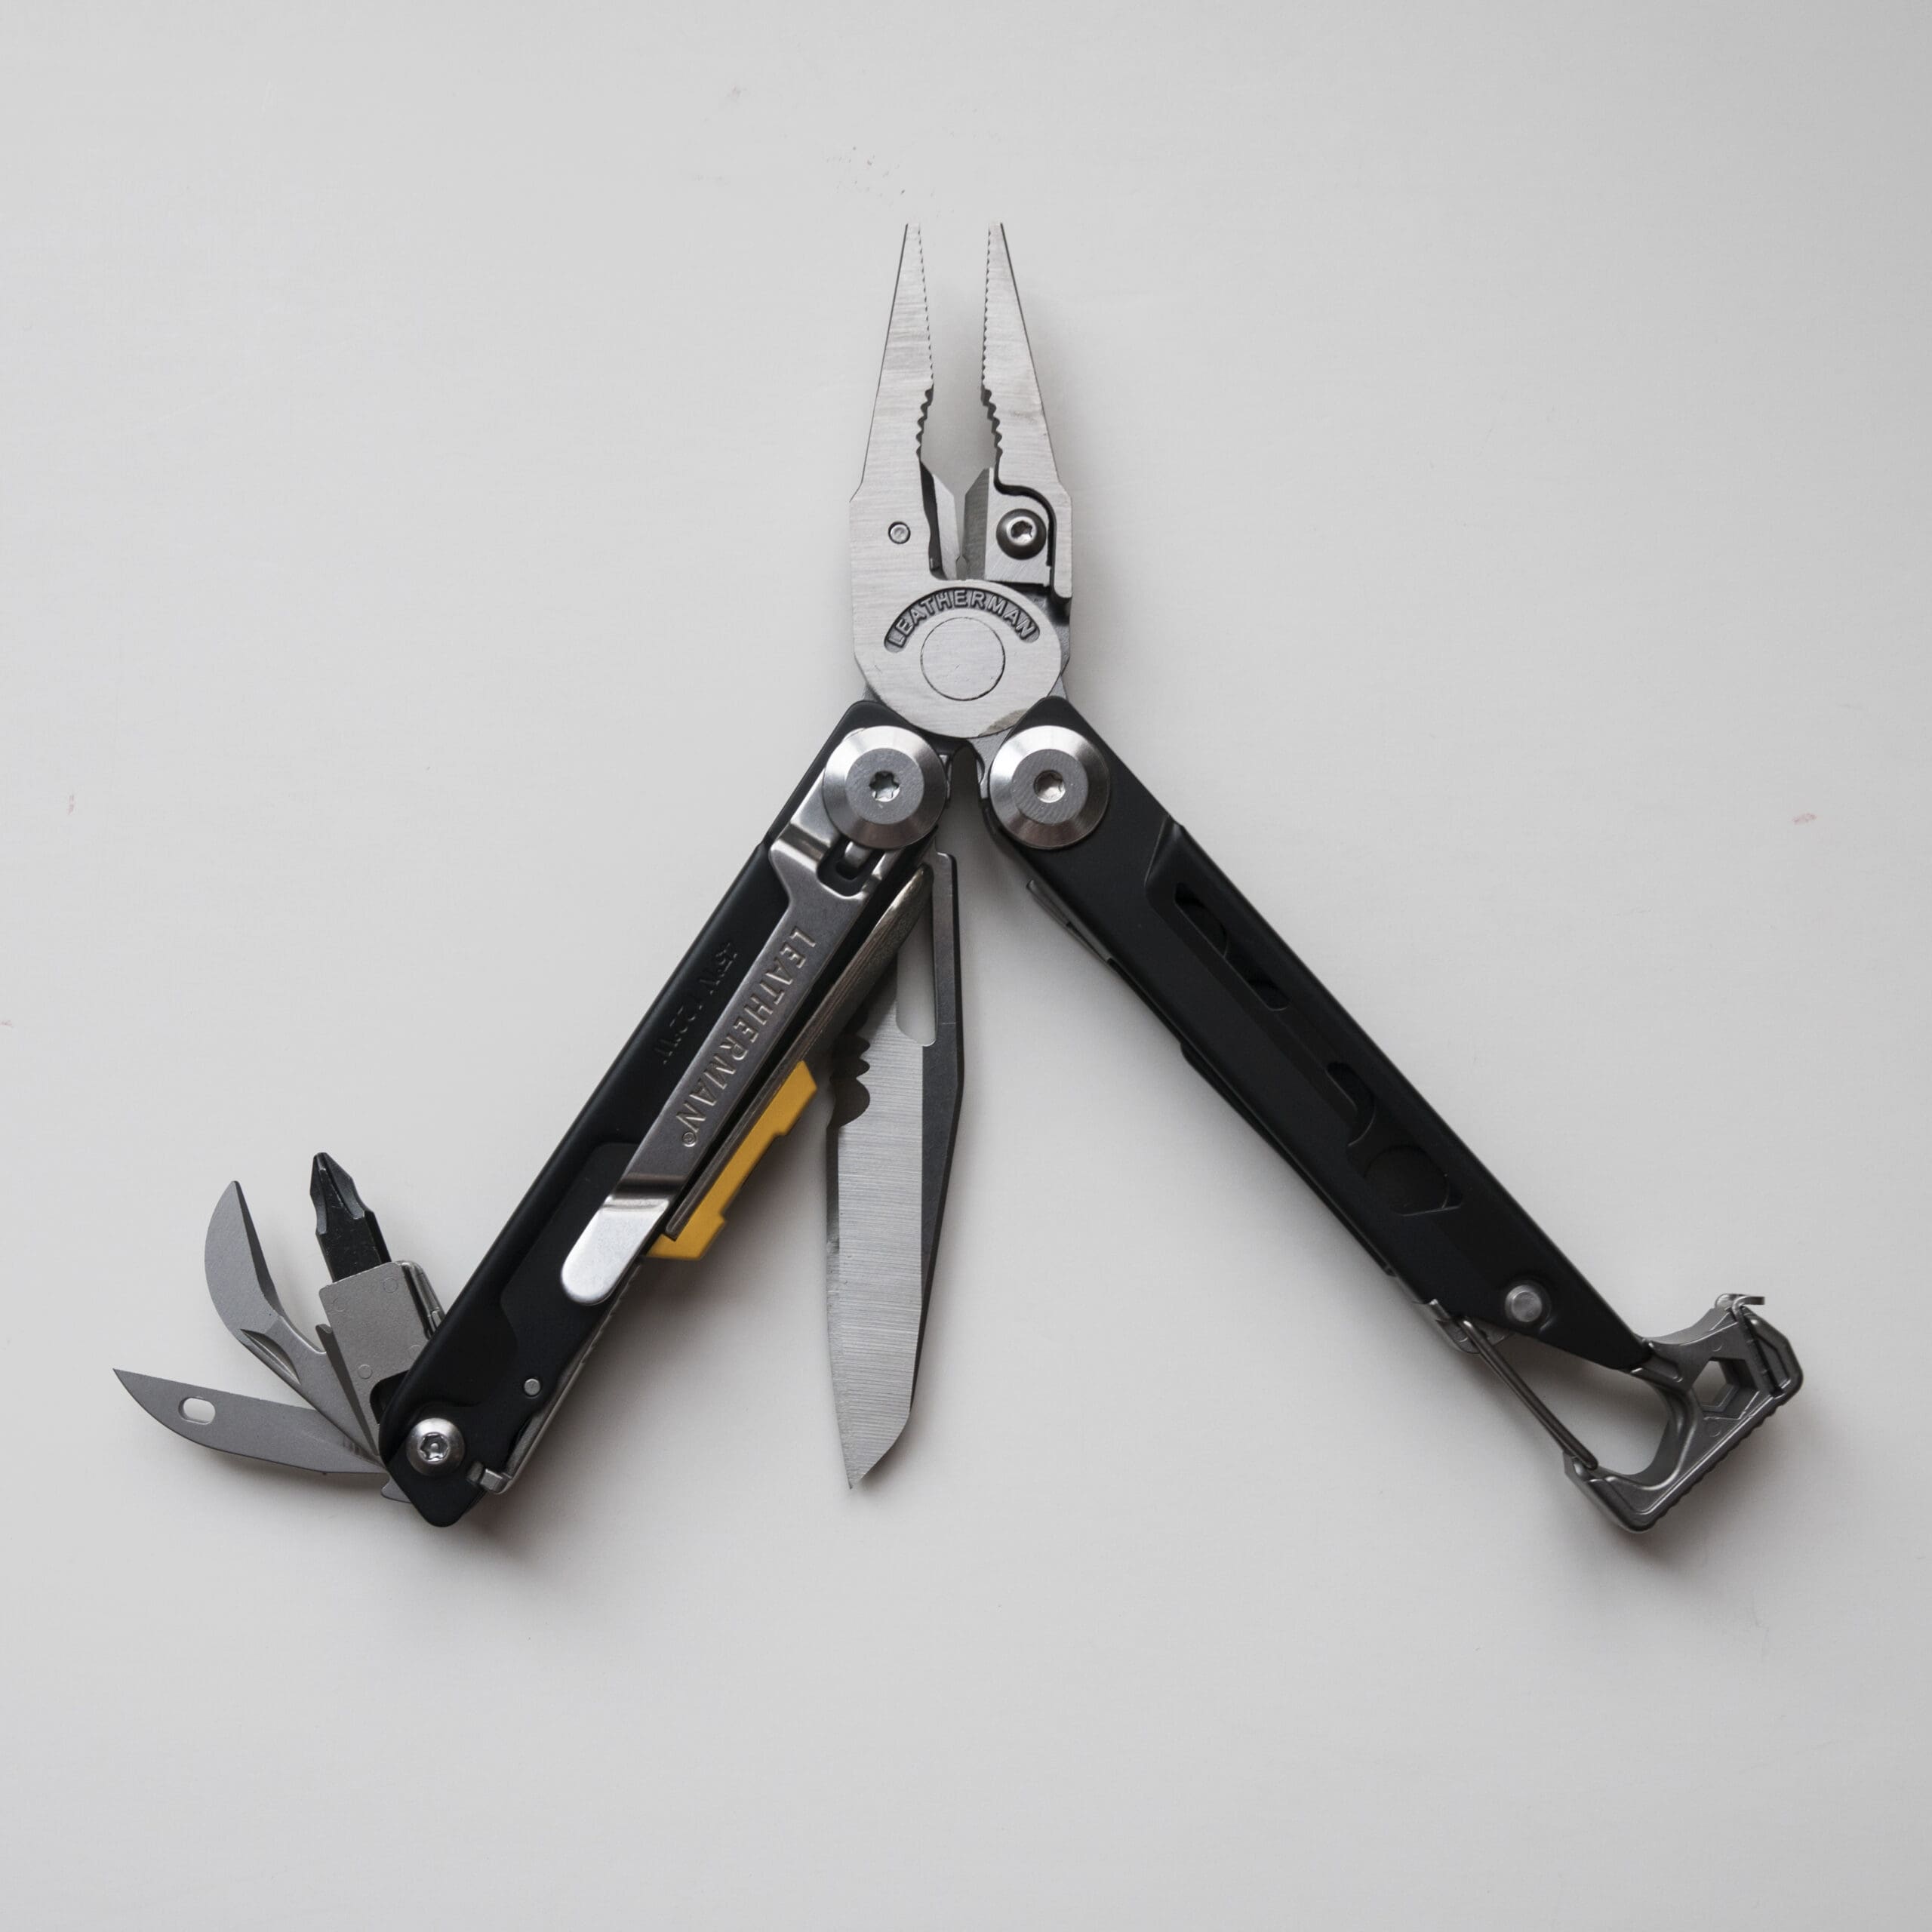
Utilizing a trusty multi-tool, which you should be packing for just such emergencies, squeeze down on the outside edges of the slider, closing the gap a little at a time, making sure that both sides are done equally. Test it and it should fix the problem. If not, you may need to replace the slider. Replacing it is not difficult, but a little lengthy in instruction to cover here.
The Leatherman Juice S2 is a great choice here – a perfect compromise between weight (4.6 oz.) and function. With pliers, scissors, a knife, screwdrivers, an awl, and more, it offers a lot for the weight.
McNett also specifically offers a zipper repair kit on their website that covers most all zipper sizes. FixnZip offers a solution for replacing the slider that is even easier than the gear repair kit that McNett offers. You won’t have to undo any of the stitching or remove the stops on the zipper with their repair kit.
Rounding Out the List
In addition to the aforementioned products, there are a few other lightweight items I’d recommend including in your gear repair kit.
- A small tube of super glue is great for bonding lots of different cracked or broken items. If you’re tying a knot, super glue works great for keeping it from coming unraveled. It can also be used in lieu of stitches if you get a cut that a Band-Aid just won’t fix. Push the wound closed after disinfecting it and use a small bead of glue to hold it together.
- Several zip ties of assorted sizes are great for lashing things together. I like to have a few of each size, and if I need to make them longer, then I can just link them together. They weigh next to nothing and are incredibly strong.
- A couple of safety pins are another useful item to add to your kit.
- Duct tape is an item every kit should include. I take a couple of feet and wrap it around a trekking pole or a pen. The uses are innumerable; tabs for zipper pulls, blister prevention, removing minuscule cactus spines, etc.
- A wood screw is another item of nominal weight that can come in handy, especially for bowhunters for removing broken nocks.
Worth the Weight
The next time you head out into the mountains for more than a day hunt, make sure you take the time to put together a gear repair kit. It’ll add only a few ounces to your pack weight but could make the difference between a hunt that is cut short and a hunt that ends in a filled tag.