NOTICE: Certain links on this post may earn a commission for Western Hunter Magazine from Amazon or our other affiliate partners when you make a purchase. Thank you for your support.
Montana Canvas Bridger Tent Review
I have been using a hand-me-down Montana Canvas for a few years now. Before it was semi-retired to me, the tent had seen adventures across the West following Chris Denham as he filmed dozens of episodes of The Western Hunter. Starting with Season 3, all the way through Season 10, to be exact. When it came time for me to fully retire the tent, I had done all the first-hand "research" I needed and went straight for another Montana Canvas. The build quality, customer service, and history won me over, and six days later, the Bridger Tent showed up with a knock at the door.
Design & Materials
First things first: the materials between my hand-me-down and the Bridger Tent are not the same. It was a conscious decision on my part to go for something lighter than before, since, as much as I’d love to, I don’t venture into the deep-below-freezing cold as Chris would in his tent. The main walls are Relite 250HD with a 1,500mm polyurethane (PU) coating for protection against moisture, UV rays, and abrasion. The floor is a thicker Relite 300HD with twice the PU coating to further protect against ground moisture and foot traffic.
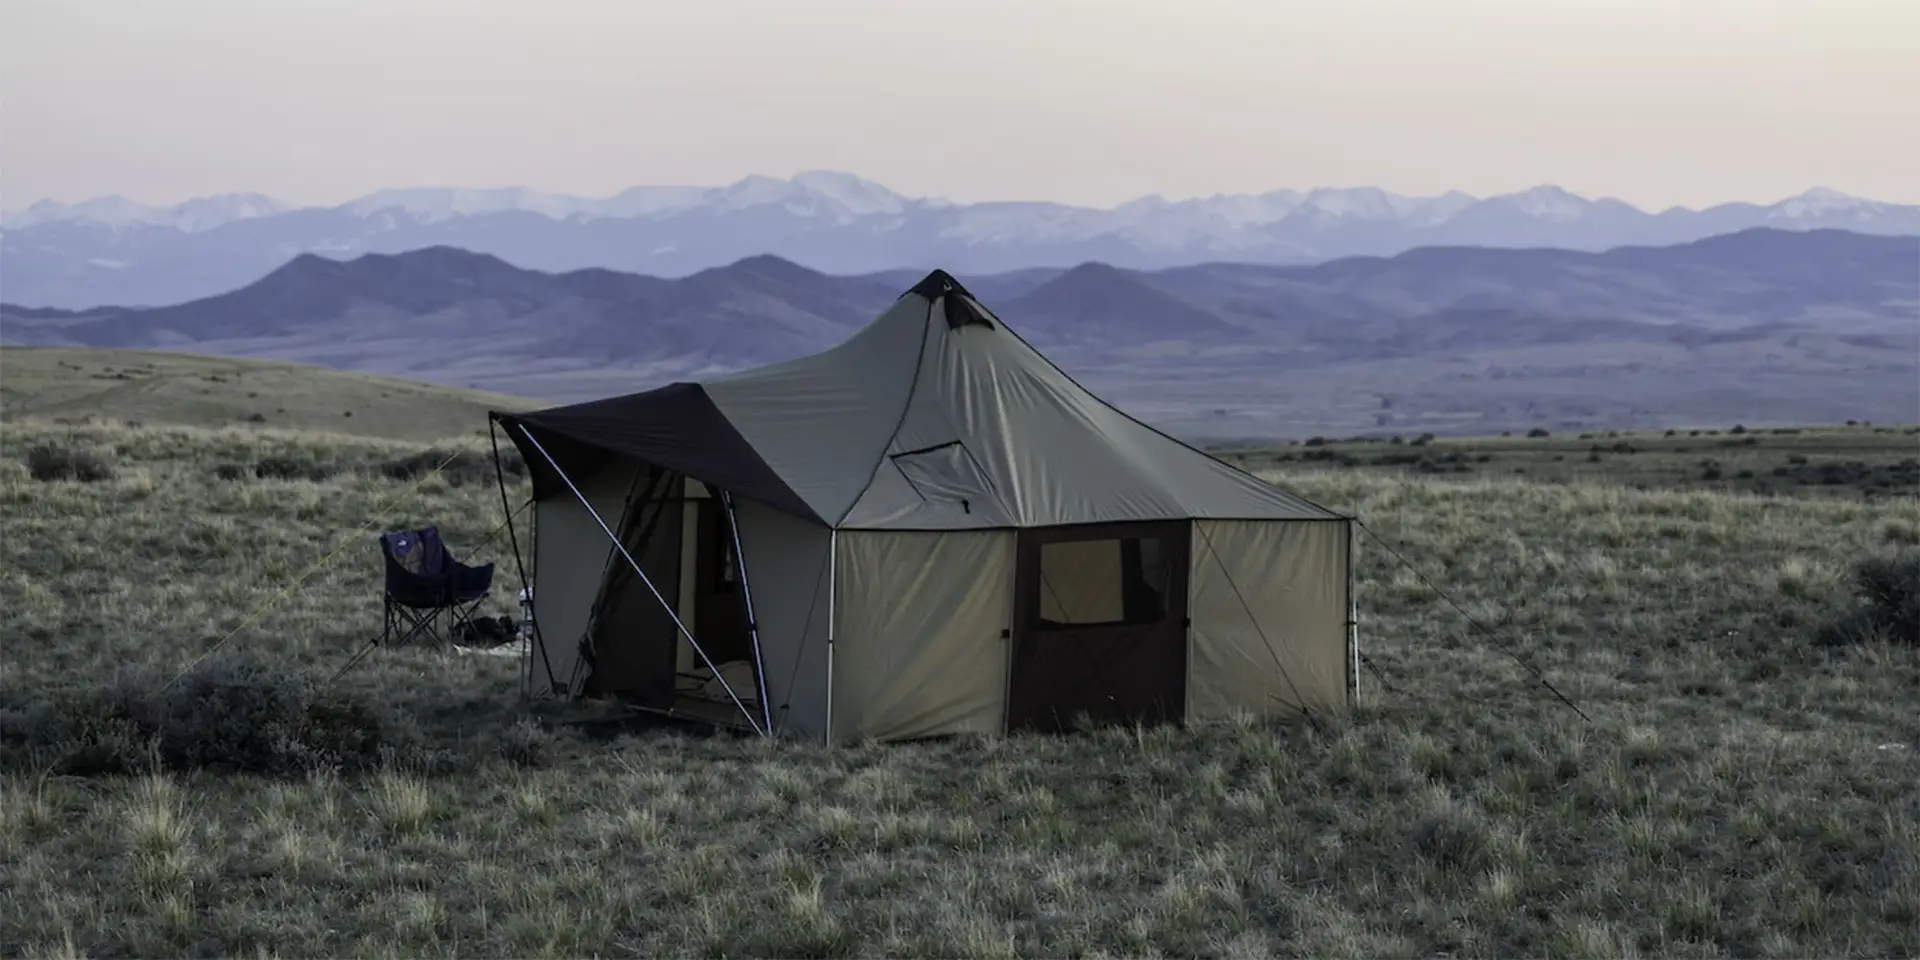
The design of the Bridger Tent leaves no room for criticism. Most people who know me know that I am annoyingly always looking for things that, in my opinion, could have probably been done better with more thought. In this case, I’ve failed to come up with a single item I would change, and not for the lack of looking. The 14'x14' tent has three good-sized windows, a giant T-shaped front door, a well-protected stove jack with a zippered floor opening for the stove itself, three ventilation screens at the apex, and one more right above the main opening for airflow. All of the zippers are YKK and have reflective paracord attached to them for easy handling.
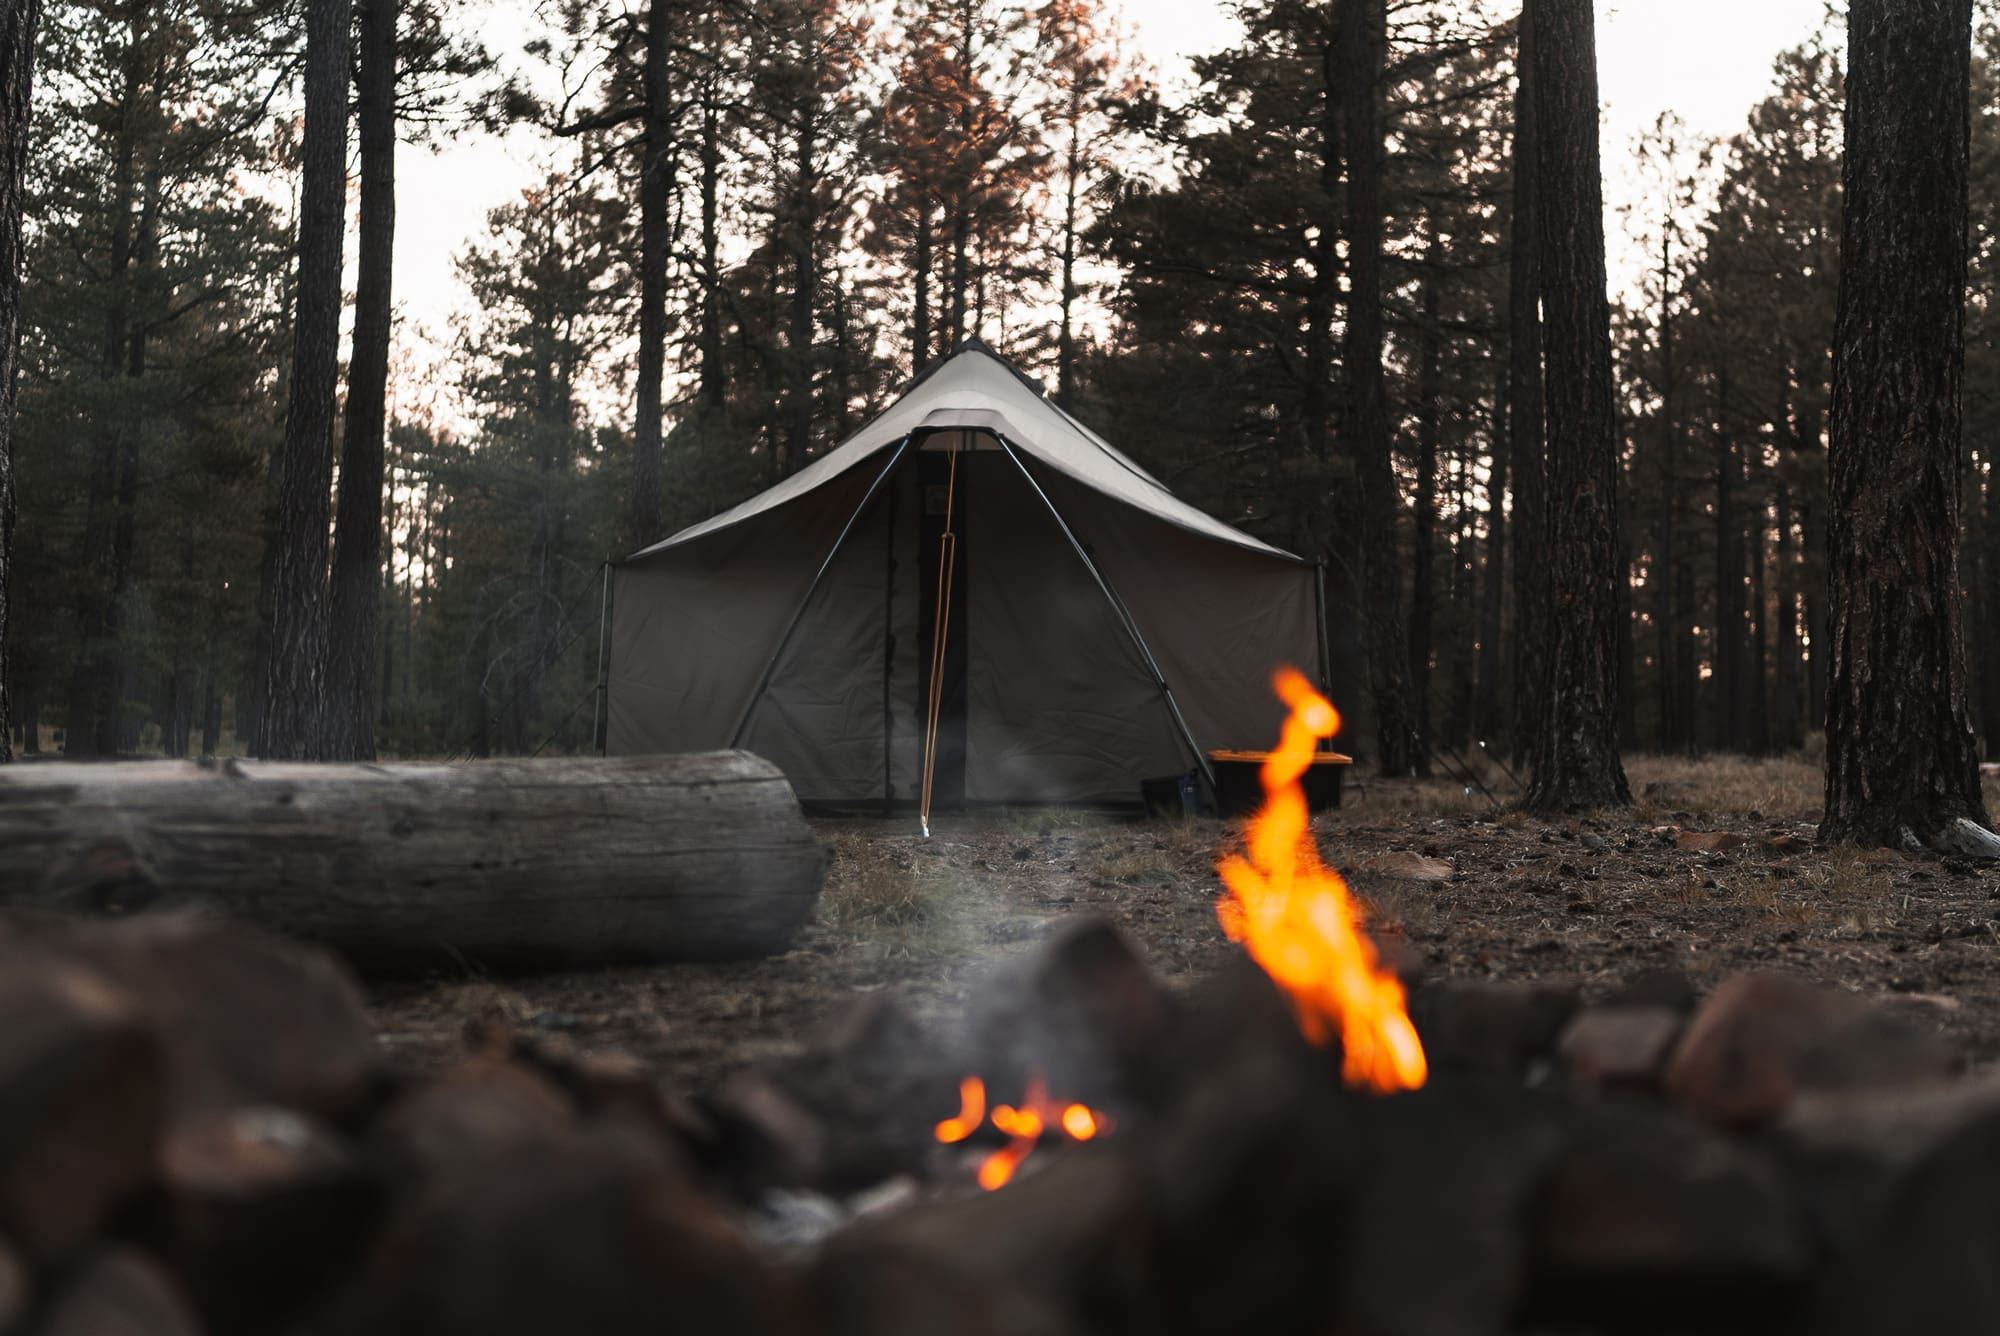
A footprint of 196 square feet is plenty of room to house a few cots, a kitchen corner, gear totes, and storage, even tables and chairs, depending on whether or not you’re using a tent stove. The verticality of this tent is incredible. It stands 10 feet at its highest point and comes down to five feet at the walls. This means I can stand fully upright in more than 150 sqare feet of this tent. After long days and early mornings, being able to comfortably stand, stretch, and relax without having to hunch over inside your tent is an absolute luxury. Standard with the Bridger Tent is an awning that stretches out five feet from the door, tensioned up by two incredibly robust sections of metal tubing. It’s when you’re giving the awning the old “yeah, that’ll hold” test that you’ll notice that embedded throughout the edge of the awning is a quarter to half-inch thick rope of some sort to give it added integrity in the wind. This integrated rope is found throughout the Bridger tent’s entire “fascia,” in fact.
Setup and Takeown
Setting up tents is classically a relationship-testing trope, and for good reason. Many tents offer little to no explanation other than an IKEA sketch they threw in at the last second. The Bridger tent took me 35 minutes to set up for the very first time, and that was with the “help” of children under seven. Realistically, after getting the routine down, I believe I can get the final guy line cinched down at around 20 to 25 minutes. The setup is routine: stake down the four corners with the provided heavy-duty stakes, add the four corners’ poles and lightly cinch down, then add tension with the 10-foot center pole. It’s a piece of cake. I would argue a stubborn man can absolutely do it solo; however, the extra set of hands would make a noticeable difference. My very first time out with the Bridger, my two “helpers,” my wife, and I spent a weekend up on the Mogollon Rim. We packed in two full-sized cots and a queen-sized air mattress, a “situation” table, and a couple of gear totes with enough room for the helpers to play catch with pinecones. The days were warm and the nights brisk, but never uncomfortable sleeping within the walls.
This is my first experience with the wall poles being set up on the outside rather than inside, and I have to say that this change alone would have been worth the upgrade. The five-foot poles double as your anchor for the guy lines attached to the tent. You don’t think much of it at the moment, but when you’re done with your trip, the advantage becomes obvious. The lines are quickly removed from the anchors and stored separately, nice and neat. Your tent doesn’t become a kraken of 14 separate lengths of rope jumbled on top of a folded-down tent. I used to consider that a problem for “future me,” but now it’s something I won’t have to think twice about.
Finally, when it’s time to load it up into the truck, you’ll be pleased to find that the oversized duffel accepts the folded materials with ease and then cinches down tight, taking a relatively small berth in your truck bed.

Stove Compatibility
This is an absolute must for me. Chances are you are already in the same boat, but if you aren’t in the “my life is simply better when I have a tent stove” camp, I have to say you are missing out. There is no missing feature when it comes to compatibility with my stove. The stove jack is located in the first right-hand corner as you walk in (a debate to be had another time: “corner vs center stove location”). The stove jack is a standard five-inch silicone oval with over-built fire- retardant materials. Underneath the stove itself is a 40-inch zippered oval for instant access to safer grounds, although I’ll still put an oversize stove mat underneath just in case a stray ember decides to put a singeing on my day. Unfortunately, I haven’t had a chance to get this tent out during a snowy season, so I’m still left curious about heat retention regarding materials and the ventilation screens.
Who is it for?
Montana Canvas perfectly bridged (absolutely intended) the gap between a full-fledged canvas wall tent and your entry-level tent. The entire package only weighs 83 pounds, which sounds like a lot if you have never owned a wall tent before, but trust me when I say it’s a lightweight base camp. The price is nice at only $1,500, frame included, and when you consider that it’ll last several years, the “cost” only decreases over time. I don’t believe anybody, no matter what situation they’re in, would be displeased when setting up camp around this shelter.