
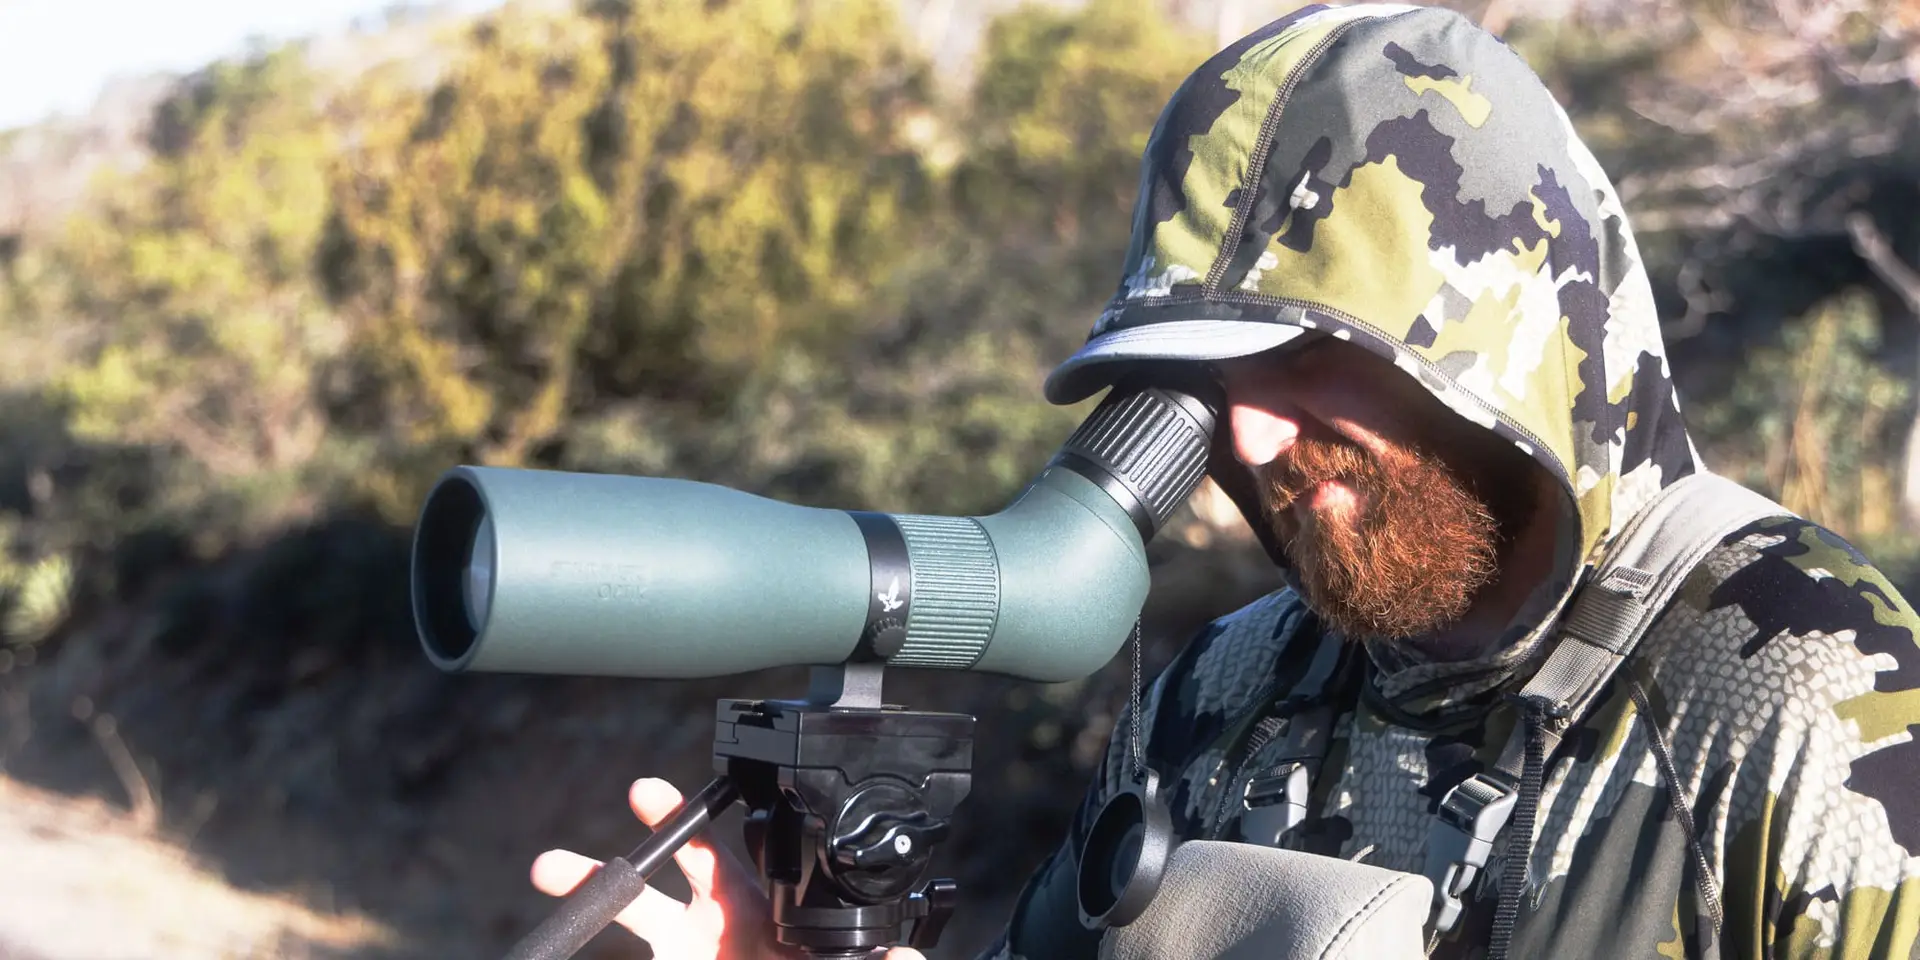
Swarovski’s newest product for 2026, the AT Endura 21-65x75 spotting scope is the replacement for the long-standing ATS/STS line of […]
 First Look at the Swarovski AT Endura Spotting Scope
Swarovski’s newest product for 2026, the AT Endura 21-65x75 spotting scope is the replacement for the long-standing ATS/STS line of […]
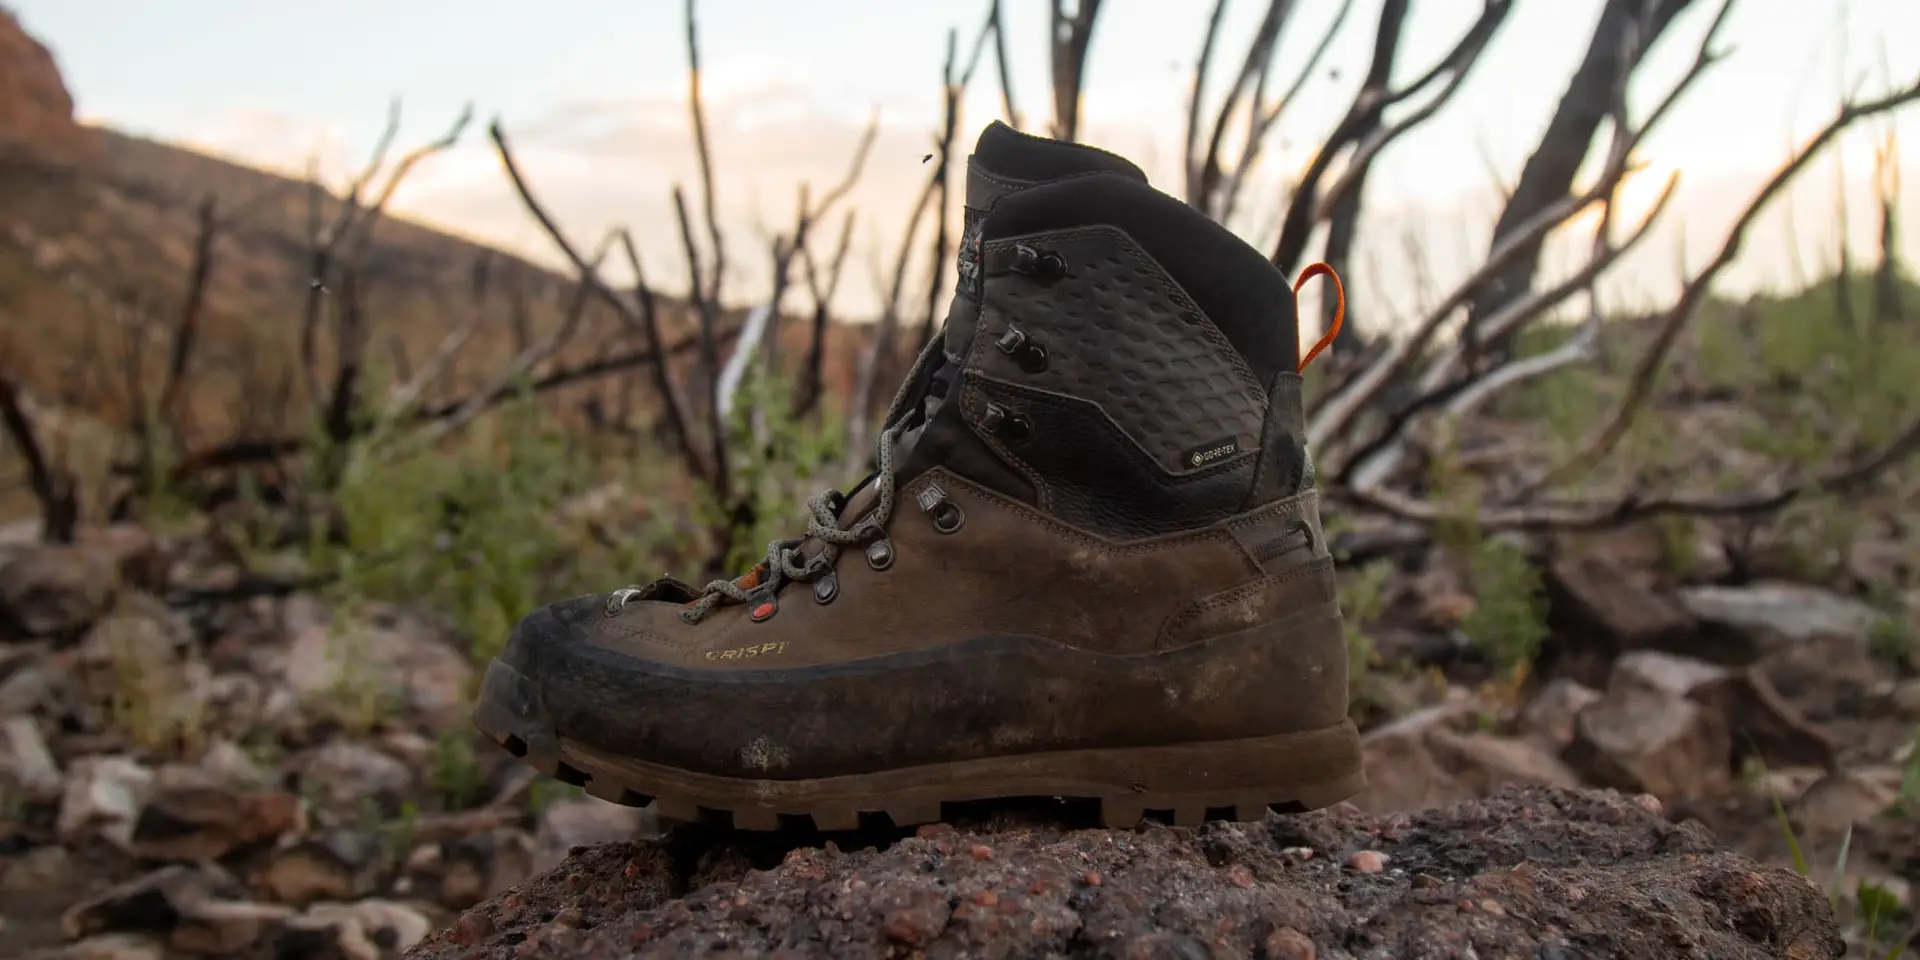 Crispi Lapponia Pro Review
This is the third pair of Crispi boots that I have owned. I have a pair of Briskdals with well […]
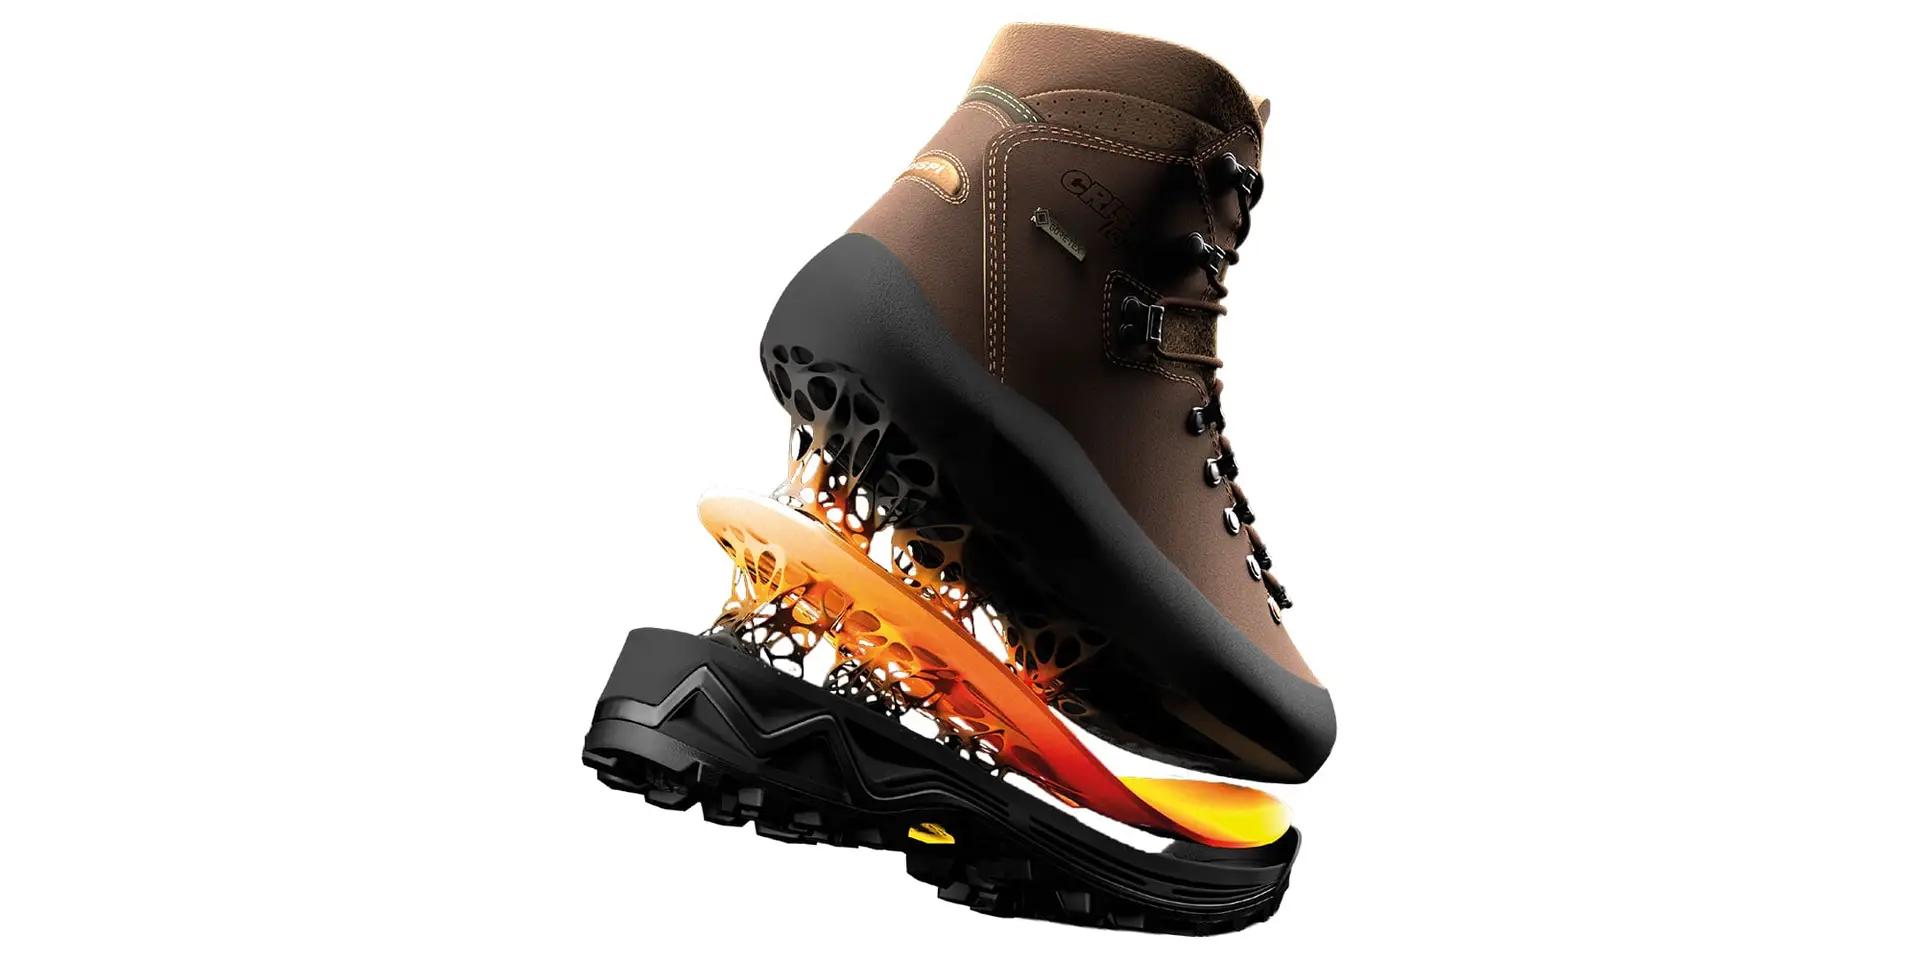 Finding Your Fit - Crispi's Flex Rating System
Crispi has been a dominant player in boots and footwear for the hunting market for quite a few years now. […]
 Nose To Tail: Creative Ways to Use More of Your Wild Game
Notching a big game tag provides us with the wonderful resource of meat, and that is the primary reward that […]
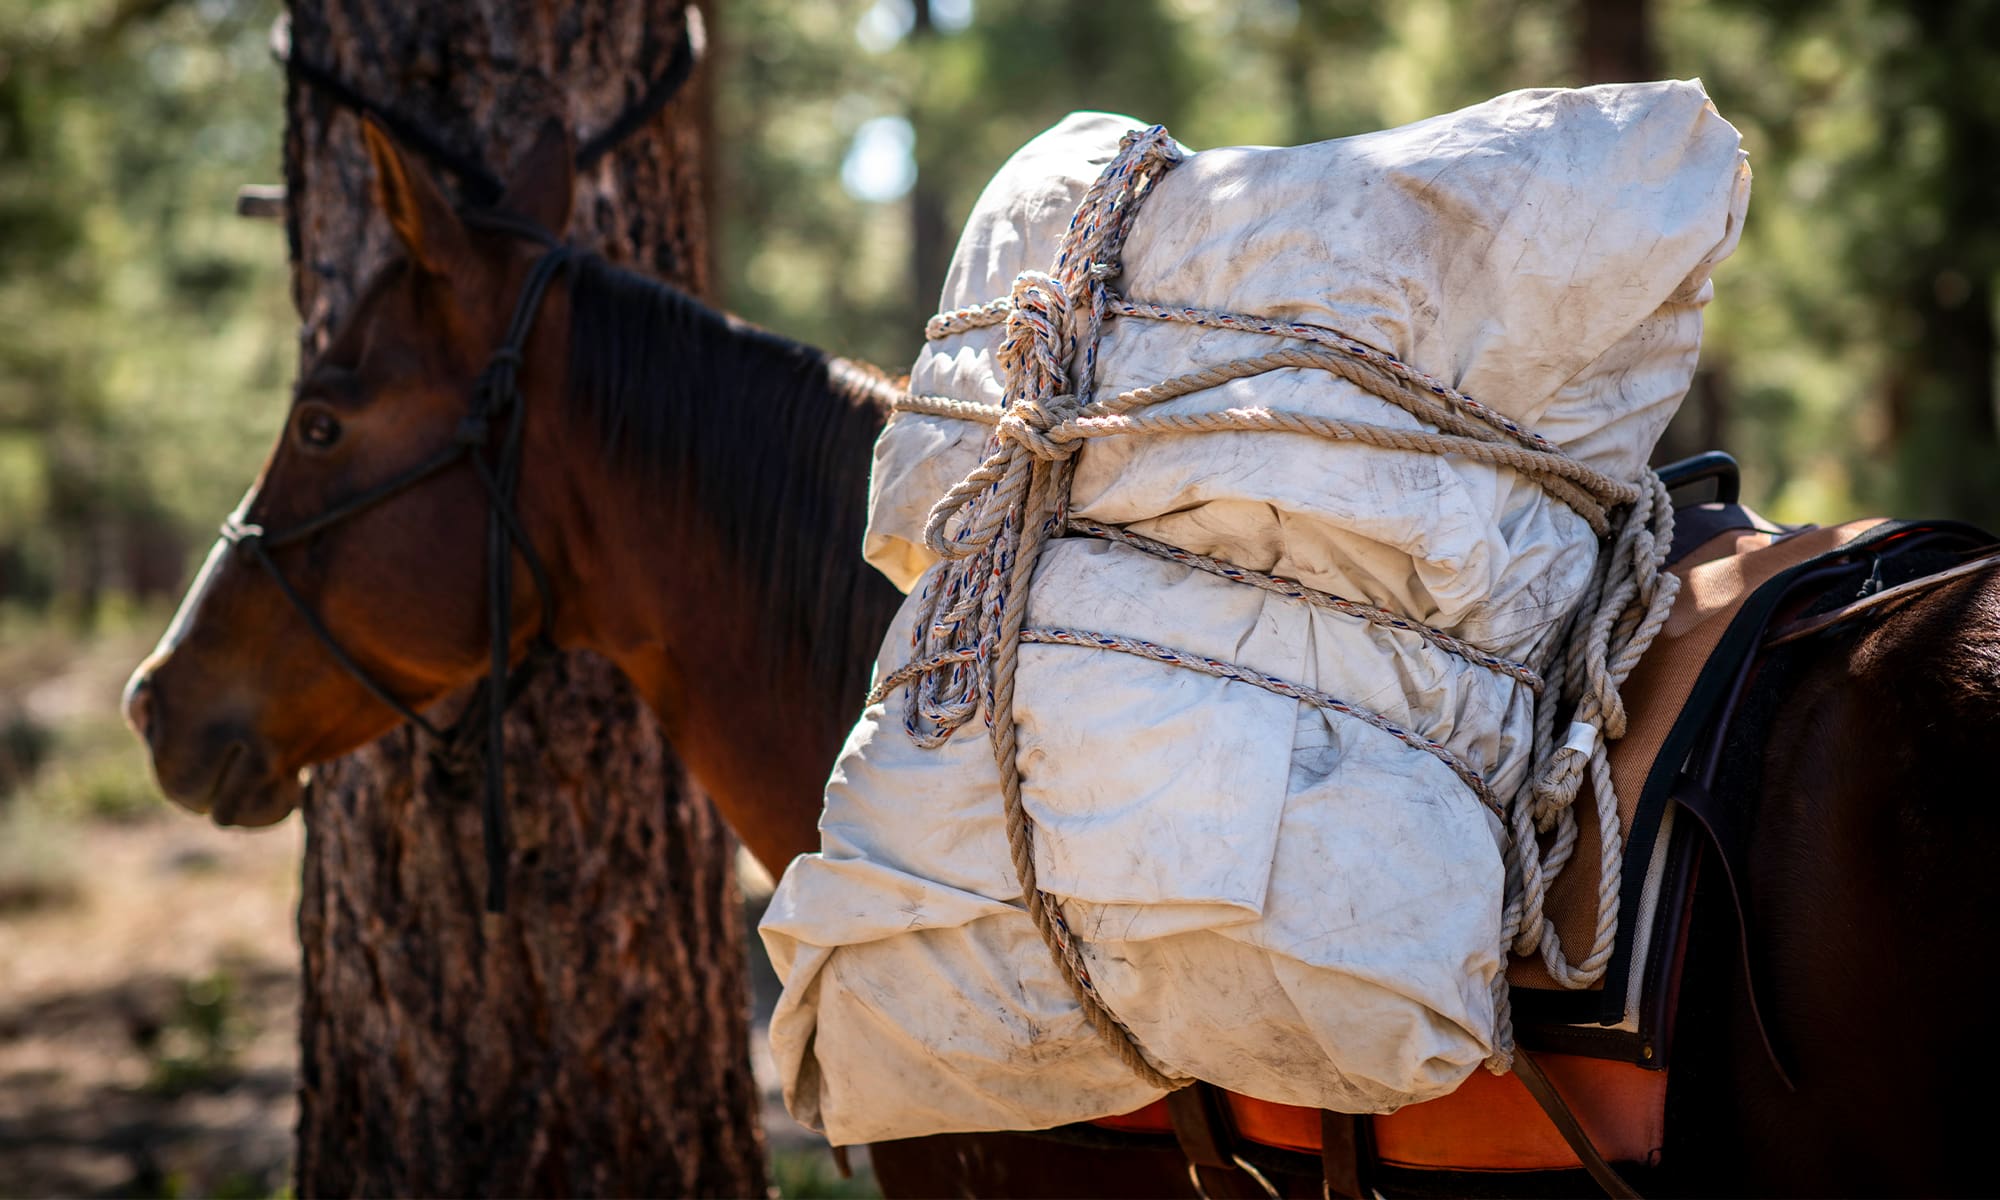 From Loose Gear to Tight Loads: Mastering the Manti
Photography By Nick Higman Derived from the Spanish word “manta,” meaning "blanket," the tarp is just that. A good ol' […]
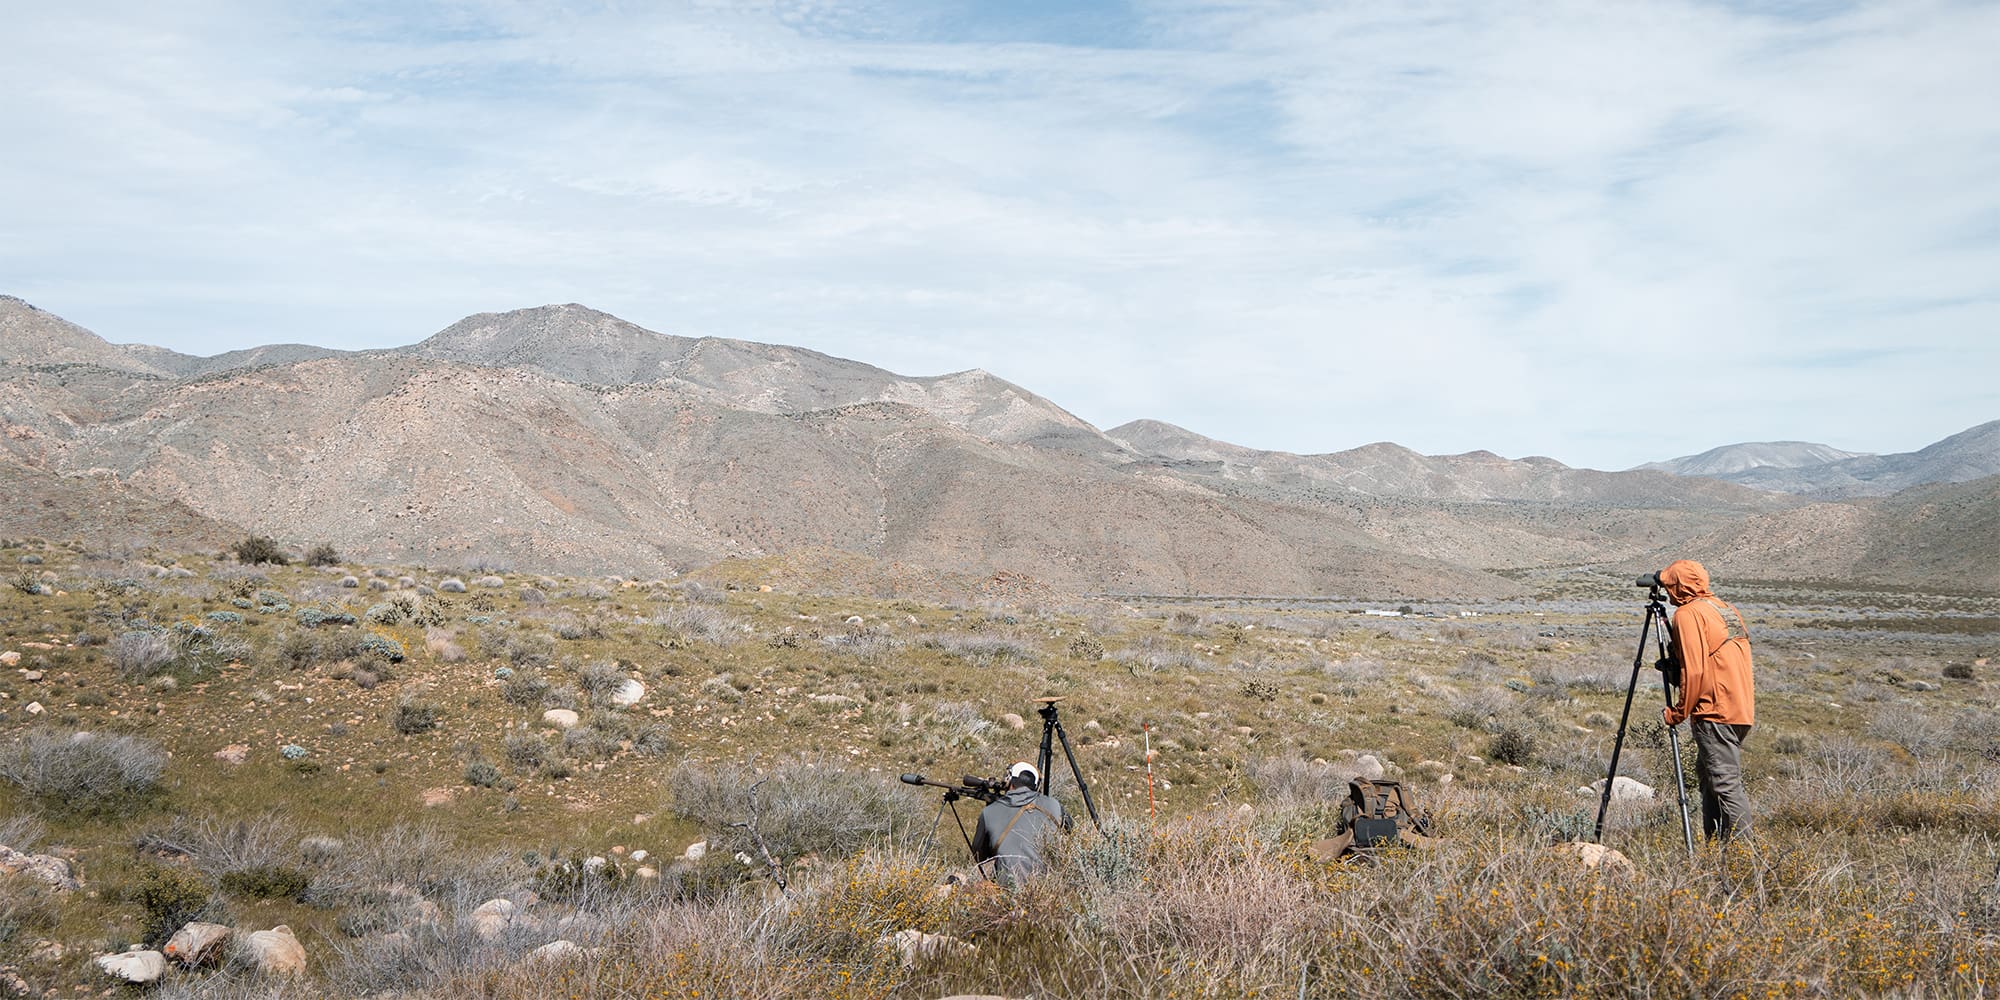
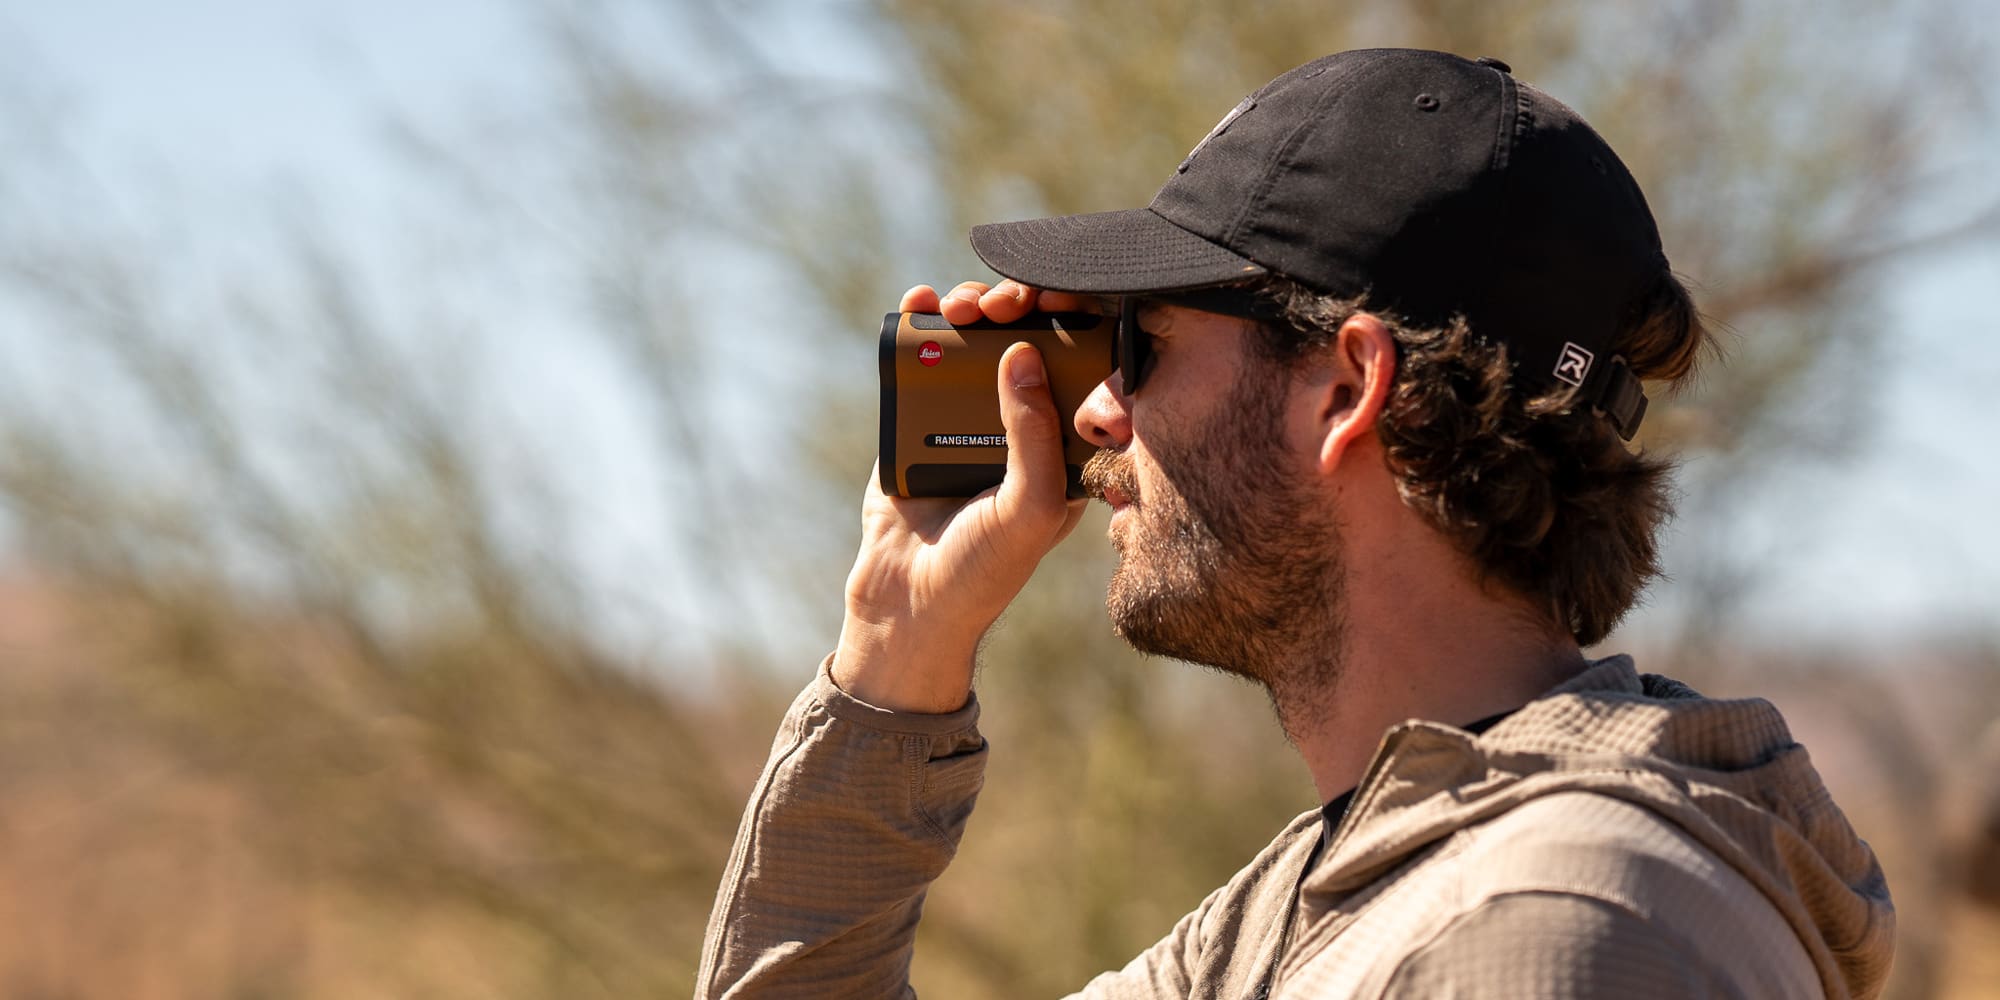 Leica CRF Max Review
I’m almost embarrassed to say this, but I have never hunted without a rangefinder. Sure, I’ve shot plenty of squirrels […]
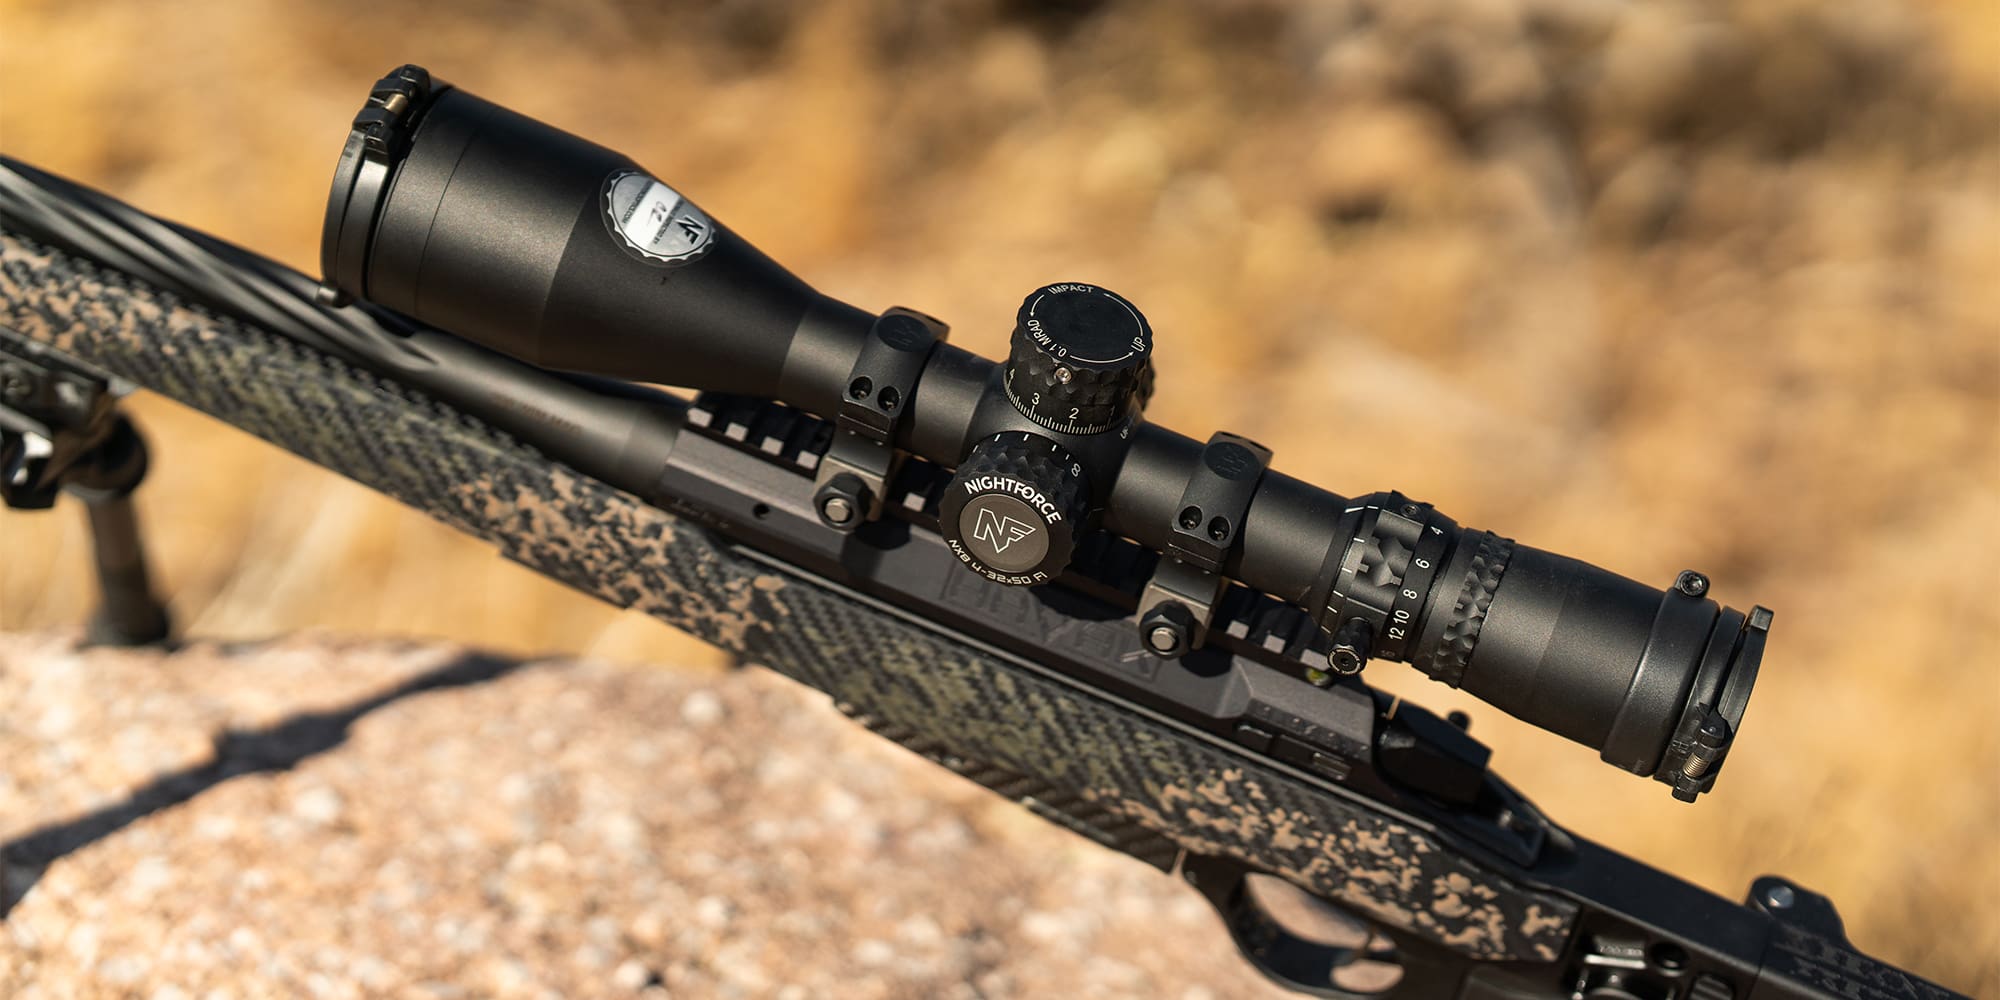 Nightforce NX8 4-32x50 Riflescope
I believe that the NX8 is the most versatile quality riflescope on the market. I’m not going to get into […]
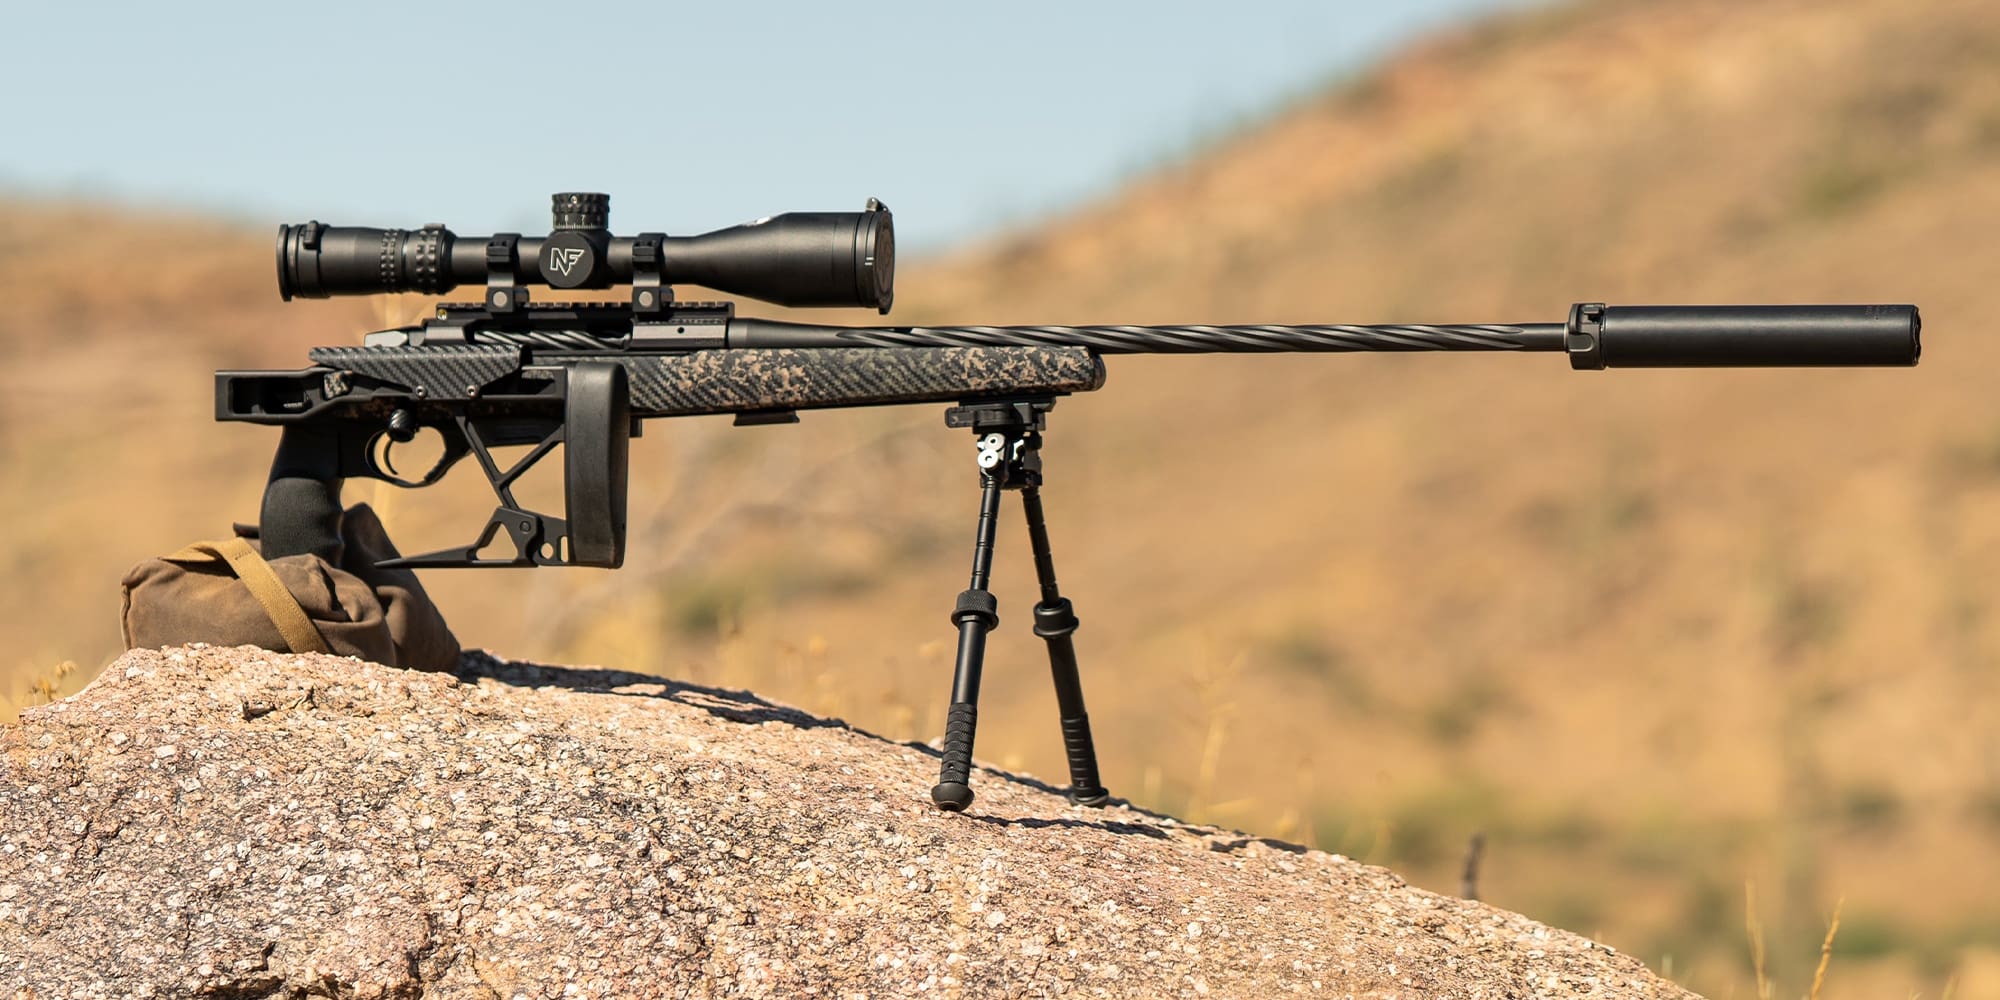 Seekins Precision Hunter Chassis
Everyone asked for it, and Seekins listened. Customers wanted the ability to take a Seekins rifle and drop it into […]
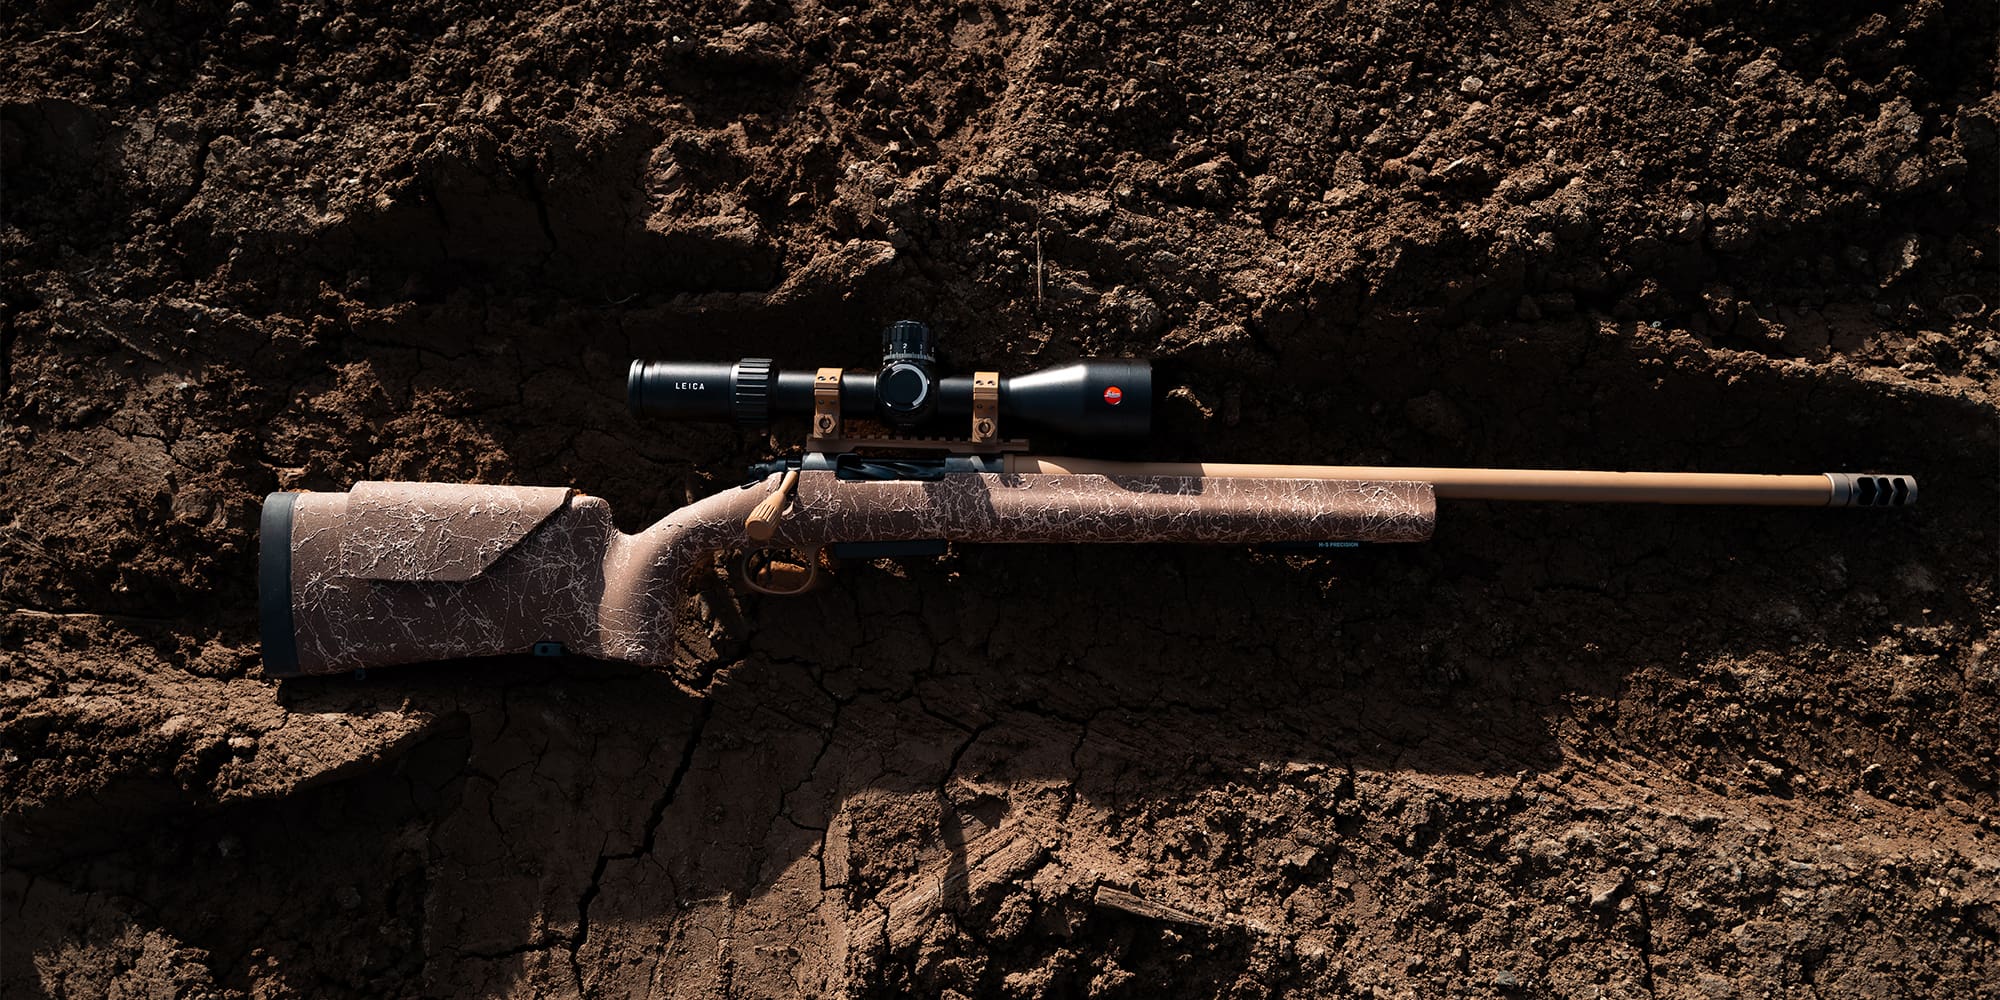 H-S Precision GEN III Rifle Review
For more than four decades, H-S Precision has occupied a unique place in the rifle world. Known for its fiberglass […]
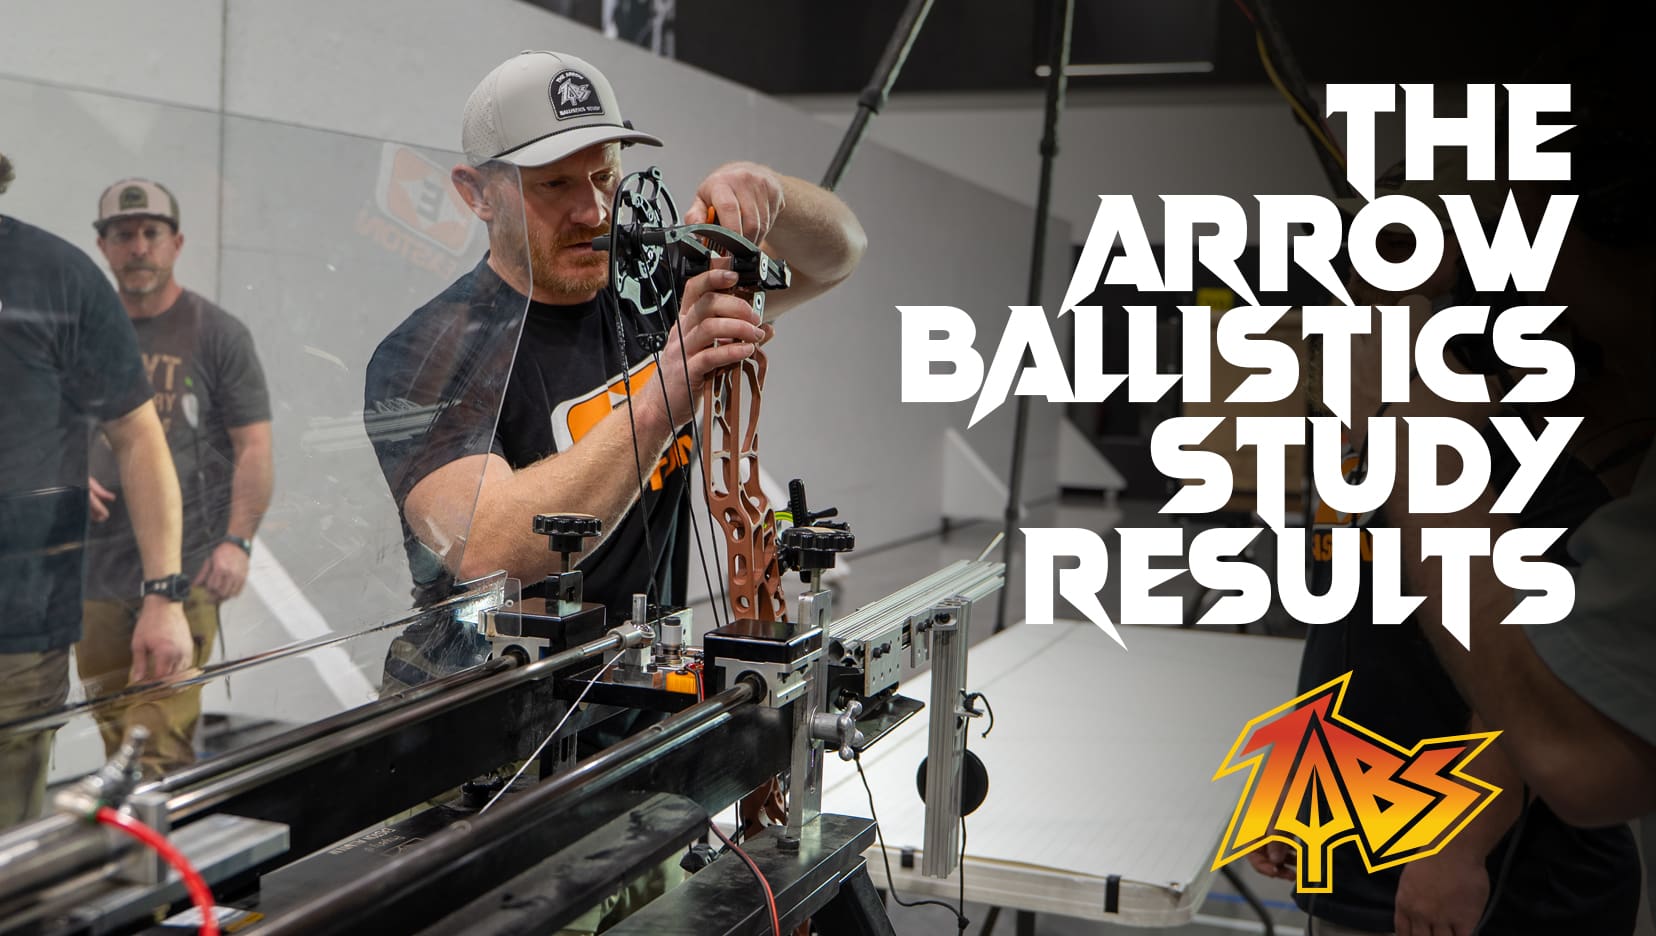 The 2026 Arrow Ballistics Study RESULTS
Here we go, round 2 of The Arrow Ballistics Study! This study series is truly the first of its kind answering hotly debated questions in the industry about front of center FOC, drag, and lift recovery (the arrow’s ability to correct itself in flight) across a wide range of vanes, broadheads, and shafts.
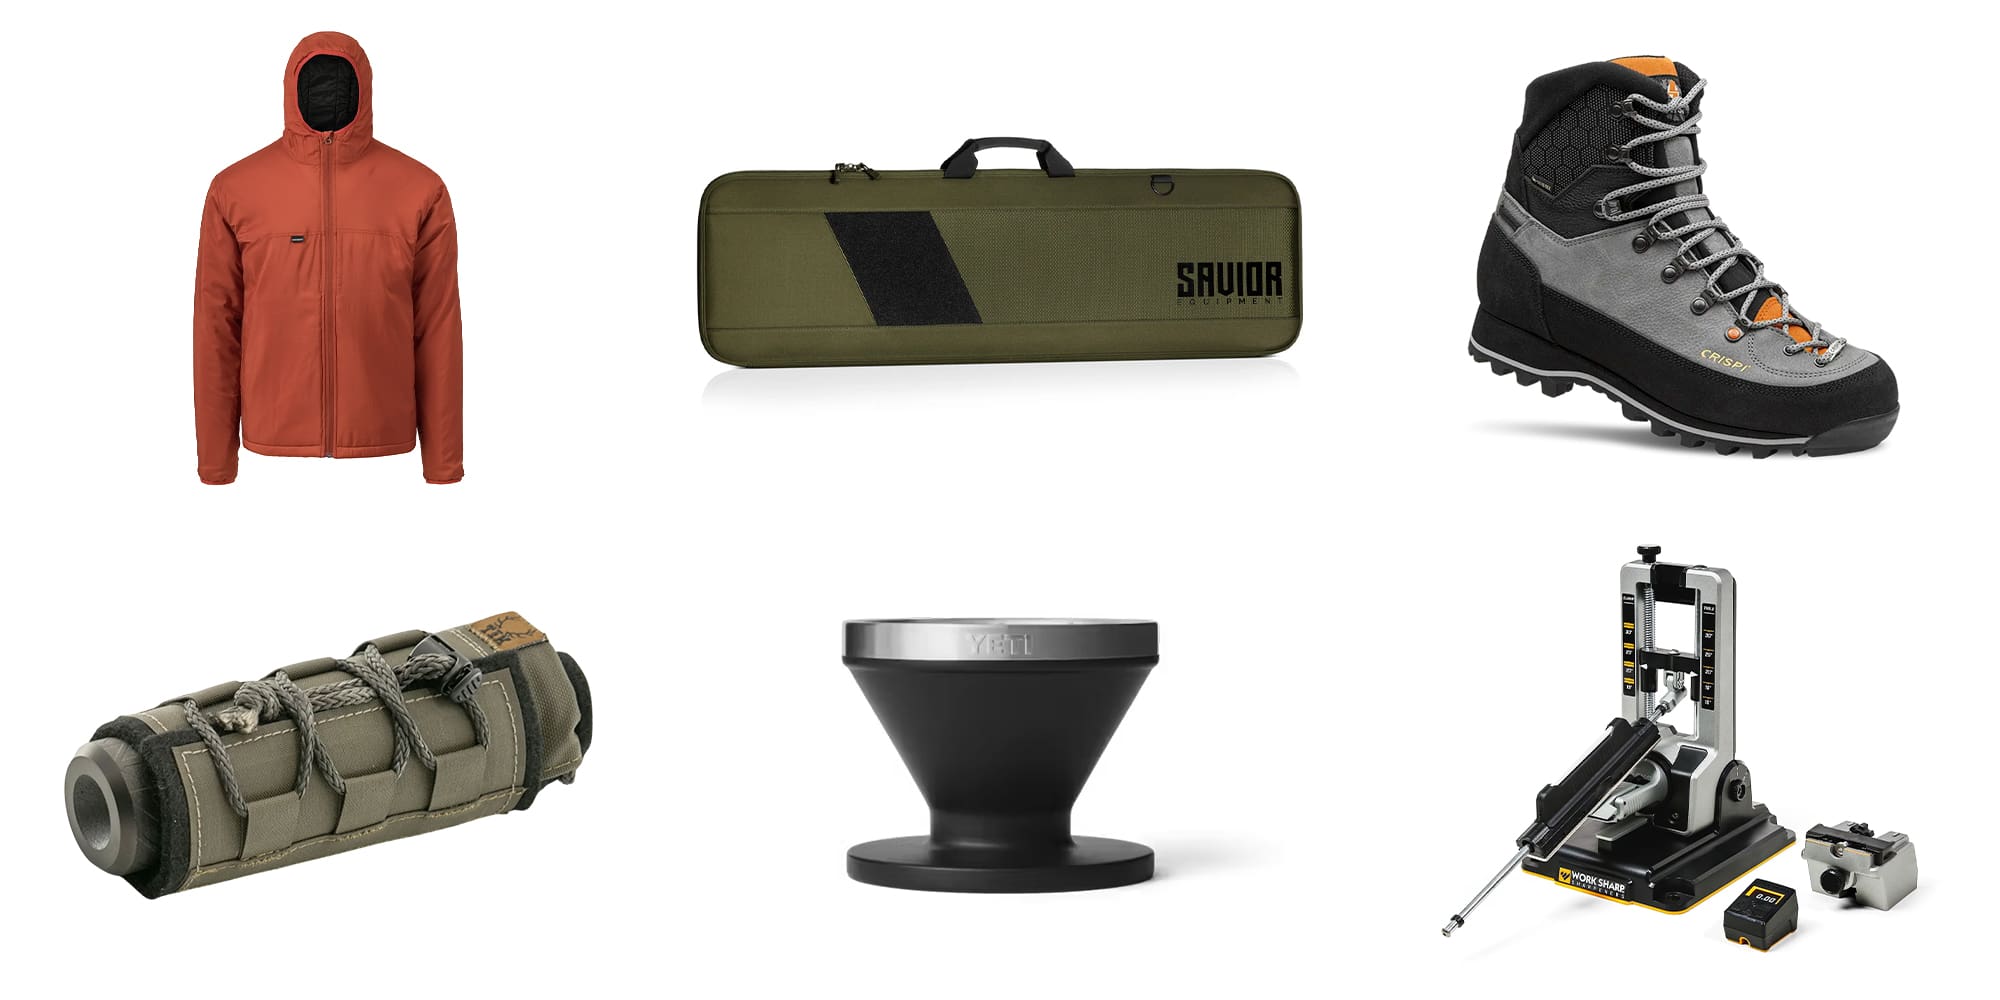 Issue 3 2026 Gear Highlights
Crispi Lapponia III The feet like what they like, and for some reason it feels like these boots were custom […]
 Pressure Cooker - My First NRL Hunter
Shooting rifles is fun. Shooting rifles far is fun. Shooting rifles far, from weird positions, while there’s a timer going, […]