NOTICE: Certain links on this post may earn a commission for Western Hunter Magazine from Amazon or our other affiliate partners when you make a purchase. Thank you for your support.
How to Better Test and Evaluate After Reloading
Reloading different ammunition for your firearm is one of the better ways to improve its capabilities. Even factory ammo from different manufacturers will produce varying degrees of accuracy. When your reloading, you have a lot more variables to evaluate and more potential for improving your rifle’s precision. Interpreting testing results can be confusing at times, but when you look at the right metrics, you can shift much of the decision-making to sound data analysis that will lead you to the optimum load in the most efficient manner.
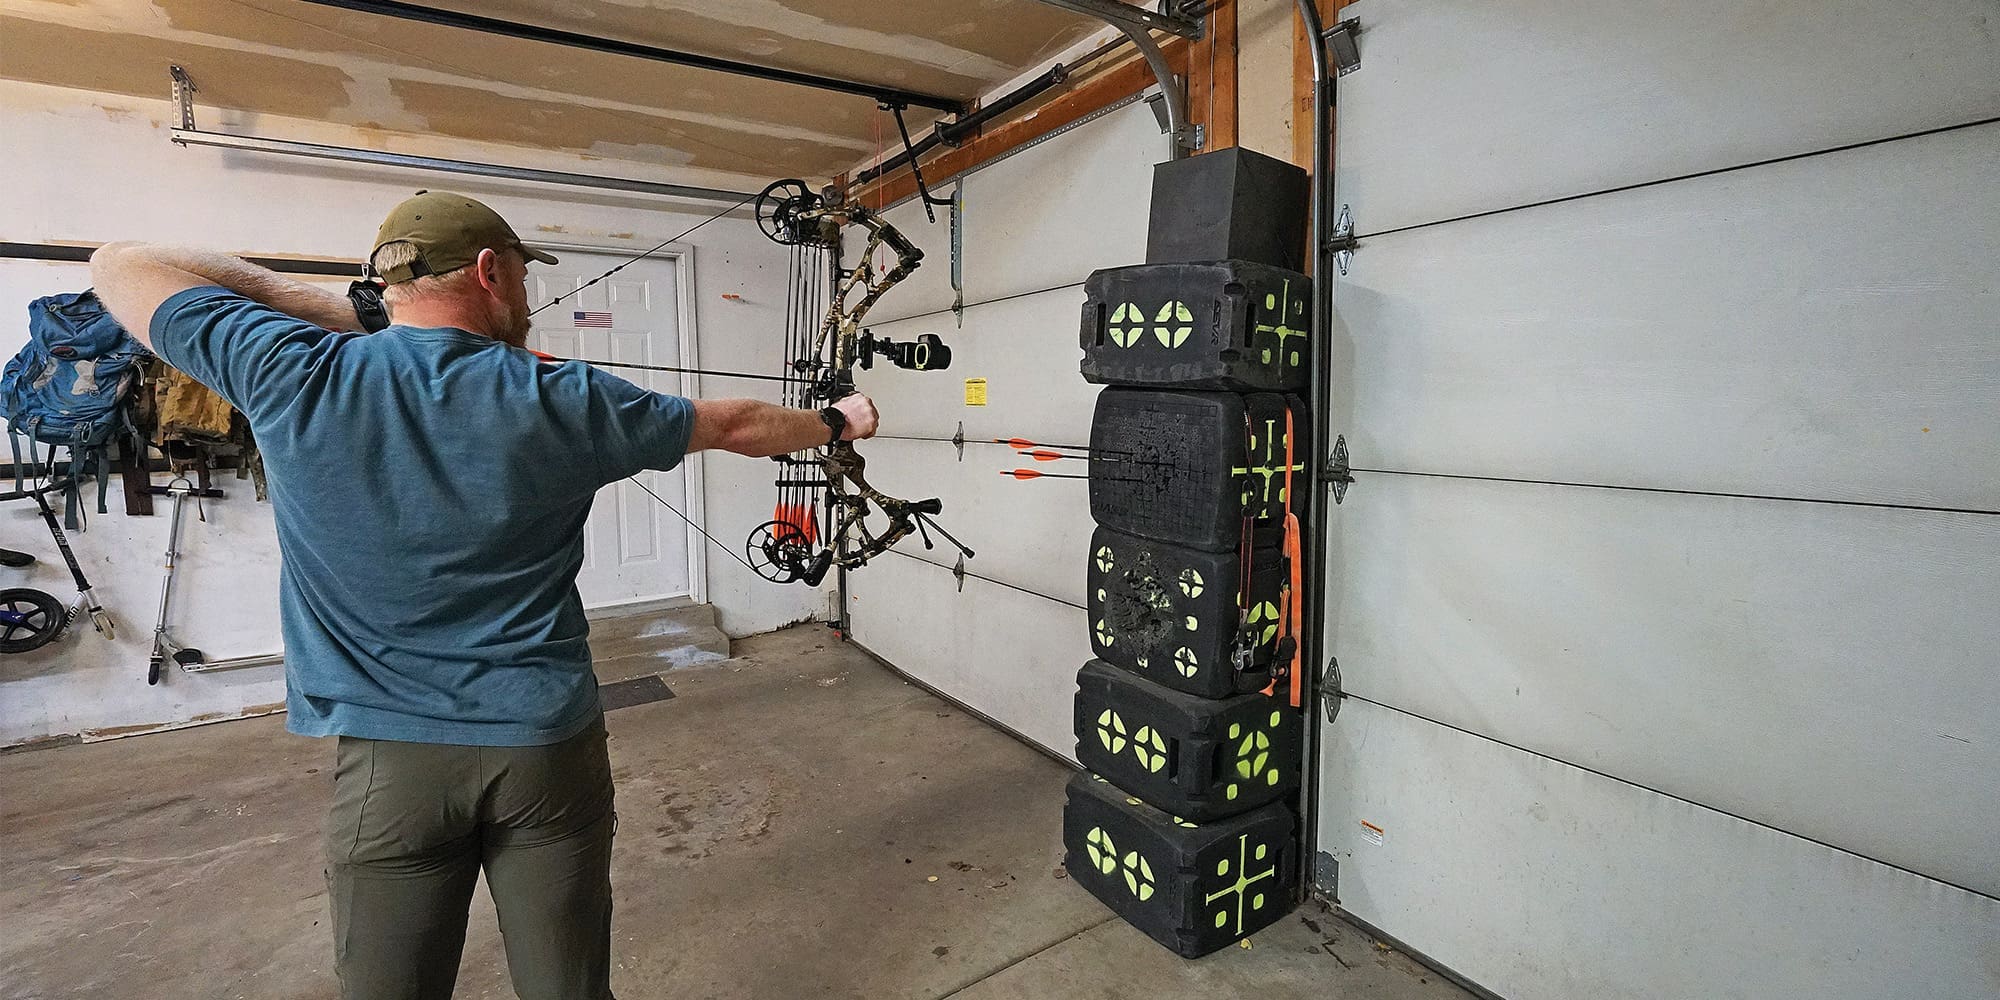
Testing after reloading is tedious and time-consuming, but seeing tight groups develop is rewarding. The extra trigger time spent never hurts when it comes down to making a critical shot during the hunt.
Seating Depth
When we left off last time, I was headed to the reloading bench with a plan. I have a lot of experience reloading for this particular rifle, so I diverged a little from my own recommendations in the previous article. The more you load for a certain rifle, the more you know what it “likes”. If this were a new rifle, I’d have used .010”, .050”, .090”, and .130” for seating depth increments. However, I know that this rifle has always shot best with bullets seated .040” - .050” off the lands.
Since this chambering has a very long freebore length, I hadn’t tested with bullets seated out to touch the lands before. The 7mm 195-grain Berger EOL bullet is extremely long, so I decided to take advantage of the opportunity to touch the lands and see if there was anything to gain. I decided that reloading three rounds each at different seating depths would be a good test – 0.00” (touching the lands), .005”, .040” and .050” off the lands.
The results were obvious - the .040” and .050” groups were best. The .050” groups were approximately 0.63 MOA, which was pretty impressive, and the .040” were .77 MOA. Even though the results were based on a single three-shot group, I chose the .050” seating depth with confidence based on its performance. More importantly, .050” has been the magic number with almost every bullet I’ve run through this rifle.
Pressure Test
The loads that were touching the lands ran 15-20 fps faster over the chronograph than anything else. Higher velocity indicates higher pressure, as expected. In fact, all of my velocities were somewhat higher than the velocities Berger provided. I certainly didn’t expect my starting loads to exceed Berger’s max velocities even though I have a 1.5” longer barrel than their test rifle. Longer barrels typically add 25-50 fps more velocity per inch. The higher velocities were a strong indication I wouldn’t likely be able to use their published maximum loads.
Because I saw high velocities at my starting load, I decided to run a simple pressure test with ½-grain powder increments to see where I’d see pressure signs. This is a quick way to establish a range of safe charges where you can focus your ladder testing. There’s no sense in reloading groups of test rounds all the way to 86 grains if your rifle hits max pressure at 84 grains.
Tracking velocities during load development can help you spot high pressures before you see the damaging signs on your brass.
I ended up reloading one round each from 82-86 grains in ½-grain increments and shot them consecutively from low to high with all bullets seated .050” off the lands. I saw a distinct ejector mark on the cartridge base with the 84-grain load, so I elected not to shoot any of the heavier charges. The resulting five-shot group with five different loads was just over an inch at 133 yards, which turned out to be about 0.84 MOA. The overall spread was pretty encouraging. Velocity ranged from 2943 to 3014 fps for the 83.5-grain load. The 84-grain load sent the bullet at a speed just north of 3040 fps, but it was clearly over safe pressure levels, so charges of 84 and higher weren’t considered. The heavier charges were set aside and later disassembled.
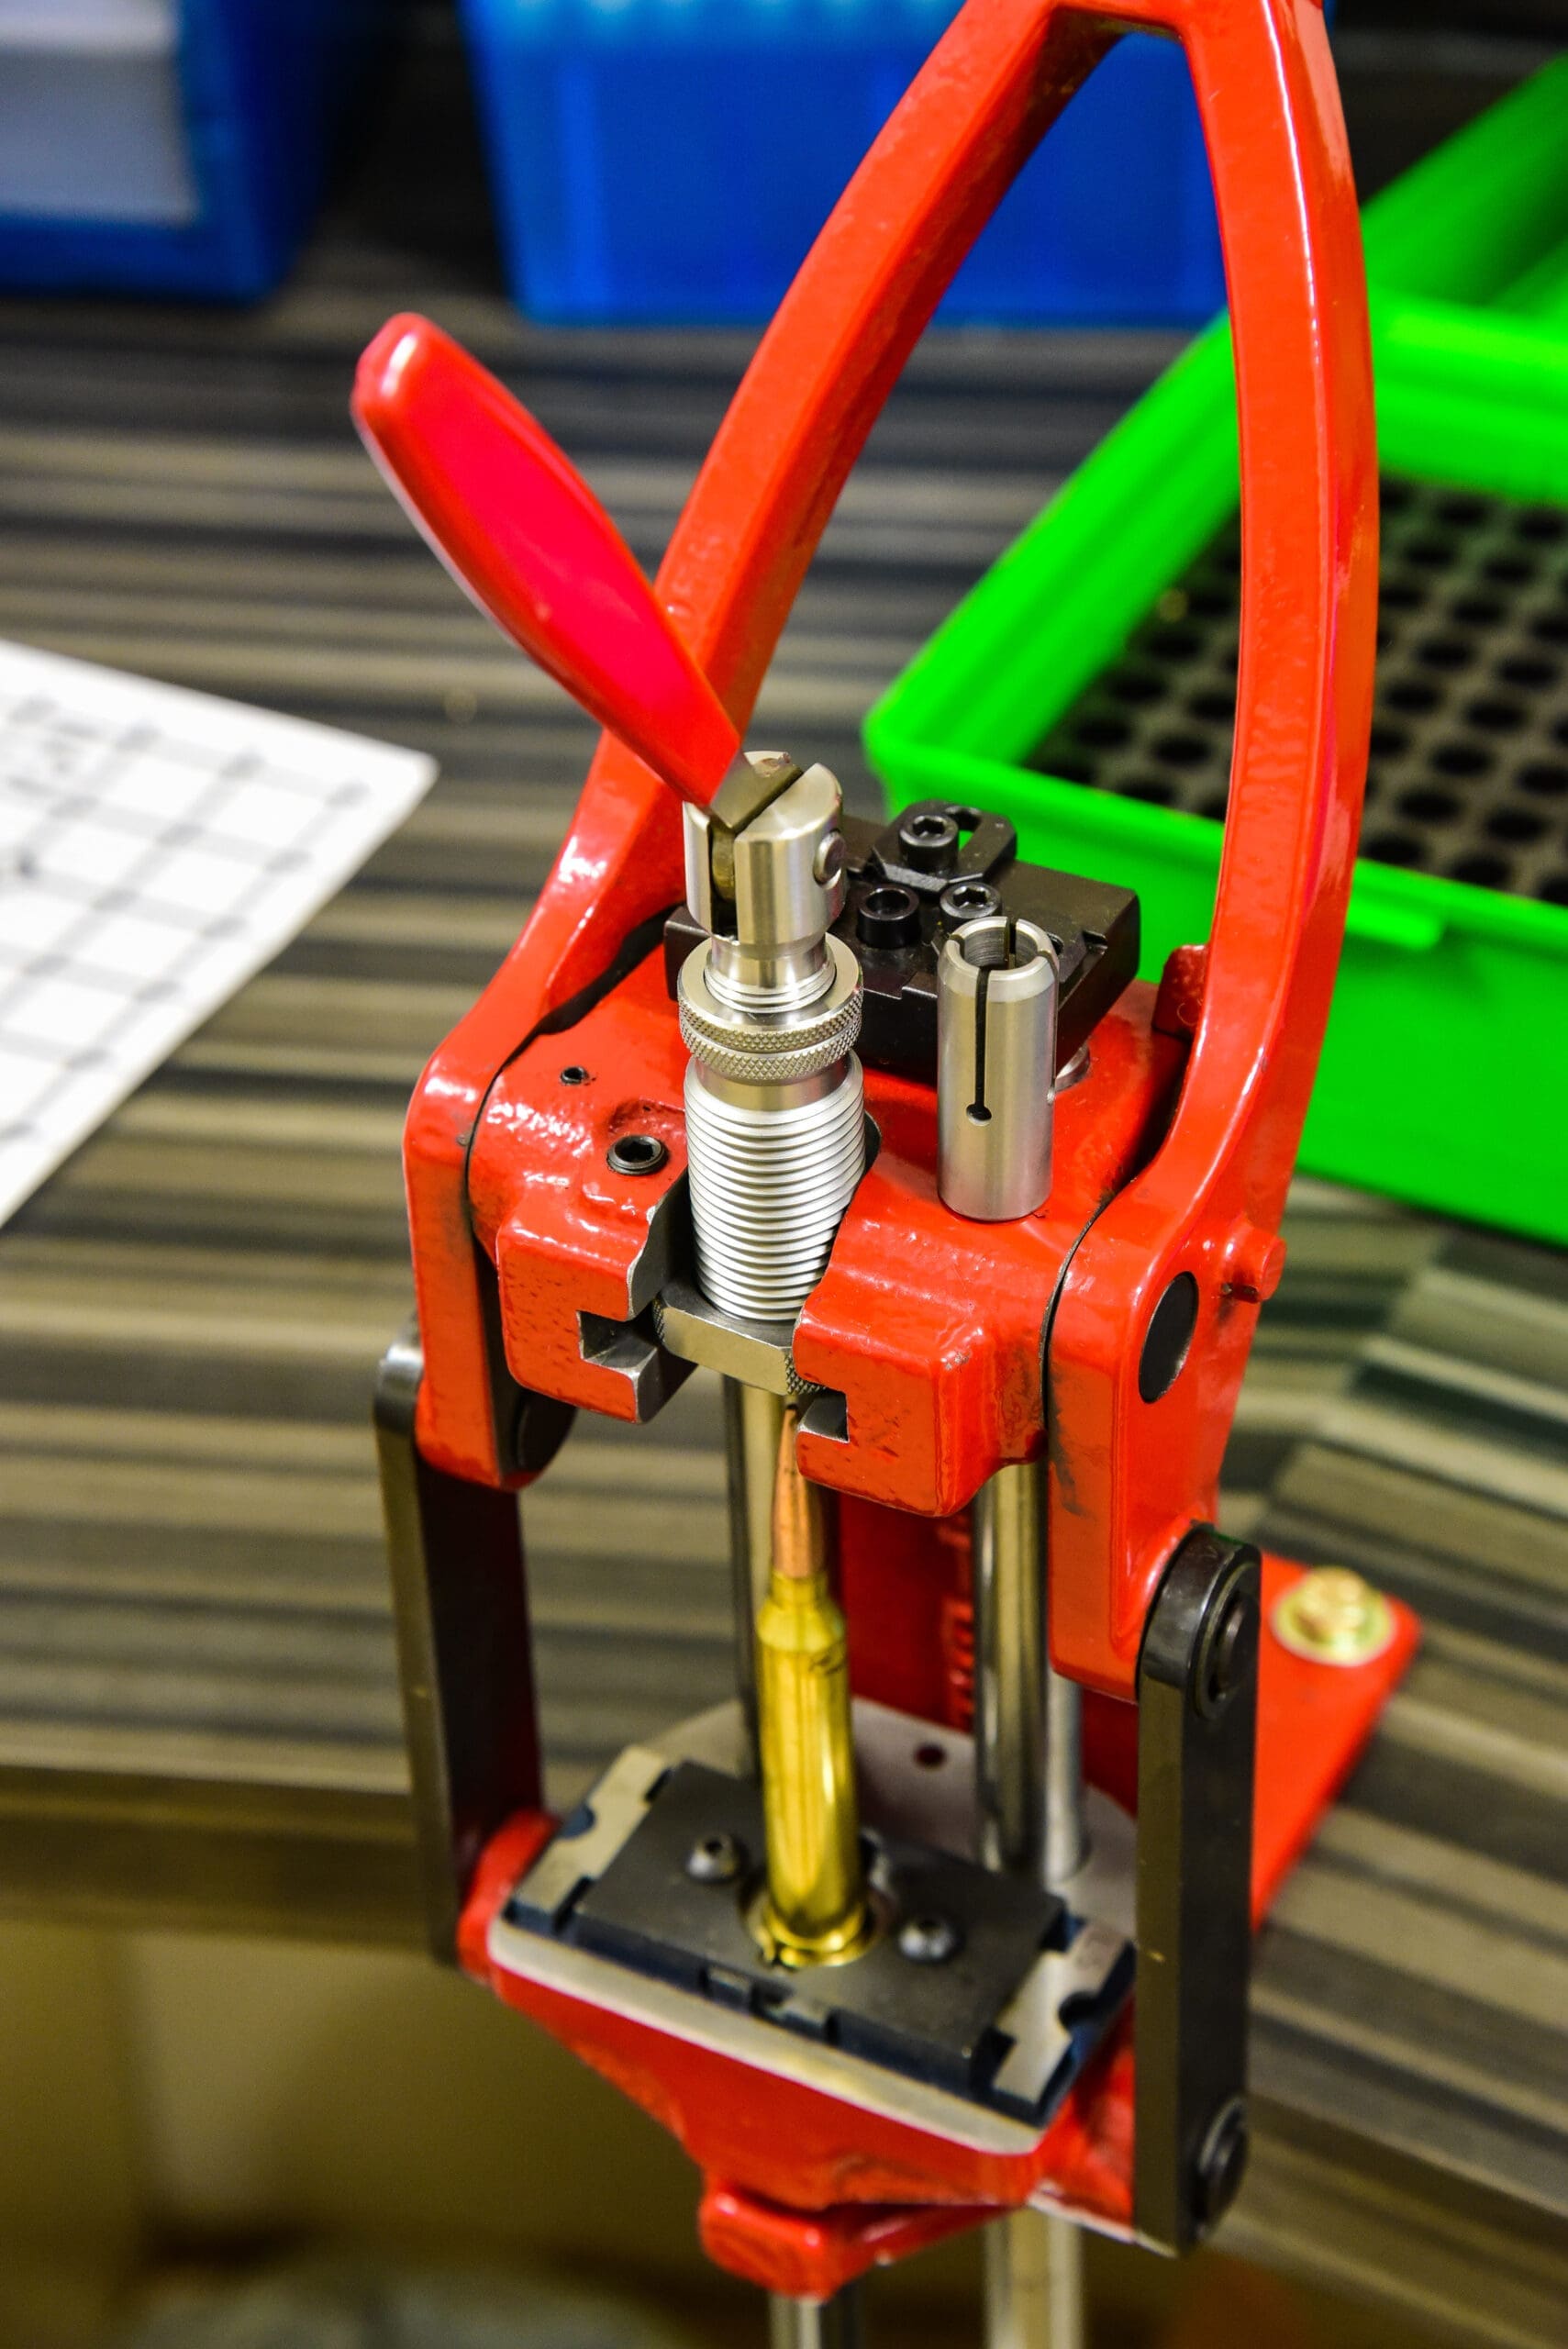
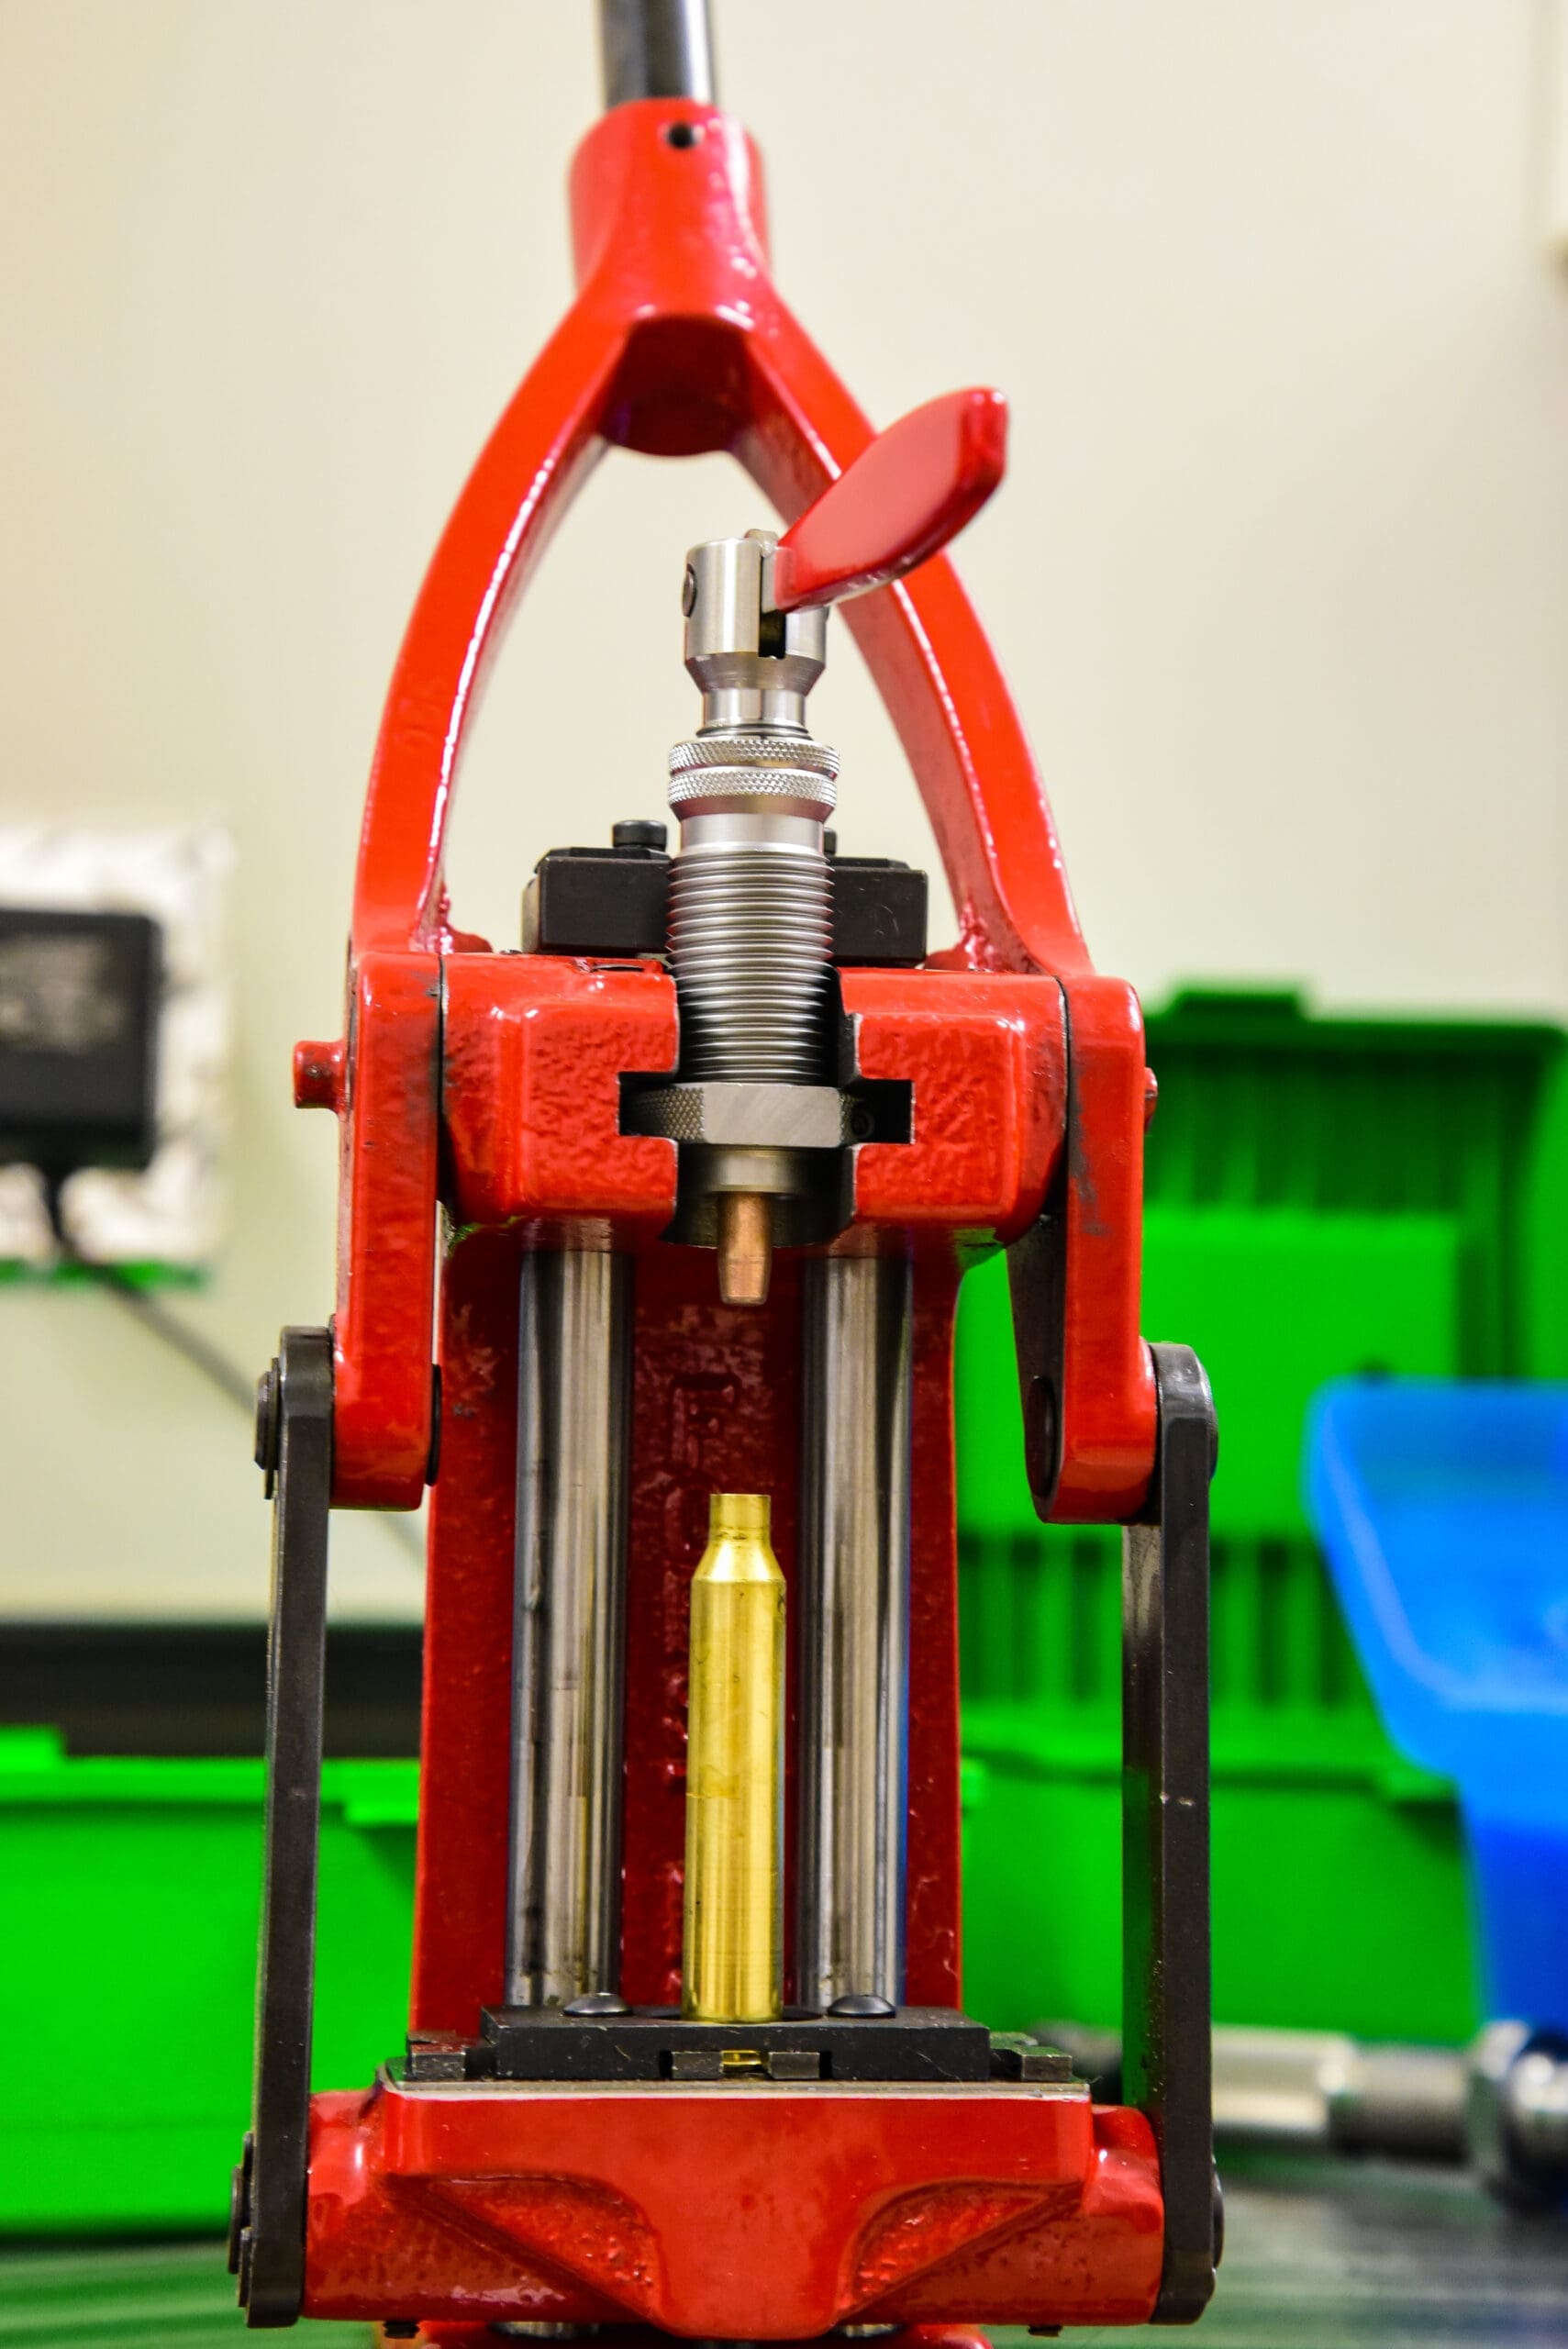
A bullet puller is an important tool for reloading. It will enable you to easily pull bullets and disassemble loads that you don’t need to test. This is a collet type bullet puller made by Hornady. It retails for about $25 and caliber-specific collets are about $10 each. Pulled bullets can be re-shot, but I typically save them for fouling rounds.
Based on my pressure ladder, I decided to load my ladder test from 81.5-83.5 and use finer ½-grain increments since I was only covering a 2-grain range. I shot three separate groups with each ladder, starting with 81.5 and ending with 83.5 for the first group. Next, I started at 83.5 and went down to 81.5. I shot the last group from low to high again in quasi “round-robin” alternating fashion. Shooting ladders in random order helps to balance the test results and distribute results across conditions. This tends to make groups open up a little, but you get a more honest and balanced comparison.
On Target
I recently started using a software program to analyze my groups. The software is called On Target v2.10. On Target allows you to import a photo of your target to the program and locate the holes very accurately. It will give you some basic info like greatest spread, height, and width of the group, average distance to the center of the group, and it will locate the group center. On Target will also convert group size to MOA based on the shot distance.
When you’re done, you can print or save a record of your target with all of the analytics displayed for future reference. I like to print these, 3-hole punch them and file them in a 1” 3-ring binder that I maintain for each rifle. This is a fantastic way to archive data for reference. If you ever sell the gun, you’ve got a wonderful load and performance record for potential buyers.
To use On Target effectively, you should shoot each load increment on a separate target. I didn’t for this ladder test, but I will going forward. I still recommend that you shoot the ladders in a round-robin fashion to normalize conditions across the entire test. Just shoot each load at its own target rather than mixing. This is a tweak you can make if you were doing an Audette ladder test or trying the OCW method also.
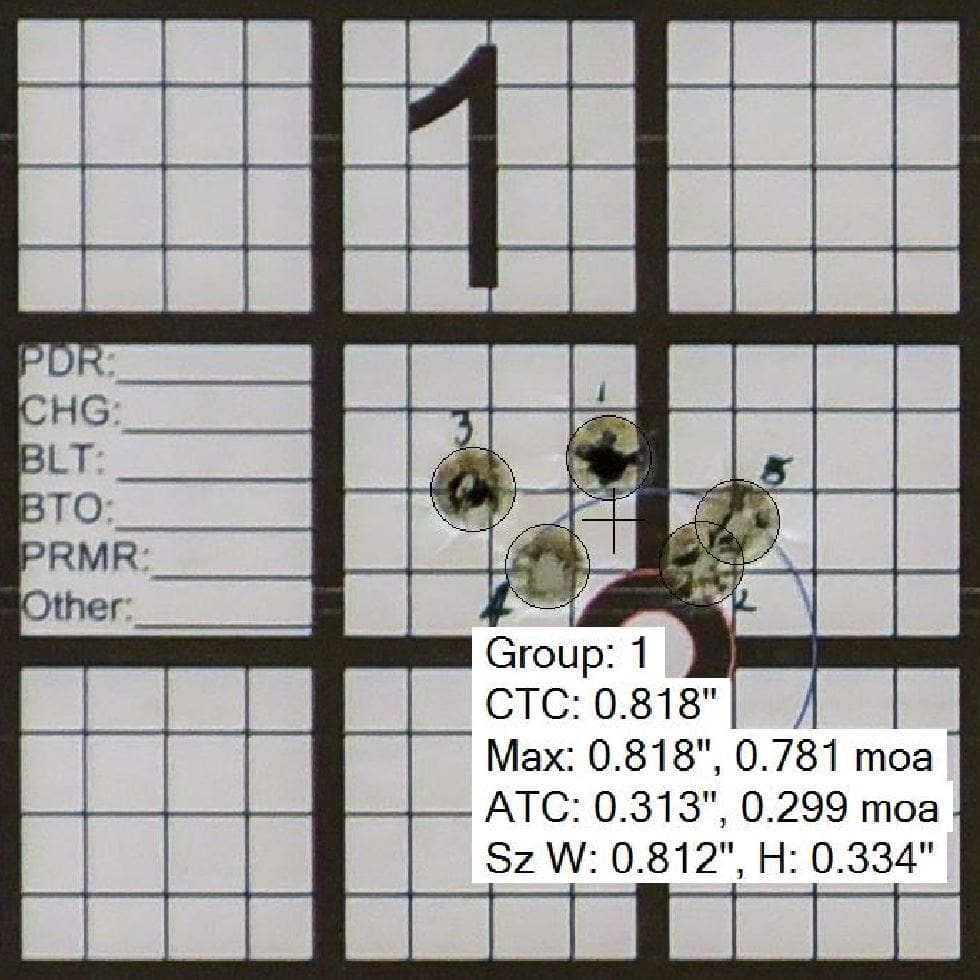
This is a typical output from On Target. You take a photo of your target and set the scale. Next, locate the bullet holes, and On Target calculates the rest. All measurements can also be displayed graphically over the target. This output shows bullet hole outlines and group center with the metrics listed below.
There is another On Target version available called On Target TDS ($80). The TDS version can merge multiple targets and compute composite groups. It can also track individual loads shot on the same target. The trial version didn’t get along with my GoPro software, so I didn’t get a chance to explore those features. The standard $12 version was extremely accurate, easy, and had all the functionality I needed. At the very least, download the free trial version before your next session to see just how convenient and useful it is.
Since I shot my mixed ladders each on a target, I had to plot each shot with a spreadsheet in order to use On Target to calculate the group sizes and group centers. That wasn’t a big problem since I’ve been using spreadsheets to analyze my groups for many years. It took a little work to get the graph scaled properly, but I’m just tickled I won’t have to open Excel anymore to get all this data because On Target does the calculations for me.
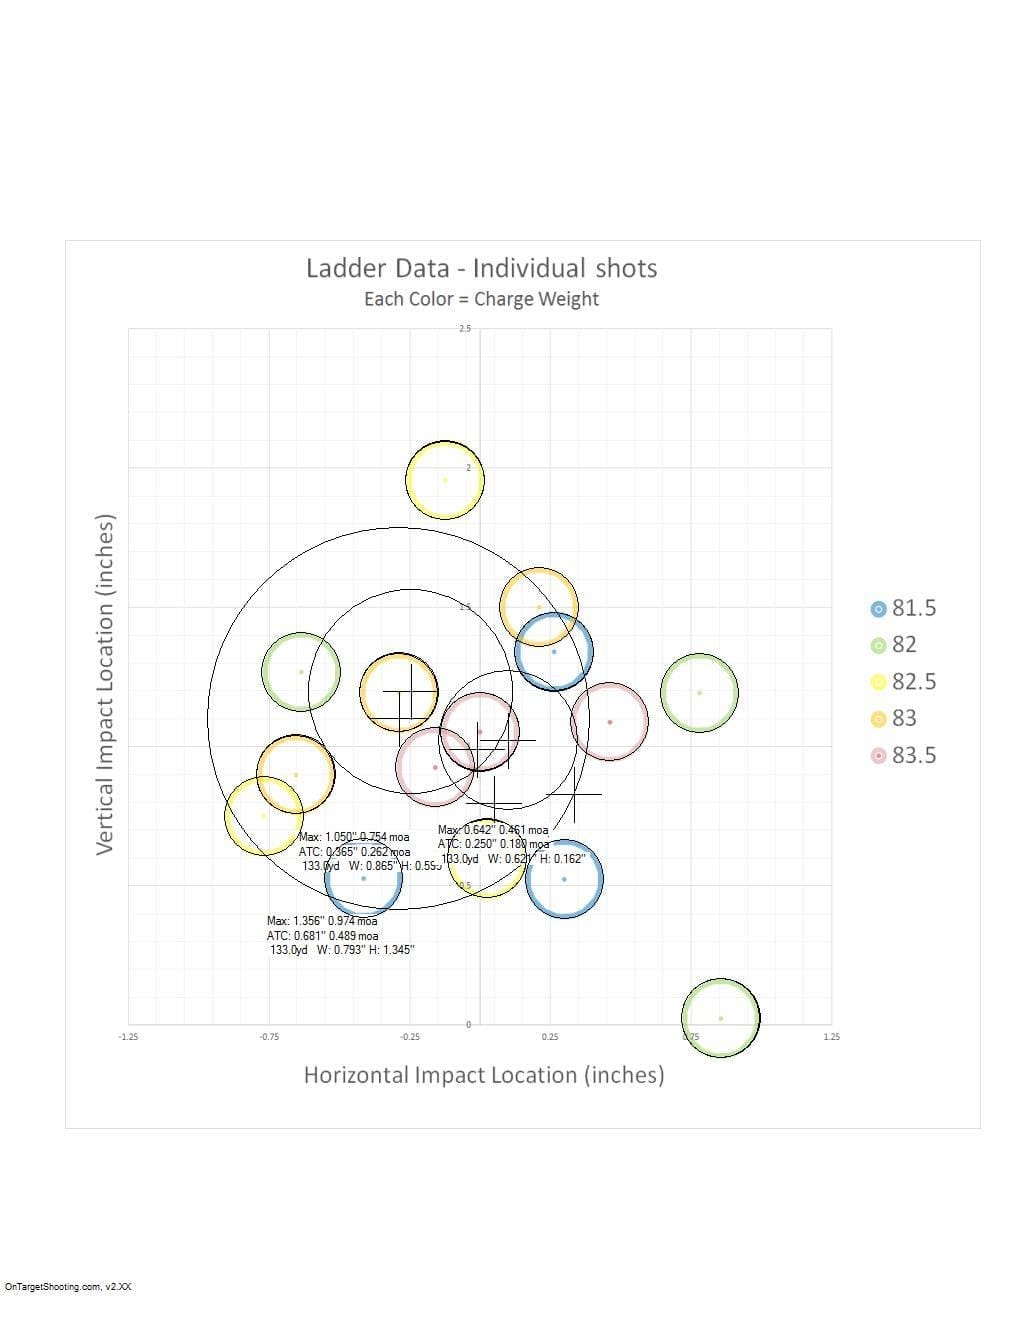
This is a graphical representation of all my ladder data that I recreated using an Excel spreadsheet so I could analyze the groups with On Target. This step isn’t necessary if you keep each load on its own target.
Average to Center
My 83.5-grain load (red) shot the tightest 3-shot group at 0.46 MOA (.64 inches at 133 yards). This was followed by the 83 (orange) and 81.5 (blue) loads, which both shot 0.76 MOA. Group size is always measured between the two farthest-apart holes, which is the extreme spread. Extreme spread is important, but if you have a 5-shot group, measuring extreme spread only utilizes 40% of your shots to characterize the group. Extreme spread grows with more shots, which raises the question - how many shots is necessary to figure out what the group size really is?
A better way to evaluate groups is measuring the distance to the group’s center for each shot and averaging that value – it’s called Average to Center (ATC) in the On Target software. Renowned ballistician, Bryan Litz, calls this the mean radius. Bryan does a wonderful job describing why this metric is a good tool for characterizing shot dispersion in his most recent book, Modern Advancements In Long Range Shooting Vol. II, a book I highly recommend. In fact, all of Bryan’s writings are worth owning if you’re a serious shooter.
In the graphic, the ATC is shown by the larger colored circles. Since ATC is an average distance to center, it’s a little less than half of the average group size.
Average distance to center leads you toward the relative group size in fewer shots, because ATC doesn’t grow rapidly with more shots like extreme spread, because it’s an average, and every shot counts. One bad shot doesn’t affect an average the way it would with extreme spread. Additional shots still improve the confidence in the answer you get with ATC, so don’t think an ATC based on a 3-shot group is telling you a lot more than a 3-shot group’s extreme spread. If you want to evaluate fine details, like how a .005” seating depth change affects shot dispersion, 10-shot groups will be a far better indicator than 3 or 5-shot groups.
ATC is a great measurement, but extreme group spread is still an important factor, because you should always be concerned with your worst shots. Five-shot groups with a small ATC are good, but if there’s always one flyer that’s an inch out, you probably want to try to fix that problem.
It’s not the only important measurement, but ATC is one of the best metrics to consider during reloading to evaluate precision. I put more weight on ATC for 5 and 10-shot groups than I do maximum group spread.
Group Centers
Along with extreme spread and ATC, I look for group centers of consecutive load steps that are close together. This is a concept that comes from the Audette method and the OCW methods for analyzing ladder data.
The difference is that those tests are usually performed at longer distances where velocity effects have more influence on vertical spreads. I like to test at shorter ranges where wind and velocity variations have less influence. Wind can skew results and potentially hide problems or taint a good shooting load. If your rifle won’t shoot tight at 100 yards, it won’t shoot any tighter at 200, 300, or longer * (except in rare cases when high shots are slower and low shots are faster than the average).
*Remember, every rifle is different. Always start with minimum published loads from a reliable reloading manual or manufacturer’s website and work up slowly. Load smart and keep it safe.
Group centers in the ladder plot are indicated by color-coded (+) signs that correspond with each load. All group centers are relatively close together – a little over ½” spread across all five loads. The 82.5 and 83 group centers are very tight. I also charted the overall group center for all shots in the ladder. The overall group center is represented by the black (+) just left of the red 83.5 group center.
The reason that load steps grouping together is thought to be a good thing is because those two charges show signs of being less sensitive to slight variations in pressure and velocity. If a ½-grain powder change doesn’t greatly affect the point of impact, then it’s a good indication those charge weights are pressure insensitive to variables that naturally cause fluctuation in pressure and velocity.
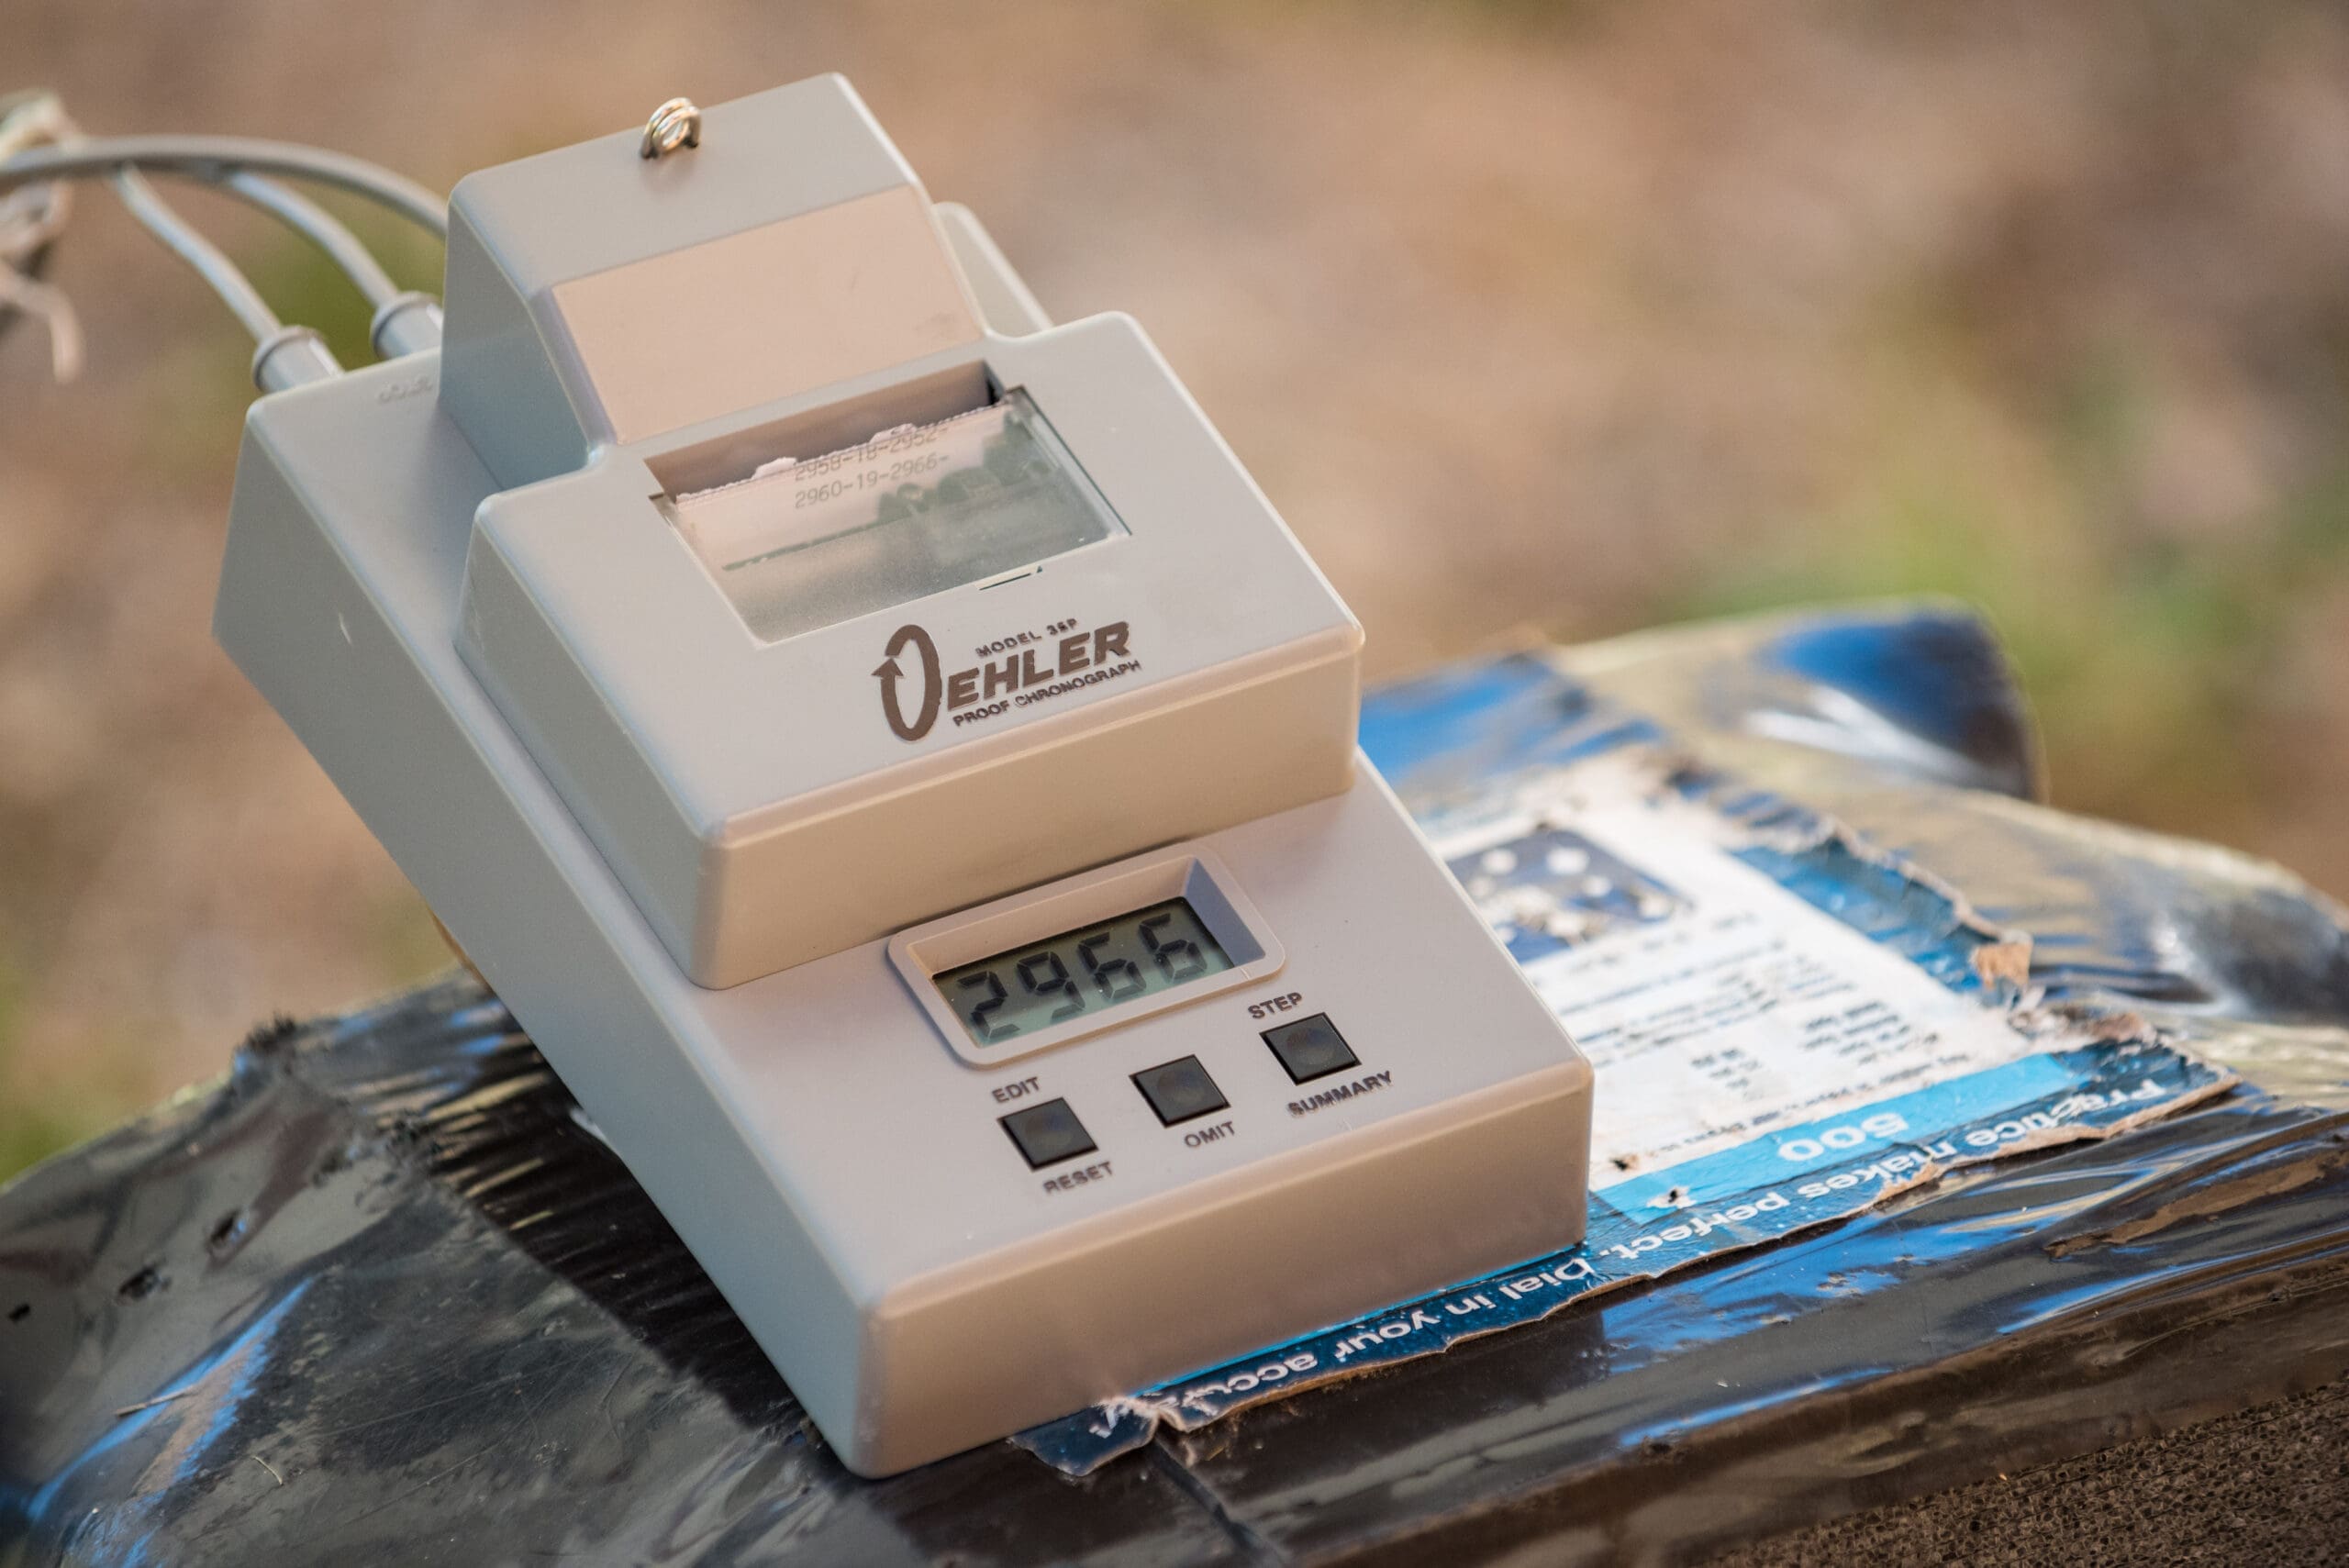
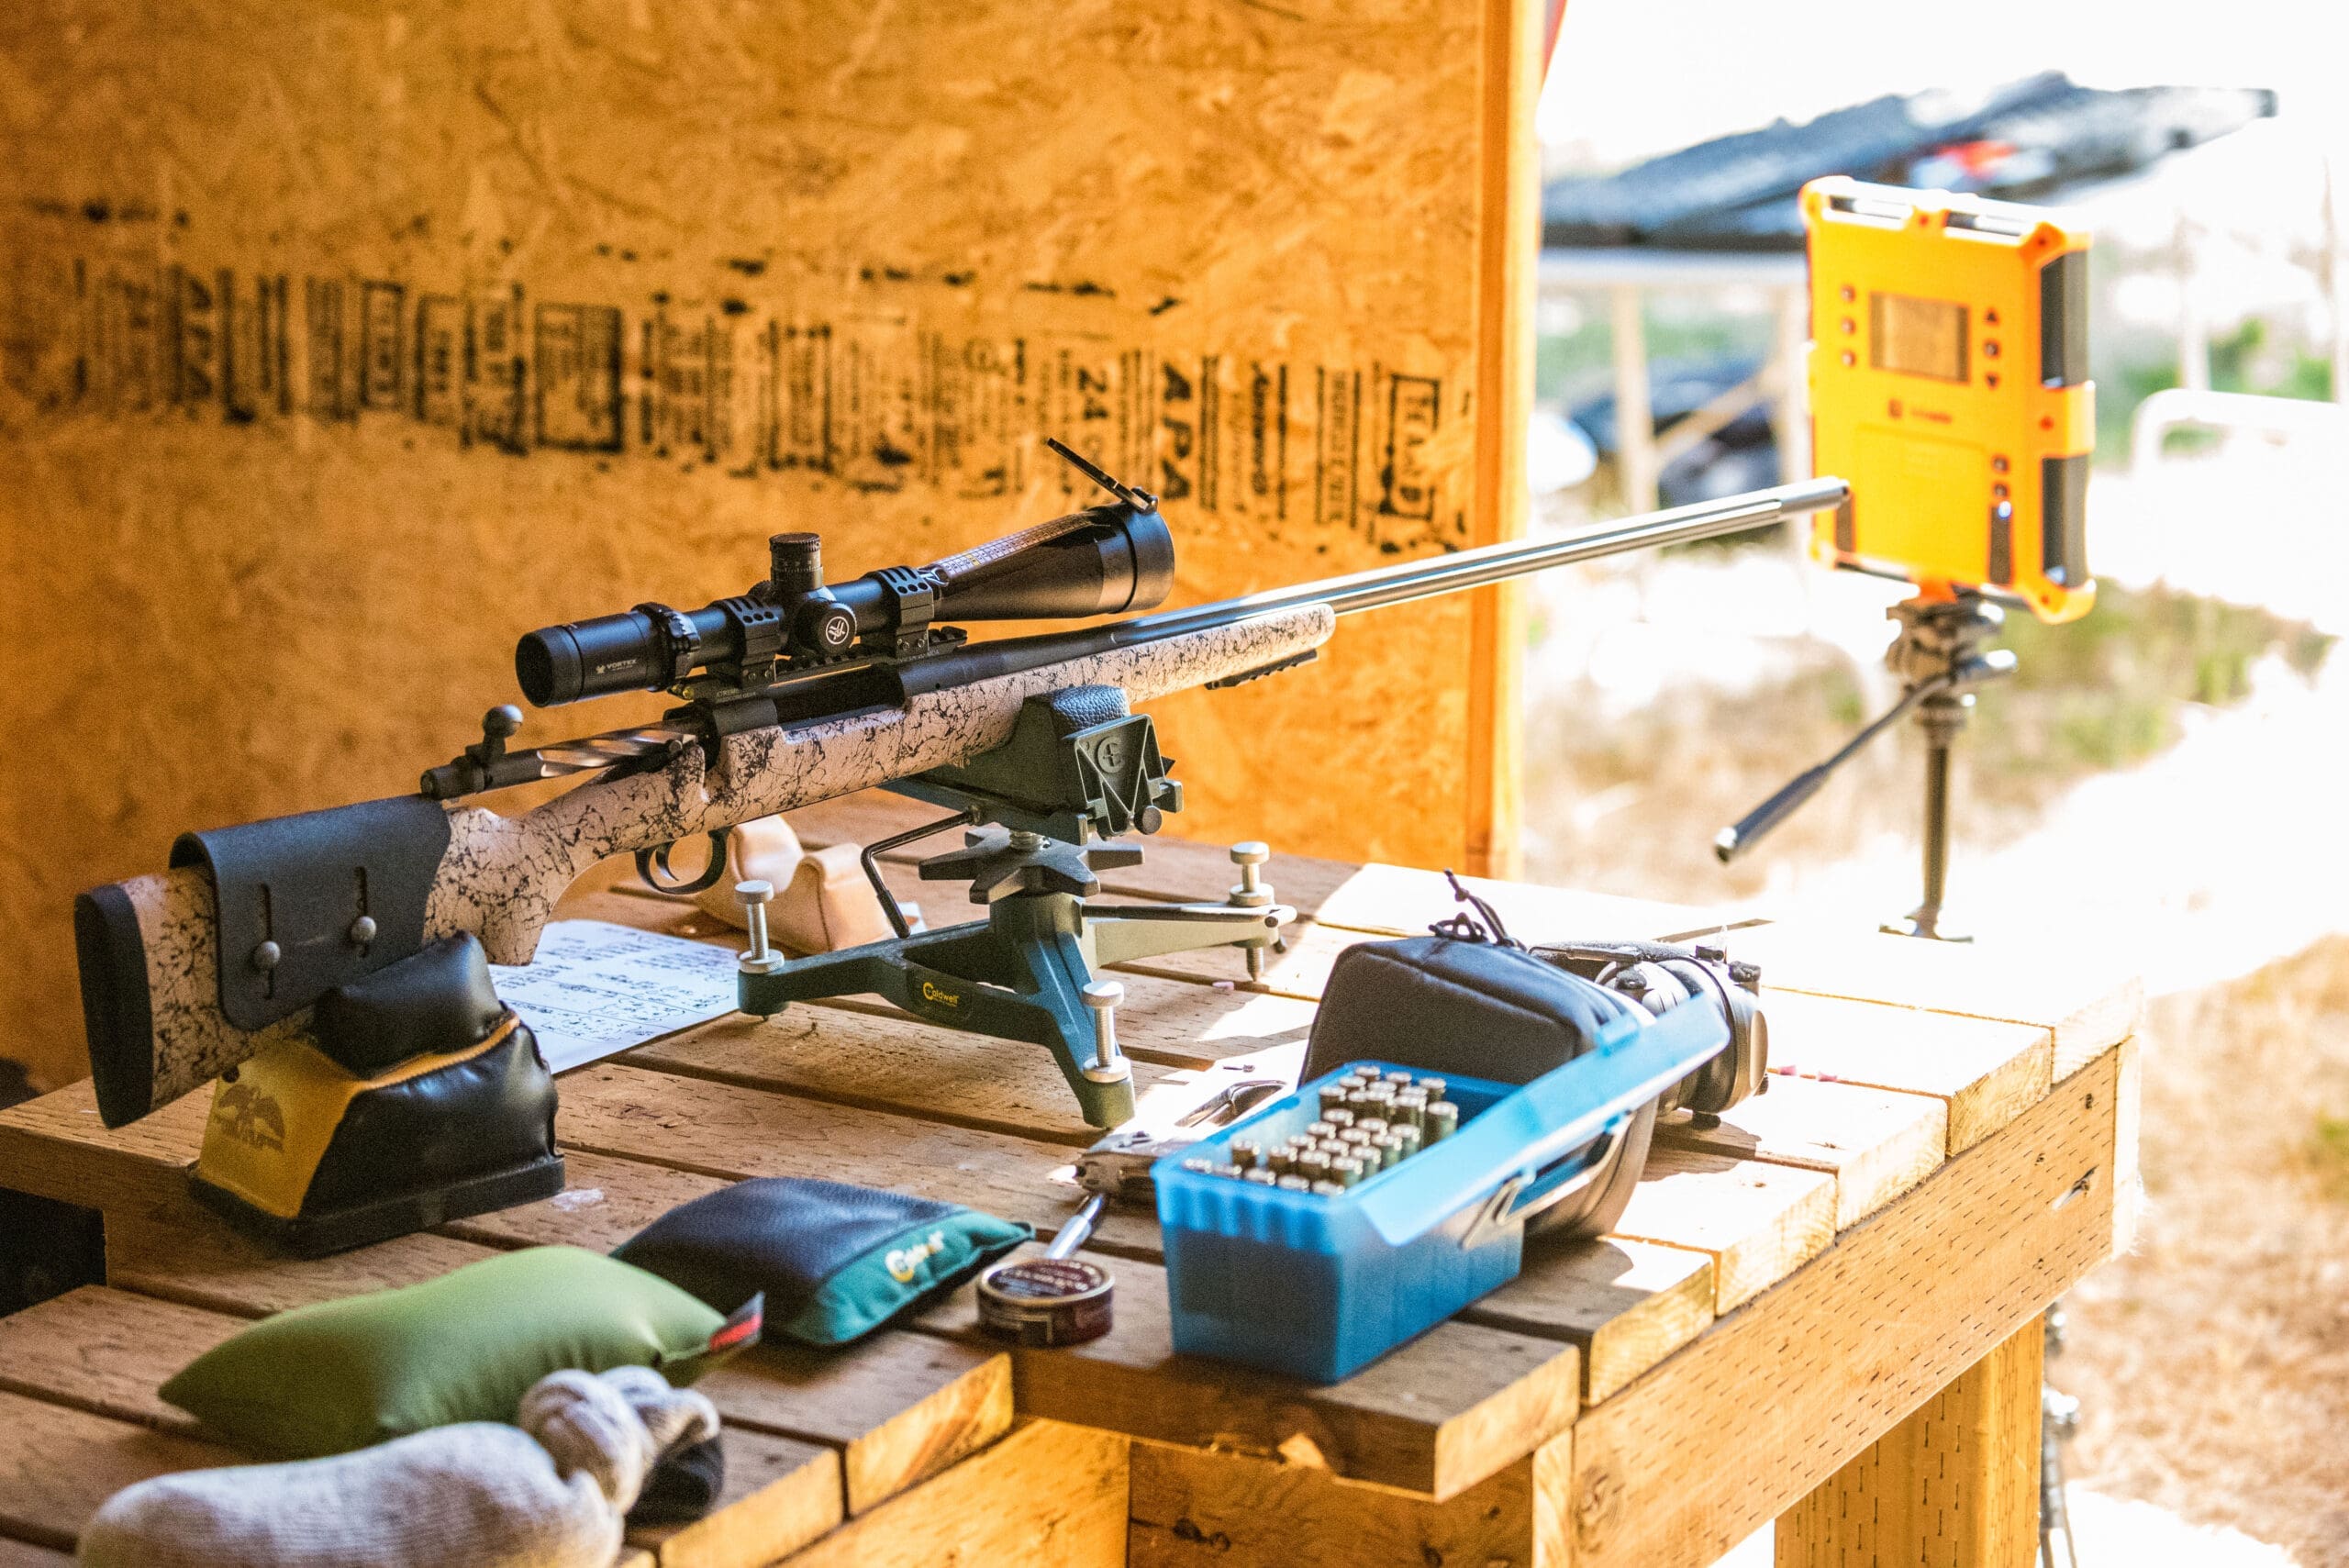
I recorded velocities during load development using two chronographs. I shot through an optical Oehler 35P and tested a friend’s LabRadar Doppler radar chronograph. The LabRadar is a relatively new technology available to consumers. It performed well and tracked velocities consistently with the Oehler, which is known to be extremely accurate.
Velocity Variation
The final element I consider is velocity variation. I perform all of my load development work over a chronograph. It can be an excellent tool to evaluate the long-range potential of your loads and is also a good tool to spot anomalies that can adversely affect precision.
A great deal of the science of precision is believed to depend heavily on barrel harmonics. A barrel goes through complex vibrations as the bullet travels down its bore, so it stands to reason that the more consistently a bullet travels (meaning consistent velocity and travel time), the better the inherent accuracy should be. Accuracy nodes can often be related to certain velocities in a given barrel with a certain bullet. A rifle that shoots a given bullet best at 2950 fps with one powder may also shoot best with another powder near the same velocity.
And that’s where my enthusiasm kind of fizzled…my best-grouping load had a dismal 43 fps velocity spread. That’s definitely going to cause vertical stringing at longer range. Velocity variation would cause about 8” of vertical dispersion at 1000 yards in addition to normal shot dispersion. My best velocity spread came from my 81.5-grain load. It showed a 10 fps spread and 5.1 fps standard deviation over three shots. That’s more encouraging.
A Refined Decision
Based on these metrics, I decided three loads were worth another look - 81.5 (best velocity spread, 3rd-best ATC, tied 2nd-best group), 83 grains (2nd-best ATC, tied 2nd-best group, 3rd-best velocity spread, tight group center with 83.5), and 83.5 (best ATC, best group, tight group center with 83.0, bad velocity spread).
Back at the reloading bench, I loaded 5-shot groups at 83 grains with Federal and CCI Primers, 83.5 with CCI primers, and 83.3 grains with Winchester Magnum primers. I decided to try different primers to see if I could reduce the velocity spreads and retain the tight grouping. I also loaded up another 5-shot group with the same 81.5-grain load from my ladder test.
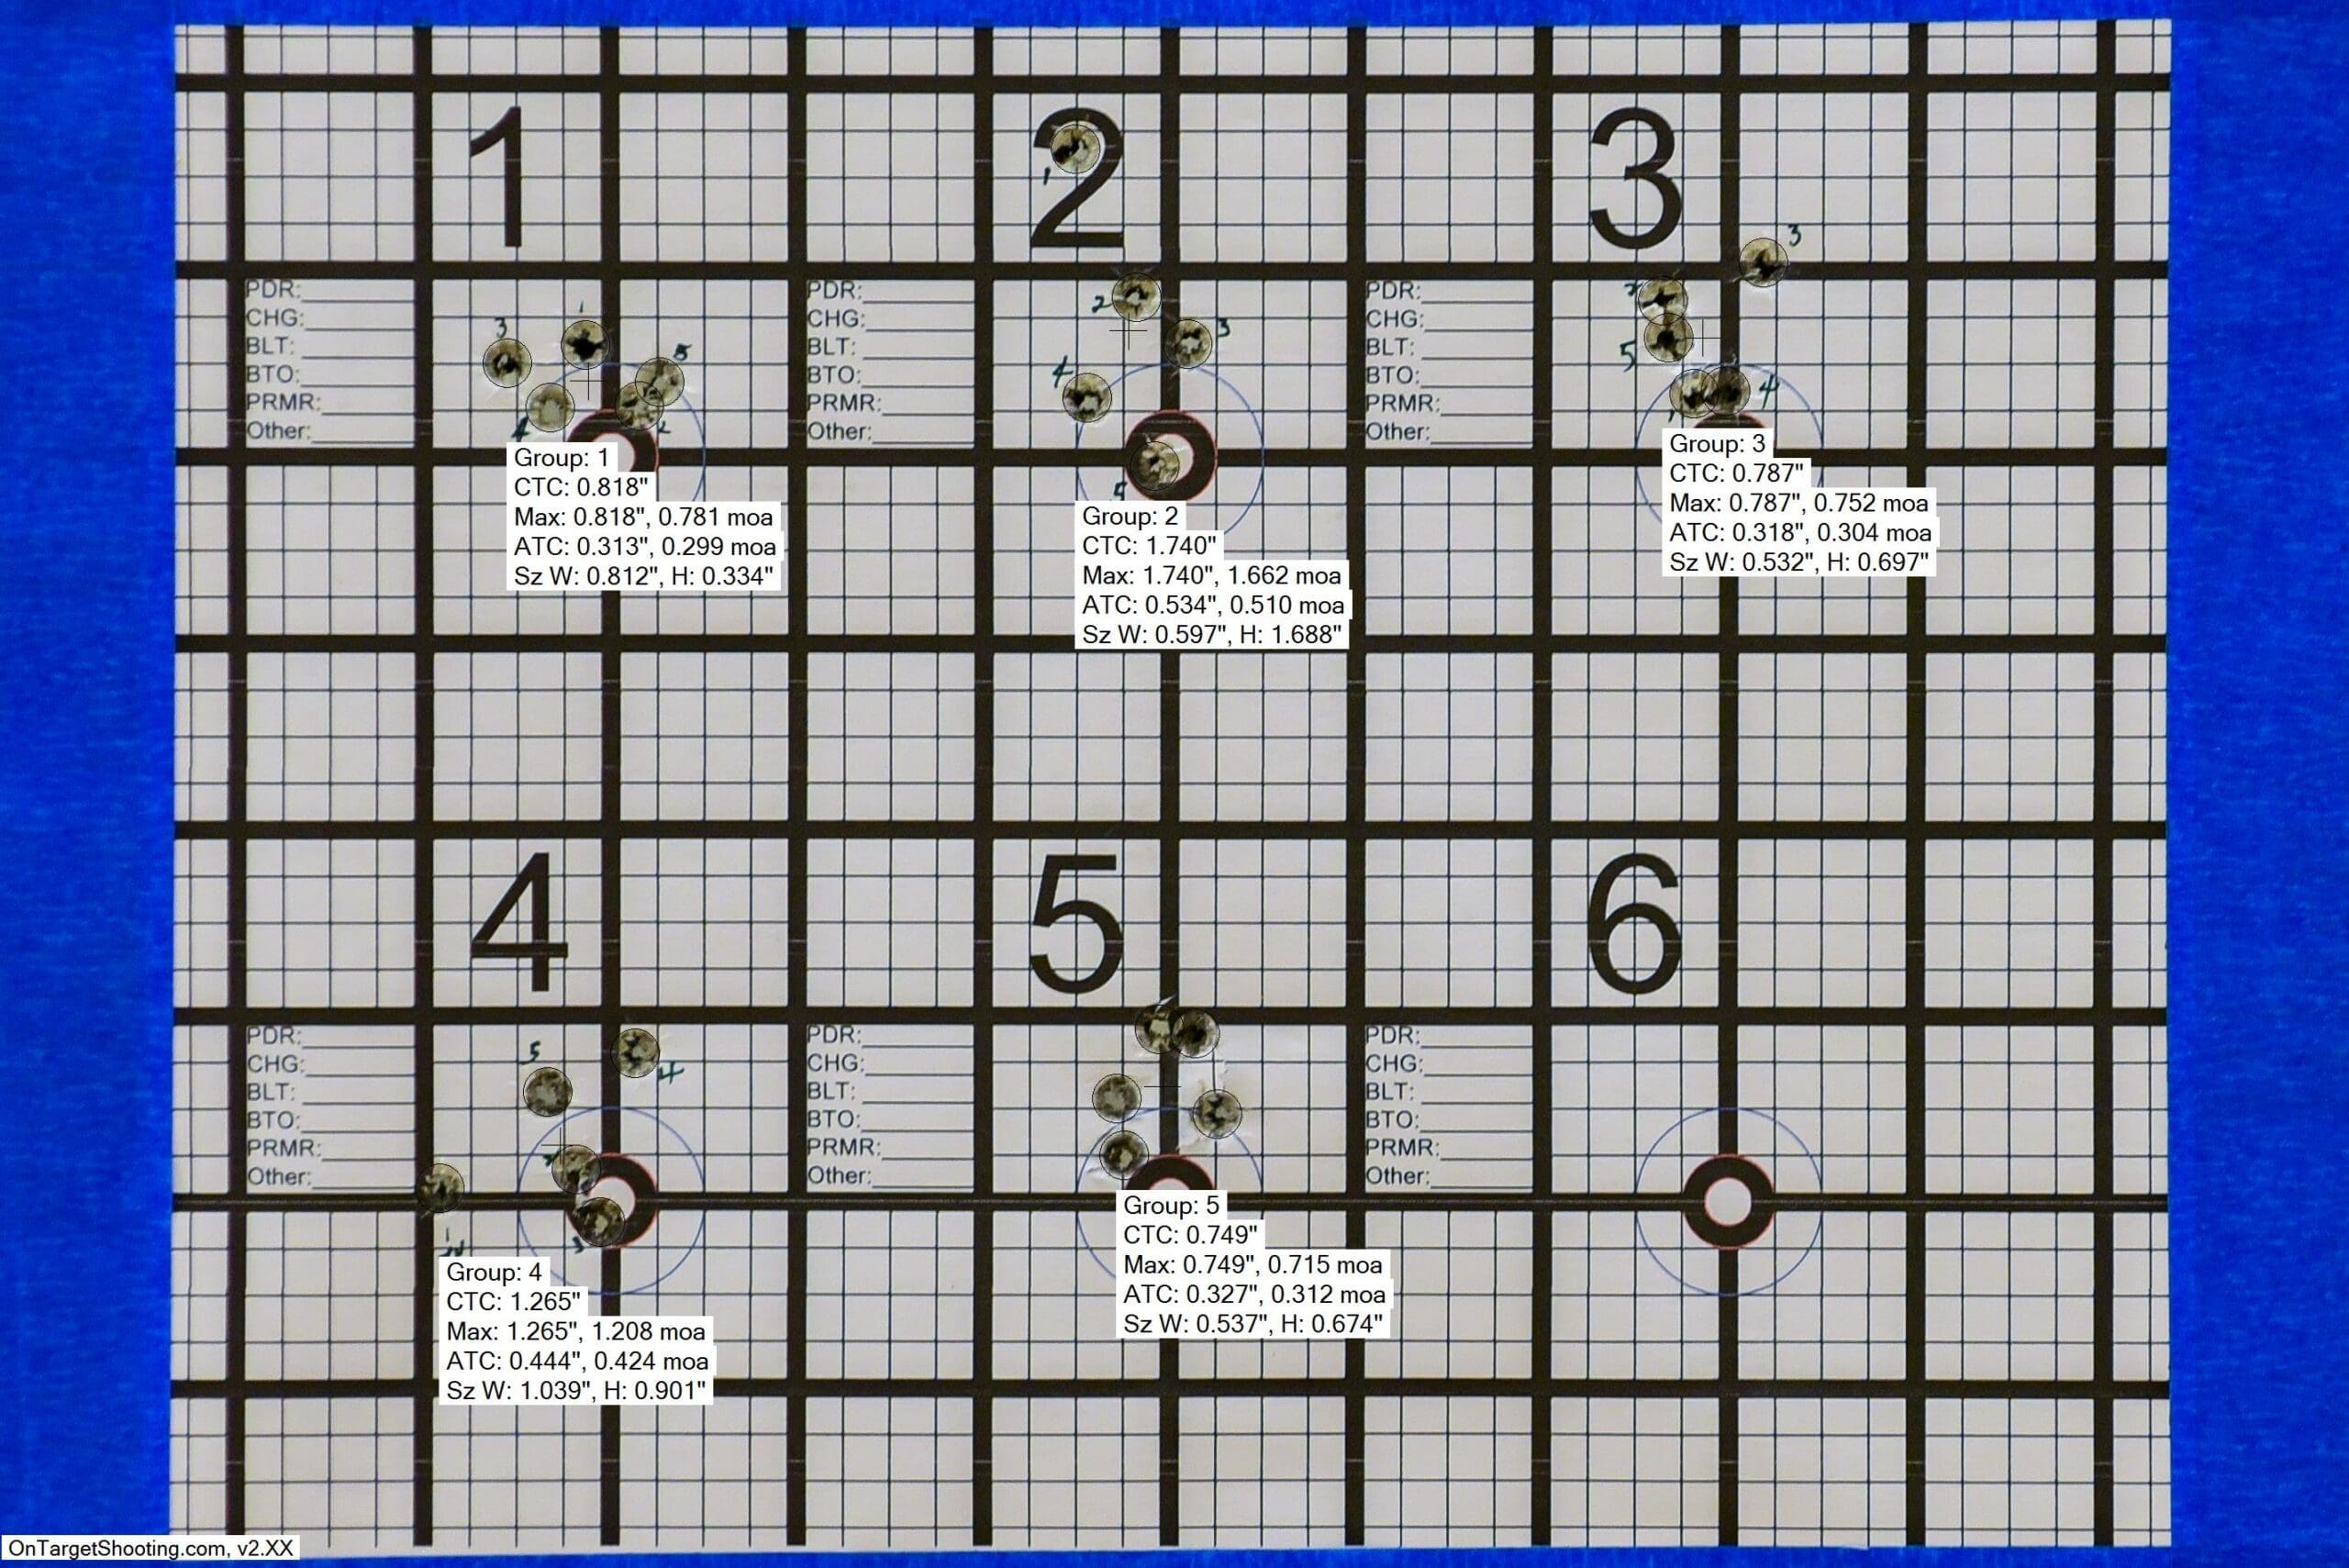
This is the target from my confirmation testing using 5-shot groups with the best loads from the ladder test. On Target’s analytics are tabulated automatically next to each group.
Once again, several loads produced nice groups. The 83-grain load with Federal primers and the 83.5-grain load with CCI 250 primers both produced 5-shot groups of about 3/4 MOA with ATC measurements of .299 and .304 MOA. Unfortunately, neither exhibited low velocity spreads, at 42 and 36 fps extreme spreads, with SD’s of 19 and 15.2 fps.
However, the 81.5-grain load produced a slightly better 0.715 MOA group with an ATC of 0.312 MOA. Basically the same level of precision. However, the extreme velocity spread was 21 fps and the standard deviation (SD) was only 9.5 fps. That’s pretty solid all-around performance from a fire-breathing overbore magnum cartridge not known to be inherently accurate. Winner!
A different powder could potentially produce better results, but sub ¾ MOA with a relatively low velocity spread is adequate for hunting out to the limits of my shooting abilities. If I was hell-bent on getting my extreme velocity spreads into the teens or single digits, or trying to hunt down the elusive ½ MOA load, I could keep experimenting with different primers in the 81.5-grain load or even try another powder like Hodgdon H50 BMG. You have to know when to call it good enough.
I’m content with the 81.5-grain load. I give up almost 90 fps over the 83.5-grain load, but I feel that a more stable load is far more important than 3% more velocity. Brass life will be better with the lighter load, and I’ll have more confidence that my shots will be on target with a lower velocity spread.
Ladder tests are like a box of chocolates…you never know what you’re gonna get until you send them down the pipe.
The 12-Step Program
Let’s review some of the key points that will help you evaluate load precision and decide which will produce the best results come hunting season.
- Test seating depth first and use the best seating depth for ladder testing.
- Test ladders at relatively short range – 100 yards is adequate in most cases.
- Run a pressure ladder to evaluate the range of viable charges and avoid reloading multiple rounds that would have to be disassembled later if pressure signs show up before load book maximums. My rifle showed pressure signs 2 grains below Berger’s listed maximum.
- Test loads in 1% powder increments or finer to evaluate 5-7 charge weights in three to five-shot groups.
- Consider using a tool like the $12 On Target Software to analyze your groups.
- Consider average distance to center (ATC) to evaluate precision of each load.
- Look at group size (extreme spread), because the worst case should always be considered and understood. This will help you understand your rifle’s capabilities and make informed decisions on ethical shot distances.
- Consecutive ladder steps that produce group centers close together often (though not always) indicate pressure insensitive charge weights that can produce optimum results.
- If possible, utilize a reliable chronograph and record velocities for each shot. Look for low velocity spreads to improve long-range accuracy.
- Always verify the best loads from ladder testing with additional 5 or 10-shot groups to more thoroughly test those charges.
- In the final evaluations, a primer change can sometimes reduce velocity spreads and tighten up groups even more. However, if you’re already reloading near max pressure, it’s always a good idea to back the charge weight off by a grain or more because primers can dramatically affect pressure, and in some cases, cause a dangerous pressure spike.
- Once you’ve determined the best round that you've been reloading for your rifle, always go out and shoot your rifle in field conditions at longer distances to confirm your bullet drops and ensure that you and your rifle are well prepared to make ethical shots at the ranges you plan on shooting.
Commitment
Successful reloading and load testing is a process that requires time and commitment well before opening day. Sorting out the best load is sometimes difficult. Evaluating the data with the right tools and considering the important metrics will help you choose wisely. The result of your efforts will vastly improve your ability to make every shot count when the trophy of a lifetime is within reach. As always, shoot straight!
If you're looking for some more beginner info on reloading, check out the article I wrote called A Beginners Guide to Reloading.