NOTICE: Certain links on this post may earn a commission for Western Hunter Magazine from Amazon or our other affiliate partners when you make a purchase. Thank you for your support.
Tanning a Hide: A tradition that’s worth the effort
I’m often surprised by how intrigued many people are by the idea of taxidermy. I suppose it surprises me because much of it has simply become mundane to me over the years. Nevertheless, I often have people, especially children, ask numerous questions about various elements of taxidermy. “Are the eyes real?” “What’s inside the hide that gives it its shape?” “How long does it take to finish it?” “Can I come watch sometime!?”
Over the years I’ve learned that while, to me, taxidermy is a simple small business, to others it can be a great window into the wild world of nature and hunting. Adventures preserved through taxidermy can and will spawn conversation, and those conversations can completely transform a person’s perspective on hunting as a pastime and as a way of life. In a day where hunting and conservation are being evermore scrutinized, it’s imperative that we teach others about this way of life, and I can think of no better way to do so than to spend quality time with someone working on a hunting-related project that will last a lifetime.

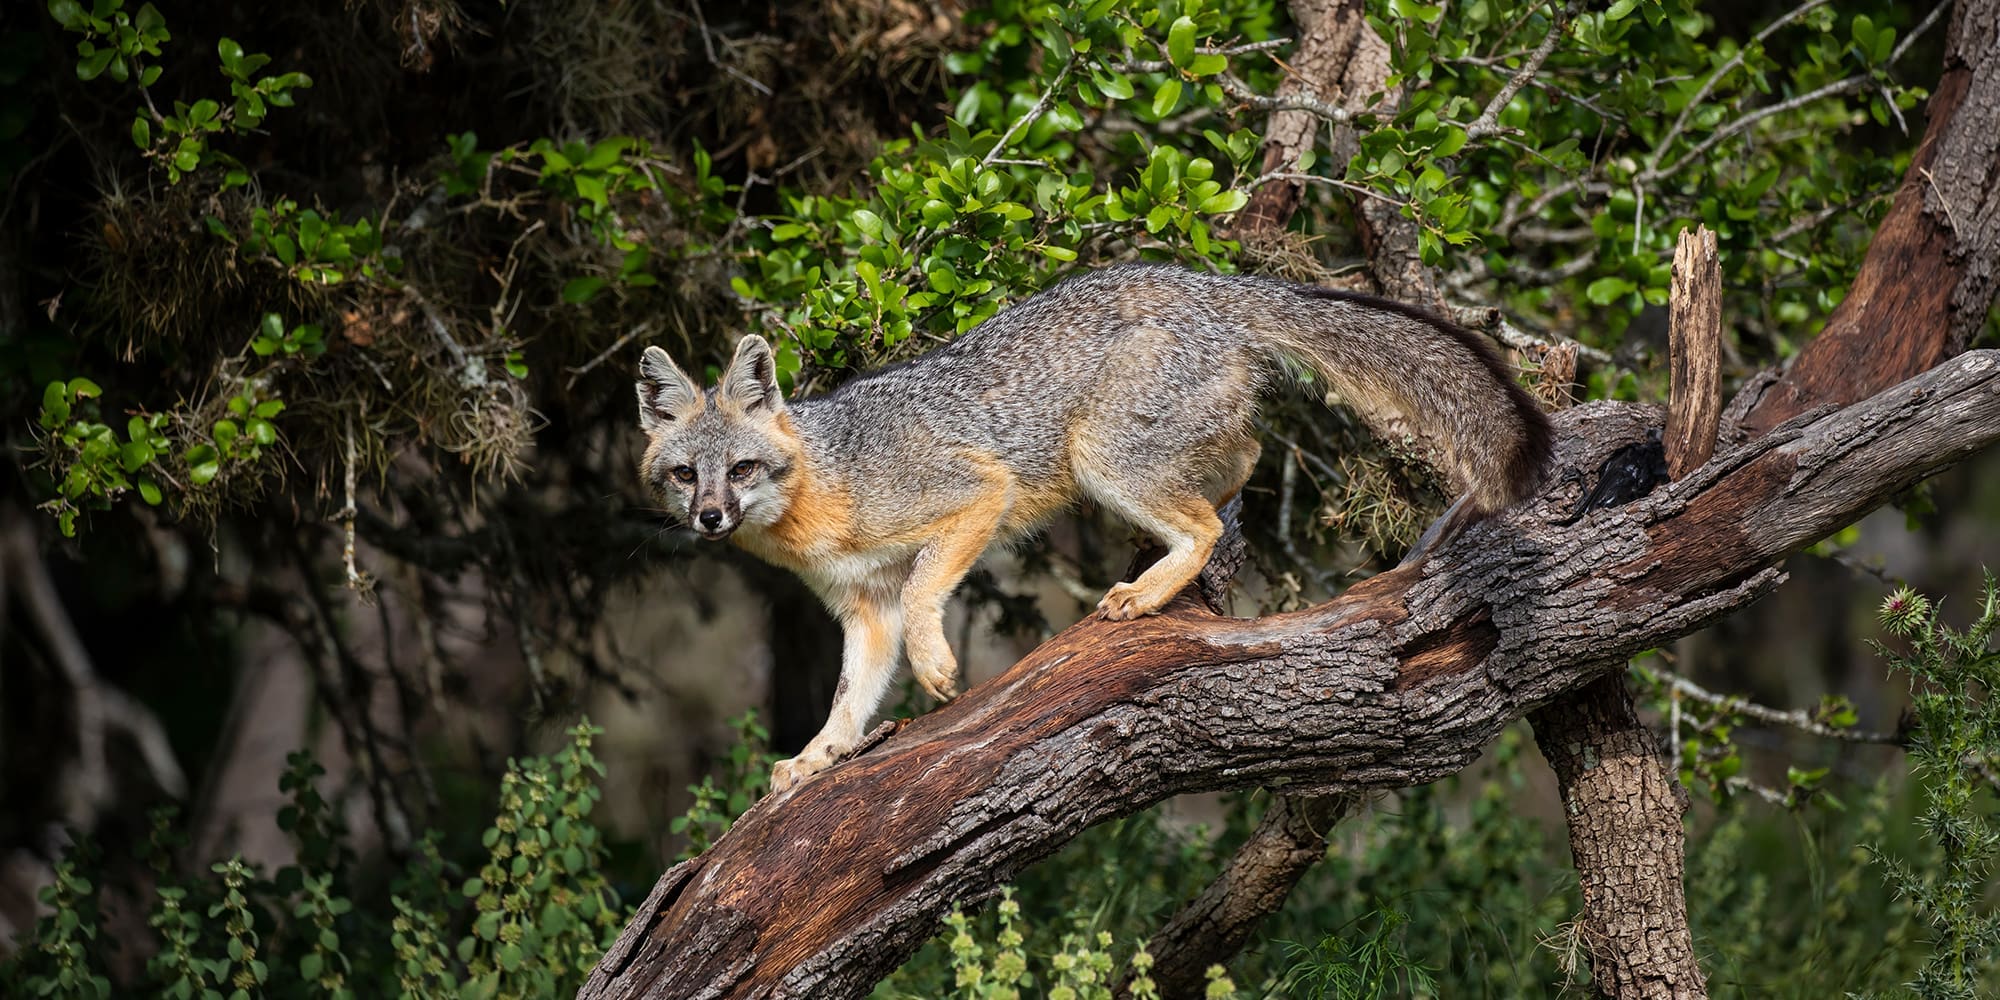
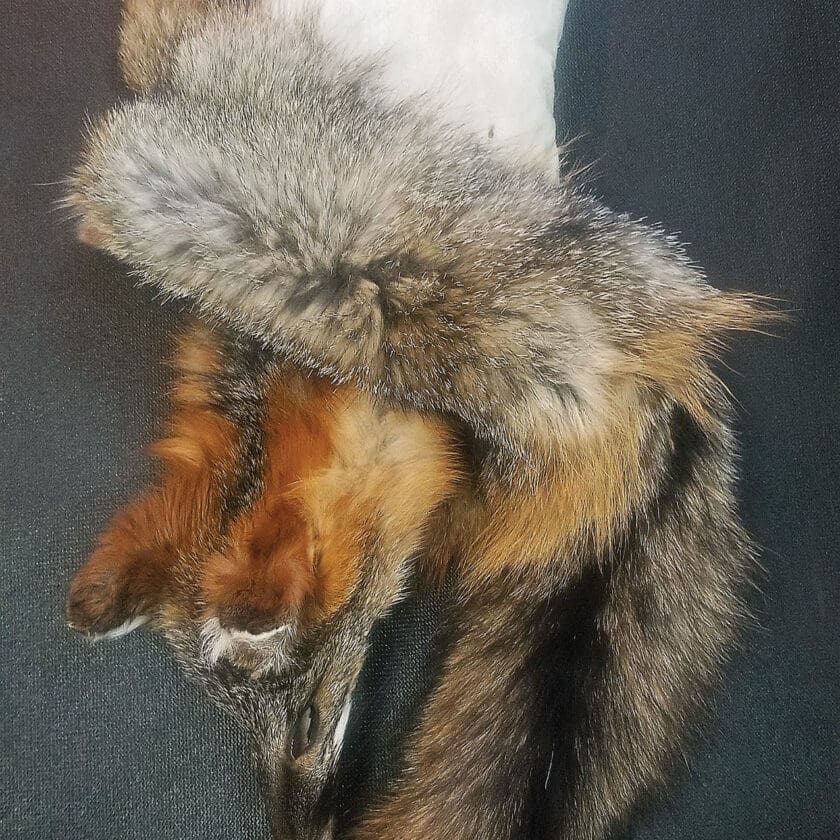
In this article, I want to explain the process I use to tan a hide. In this case, I’m tanning two gray fox pelts that my brother shot this past winter. Since he’s my brother, this project took a back seat to many others, but his son refused to let me forget it altogether. Each time we’d see each other, he’d ask the status of his dad’s fox. Eventually, I came up with a good response: “They’ll be finished as soon as you come help me.” At this, the young hunter lit up. He could hardly contain his excitement. Not only did this mean he’d finally get his dad’s furs back, but he was going to be the one doing the work! In short order, I found time to have him over, and with a little guidance, he was able to finish the project I had started months earlier.
Step 1: Skinning
This should be obvious, but when skinning an animal you intend to tan, be careful not to cut through areas you’d like to be presentable. For instance, a tanned elk hide can be a great addition to a trophy room wall, but it looks best if the incision was made along the belly as opposed to the common method of skinning along the back. If you’d like to preserve the colors and hair patterns of the lower legs or even the feet, be mindful as you cut these areas. With the gray fox used here, I chose to keep most of the legs attached, and I opted for a cased pelt rather than skinning it up the belly.
Step 2: Drying
Get the hide dried and cooled as quickly as possible. Removing excess meat and fat will aid in this process. Moisture and heat are the two ingredients necessary for bacterial growth, and bacteria can and will lead to what’s called “hair slippage.” Hair slippage occurs when bacteria essentially eat the follicles of the animal’s hair, freeing the hair from the skin. Oftentimes this slippage will not be observed until during the pickling process, at which point it will be too late to rectify. The best practice is to remove the hide from the animal as quickly as possible and get it chilled, with the ultimate goal of freezing it as soon as possible.
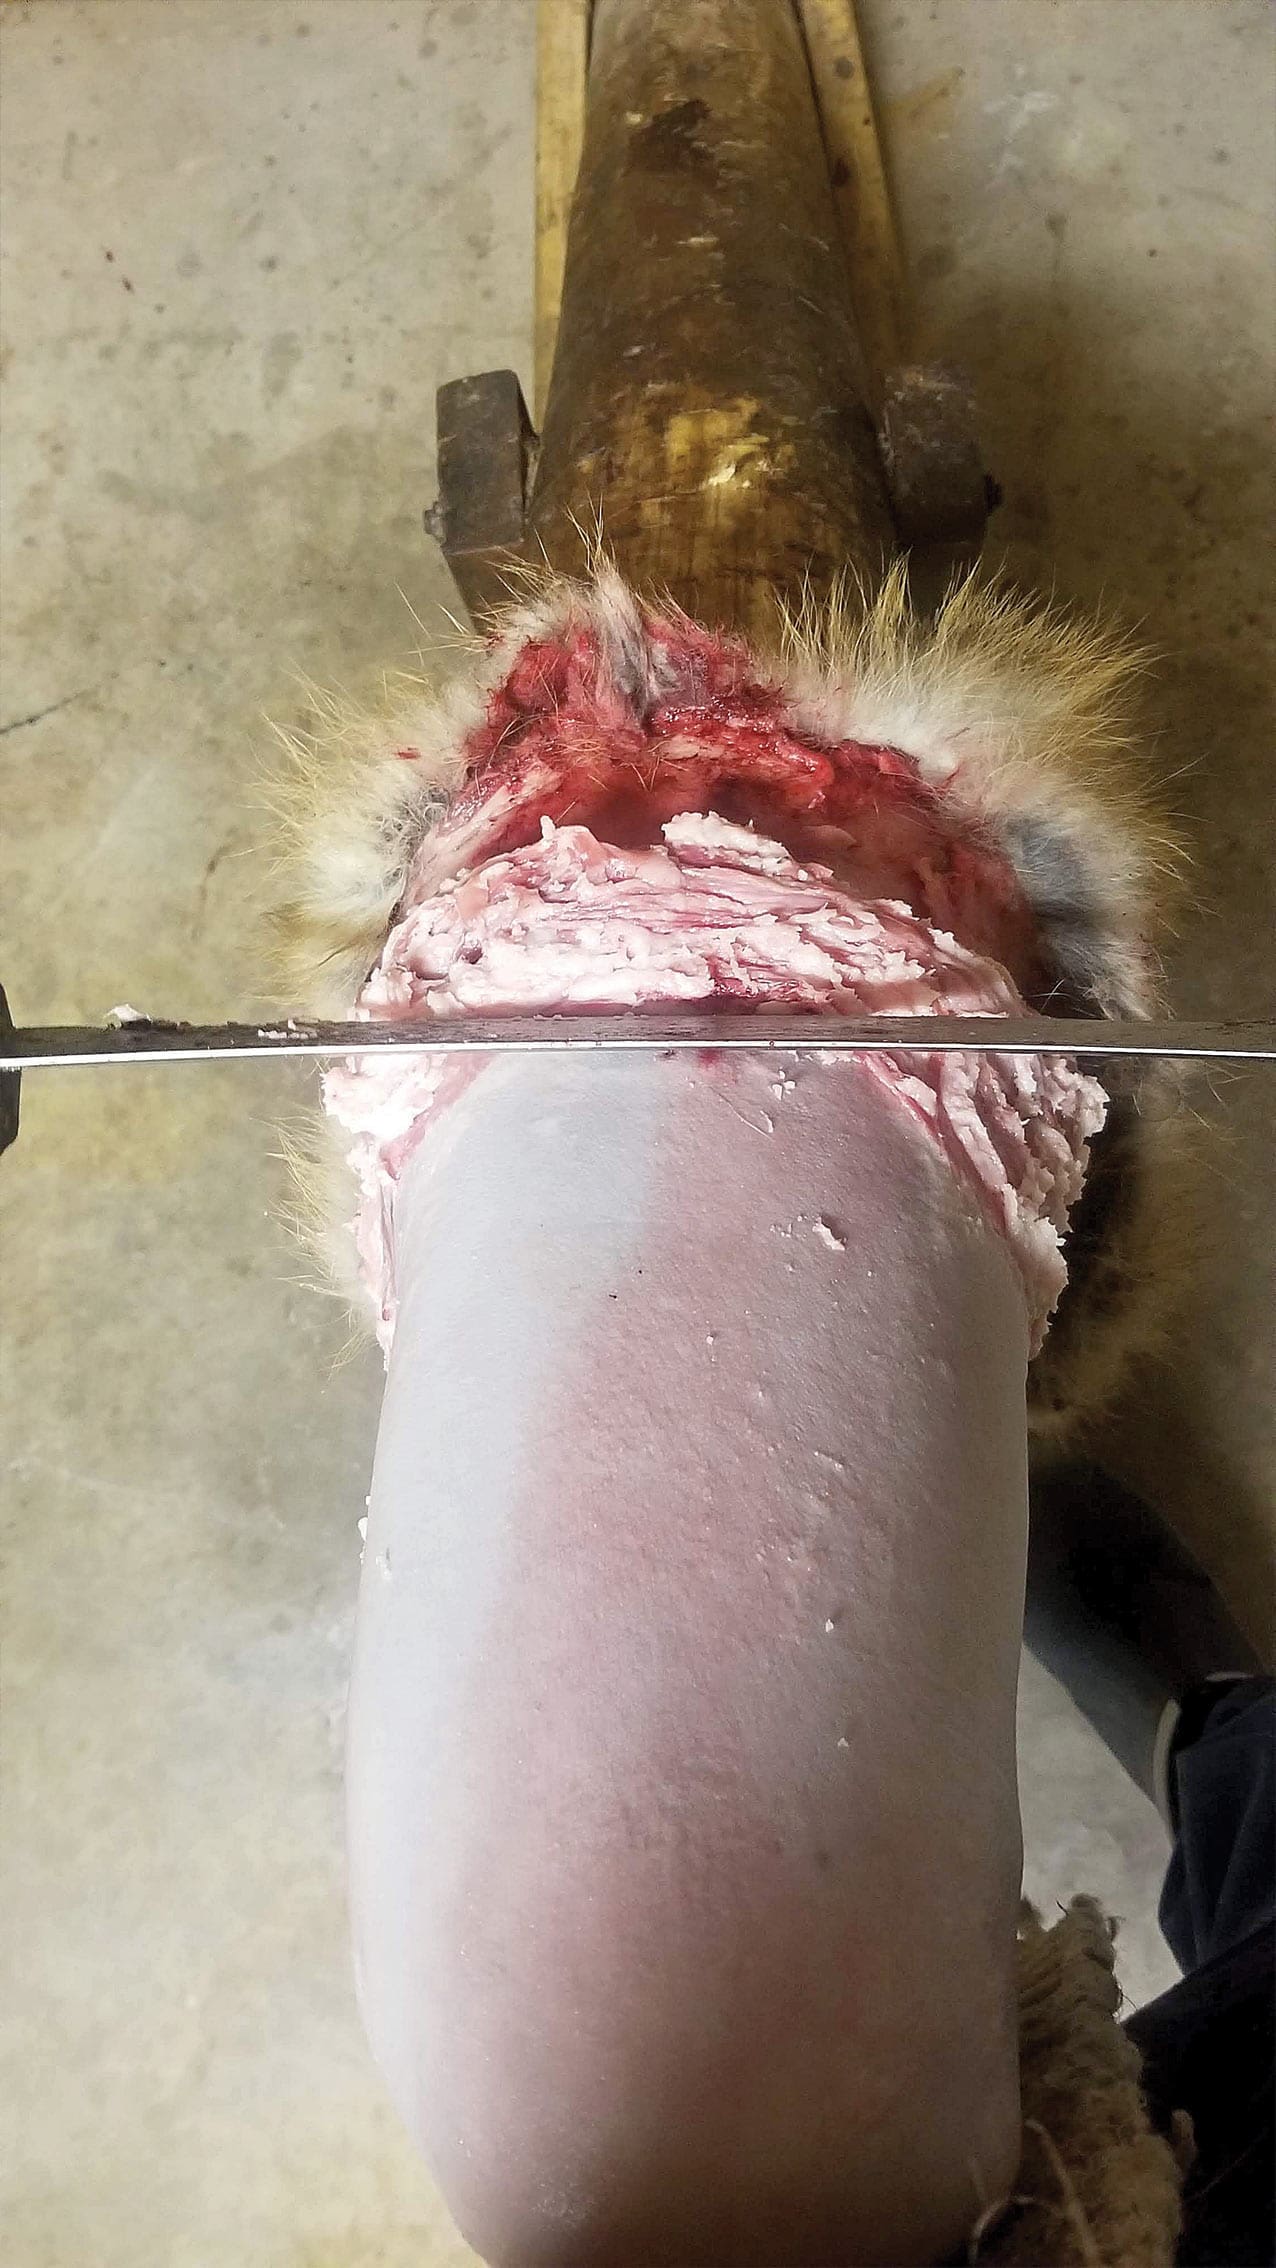
Step 3: Fleshing
Completely flesh the hide. Fleshing a hide simply means removing all meat, fat, and connective tissue from the skin. This is usually done in the comfort of a shop or garage after the hide has been thawed. Now, for first-time tanning projects, I’d recommend removing the head and feet of the animal, as skinning and fleshing those areas can be quite complex for a beginner.
If you do want the head attached, you’ll have to “split” the lips, the eyes, and the nose. Splitting simply means thinning these areas to the singular layer of the exterior skin. The eyes, lips, and nose all have layers of external skin and internal skin. Use a sharp scalpel blade with caution here as these areas have very thin skin. You’ll also have to turn the ears inside out and remove the cartilage because when the tanned hide dries, the cartilage will become hard like a rock.
If you plan to leave the claws attached, you’ll also have to remove the foot bones to the last knuckle attached to the claw. As for the rest of the hide, all the fat, meat, and connective tissue need to be removed. While this can be done with standard knives, it’s by far the quickest and easiest with the aid of a fleshing beam. A fleshing beam is a specially-shaped board or log that the hide can be placed on to allow the skin to be easily cleared of any remaining tissue. Double-handled fleshing knives can be used in conjunction with the fleshing beam to essentially push the meat and fat off the skin in short order.
Step 4: Salting
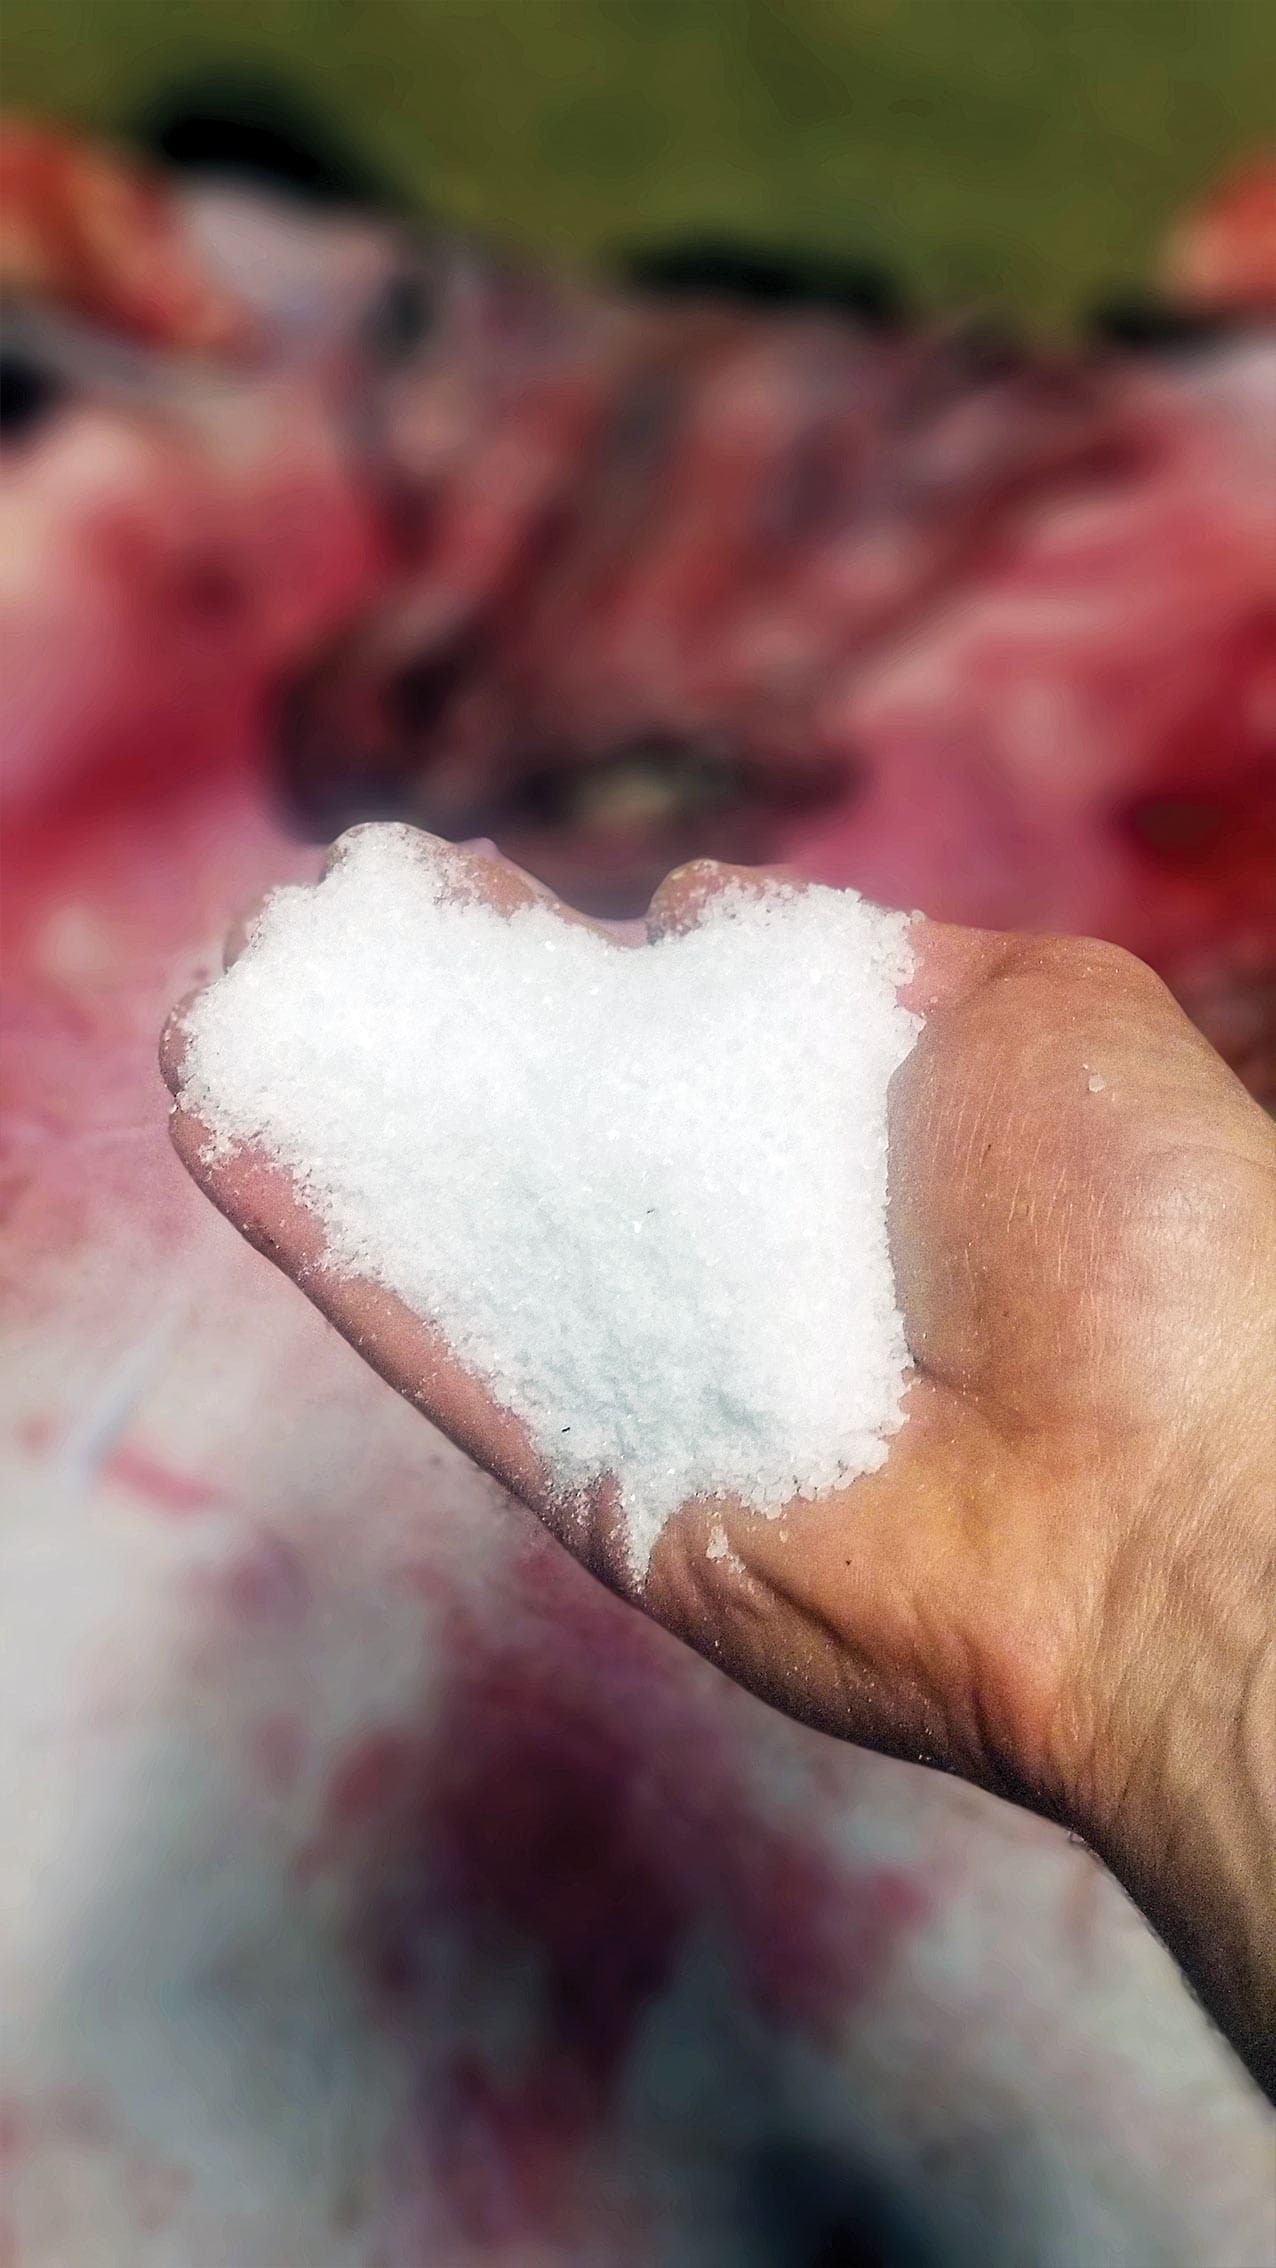
Salting the hide is a critical step in the tanning process for a few reasons. First, salt is probably the earliest used preservative, dating back thousands of years. Salt inhibits bacterial growth, which helps preserve the hide. Salt also draws moisture out of the skin, helping the hair follicles “lock” the hairs in place. When salting your hide, be sure to apply a liberal amount, up to ½ inch thick over the entire skin side of the hide. Also, be sure to allow all moisture to be drained from the skin, either by propping the hide at an angle or by blowing a fan over the entire hide. This will cause the moisture to evaporate and the skin to dry.
The goal is to allow the hide to dry for several days until all the moisture has been removed. After a week or so, the hide will often be quite stiff as the salt continues to dry out the skin. With a large hide from a deer, elk, or bear, it’s advisable to submerge it in the pickle (Step 5) prior to it becoming rock hard since dried, thick skins are not easily folded and submerged in that condition. Smaller hides like those of foxes have thinner skins and can often be easily folded even after weeks of drying.
Step 5: Pickling
To get quality tanning results, a hide needs to be pickled. This step in the process breaks down certain proteins within the skin, allowing tanning oils (Step 8) to properly penetrate the hide and make it truly leather. In pickling, a combination of water, salt, and acid is used as a medium for the hide to soak in, sometimes for several days.
For anyone who has not tanned a hide before, this is probably the most technical/scientific step in the process, but fear not, it’s extremely easy AND safe. Countless products can be used to pickle a hide, but I’ve landed on McKenzie’s Ultimate Acid as a tried-and-true pickling solution. This product is as safe as vinegar and pickles exceptionally well.
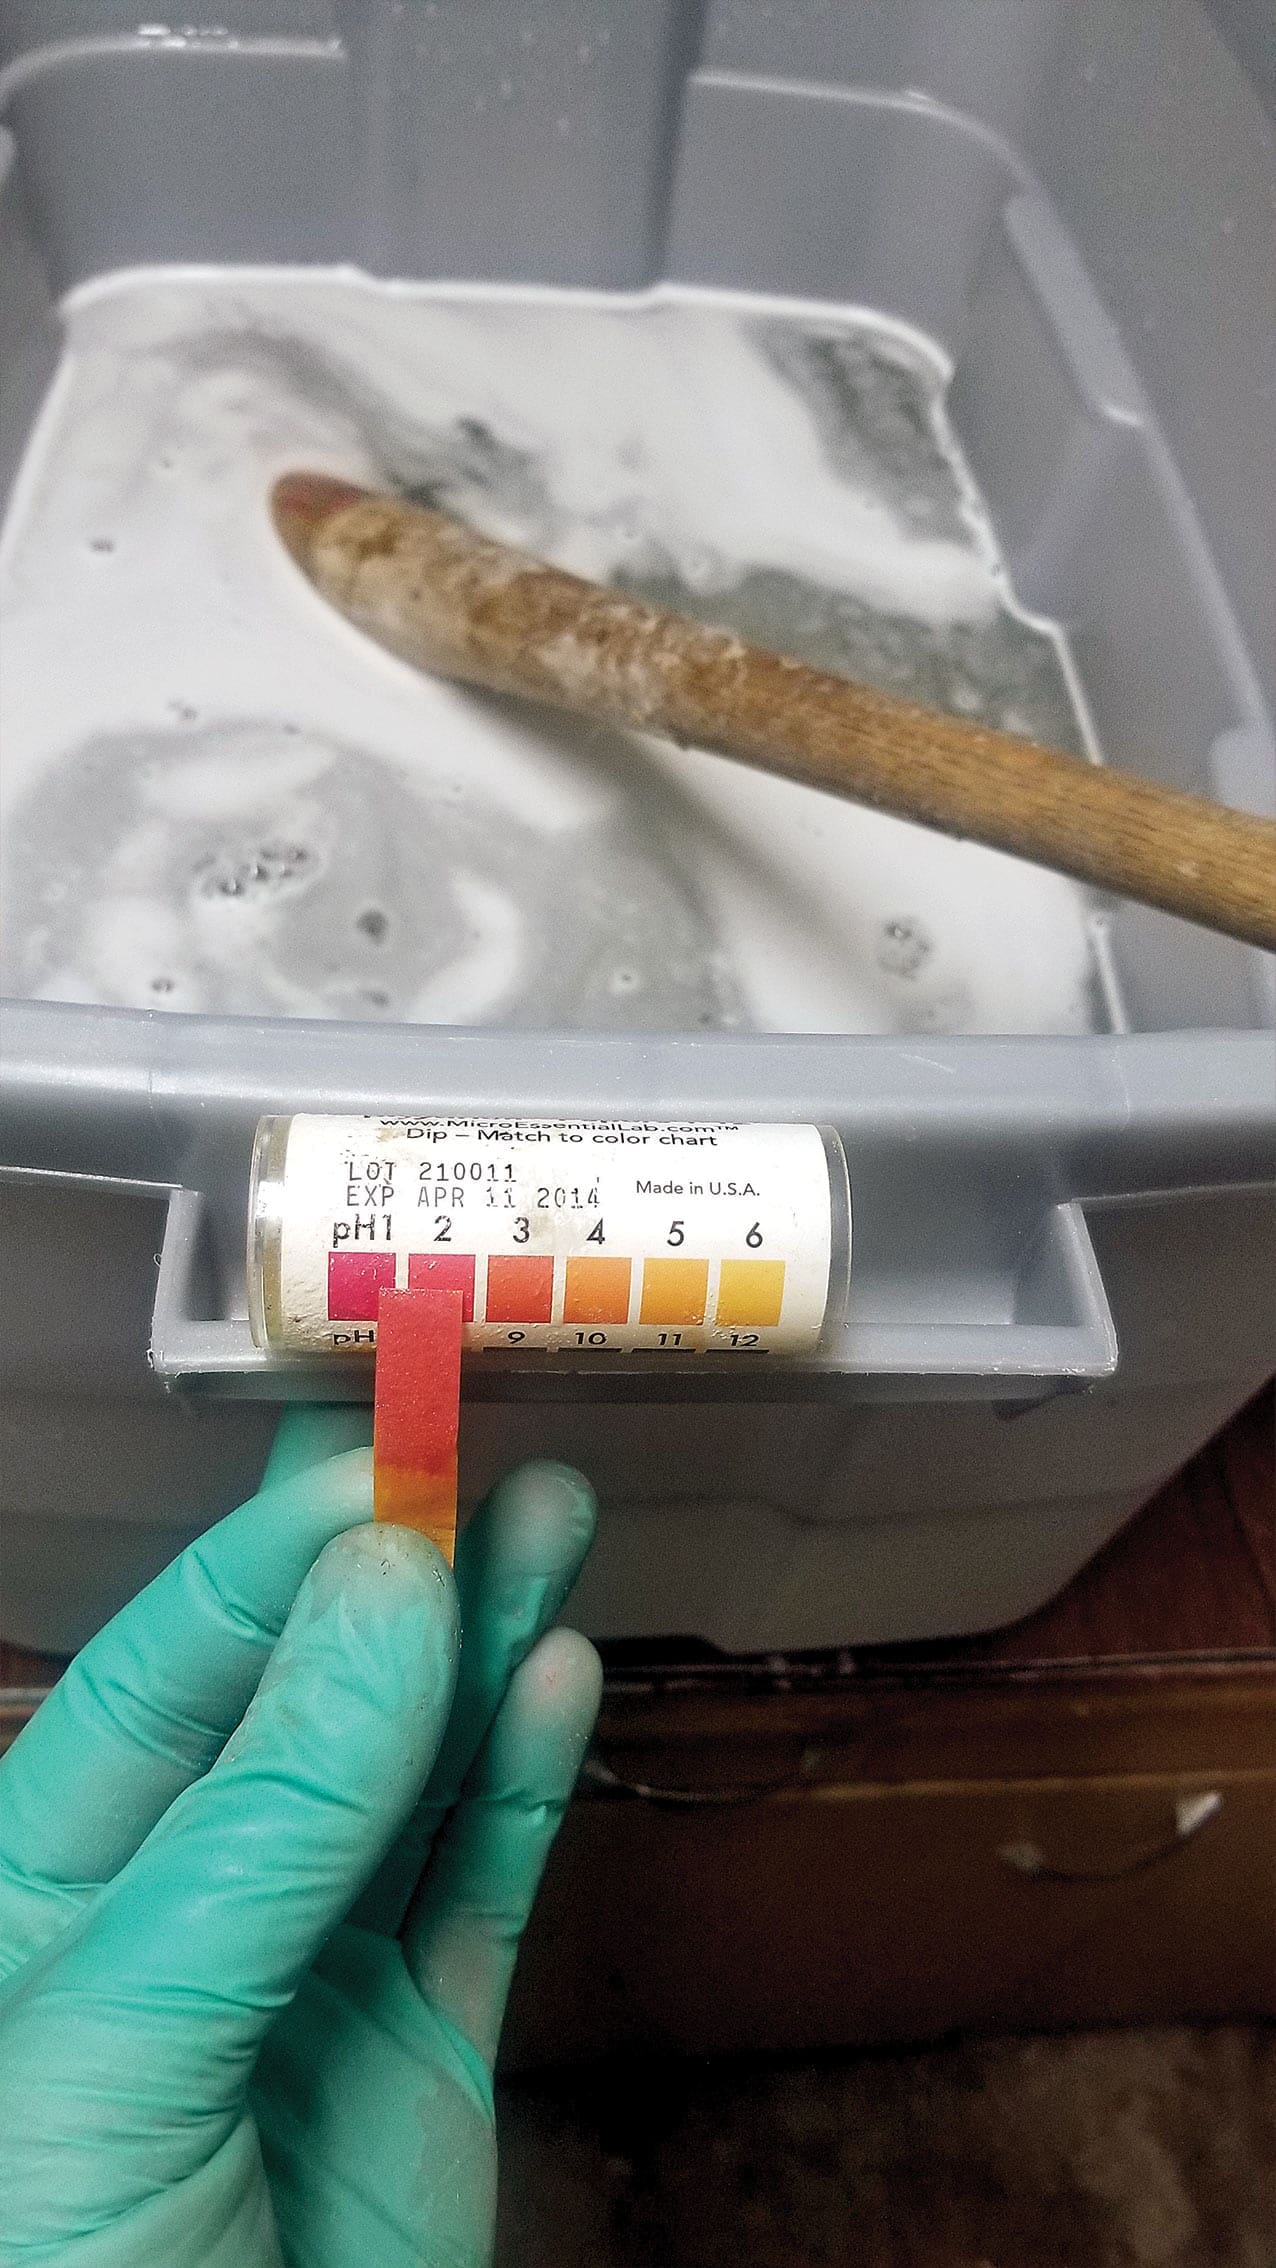
To do it, simply mix ½ ounce Ultimate Acid and 1 pound of salt per gallon of water. Mix everything in a large plastic barrel or bucket until the salt is mostly dissolved. Use pH strips to confirm that the solution is at a pH somewhere below 2. (The best pH strips for this are those that measure small increments at the lower end of the pH spectrum, like 0-3.) Any pH above 2 allows for bacterial survival, which is a recipe for disaster. If, after mixing the solution, the pH is still above 2, simply add more Ultimate Acid. Be certain to test the pH each day after the hide has been inserted, as the pH will initially rise with the addition of the neutral skin.
For a deer-sized hide, 5 gallons is sufficient, while small game like fox or coyotes can be done in 2 gallons or so. For a full elk hide, 20+ gallons might be required. Simply use enough pickling solution to completely submerge the hide. Leave the hide submerged for 3 days, stirring occasionally to ensure that any folds or creases get treated by the pickle. As a side note, for greasier skins like bears, raccoons, otters, etc, you will want to add a degreaser to the pickling solution. Taxidermy-specific degreasers are available and work well, but so does Dawn dish detergent. These degreasers will draw the oils out of the skin and will minimally impact the pH of the solution. Again, be sure to confirm the pH is under 2 after you’ve added the degreaser.
Step 6 (if necessary): Shaving
One of the results of pickling that I’ve yet to mention is what is referred to as “plumping.” As the acid in the pickling solution breaks down certain proteins, it causes the skin to become firm and “plump.” For thicker skins like deer and elk, this creates an opportunity to thin the skin. Thin skins create the softest and most supple leather, while thick skins tend to be stiff. While most commercial taxidermists or tanneries use belt-driven fleshing wheels to shave thick skins, a long, sharp knife can be used in conjunction with a clean fleshing beam to do the same thing. Shaving thick parts of the hide (like an elk’s back and neck) to about ⅛ inch will go a long way in creating a supple, tanned hide.
Step 7: Neutralizing
After a few days in the acid bath, the hide will be fully pickled. At this point, it’s almost ready for the final phase of the process, which is the actual tanning of the hide. But first, the skin’s pH needs to be neutralized. To do this, simply create a neutralizing bath by adding 1 tablespoon of baking soda to each gallon of fresh water. Depending on the condition of the hide (ie: if there are any blood spots in the fur or if the hide has an unpleasant smell), I will add some cheap laundry detergent to the neutralizing solution and thoroughly clean and brush the fur as it soaks.
Use the same amount of water as was used for the pickling bath to ensure that the hide is fully submerged, and allow it to neutralize for 30 minutes. After 30 minutes, remove the hide and hang it to allow excess water to drain. Then, dry the hide by laying it open on a large towel and then placing another towel on top. Roll the layers of towels and skin together and apply pressure to the roll to squeeze any remaining moisture into the towels.
Step 8: Tanning
Believe it or not, everything up until this point has been preparation for this step of actually tanning the skin. Thoroughly fleshing, salting, and pickling were all intended to prepare the skin to be properly and fully tanned. Tanning the hide simply replaces the moisture and proteins that have been removed with oils that allow the skin to remain soft and supple. In days of old, the animal’s brain was actually used as the tanning treatment, since it’s so rich in oils. While brains still work, TruBond 1000B is a synthetic blend that is extremely easy to use and yields excellent results.
Using a soft, clean paintbrush, simply paint on the 1000B liberally to the skin side of the pelt and allow it to hang and dry for a couple of hours. Then, following TruBond’s instructions, stretch the hide with your hands in all directions every twelve hours. As the hide becomes drier, and as it’s subsequently stretched, you’ll notice the ashen gray hide transforming into a creamy, white leather. In some cases, like canines and cats, the fur side of the pelt can have very soft fur which may still be quite damp. If so, finish the pelt with a blow dryer and hairbrush to completely dry the fur into its original, fluffy state.
Tanning a hide isn’t at all difficult, but it does require time. To be sure, numerous companies will gladly do all the work for you at very reasonable rates. The finished product will usually be a high-quality piece of leather. But I think that when you do it on your own, especially with a young hunter, you gain a value that cannot be measured. Not only will you have reached back in time to a way of life that’s nearly forgotten, but if you’re lucky, you’ll have spent quality time with a young one who, for the rest of his or her life, will treasure all you taught them. In fact, I suspect you’ll forever treasure that time as well.