NOTICE: Certain links on this post may earn a commission for Western Hunter Magazine from Amazon or our other affiliate partners when you make a purchase. Thank you for your support.
Practice Like You Hunt: Bowhunting Shots by Species
Successful bow hunting comes down to that one pivotal moment, the shot. You might work an entire season just for that one opportunity. When it comes, you have to make that arrow count. I think the flaw of many bowhunters is they shoot a lot at a target, but when they get into the field they encounter a type of shot they have never had to make before. The goal of off-season bow practice should be to not be surprised by the type of shot you will have to make in the field.
You should practice shots for scenarios you will most likely encounter for every hunt. With so many western big game species, I decided to break down the two best shots to practice for each animal based on common hunting scenarios that are a good idea to add to your training routine. Depending on the type of hunt I have coming up, I will ramp up my practice with these species-based shots in preparation.
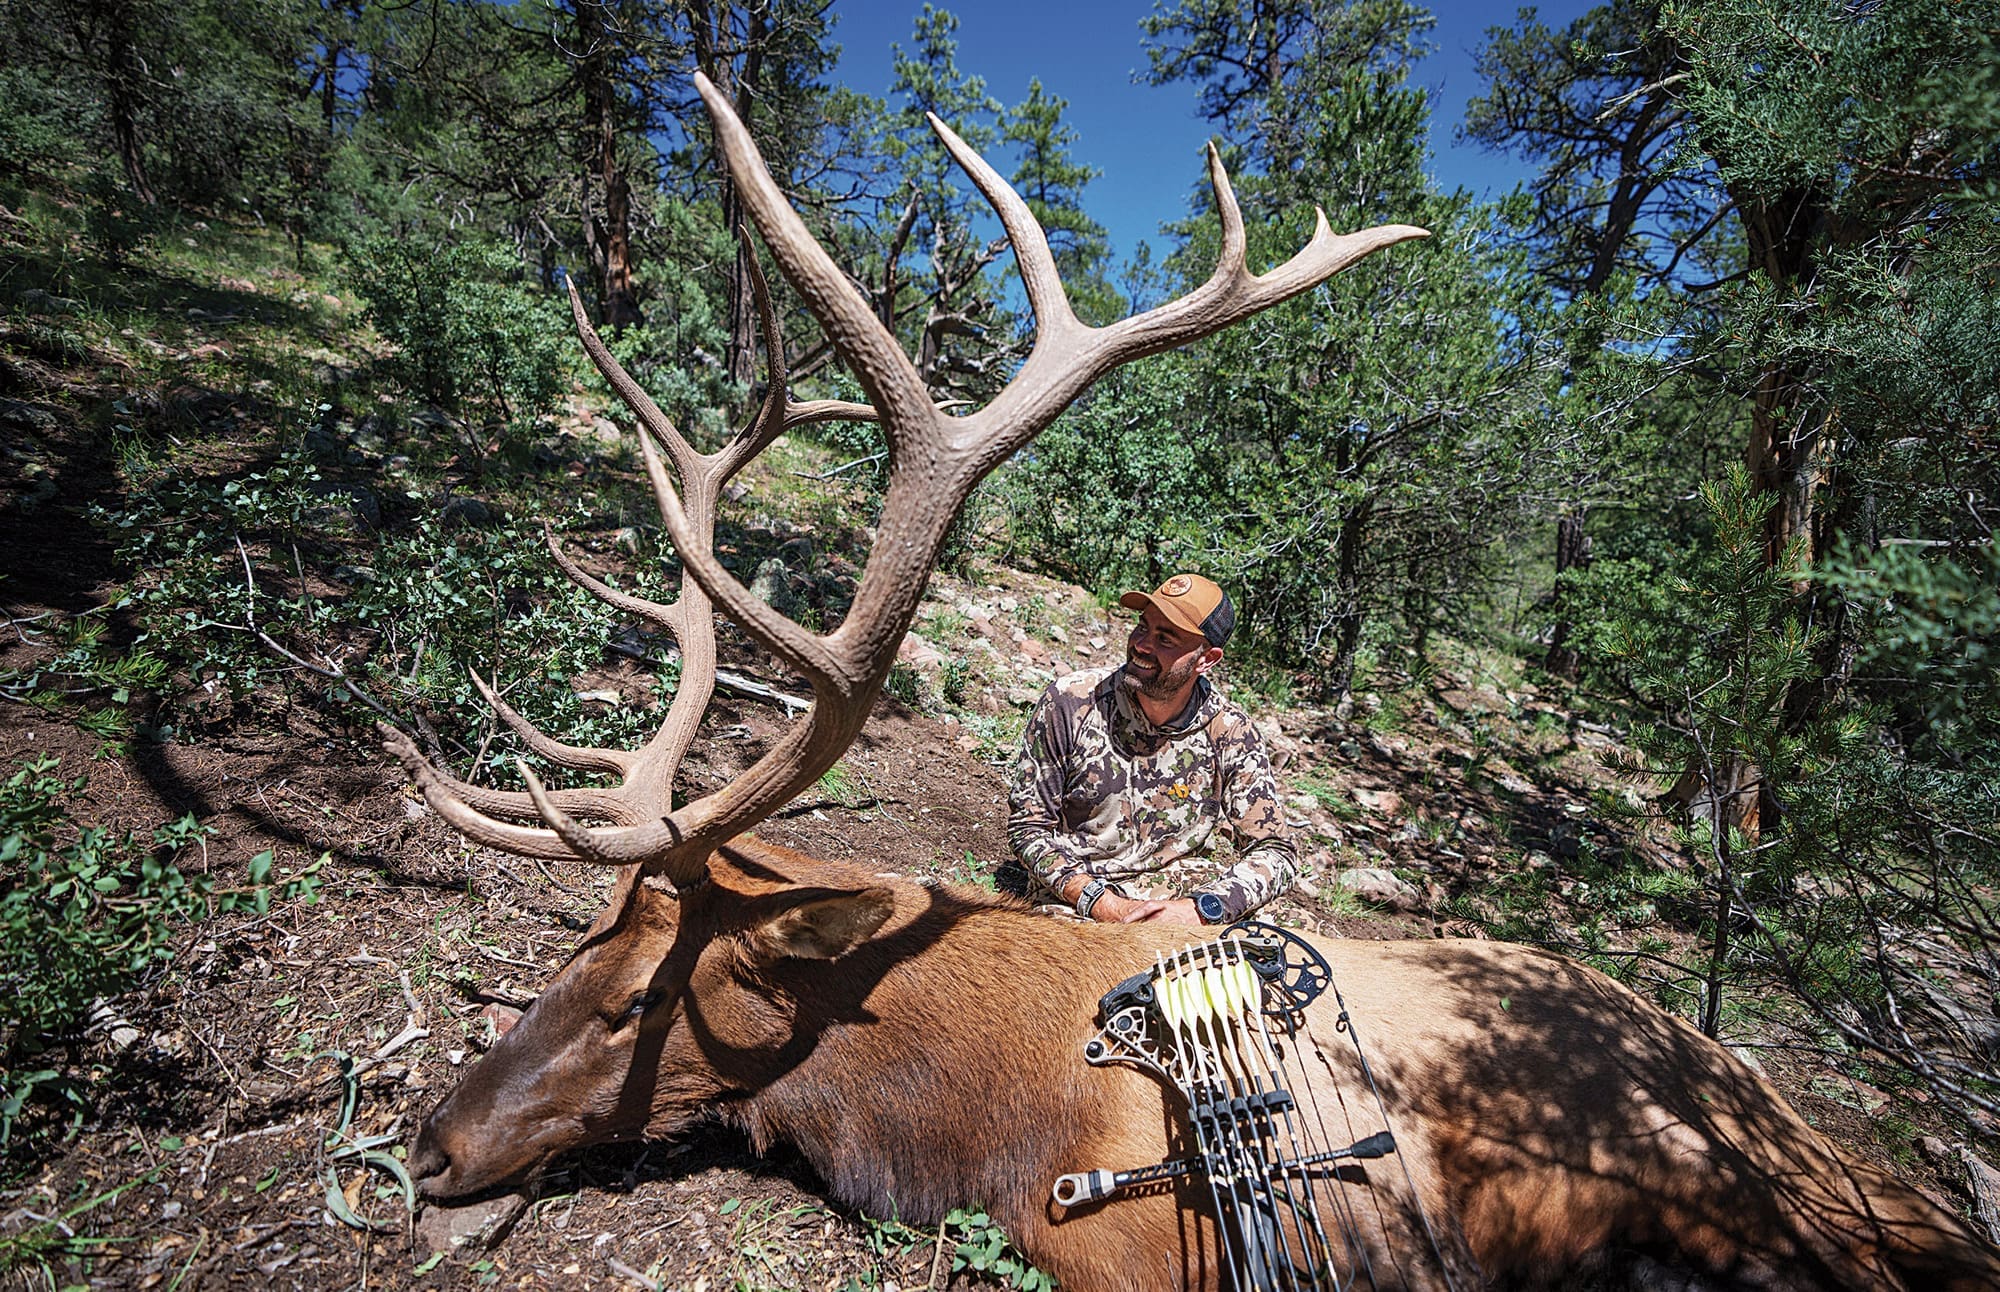
Elk
Archery elk hunting encounters can be unique, as they are one of the few animals that can be reliably called in during the rut. This provides some interesting things to consider compared to other hunts. I like to practice for shots that involve timing and movement. With many hunting scenarios, timing is everything. You must draw unnoticed, but you also must make a shot at the opportune time.
In many real-world scenarios, these events do not happen simultaneously. You may need to be at full draw for a while before shooting. As you hold at full draw, the tension weakens your muscles, causing the untrained to rush the shot, get shaky, or let down. The ones that are prepared will capitalize and be successful in these situations. This happens a lot especially on a bull coming into a call, looking for the elk that was calling.
The Long Hold Shot
Luckily, this can be practiced wherever you shoot. Shoot a group of four arrows that will be your baseline. Remember the type of group you shot, then do three sets of four long-hold shots.
Set a timer for yourself for, say, 30-45 seconds, draw, and hold at full draw. After the buzzer, shoot. See how this group compares to the baseline. After enough practice, these long-hold shots will start to match your baseline shots. As it gets better over time, practice increasing the length of holds and the distance to the target. You will want to continually increase the time of those holds in the set.
Once proficient at this, see how long you can maintain a full draw and still make an accurate shot. Hold for as long as you can and work on improving that time as it gets closer to the season. By doing this, you will learn ways to stay relaxed, hold longer, and make good shots. If you can hold for a long time but are making bad shots, that does not count. You need to have a combination of the two. The goal here is also to make the correct execution of the shot and learn to not make panic shots when fatigued.
The Aim-Under Shot
For those archers using a slider-type pin, I suggest practicing a hold-under shot. Imagine you have a bull coming out at 40 yards, and you set your pin and draw. The bull then continues to come in but does not offer a shot till he stops at 20. Well, you are set for 40, can’t draw down, and have a shot at 20. Do you know where to hold?
Holdover is a lot easier in our minds to calculate, but holding under, if you don’t practice, can be difficult guesswork. To practice this, set your pin for a farther yardage and shoot a closer target. Do this at varying yardages with different pin sets. By practicing this, you will make the most of a great opportunity if a bull walks in closer than you were expecting.
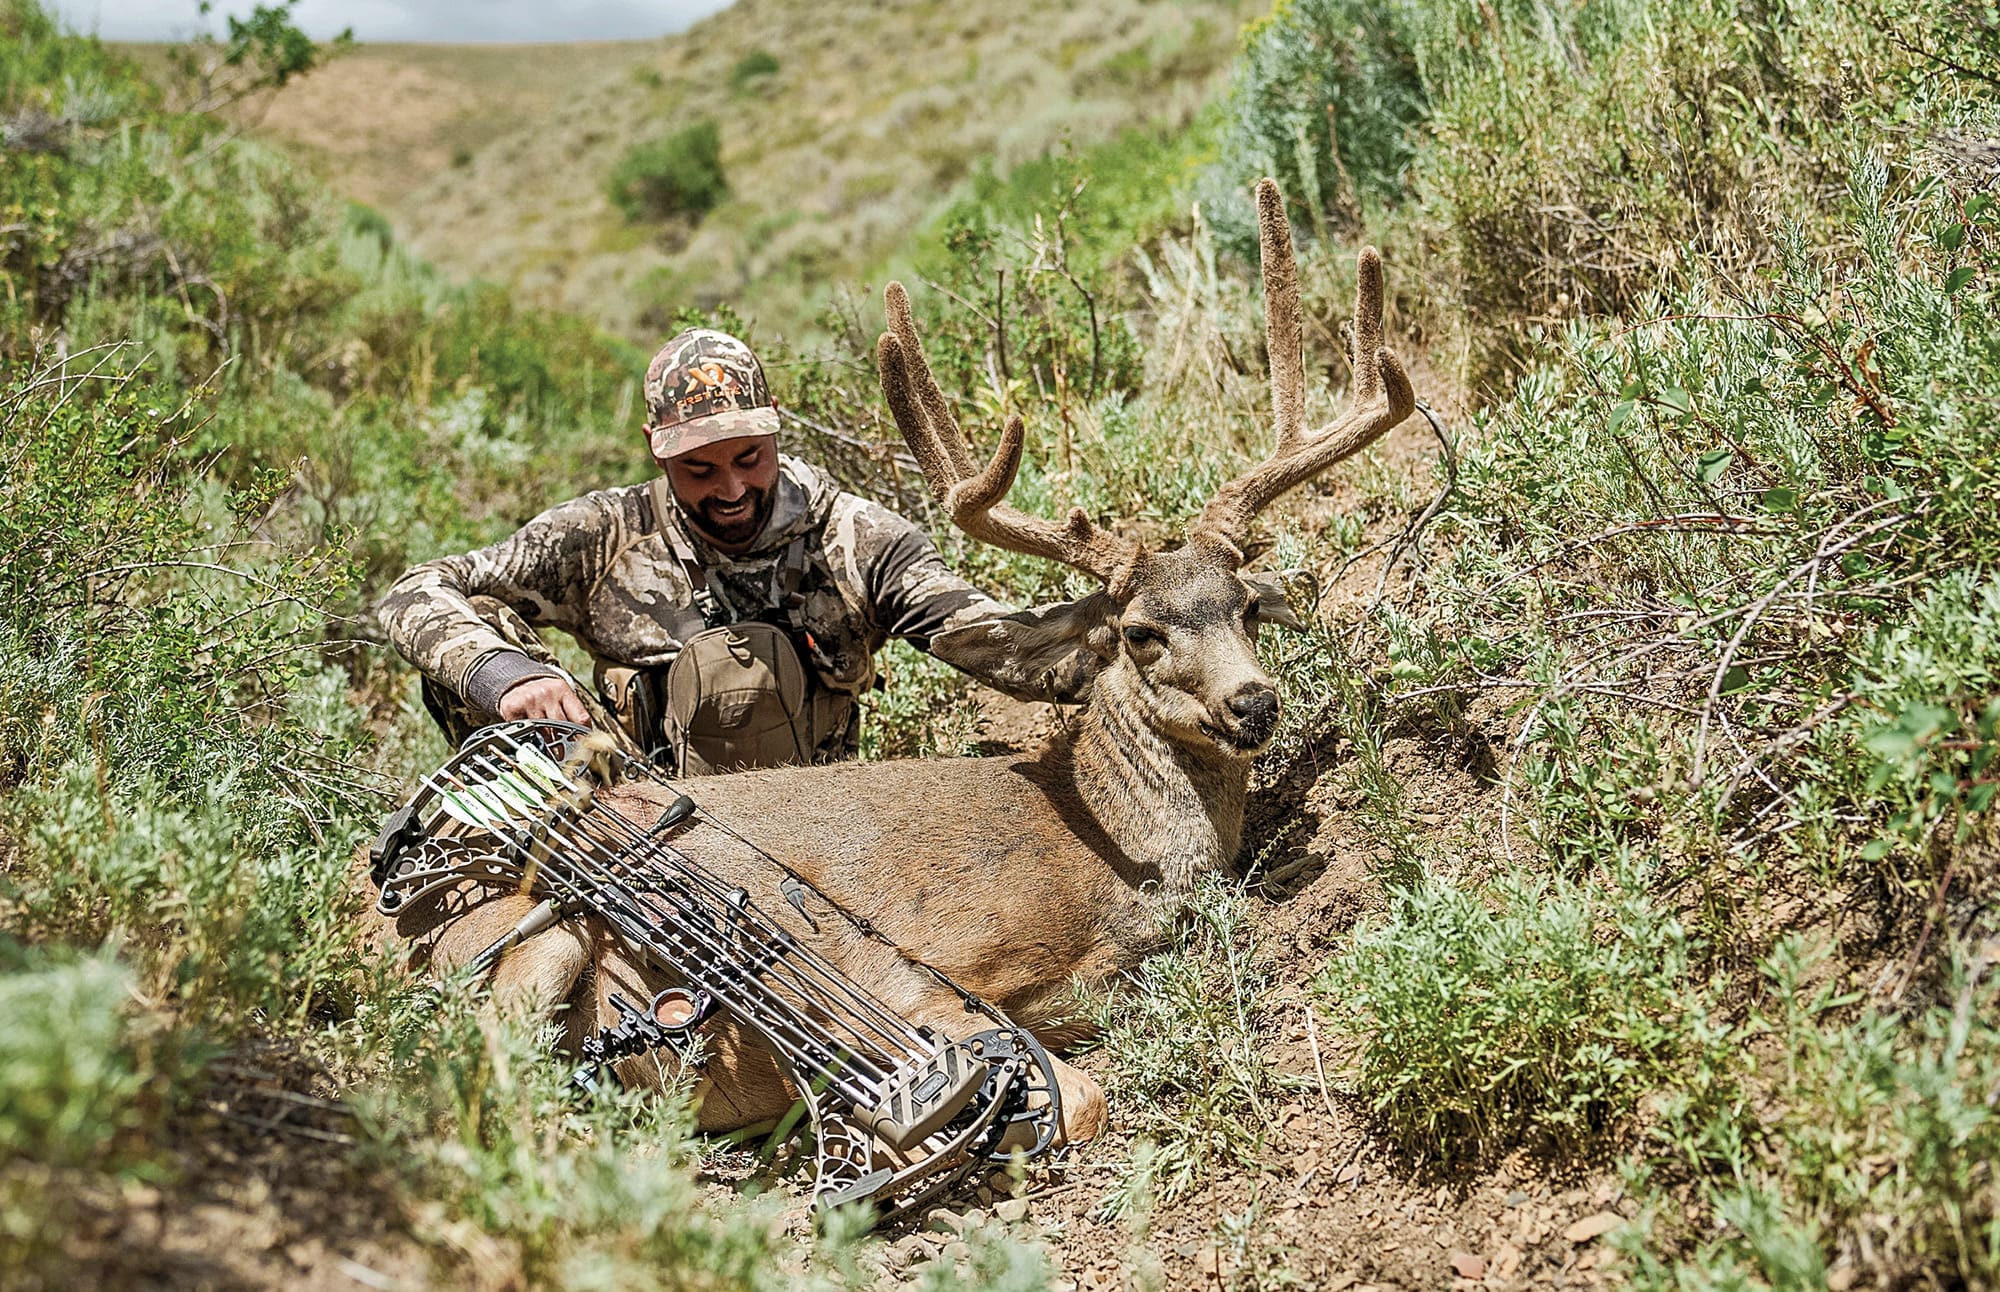
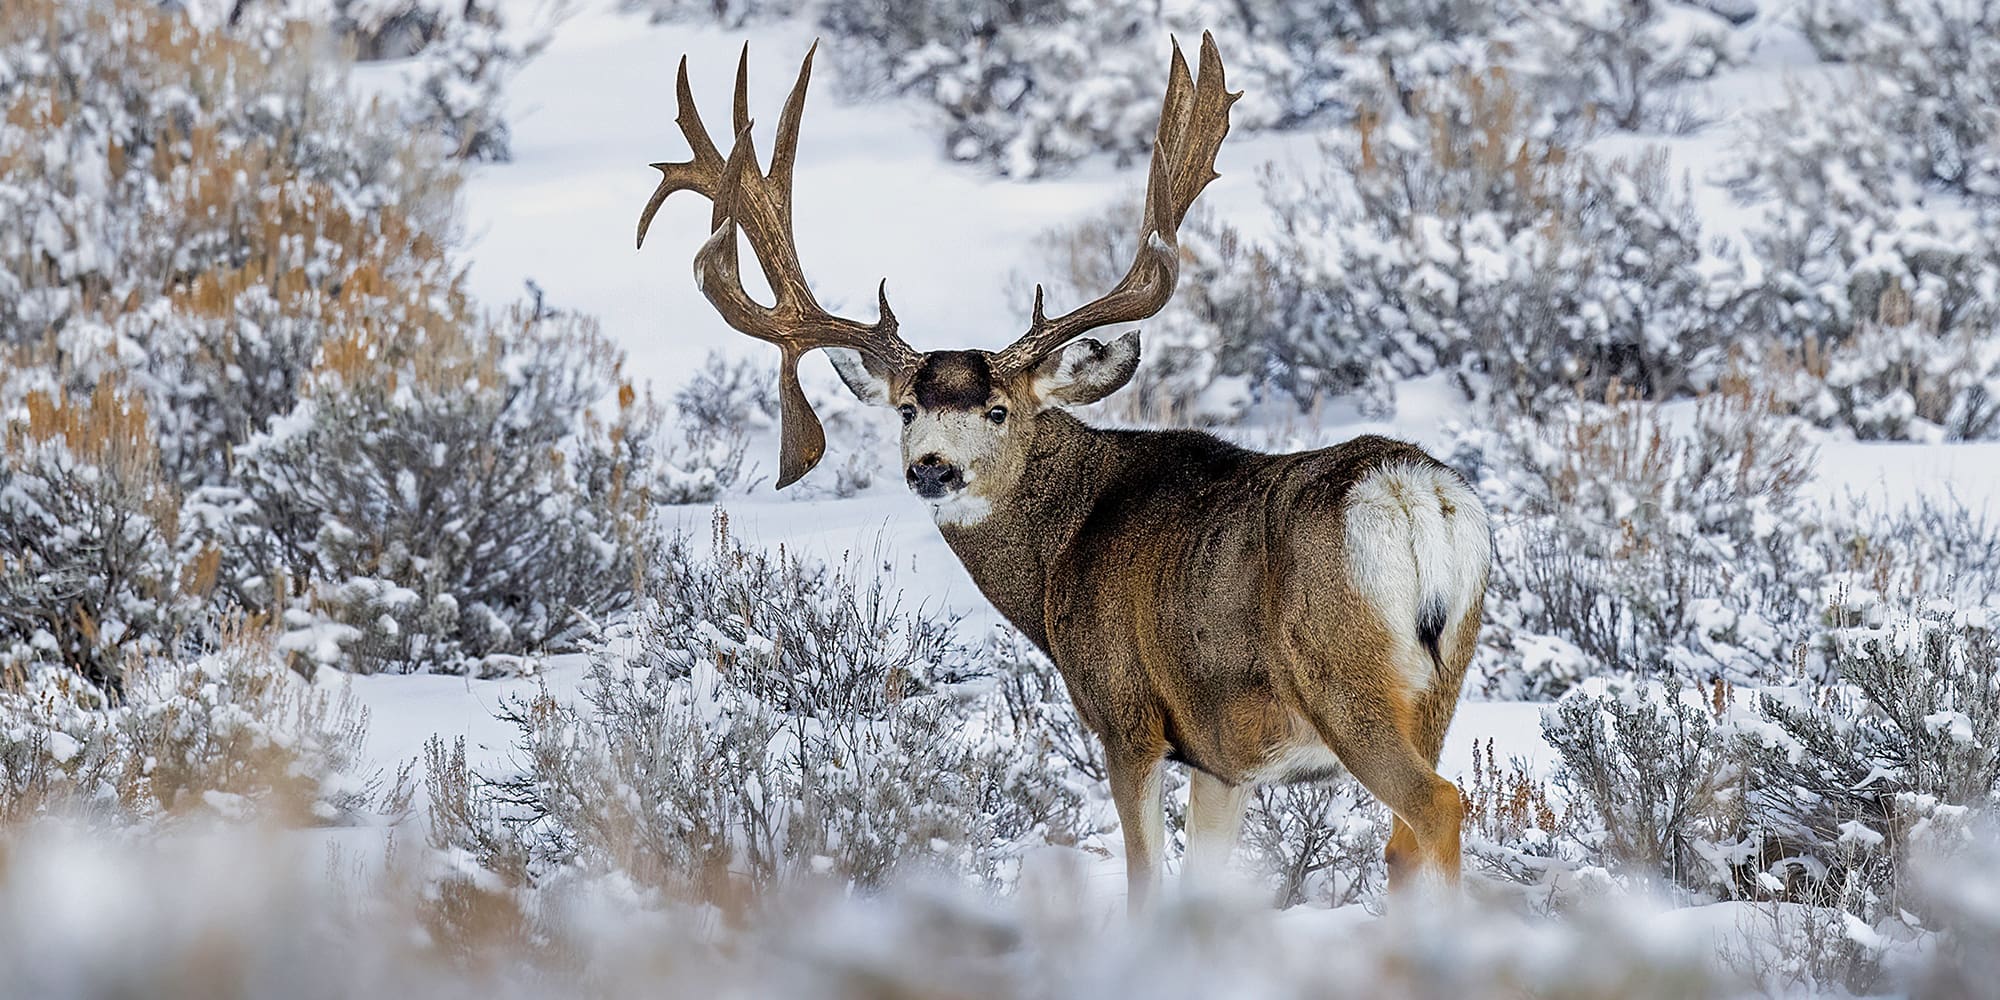
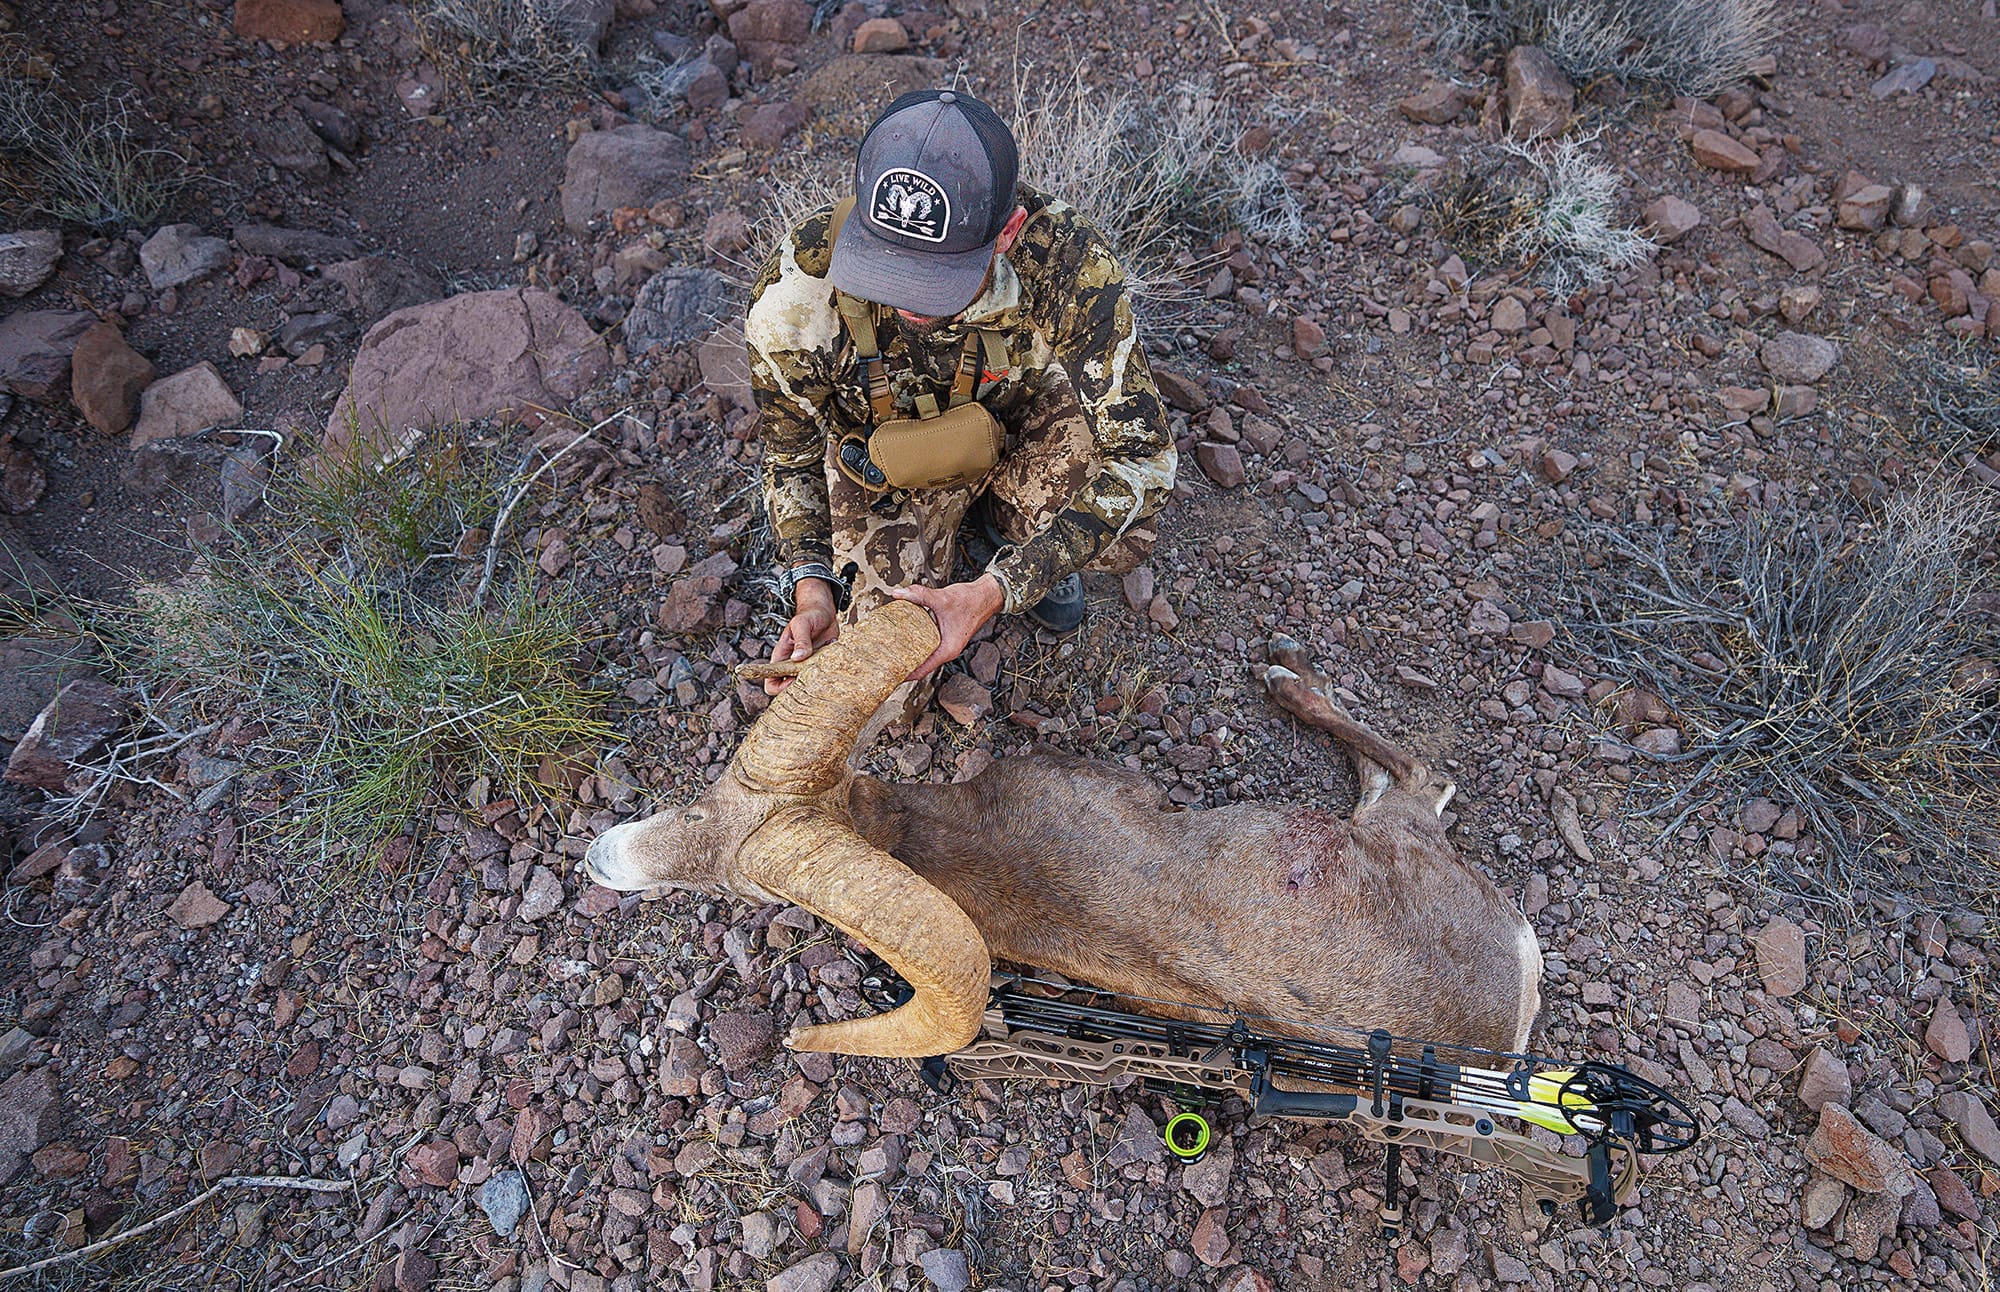
Mule Deer
Most of the mule deer I have taken with a bow were the result of sneaking in on a buck while it was bedded, and then having to wait for a shot. Most of the time, if you were to fully stand for the shot, it would leave you too exposed. Here are two shots that I practice often for mulies.
Kneeling Shot
Whether stalking from above or below, it seems a lot of my shots on deer take place on a slope, from a kneeling position. Otherwise, they involve drawing back while kneeling, then moving to a higher position or a different type of kneel for the shot.
Remember for these shots to position your knees in line with the target. If you were to put an arrow across your knees, it should point at the target. I have seen a lot of people forget this, draw back kneeling, and have undue torque with bad shooting form.
You will want to practice these shots by setting up your target and shooting from various kneeling positions. Also, practice drawing back and then rising to one knee to get more height out of the shot. Keep the knee on the bow grip side on the ground and lift the knee on the drawing side to avoid the limb or string slapping your knee at the shot and making the arrow go wild. This happens more on angled-down kneeling shots which should be added to this type of practice as well.
The Squat Shot
In a lot of mule deer hunting scenarios, there is not enough height to kneel and shoot, but to stand up fully would cause you to be skylined and alert the deer. An example of this would be drawing on the top of a ridge or behind some tall brush where you will need to shoot just as you can see the animal over the cover in front of you. This shot is one that I encountered a lot and missed a lot before I regularly practiced it.
To practice, you will want to draw in a low kneel and then slowly raise yourself up until you are in a squat-type position. Imagine sitting in a chair with no chair there. This one requires practice, as you are not very stable in this position, and that instability is multiplied when any kind of slope is involved.
Pronghorn
Pronghorn hunting from a blind or spot-and-stalk can offer some unique shooting scenarios due to the open nature of where they live, the animals' keen eyesight, and the difficulty of getting your bow drawn while remaining unseen.
Seated Shot
Rarely do people practice shooting seated, but this shot is one that you encounter more times than not on pronghorn. If you plan to sit on water, practice shooting in the chair and even the blind that you will be hunting out of.
For those doing it spot-and-stalk style, many times you will find yourself in sparse, low vegetation and may need to draw and shoot while sitting on the ground. Practice this shot extensively before your hunt, so you are ready if it is encountered. Mix it into your regular shooting by just sitting down and taking shots at the target.
Wind Shot
Pronghorn country is usually flat, and it is often windy. When shooting your bow, check the weather forecast and schedule practice sessions when it is windy. When you practice in the wind, you’ll get a feel for how your arrows behave regarding different wind speeds and directions, and you’ll be better prepared for the real thing.
When practicing, make notes of the distance to the target and wind speed. Shoot at a target, aiming for the bullseye with a group of arrows, and record how far off your impacts are. This will help you better understand how your arrows behave in different winds. Practicing in the wind is mostly to help gauge how your arrow performs and where to hold when the time for a shot comes.
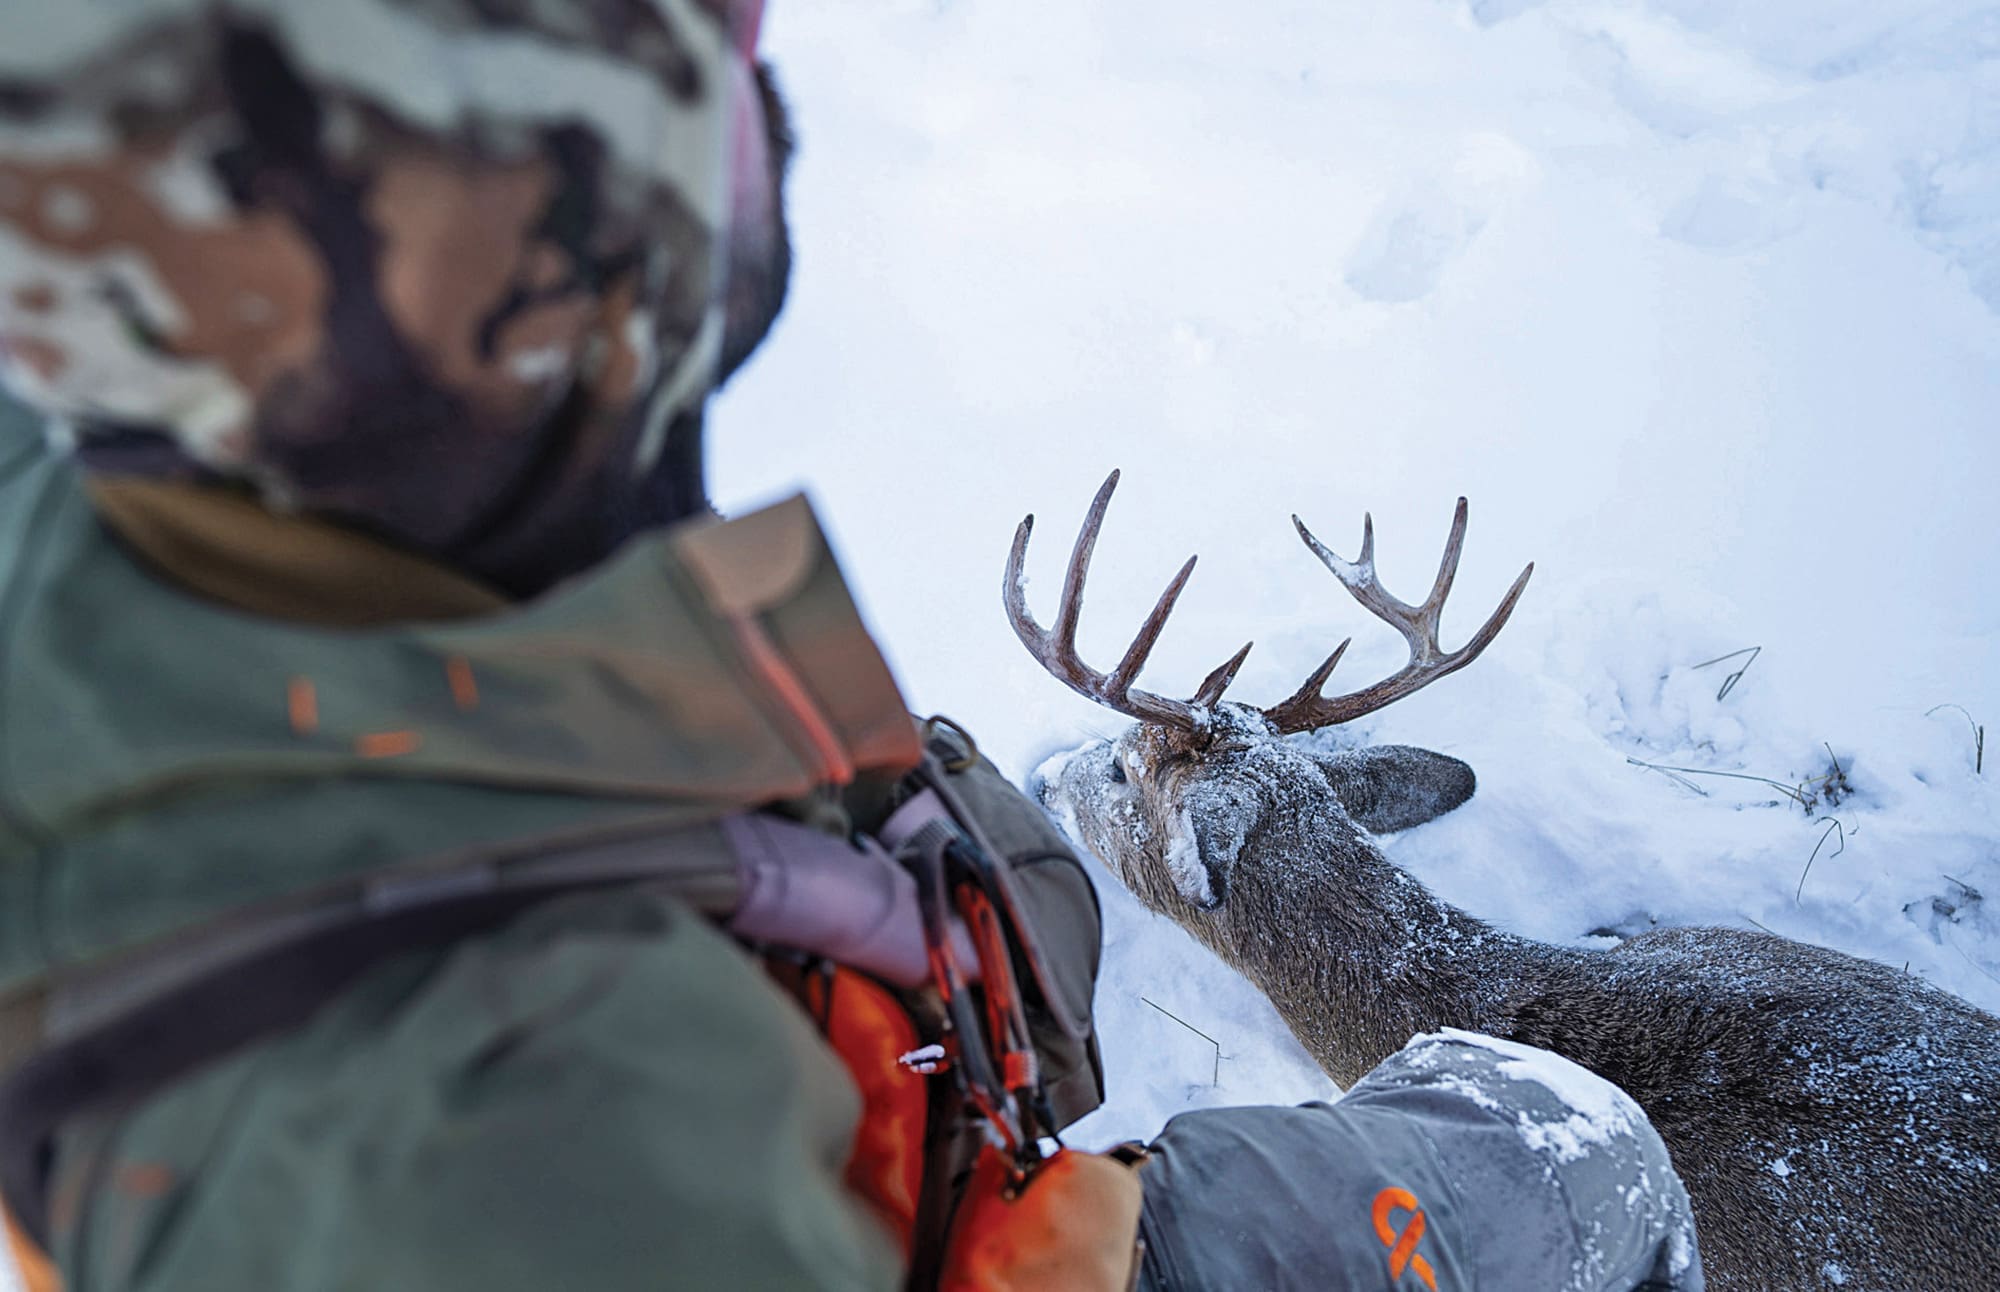
Whitetail
Whitetails, the most widely hunted species in North America, can offer tough shots for archers who are not prepared for them. One of the common, effective techniques is hunting from a stand, and while this is common in most of the Midwest and East, it is less common out west.
Elevated
If you plan on hunting from a tree stand, you will want to practice this down-angle shot. If you don’t have a lot of room or a stand to practice from, you can practice this shot at close range by standing on a picnic table or truck bed and shooting at a close target. The goal here is to practice shooting down while retaining your form and anchor point by bending at the waist.
Obstruction Shot
Whitetails often live in thicker river-bottom country, so being able to thread the needle is important. Practice shots where your line of sight to the target may have some obstructions. I used to do this in my backyard by placing my target at 40 yards, wheeling my trash can to 20 yards, and then shooting where the trash can just starts to cover the target. This allowed me to understand the flight of my arrow and how to shoot with stuff in the way.
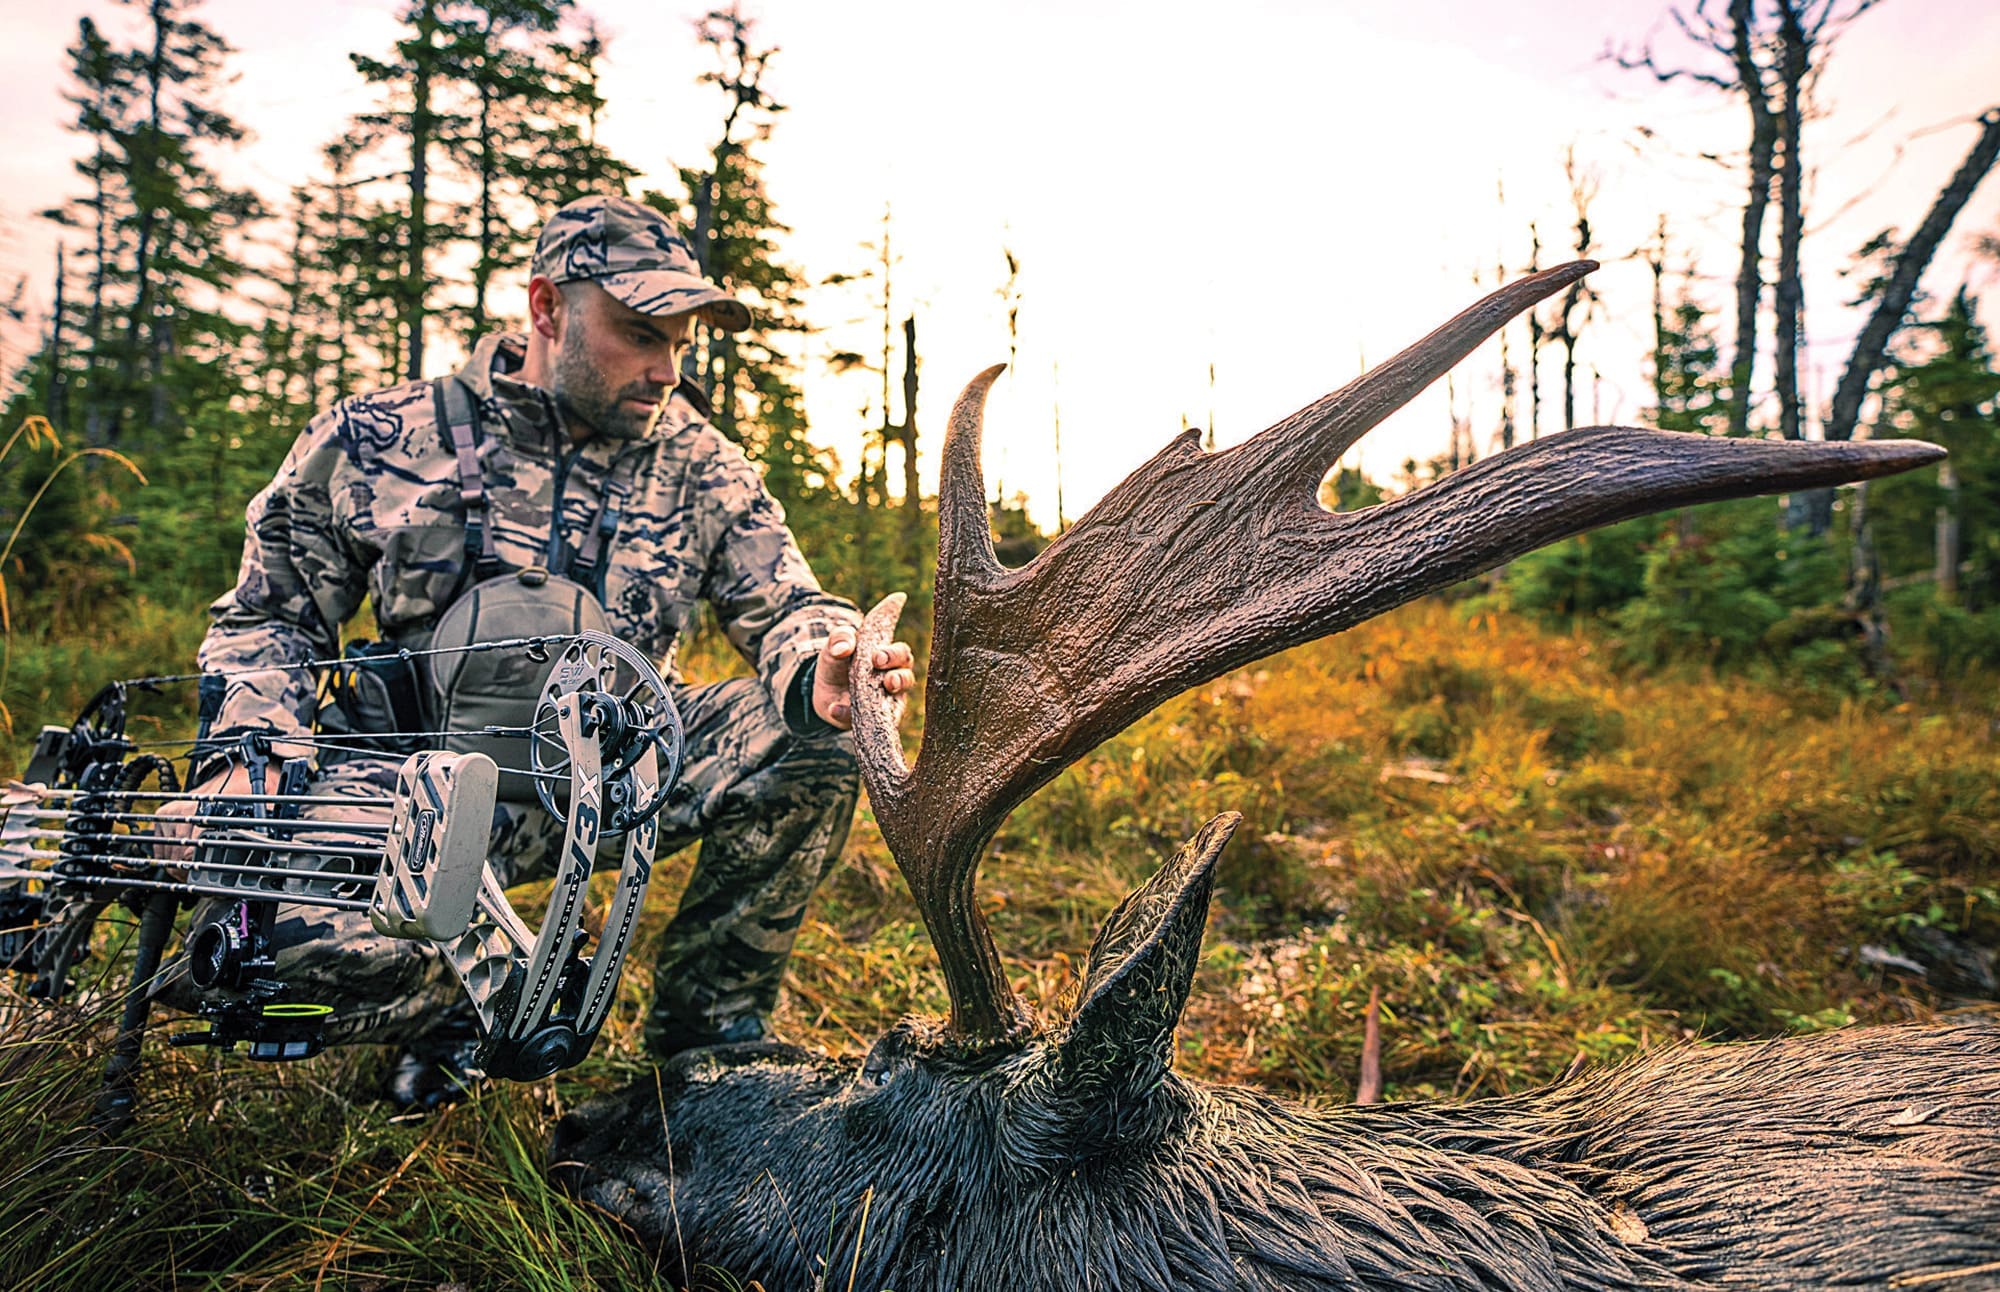
Moose
Moose can live in some thicker willow country and are often called in for closer shots if everything goes right, but that presents a lot of shots in thick vegetation that you may not be ready for.
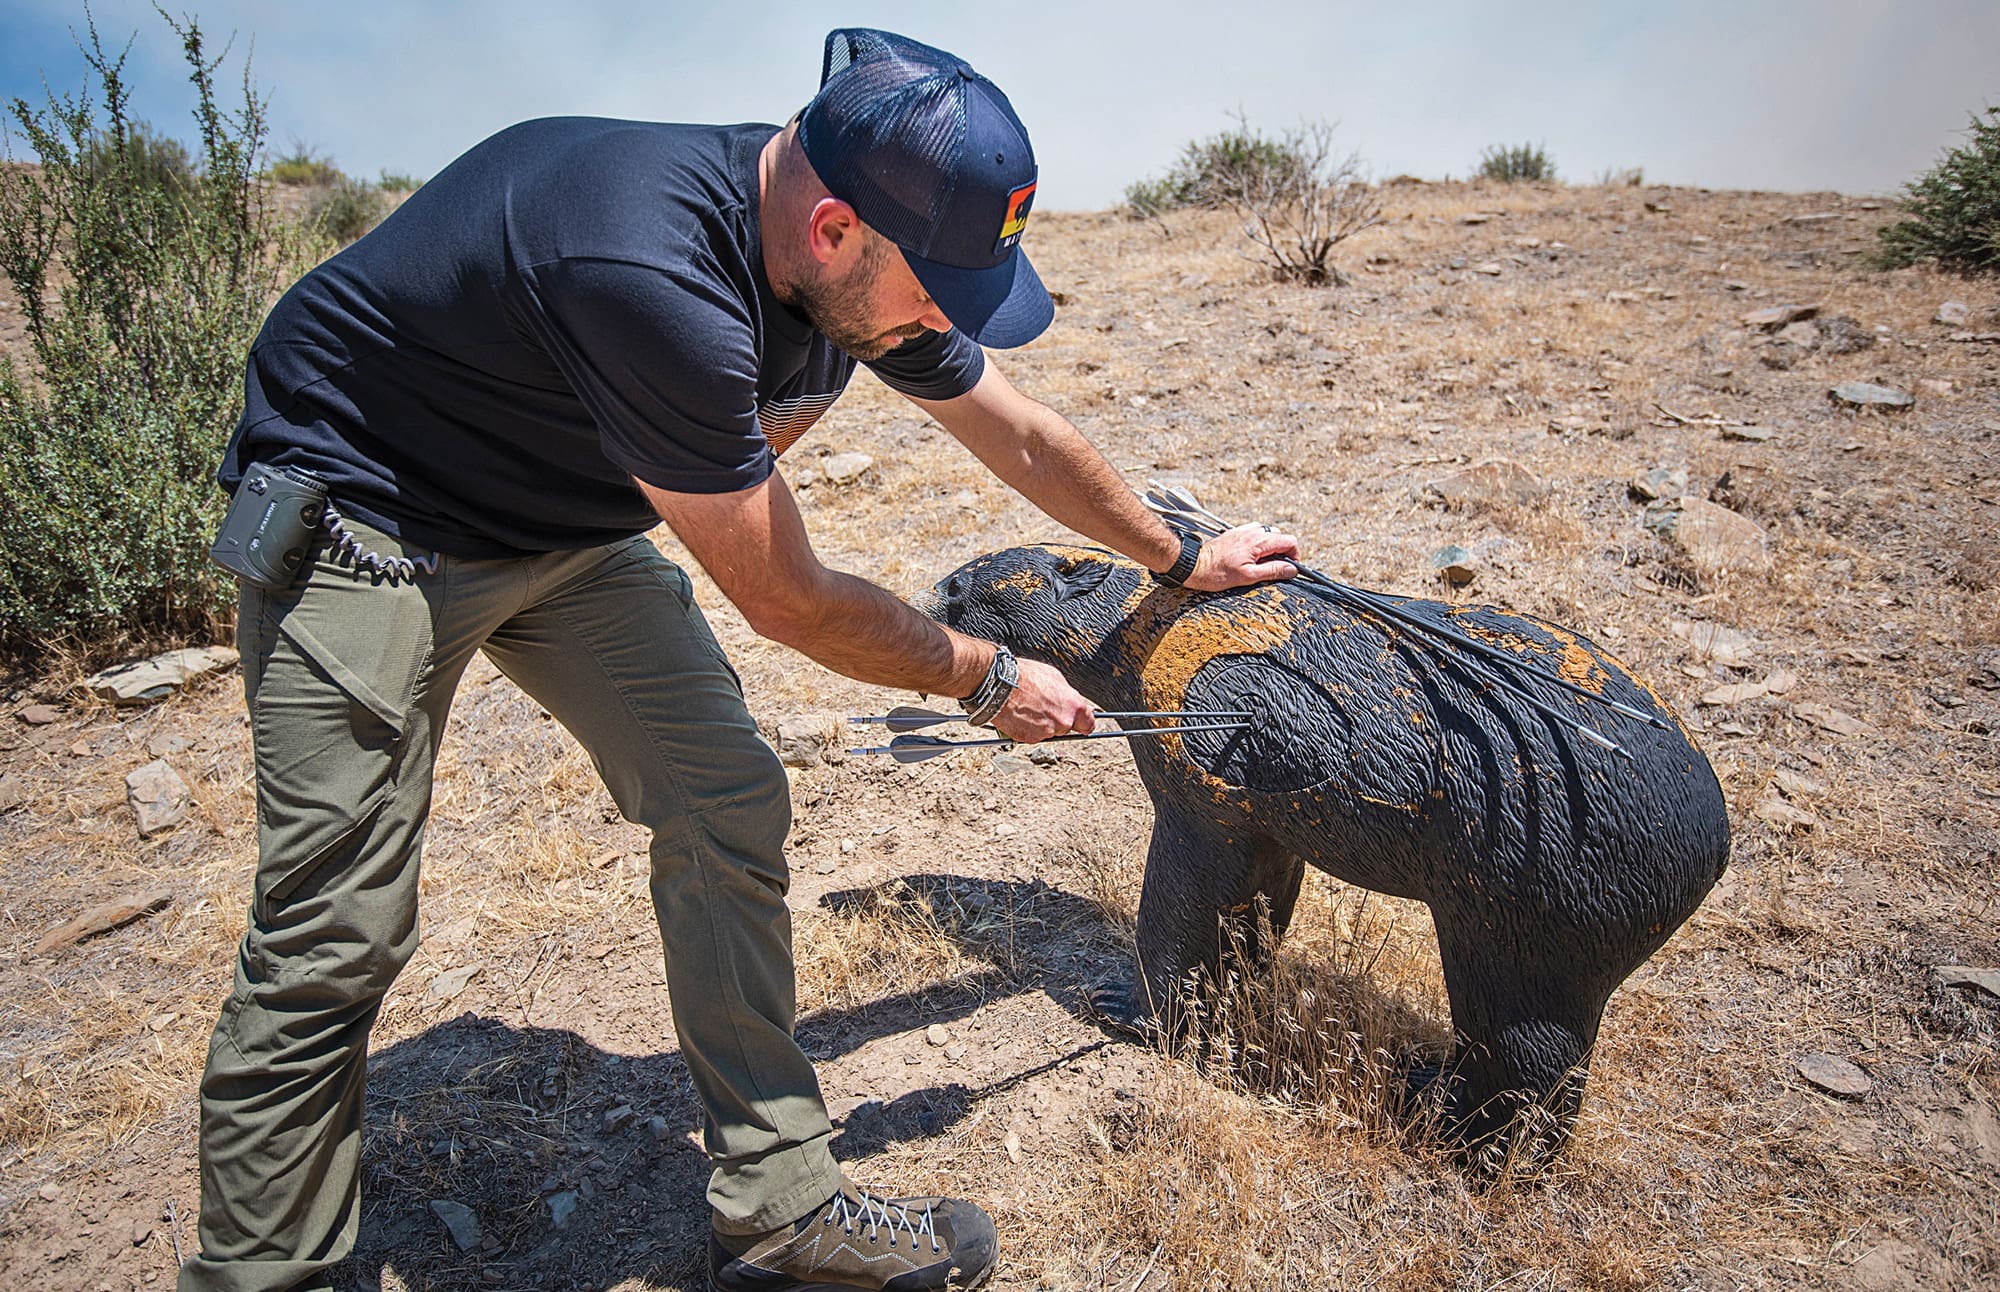
Close and Brushy Shot
I like to put my target behind brush and shoot my hunting arrow (arrow and broadhead set up) to see how it reacts. This is a good way to know what you can shoot through and what you can’t. You will notice with practice that brush that’s close to the animal has much less (if any) of an effect, increasing to a drastic effect as the target gets farther from the obstruction. When practicing this, make sure to continually flex your practice arrows and inspect for damage after each shot.
The Follow-Up
Moose are large and they can take a pretty good hit well. I like to practice making quick follow-up shots. To do this, I use two targets, one at 20 and one at 40. I shoot the close target, reload as quickly as possible, and make a quick, precise shot on the 40-yard target. This is a fun one to practice, and it gets you in the rhythm of a reload and acquiring the new spot quickly.
Sheep and Goat
Sheep and goats can live in some of the nastiest stuff in North America, and that is probably where you will get your chance at them. This means that the steep terrain is the factor you will want to practice for.
Cliff Shot
Cliffy country is what you want. This is a shot that I will travel to practice. The best way to do this is to get out and shoot at targets on a slope. You want to work on keeping your form as you angle down and up. Set the target on a steep slope, use an angle-compensating rangefinder, and shoot for that distance. This is also a great way to make sure the third axis on your sight is set correctly. If you are getting impacts left or right of your aim point with a level sight as you move out farther, this is a strong indication that your third axis leveling is off.
The Long Line of Sight
This shot relates to the cliff shot and can be practiced if you don’t have an actual cliff to shoot from. In steep country, your angle-compensated range will be much less than the line-of-sight distance, but to your eye, it is the same. My desert sheep last year I shot at a steep downhill. The line of sight was over 100 yards, but the relative shot distance was much shorter.
I like to practice shooting at longer ranges to get used to those steep shots where the line of sight distance is far but the angle-compensated distance is within range. I regularly shoot 100-120 yards, not to hunt at that distance but to train for a longer line of sight on a target that is within my ethical range when a steep slope is involved.
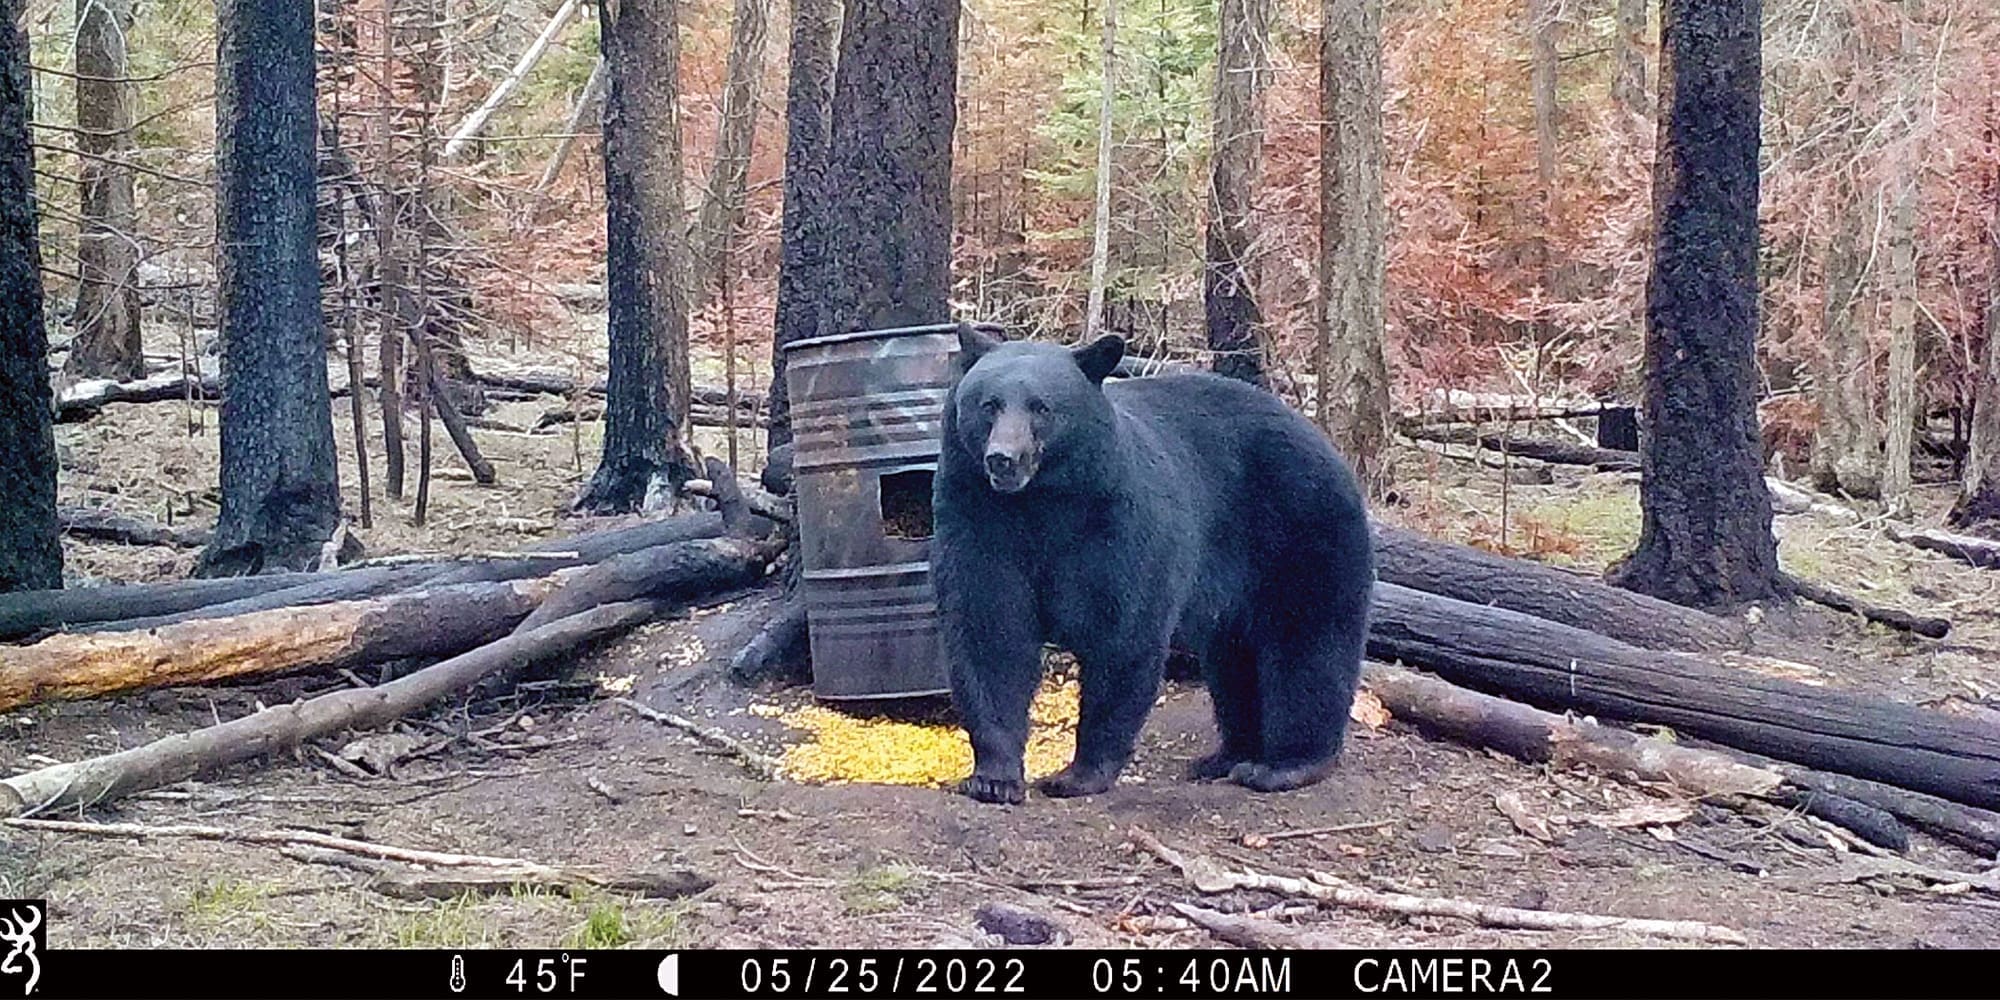
Bear
Through all my years as a hunting guide, no animal has been missed more than bears. It is probably a combination of the adrenaline, the excitement of hunting a predator, or a lot of fur that distracts from picking a spot. Whatever it is, a bear is an animal that I want to make sure I make a perfect shot on. For that reason, there are a couple of things I focus on in the off-season.
Precise Shot
Get those groups tight. You will want to really get those shots exactly where you want. One of the ways I do this is by shooting at a target with tournament archery accuracy on my mind, going for a perfect run of bullseyes. I start at 20 yards and try to shoot five perfect arrows. That is five arrows in the circle on my block or the 10 ring on my target. After the set of five perfect arrows, I can move back the next 10 yards and do the same. If I miss one 10 ring, it is back to the beginning to start over. I will try to complete these sets with the goal of finishing the field at 50 yards. It is a fun game that puts pressure on a perfect shot and a punishment for missing.
Adrenaline Shot
Bears get most hunters’ blood pumping. To mimic this, incorporate increased heart rate with your shot. Do wind sprints, jumping jacks, sit-ups, push-ups, burpees, box jumps, whatever you want, then grab your bow and shoot. Working on these types of shots is great for any hunt, as it helps you learn to control both your heart rate and your shot. Plus, it gives you an added element of fitness which never hurts.
Practice Like You Hunt
If you add realistic scenarios to your bowhunting practice, you will put in repetitions that will allow you to perform better when those scenarios arise in the field. The last thing you want on any hunt is for the shot you take on an animal to be the first time you have done anything remotely similar. By thinking about the scenarios you are likely to encounter and putting in the time to practice them, you will become a much more successful bowhunter.