NOTICE: Certain links on this post may earn a commission for Western Hunter Magazine from Amazon or our other affiliate partners when you make a purchase. Thank you for your support.
Maximizing Bowhunting Forgiveness: Part 1
What is the worst possible outcome of a bow hunt? This is a personal question, but for myself and many others, it’s unequivocally missing a makeable shot, or, even worse, wounding your quarry. Carefully selecting your gear, practicing your shot all year long, maintaining your physical fitness, executing a perfect stalk into bow range; all that preparation ending with a botched shot will pretty much break any hunter, including myself. If you are like me, the miss will haunt you, your mind continually replaying the shot sequence over and over again.
Picking yourself up and learning from the experience is what separates the successful from the unsuccessful. Why did you miss? If you felt like you executed a good shot, you probably did; your gut doesn’t lie. Missing or wounding the animal may have come down to something else besides screwing up your shot sequence or “buck fever.” Did you get the wrong range (this happens more than you’d think even with a rangefinder)? Were your equipment selections appropriate for your hunting situation?
More than any other sport that I’ve invested significant time into, bow hunting requires you to learn from your past failures to have future success. Success on a public land, DIY bow hunt comes down to the little details. There are a thousand little boxes that need to be checked in order to tip the scales in your favor. Unfortunately, some of those little boxes can only be checked after learning from personal experiences. However, some of those boxes can be checked by learning from other hunters’ experiences. That’s the reason why I’ve written this article. That’s hopefully the reason you are reading this article. Being a student of the game and taking advantage of the wealth of knowledge shared in Western Hunter Magazine will make you a better hunter.
Broadhead Delivery System
If the ultimate goal of a bow hunt is to pierce a big game animal’s lungs with a broadhead, what is more important to check boxes and fine tune than the broadhead delivery system? I’m not talking about generically tuning your bow and arrow here – I’m talking about specifically engineering an arrow design to maximize your potential on a particular hunt. Can a specialized arrow design, one catering to a specific hunt, be the difference maker that directly leads to a trophy at the end of the blood trail instead of disappointment? Based on personal experience, I firmly believe the answer is yes.
For the last five years, I have been anxiously engaged in the science of engineering hunting arrows. Not just building an all-around arrow to be used hunt after hunt, year after year, but rather engineering specialized arrows for specific hunts. To me, a big part of maximizing your opportunity on a public land, DIY bow hunt means optimizing your gear for that hunt. Optimizing your broadhead delivery system for a hunt means maximizing the forgiveness of that system for that hunt.
We all make mistakes, no one is perfect, and no situation is perfect. We all get excited, we all mess up our shot sequence, we all rush things a little too much, we mess up the range, the animal moves; as a devoted OTC-type hunter, I’ve learned that maximizing the forgiveness of my archery setup so that it still performs and makes up for my deficiencies under these difficult circumstances has directly led to more success in the field.
Maximizing the forgiveness of your broadhead delivery system: According to today’s hardcore bowhunting trend, that seems to mean a heavy, high-FOC arrow, tipped with a stout, fixed-blade broadhead that shoots quietly out of a well-tuned bow at moderate speeds… right? Wrong! Well, wrong, in my opinion, on about 75% of the hunts that I go on. To fully understand what I mean, let me explain my definition of the word forgiveness in a bowhunting context, and I assure you it’s not your cookie-cutter definition.
Before I explain, let me first say that this article is going to make some assumptions:
- This article is going to cater to the hardcore DIY guy that wants to take his game to the next level.
- The reader is shooting a well-tuned bow.
- The reader has a moderate to advanced level of understanding of archery and how to tune a bow.
- The reader is shooting a modern compound bow (very efficient at transferring the string energy into the arrow).
- The reader has ample energy in his/her compound bow setup.
- Some advice in this article won’t apply to people shooting older bows, shorter draw lengths, and lower draw weights.
Bowhunting Forgiveness
I break out bowhunting forgiveness into three different categories: long-range engagements, short-range engagements, and engagements in states with laws that require the use of fixed-blade broadheads. The attributes that make a bow and arrow setup forgiving for each of these engagement types are wildly different because the encounters are different. For long-range engagements, you typically have time to wait for an ideal shot angle and dial your sight; ranging accuracy is your biggest variable.
Time and time again, if I miss a well-executed shot in open country, it’s likely some sort of range issue. It’s far easier than you’d think to get a bad range estimate, even with a rangefinder. For short-range engagements, you typically don’t have much time and are forced to take quick shots at awkward angles; shot angle is your biggest variable. I don’t like to wait for a perfect setup on short-range encounters. I want to shoot as soon as possible.
An arrow setup that is forgiving for long-range engagements is not ideal for short-range engagements and vice versa. In my opinion, picking one balanced arrow right in the middle to handle each of these situations is mediocrity and far worse than optimizing for a single encounter type. With one mediocre arrow design, you aren’t taking advantage of anything; you have neither a great trajectory nor bone-splitting momentum. I do not use the same arrow on an open, high country mule deer hunt in Colorado that I use on a dark timber elk hunt in central Idaho. The arrows are extremely different; much the same as an experienced rifleman having different caliber rifles for different hunting situations.
This article is the first in a series of three articles to discuss the science of optimizing your arrow design or designs to the type of hunting that you do. This first article focuses on concepts and long-range engagements. The second article will discuss short-range engagements and engagements in states that require the use of fixed blade broadheads. The final article will tie everything together and discuss an advanced topic of tuning multiple arrow designs to the same bow and carrying both arrows in the field to be shot at the bowhunter’s discretion based on the engagement type.
Long-Range Engagements
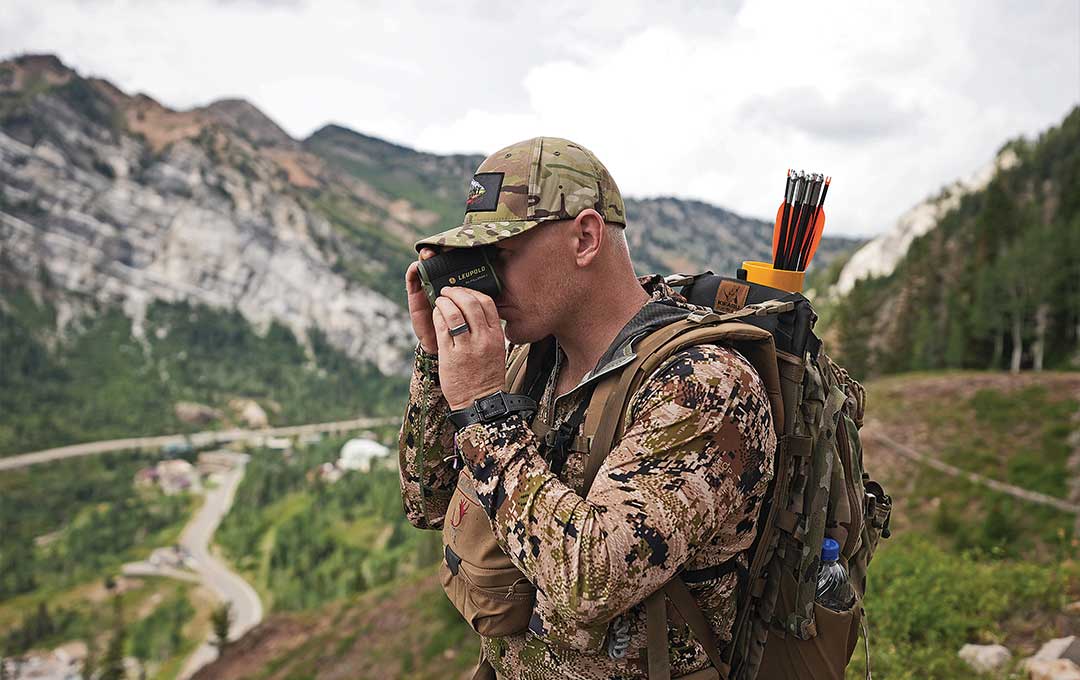
When I say “long-range,” I am talking about shots in open terrain from 50 yards and beyond. As a bowhunter, getting as close as possible is of utmost importance, but in open, loud terrain, it can be very difficult if not impossible to get close. Through years of bowhunting high-pressured deer and elk out west, I’ve learned that the single biggest liability in long-range engagements is ranging accuracy, even with a rangefinder.
Beyond 50 yards, depending on their weight, arrows can start to drop at accelerated rates. By the time you get to 80 yards, heavy arrows can drop as much as five inches or more if the range estimate is off by just a single yard. In this scenario, there is very little margin for error and it’s far too easy to foul up your yardage estimate at extended ranges; difficulty guessing yardage when there is no time to range; animals moving after ranging; accidentally ranging vegetation immediately in front of or behind the animal (this happens often, especially in steep country); an animal crosses in front of or behind a pre-ranged location. Even ranging the butt-end of an animal bedded, facing away can be enough error at distance to drop an arrow low or out of the kill zone.
Things can go wrong at any range, but beyond 50 yards, ranging errors are exacerbated. Suffice it to say that hunting open country out west is full of range-related variables. Regardless of all your preseason shooting, regardless of how perfectly tuned your bow is, regardless of how amazing of a shot you are, if your range is off even a little bit at extended range, your accuracy is going to suffer.
I will refer to this concept as “range forgiveness,” which directly leads to accuracy forgiveness. For long-range engagements, I rank range forgiveness highest on my list of needs for ultimate accuracy and ability to get an arrow into an animal’s lungs. Shooting a well-tuned bow is a given, but after that, I rank range forgiveness higher than other qualities like bow quietness, bone-splitting arrow penetration, broadhead cut diameter, brace height, axle-to-axle length, etc.
So how do I select a system to be most forgiving at extended range? How do I design an arrow to have the highest chance of piercing lungs and putting my quarry down at extended range? In my opinion, there is a balance of qualities that leads to a bow and arrow’s effectiveness at extended range, and maximizing range forgiveness is at the forefront of my mind. A very important attribute for range forgiveness is a fast, flat-shooting arrow that minimizes arrow drop. However, I’m not saying that arrow speed is the end-all-be-all and everything else needs to be sacrificed for arrow speed. We will talk about the balance I try to strike when engineering my system.
Arrow Design
Increasing the speed of an arrow can be accomplished in one of two ways: decreasing the overall arrow weight or increasing the potential energy of the bow. Let’s start with arrow build. Here I am going to get into a few things that will not apply to everyone. If you are shooting an older compound bow (older bows are not as effective at transferring all of the string energy into lighter arrows), or if you do not have adequate energy in your bow setup (combination of low draw weight and short draw length), some of this advice will not be applicable for you. It is generally recommended to shoot an arrow with at least 65 foot-pounds of kinetic energy for big game in North America, especially if you are shooting a mechanical broadhead.
Most bow manufacturers have a safety recommendation of at least 5 grains of total arrow weight per pound of draw weight. The arrow must also have enough stiffness (spine) to tune appropriately at your draw length. With today’s high-modulus carbon, arrow manufacturers are building stiffer arrows per weight than ever before. Now, it is possible to build an arrow that spines out appropriately but doesn’t meet 5 grains/pound.
I’d recommend staying above 5 grains/pound. I shoot an 80 pound Hoyt RX5 at a 28-inch draw. According to the 5 grains/pound rule, this gives me a minimum arrow weight of 400 grains. For the last six years, my extended-range arrow build has been tuned with a 300 spine shaft between 420 and 430 grains of total weight.
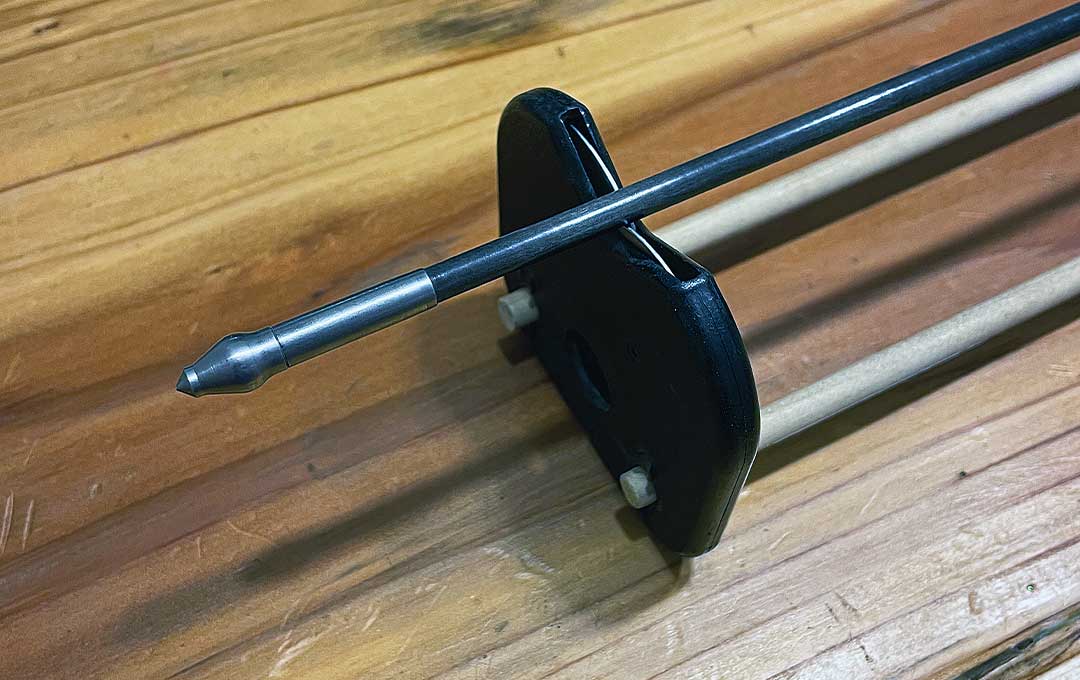
I like 4 mm arrows like the Easton Axis long-range, especially for extended range hunting opportunities out west in open, windy terrain. 4 mm arrows have a lower crosswind drag coefficient and they generally have a 20-30% reduction in cross-sectional area. This translates to dramatically less wind drift at an extended range, compared to conventional diameter arrows. I like to build these Axis long-range arrows with the Ironwill Outfitters insert and collar system. This system utilizes the Easton Hidden Insert Technology (HIT) in the micro diameter, deep-six configuration. The deep six system is necessary for shooting the micro-diameter shafts because I refuse to shoot any sort of outsert or half out.
I especially like HIT inserts because they eliminate unnecessary tolerance errors in the insert; they directly align the shoulder of the broadhead, which is the highest tolerance part of the broadhead, to the inner diameter of the arrow shaft (the highest tolerance part of the arrow). This directly translates to broadheads that spin perfectly and arrows that fly true downrange. The weakness of HIT inserts is the potential for the broadhead to break through the side of the arrow with heavy side loads. This weakness is eliminated with the addition of an arrow collar that slips over and protects the front of the shaft like a sleeve.
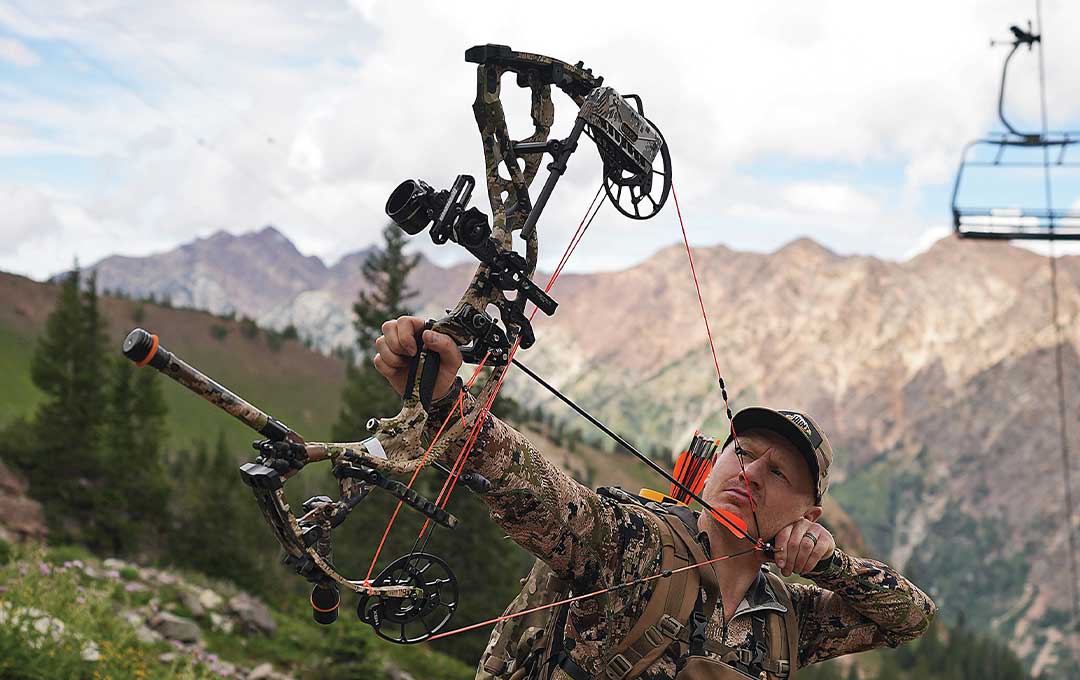
My bow and arrow setup is an 80 pound Hoyt RX5 at 28 inches. This bow shoots my 425 grain Easton Axis long-range at 315 feet per second. It’s a lean, mean, forgiving, X-pounding machine. However, at 315 feet per second, shooting fixed blade broadheads out of this bow would be an absolute nightmare, even with it perfectly tuned. As a bowhunter, there are just way too many inconsistencies in the field to reliably shoot fixed blade broadheads at these speeds. For my long-range arrow setup, I exclusively shoot mechanical broadheads simply because they are more likely to hit behind your pin, even at very fast speeds and marginal shooting conditions.
I have experimented with nearly all types of mechanical broadheads, and I MUCH prefer rear-deploying broadheads. I settled on my favorite head, the 1.5” Ulmer Edge, after much testing. Then, the Ulmer Edge went out of production and I was left wanting until its replacement came out, the Sevr. The Sevr did nothing but improve on the design, and the 1.5” version is what I would consider the perfect mechanical broadhead. The goal for long-range engagements is ultimate accuracy and the Sevr broadhead facilitates this better than any other. A flat-shooting arrow tipped with a surgically accurate Sevr dramatically improves my chances to pierce lungs despite likely in-the-moment errors on my part.
Bow Selection
Modern compound bows have become much more effective at transferring most of the string’s energy into the arrow, especially lightweight arrows. As a result, these bows can shoot lightweight arrows very quietly and efficiently. Although modern bows are very efficient, there are a few things to consider when selecting a bow to maximize your long-range effectiveness as a bowhunter.
Three main things dictate the potential energy of the bow: cam design, bow draw weight, and power stroke. Power stroke is simply the distance the arrow remains on the bow string when the bow is cycled. It is essentially the draw length minus the brace height. For a given archer, their draw length remains constant, so to increase power stroke, an archer would select a bow with a shorter brace height. Don’t get carried away with this, however. Decreasing brace height is a double-edged sword. I do like fast, flat-shooting arrows but not at the expense of ultimate accuracy.
Decreasing brace height will, in general, decrease an archer’s accuracy/accuracy forgiveness. Decreasing brace height too much can also lead to the string making contact with the clothes on your bow arm. At a 28 inch draw, I generally prefer bows with at least a 6.5-inch brace height. After shooting for many years, I just find that with my shooting form and the forgiveness I want during hunting situations, a 6.5-inch brace height suits me. It’s the right combination of forgiveness and speed for me. Each archer will need to evaluate this for themselves.
All that being said, my 6.5-inch brace height rule is not set in stone. For 2021, I was blown away at Hoyt’s offering with the new RX5 and its binary-like HBX cam. Although the bow has a 6.25-inch brace height, the new HBX cam is FAST, smooth, and very efficient at a 28-inch draw length. The combination of the efficiency, quietness, shoot-ability, and tuneability of this cam system combined with Hoyt’s legendary carbon riser sold me. I typically would have selected the RX5 Ultra with a 7.0-inch brace height, but based on the bow and cam design, it’s not as efficient at the 28-inch draw length.
The increased speed and performance at 28 inches from the RX5 more than outweigh the consequence of a slightly shorter brace height. Regardless of performance and shoot-ability, a 6.0-6.25-inch brace height is about as short as I would shoot because below that, the string has a greater chance of making contact with your forearm, especially with layers on and poor form in a hunting situation.
Bow draw weight is going to come down to personal preference. I will give one caution. Don’t over-bow yourself simply because you are mesmerized by the performance of an 80-pound bow. Shoot as much draw weight as you can comfortably and accurately shoot. Also, consider how much time you can shoot in terms of the number of reps. There is no better exercise to strengthen your shooting muscles than just shooting your bow. I am a big believer in high reps to build strength and muscle memory. If you don’t have a lot of time to shoot and maintain strength, an 80-pound bow is probably a poor choice. That being said, I would encourage anyone to shoot daily, if nothing more than shooting a high number of reps at close range in the garage.
I shoot thousands of arrows a year at 5 yards in my garage, focusing on high volume and form. Shooting high volume will increase your ability to shoot heavier poundage, which will directly translate to more arrow performance. With a modern 85% let-off cam, the difference in holding weight between a 70-pound bow and an 80-pound bow is only 1.5 pounds. As a result, shooting a heavier-poundage bow typically relies more on being able to effectively draw the bow when fatigued than just holding the draw. I’ve heard it said that you should be able to comfortably draw (no sky draw, bow arm parallel to ground) when seated flat on your butt with your legs straight out in front of you. If you struggle to do this, you are drawing too much weight.
80 Yard Range Forgiveness
Putting all of this advice together will illustrate the importance of range forgiveness for long-range engagements. I consider 80 yards to be the critical long-range distance – not because my goal is to shoot an animal at 80 yards (I’m not promoting that), but because 80 yards is the critical breaking point at which you can truly measure a bow and arrow’s performance. I judge a setup’s long-range effectiveness with a concept I call “80 Yard Range Forgiveness.” For each of my setups, I want to know exactly how far off my range estimate can be at 80 yards and my arrow still land in the kill zone.
I consider the vitals on big mule deer, my main pursuit, to be 10 inches tall (much bigger than this for elk), so that gives me plus/minus five inches of arrow drop at 80 yards if aiming for the vertical center of mass. To determine my “80 Yard Range Forgiveness,” I set my sight for 80 yards and first shoot a small sticker at 80 yards to confirm the arrow group hits right in the middle. I then mark with a small piece of tape five inches directly below and five inches directly above the center of the sticker.
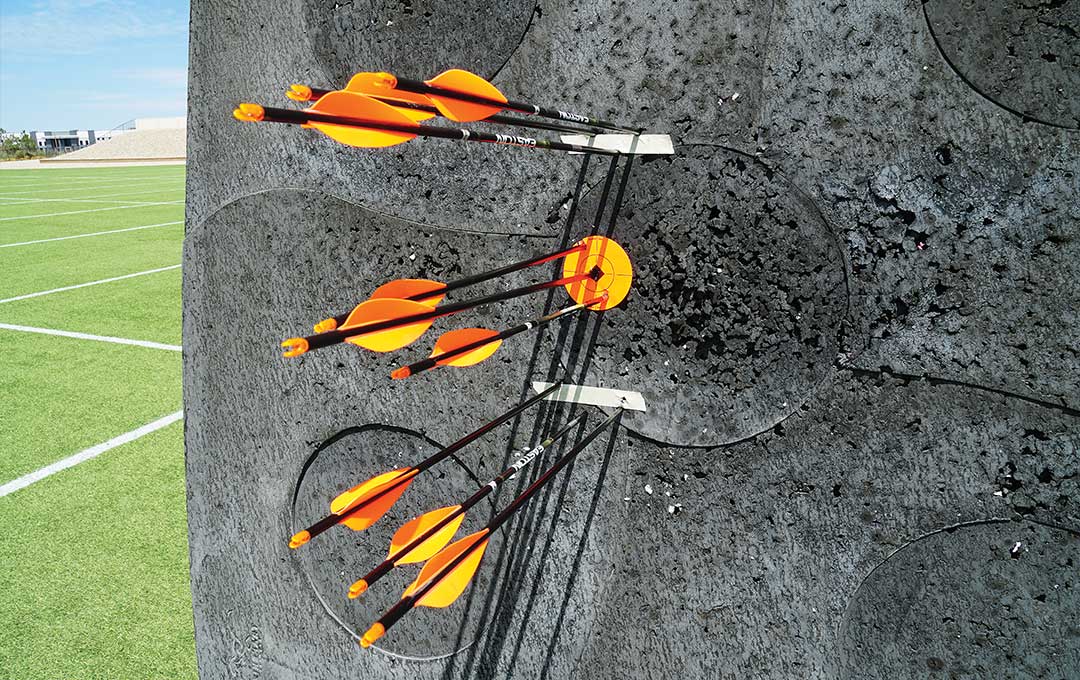
With my sight remaining fixed at 80 yards, I step forward a yard at a time, shooting three-arrow groups at each yardage (aiming at the original sticker every time) until I find the exact yardage where my arrow group hits the tape above the sticker. I then do the same thing, stepping back to determine the yardage distance where my arrow group hits the tape below the sticker.
The difference between 80 yards and these new yardages is my “80 Yard Range Forgiveness”. I typically boil this down to 80 yards plus/minus a single number. In the case of my Hoyt RX5, my “80 Yard Range Forgiveness” is plus/minus nearly four yards. That means at 80 yards, my range estimate can be off by four yards in either direction and my arrow will still land in the kill zone. This is by far the best 80 Yard Range Forgiveness I have had in a bow setup, ever. As a public land bowhunter hunting highly pressured mule deer, this is a groundbreaking advantage. Take a moment and really think about how game-changing that is.
The Proof is in the Pudding
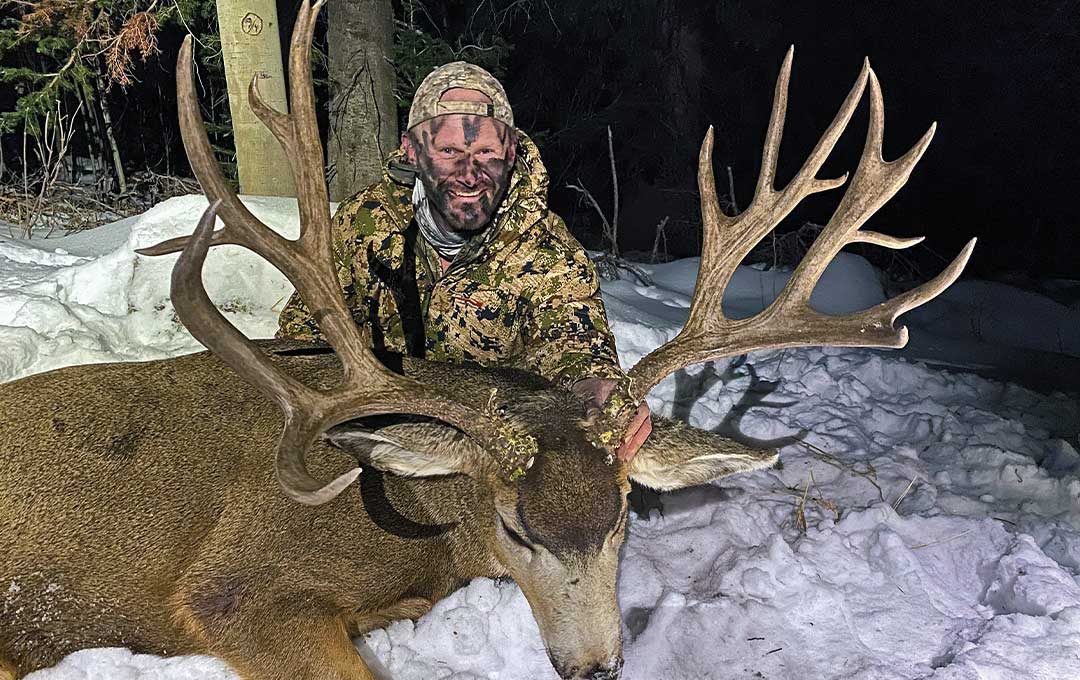
To set the importance of this concept in stone, I will relate an in-the-field experience from 2020, when I killed one of the largest mule deer to ever be killed in Northern Utah with a bow. I hunted this particular buck on and off for four years in an OTC archery unit. He was nearly impossible to find, much less kill. After 47 trips up the mountain for him in 2020 alone, I had drawn on him several times but for one reason or another, never released an arrow. With 30 minutes of light left on the final day of the 2020 extended archery season, I made a Hail-Mary stalk on this buck.
I got in range and was shadowing downwind of him as he chased does above me. I paralleled below the buck for about 40 yards, just hoping that he’d stop long enough in an opening for a shot. When he finally stopped in a small opening, I ranged him at 65 yards and drew. Just as I was settling my pin, he started walking again. I quietly let down and continued to parallel below him in the pines. Within 15 yards, he stopped again, I ranged him at 63 yards and drew, and he started walking again.
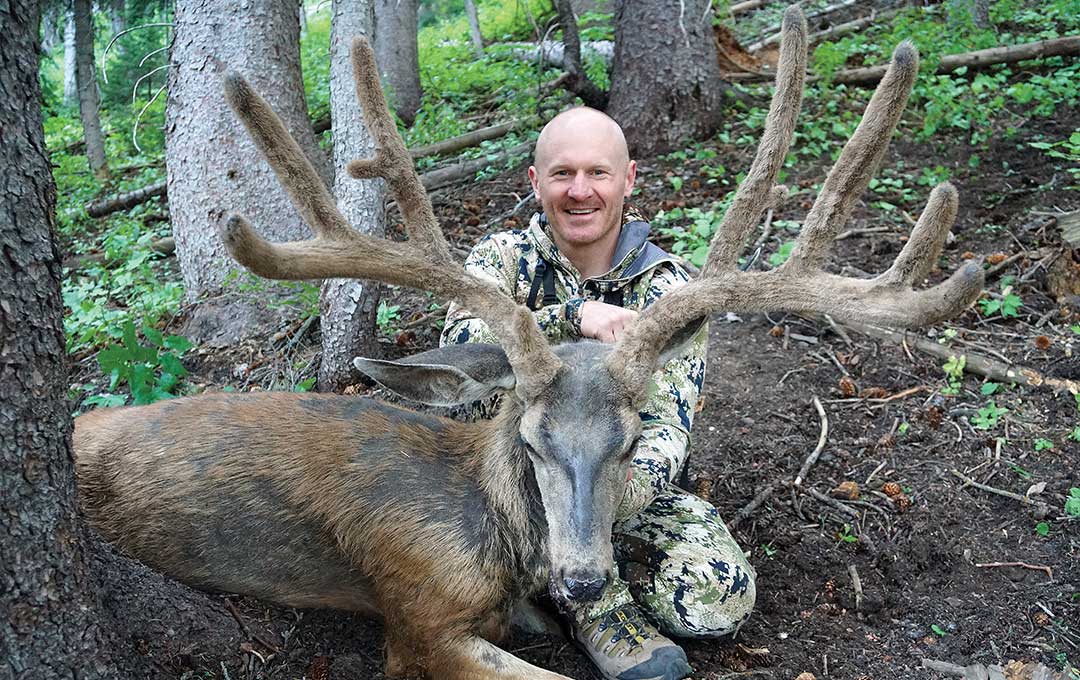
This time I didn’t let my bow down. I consciously made the decision that I didn’t need to re-range him because as I paralleled him, I remained about the same distance away from him. I knew that my arrow had a very flat trajectory, so even if the range was off a few yards, I was certain my arrow would still land in the kill zone. After a few more steps, he stopped for the final time. I immediately executed my shot sequence just as I have practiced a million times. My arrow pierced the buck through his heart. The buck took one big leap and then collapsed, dead.
I firmly believe that I would not have killed this buck in this situation if I wasn’t shooting an arrow optimized for long-range engagements. If I was equipped with a “balanced,” mediocre arrow, I probably would have sailed an arrow right underneath him. I was expecting a shot beyond 50 yards on this hunt, so I designed my arrow to maximize Range Forgiveness. Since 2015 I have been able to kill three world-class mule deer with my bow in general units on public land.
All three of these bucks were killed in open country situations beyond 50 yards, where range forgivingness was critical. I killed each of these bucks with arrows optimized for long-range engagements. All three arrows weighed between 420-430 grains, were going over 300 FPS, and were shot out of an 80-pound bow. Optimizing your bow and arrow setup to be most effective for your hunt is a critical box that needs to be checked to maximize the opportunity for a trophy at the end of the blood trail.


