NOTICE: Certain links on this post may earn a commission for Western Hunter Magazine from Amazon or our other affiliate partners when you make a purchase. Thank you for your support.
Tips for Dehydrated Food at Home
Hunting season has arrived, with early mornings, late nights, and days filled with trekking mountains. Fueling your body with the highest quality, whole natural, fresh food is going to help keep you at your best. Making your own dehydrated food at home is a great way to achieve this.
In an issue of Western Hunter Magazine, I wrote about reducing both sodium and added sugar in the foods we eat while hunting. With so much food being packaged, processed, and refined in a factory, this is no easy task. In this article, I’ll give a few tips on food dehydrating at home, which will keep food quality on your hunt at the highest level possible while having the longevity to last through hunting season without going bad. Dehydrated food can weigh 50-90% less than the hydrated version, opening up an entire world of food for backpack hunts.
Get a Good Dehydrator
When I started dehydrating food, I had no idea where to start. A friend recommended the Excalibur dehydrator (available at Cabela’s for around $300). As with anything, you get what you pay for. What I liked about this model is that there is an adjustable thermostat; important to ensure the drying temperature is consistent. Drying food on a low temperature ensures that the nutritional content of vitamins and minerals are not decreased within the food by intense heat.
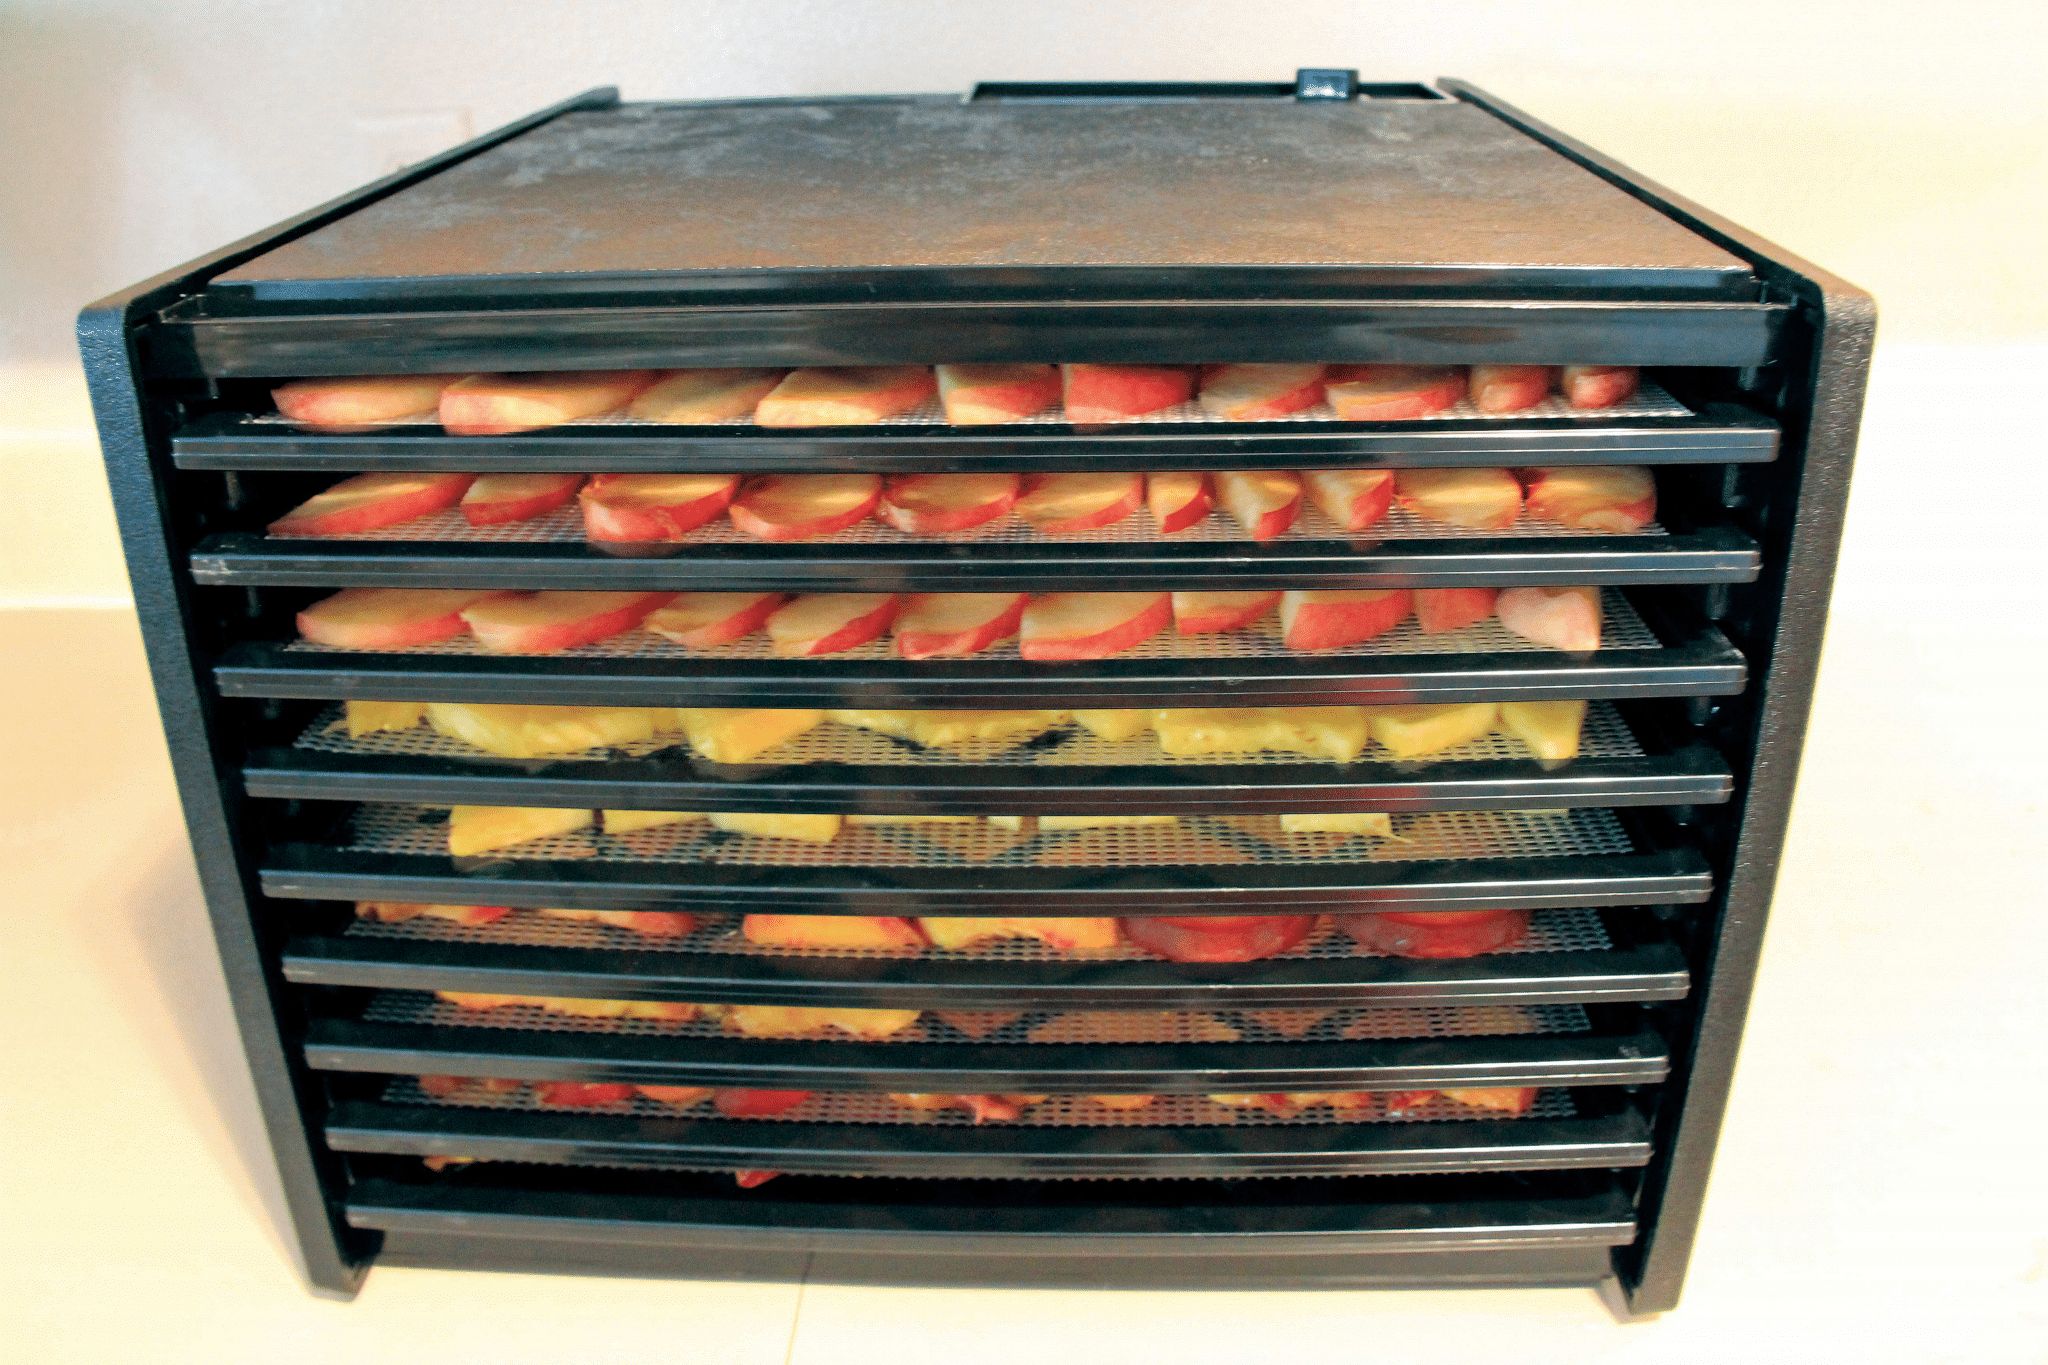
Time is valuable, and the nine-tray version can dry a lot of food at once. For example, on the nine trays, I can dry four large pineapples and four large bushels of bananas.
In my opinion, the taste of my own dehydrated food is far superior to the store-bought variety. Plus, making your own dried produce saves money and improves quality. Purchasing dehydrated food like fruit, vegetables, and jerky from the store is very expensive. Investing in a high-quality food dehydrator is an investment that can pay for itself in as little as one to two years and is a priceless investment in your overall health for quality snacks year-round, not just for hunts.
Tips, Tricks, and Ideas
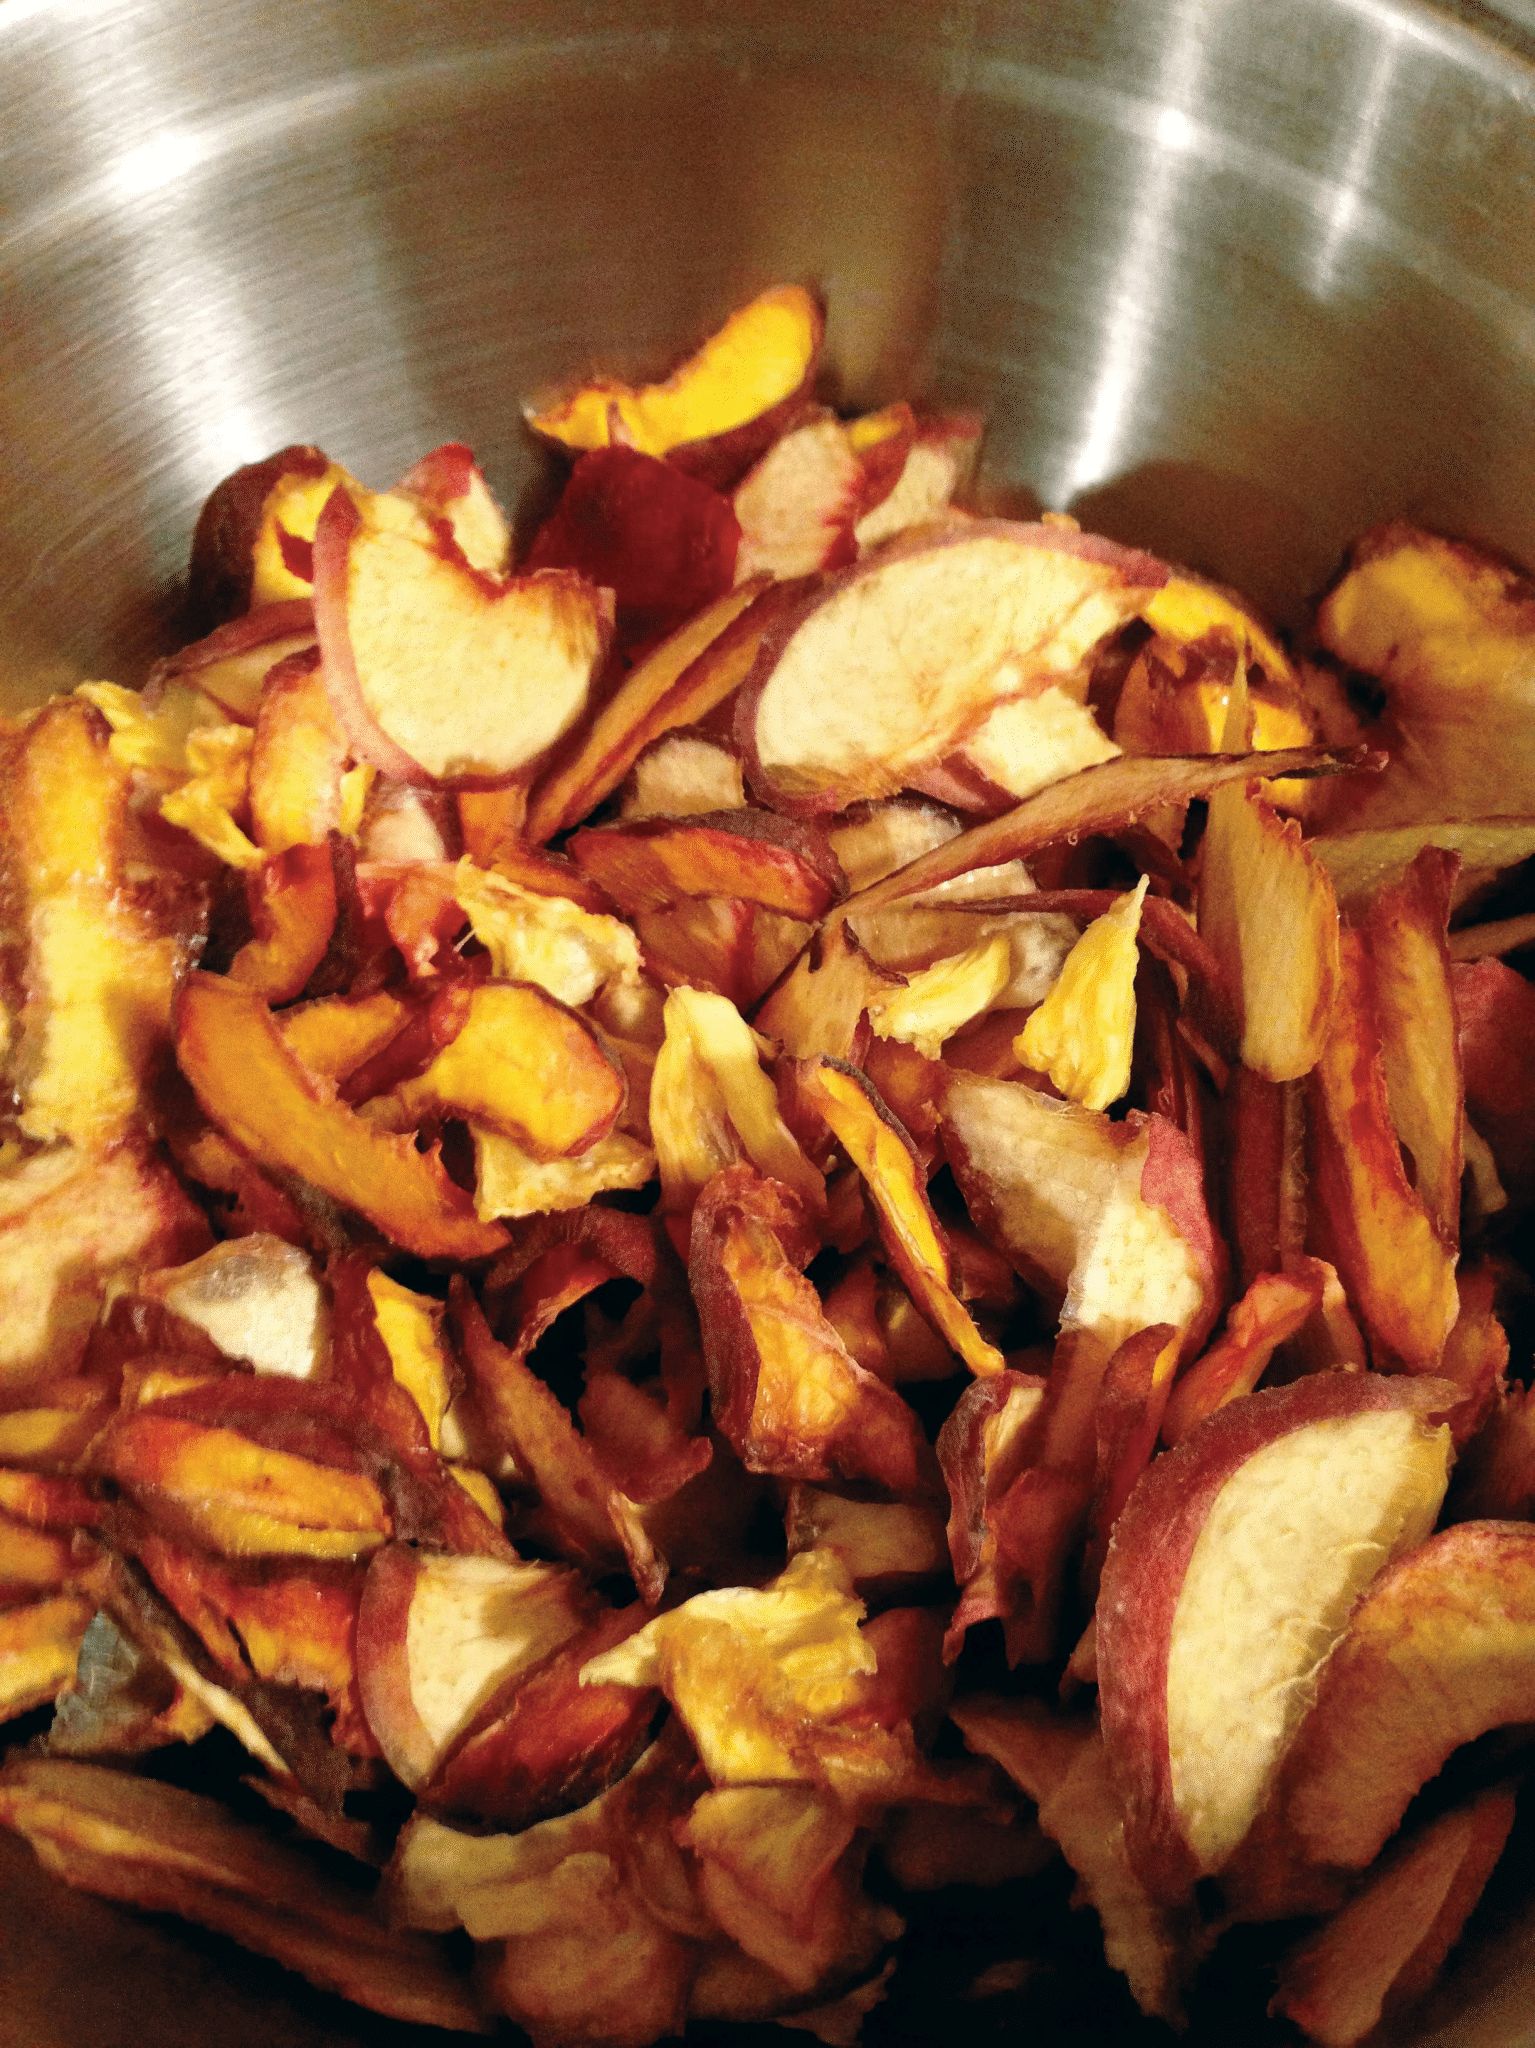
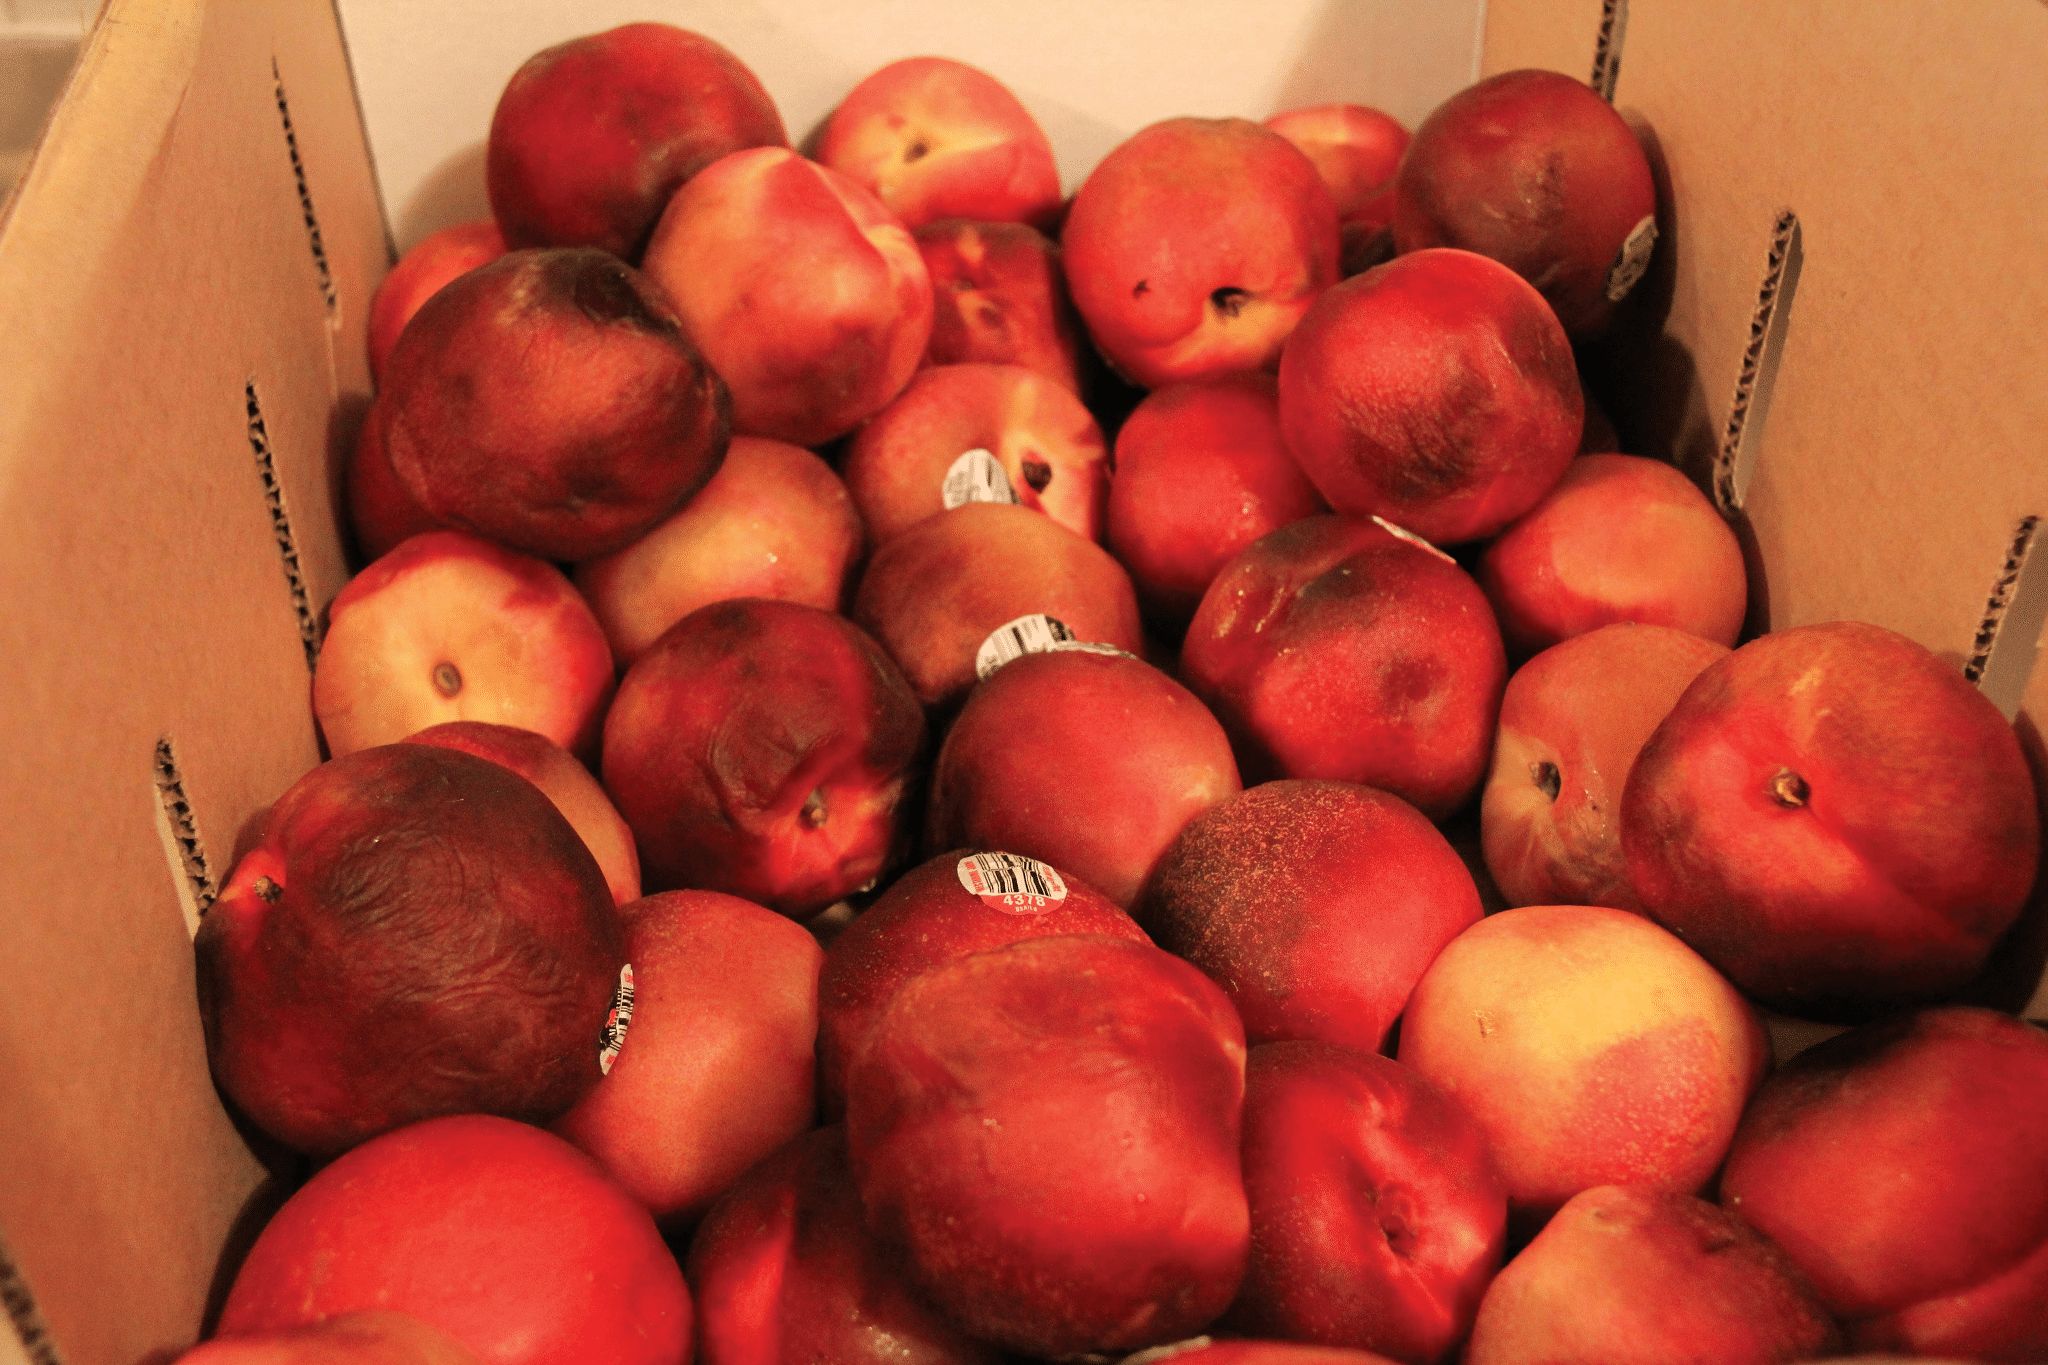
When you visit your local produce stand, ask for ripe vegetables and over-ripe fruit (not spoiled). The fruit may not look as beautiful, but don’t be fooled; extremely ripe fruit is at its peak sugar content, making it delicious and sweet once dehydrated. Plus, I’ve found that my produce man will sell this to me at 30%-50% off retail.
Vegetables I would normally eat raw (onion, tomato, peppers, and mushrooms) are easy to dehydrate; simply slice and dehydrate. Vegetables like potatoes, corn, carrots, broccoli, and green beans require steaming for 8-10 minutes prior to slicing and dehydrating.
For consistent drying times, try to cut all produce at equal thickness. A food slicer is helpful for this. However, I’ve found that different fruits dry at different speeds, so when I’m drying mixed batches, I keep watch and remove the fruit as needed. Keep in mind, it’s normal for the fruit to take on a slightly brownish color.
Make sure that your food is adequately dry. If it’s too moist, it will mold while in your backpack. You don’t want food loss to ruin or disrupt a good hunt. To test your food for dryness, place some in a Ziploc bag and check it after a few minutes. If there are water droplets, then it’s not dry enough. Make sure you take your food directly from the dehydrator and into bags to test this.
The great thing about dried food is that it rehydrates easily, oftentimes returning to normal size, appearance, and most importantly, taste. Rehydration of food in boiling water can take place in as little as five minutes.
One of my favorite foods is potatoes, but while backpacking, the added weight has made them mostly off-limits. I’ve found that dehydrating potatoes at home is easy, and I’ve expanded as far as making my own potatoes O’Brien with onions, peppers, bacon, and spices. I don’t think there’s anything better than fresh meat and potatoes after a long, successful hunt, so give this one a try.
I like to use my Vitamix to puree together my favorite fruits like banana, strawberries, and pineapple. If needed, I add a little bit of Stevia for taste and spread the puree onto wax paper, creating backpack-friendly, energy-giving fruit leather once dried.
For a super treat, take your homemade Almond butter and puree it with banana (four bananas and one cup almond butter), making power-packed fruit leather. Note: Fruit leather with nuts and nut butters have a shorter backpack life.
Vegetables can be steamed until tender, then pureed together with your favorite spices using a Vitamix, dried, and then reconstituted on the trail with water.
Making Jerky
Making your own jerky out of game meat is one of my favorites. You can use a food dehydrator or smoker at home to create whole natural, hormone-free jerky that will fuel your body with the essential amino acids you need to fuel proper recovery on the trail.
If you’re going to make your own wild game jerky, it’s important that you freeze the meat for at least 60 days to kill any potentially harmful bacteria. When it comes to spices or seasonings, your imagination is the limit. There is a large selection of spices, dry brines, and cures available for making jerky at home. To get the most flavor, be sure to marinate the meat overnight and have it coated evenly.
Tips for Slicing Your Jerky: Meat that is cut with the grain can be chewy, while meat cut across the grain tends to be tender but more brittle. No matter which way you slice it, try and make your cuts consistent. This can be done with a meat slicer. The recommended thickness is 3/18”. Fat doesn’t dry well and can/most likely will cause spoilage, so be sure to trim off any and all fat. Be sure to do the dryness test on your jerky, too.
Storage
Allow time for your jerky and produce to completely cool before storing long term. Typically, I store mine both in vacuum-sealed, pre-rationed bags. Storing the food in the freezer lengthens the shelf life. Added bonus: vacuum-sealed foods compress, taking up less space in my backpack. Investing in a high-quality vacuum sealer might be worth looking into if you haven’t already acquired one.
More Leads
There is a lot of info available on the Web about dehydrated food, drying temperatures, recipes, tips, and tricks, so do some research and get into dehydrating before your next hunt. The best resource I’ve found is by chef/author Glenn McAllister. He has a great book titled Recipes for Adventure and you can download his eBook, or you can visit his website.