
NOTICE: Certain links on this post may earn a commission for Western Hunter Magazine from Amazon or our other affiliate partners when you make a purchase. Thank you for your support.
The Basics Of Shooting In Manual
Bring more creativity to your photographs by manipulating your exposure.
Today’s consumer-level cameras are extremely capable and can make even the most novice photographer look like they know what they’re doing. However, auto mode can only do so much and if you want to take your photo game to the next level, you’re going to want to start shooting in manual mode.
Manipulating exposure functions on your camera allows you to make conscious decisions regarding lighting, depth of field, and length of exposure, giving you more control over your image-making.
The Basics
Understanding exposure and how to manipulate it can be a pretty daunting task, so let’s start with the basics. It’s helpful to remember that light is the sole ingredient when taking a photograph. That being said, the term “exposure” defines the total amount of light permitted to reach the camera’s sensor. You control exposure with three settings: ISO, aperture, and shutter speed.

ISO
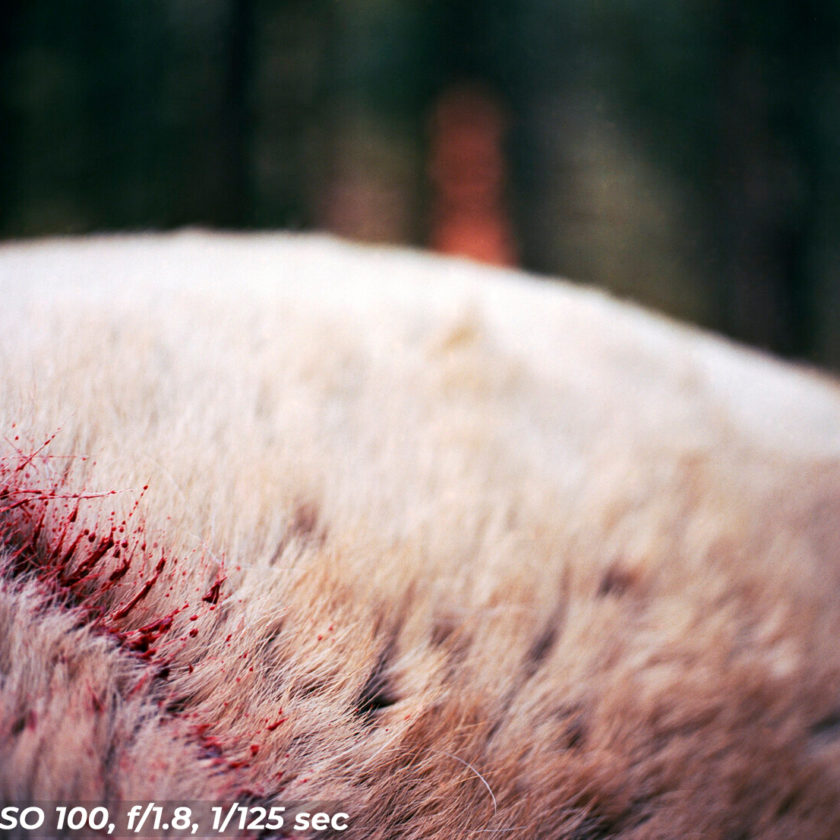
ISO describes how sensitive your sensor is to light. This setting gives your sensor sort of a baseline and you will adjust it based on the lighting situation you are in. For instance, if you find yourself in a very bright situation, say clear skies with snow on the ground, you will want to make sure that your sensor is less sensitive to light, say an ISO of 50. Conversely, if you’re shooting at night, or in dark situations, you will want your sensor to be more sensitive to light, maybe somewhere in the 800-1,200 range.
Typically, ISO values range from 50-100,000 on most DSLR’s today, with 50 being the least sensitive to light and 100,000 being the most. One thing to keep in mind with ISO, the higher the number, the more you will introduce digital noise and grain into your image. I try to keep my ISO below 1,200 as I find I can maintain image quality and still shoot in darker conditions.
Aperture
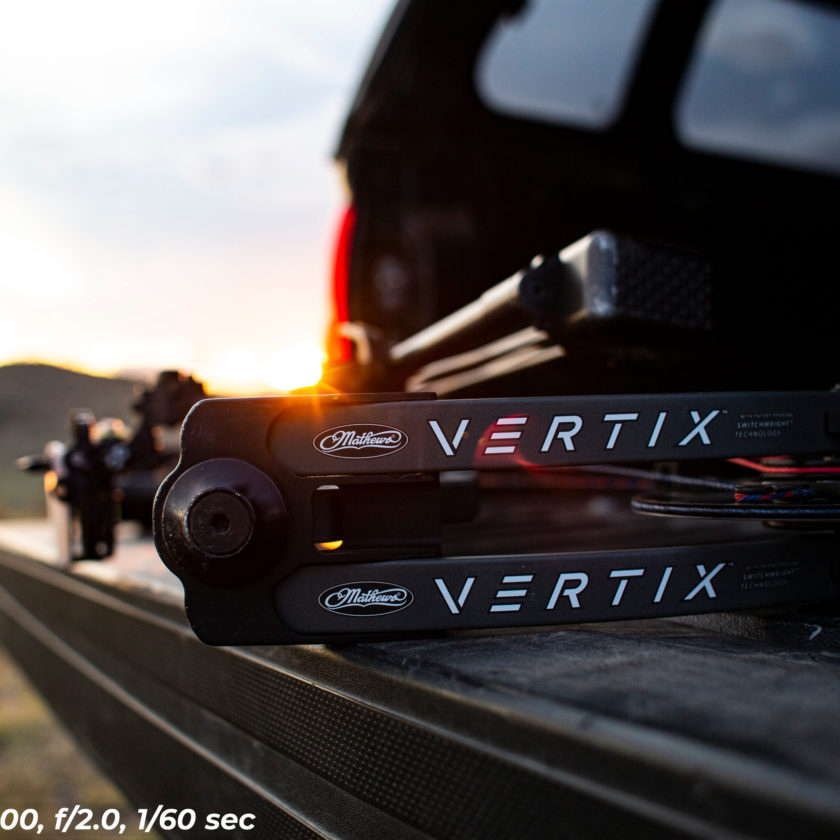
Every lens has an aperture, it’s a physical ring within the lens that opens and closes regulating the amount of light that enters your camera. Obviously, the larger the aperture, the more light enters the camera and vice versa. Shown on your camera as a F/number, it’s important to remember that the smaller the number, the larger the aperture. For instance, f/2 is a larger aperture than f/4.
Shutter Speed
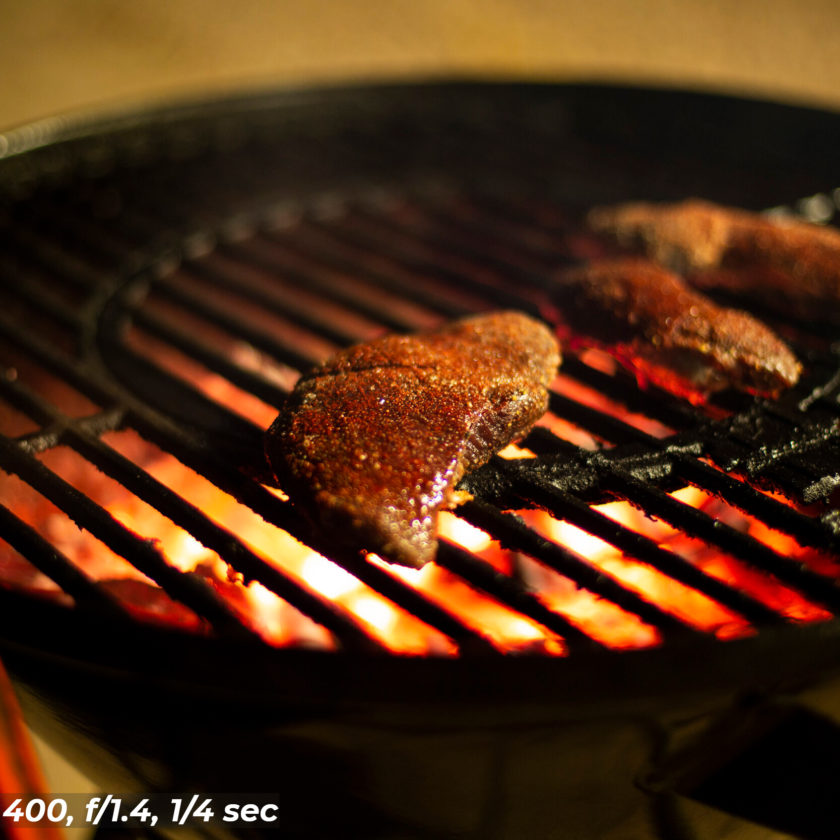
Shutter speed describes the amount of time light is permitted to reach your sensor, the more time, the more light makes contact with the sensor, the brighter your image will be. As stated, shutter speed describes time so its numerical values on your camera represent seconds and fractions of seconds. It’s important to note that the larger the number, the faster your shutter speed is. For instance, a shutter speed of 1000 represents 1/1000th of a second, a shutter speed of 30 is 1/30th of a second, “30 equals 30 seconds. Keep in mind that when shooting at shutter speeds of 1/60th and slower, your camera will start picking up handshake and produce blurry images this is when you will want to put your camera on a tripod.
Putting it all Together
When shooting in manual mode you will be using ISO, Aperture, and Shutter Speed in conjunction with each other.
Think of ISO as a macro-adjustment, and aperture and shutter speed as micro-adjustments.
Truthfully, you will not change your ISO all that much as it’s more of a general setting. During the day, I will typically have mine set between 50 and 400. This range gives me the flexibility to shoot all day, from grey light (200-400), to high noon (50-100) and back to dusk. At night, my ISO will fluctuate between 400 and 1,200. For beginners, it’s helpful to set your ISO to 400 during the day and 800-1,200 at night.
Aperture and shutter speed, on the other hand, will be adjusted from shot to shot based entirely on lighting and what you want to achieve with your photo. These two settings work hand-in-hand with each other. If you’re shooting with a large aperture (letting in a ton of light) then you need to decrease the amount of time that light makes contact with your sensor. If you’re shooting with a small aperture, then you’ll increase the time light contacts your sensor. This can be overwhelming, but luckily your camera comes equipped with a light meter to help you make the right choices.
While in manual mode, your camera will display a simple scale, a dot in the middle with a plus sign on one side, and a minus side on the other. When you depress the shutter release button halfway, your camera will read the light within the scene and tell you if you are under or overexposed based on your settings. If the indicator is leaning more towards the plus sign, you’re going to overexpose the image (too bright), if it’s towards the minus side you’ll underexpose (too dark). Your job is to adjust either aperture or shutter speed to put the indicator in the middle of the scale to achieve an even exposure.
This is where your creativity comes into play. In addition to regulating light, different aperture and shutter speed settings can drastically change the way an image looks.
Get Creative
The size of your aperture dictates your depth of field. Depth of Field (DoF) describes the amount of sharp focus within an image. A shallow depth of field describes an image with a small amount of sharp focus, whereas a long depth of field would describe an image that is sharp from front to back.
Changing your aperture affects your depth of field. To produce an image with a shallow DoF, shoot with a wider aperture (smaller number). To produce a long DoF, shoot with a smaller aperture (large number)
Your shutter speed will affect the length of your exposure, meaning how long it actually takes to take the picture. Length of exposure directly affects the way movement is portrayed in the image. A longer shutter speed will show the actual movement of objects within the frame, ie motion blur. A shorter shutter speed will freeze movement in time.
Take the image above for example, I knew going in that I wanted only the arrow to be in sharp focus. This meant that I would have to make sure Chris was out of focus and I would have to have a fast enough shutter speed to freeze the broadhead as he spun the arrow. However, I had some darker conditions, (overcast and getting close to dusk) so I bumped my ISO to 400, making it a bit more sensitive to light. To let more light in and achieve the shallow DoF I wanted, I opened my aperture as wide as it would go to f/1.4, and then adjusted my shutter speed to 1/100th of a second to achieve an even exposure.
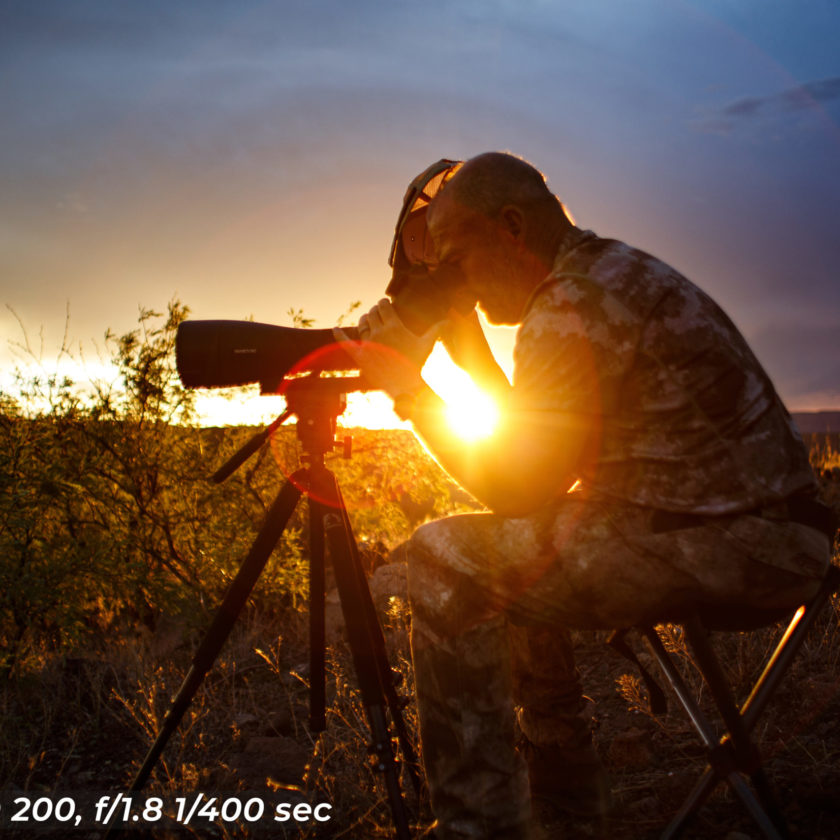
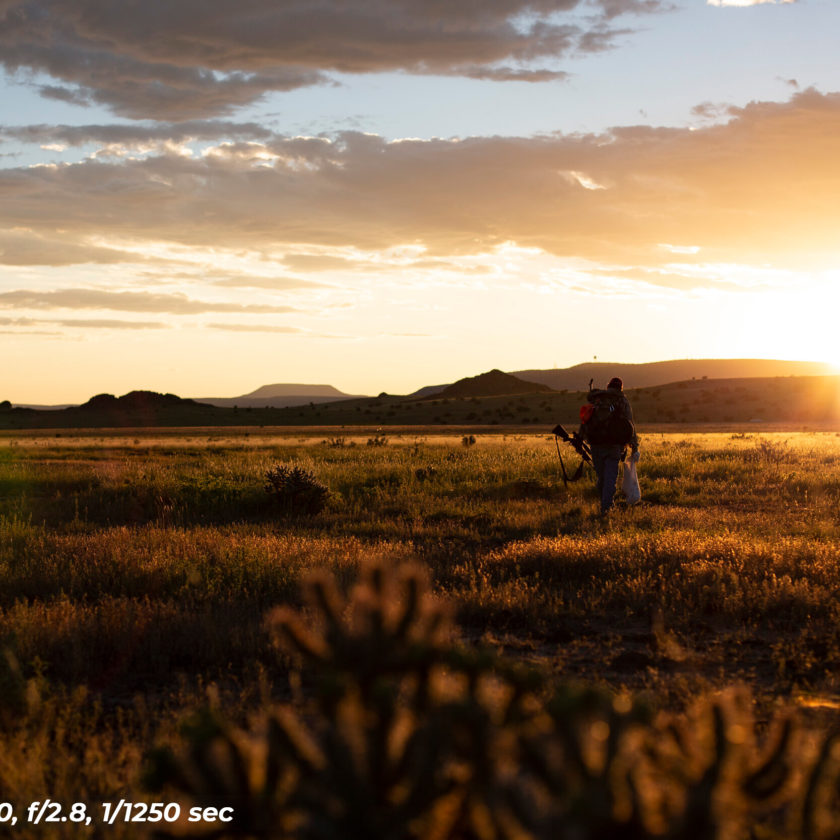
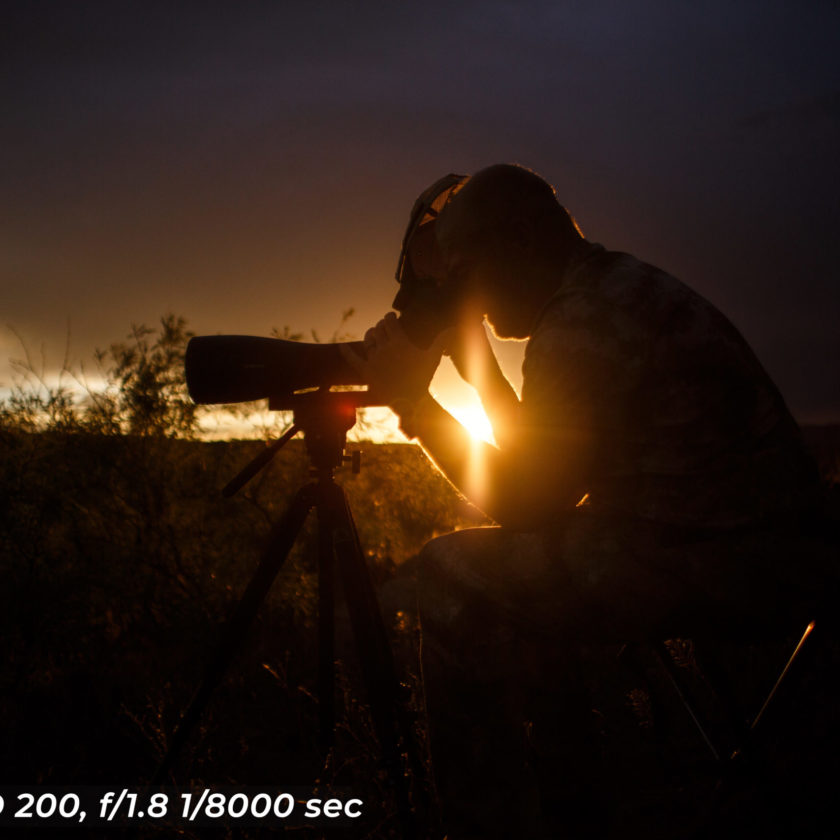
Shooting in manual mode gives you the ability to play with the lighting in the scene. For example, in these images of Chris glassing in front of the setting sun I had my ISO set to 200, and my aperture set to f/1.8. The first photo was taken with an even exposure (indicator in the middle of my light meter), in order to do this my shutter speed was at 1/400th of a second. For the second shot, I wanted Chris to be silhouetted by the sun so I purposely underexposed the shot, (indicator towards the minus side of my light meter) by changing my shutter speed to 1/8000th of a second.
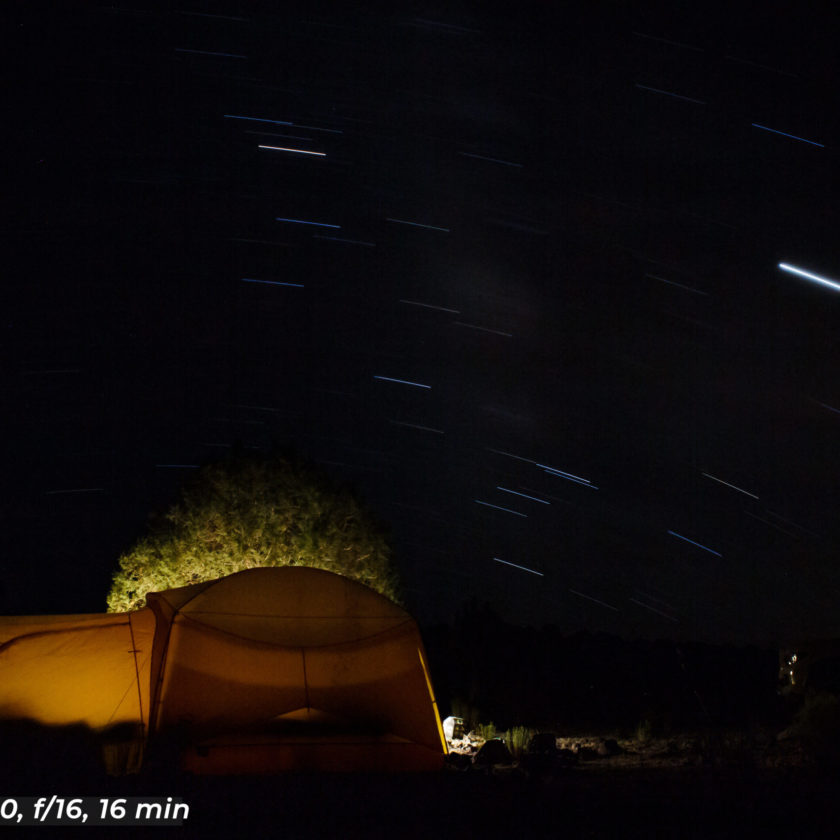
Shooting in manual mode will also help you step up your night photography game. By playing with length and amount of exposure, I am able to achieve drastically different images. For this first shot, I wanted a long exposure so that you could see the rotation of the earth through the movement in the stars. To achieve this, I dropped my ISO to 100 and closed my aperture down to f/16. This allowed me to lengthen my shutter speed to 16 minutes.
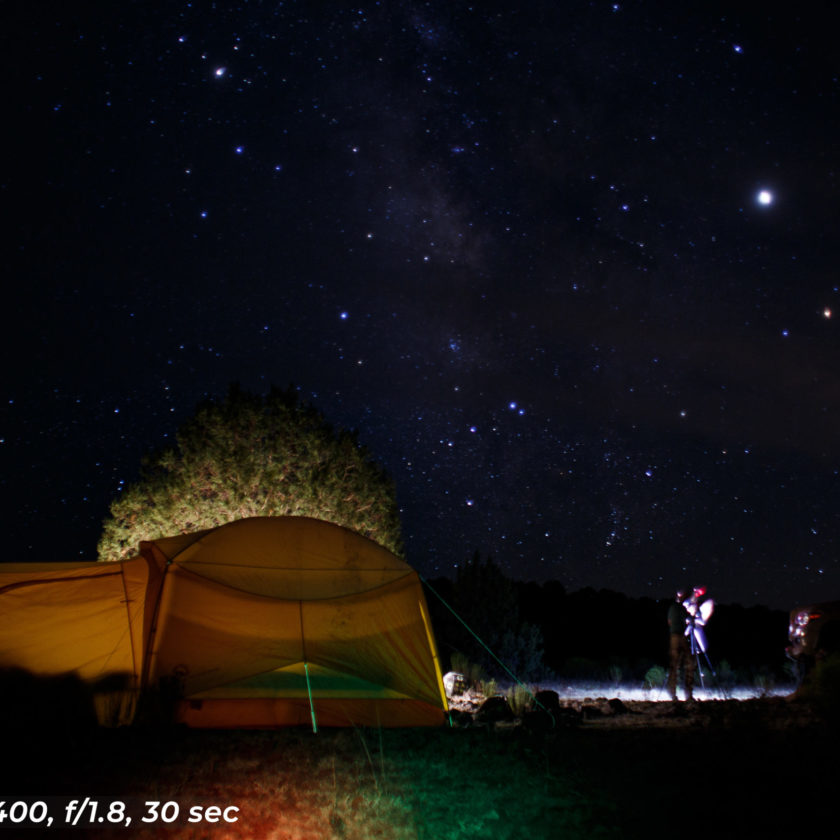
In this final image, I wanted to eliminate the movement of the earth and have the stars and Milky way in relatively sharp focus. To do this, I needed to capture as much light as possible, so I bumped my ISO to 400, opened my aperture all the way to f/1.8, and increased my shutter speed to 30 seconds. Admittedly f/1.8 might have been a little too open because the tent is in sharper focus than the sky. In retrospect, I should have increased my ISO to 800 or 1,200 and set my aperture to f/2 of f/4. This would have given me the sharpness in the sky that I was looking for.
Conclusion
Understanding exposure isn’t the simplest thing in the world. It will take some time and a whole lot of practice. My best advice to you is to get out there and shoot, play with the settings discussed, experiment, and don’t be afraid to take bad photographs. Have fun with it!