NOTICE: Certain links on this post may earn a commission for Western Hunter Magazine from Amazon or our other affiliate partners when you make a purchase. Thank you for your support.
How To Get The Most Out Of The Camera In Your Pocket
Everybody now-a-days has a cell phone in their pocket, right? During a SE Arizona bear hunt I was on a few days ago, we had plenty of “Kodak” moments, featuring everything from sunsets to bears to velvet mule deer bucks skylined on yellow hillsides. I was in decent company, and one thing I noticed is that after we’d taken a moment to enjoy one of the many sights, the next thing we all did was take out our cell phone and snap a photo. In my pack I was hauling camera gear that’s worth as much as the truck I drive, yet still found myself reaching for my trusty Samsung phone. Now why would that be?
The only answer I could come up with is that it’s a quick and painless way to produce a relatively high-quality photo. With a little tinkering, an iPhone or Android camera can produce even better results. With that in mind, I thought it would be a good idea to share a few tips on how to get the most out of the camera you already have.
Good to Bad Ratio
If you’re like me, about 80% of the photos taken with your phone aren’t going to shock anyone you show them to, 15% of them come out pretty good, and then there are that 5% that make others say, “You took that with your phone?!”
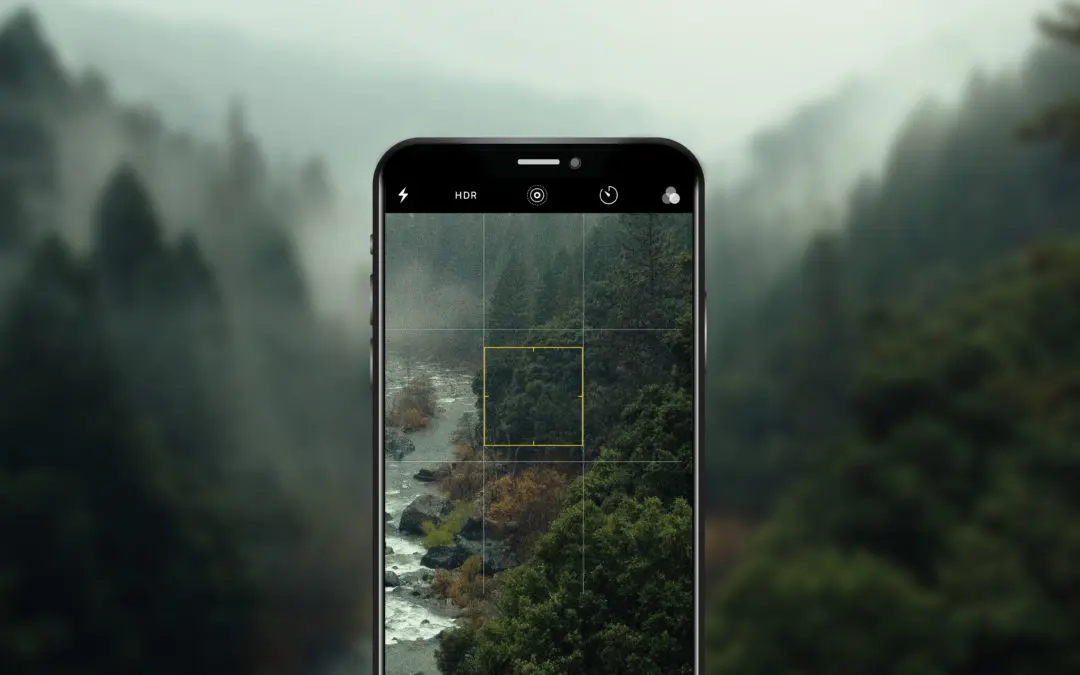
Starting with the 80%, there is nothing wrong with snapping as many photos as you want. The main reason these may be underwhelming is the amount of light available. Smartphone cameras are nothing if not excellent at detecting and adjusting for the amount of light they can gather. However, the auto setting on your camera app may not be the way to go. One of the most important tricks that is often overlooked is the tap-exposure system. Without going into “Pro” mode, you can easily get the correct exposure with minimal noise and everything in frame lit correctly.
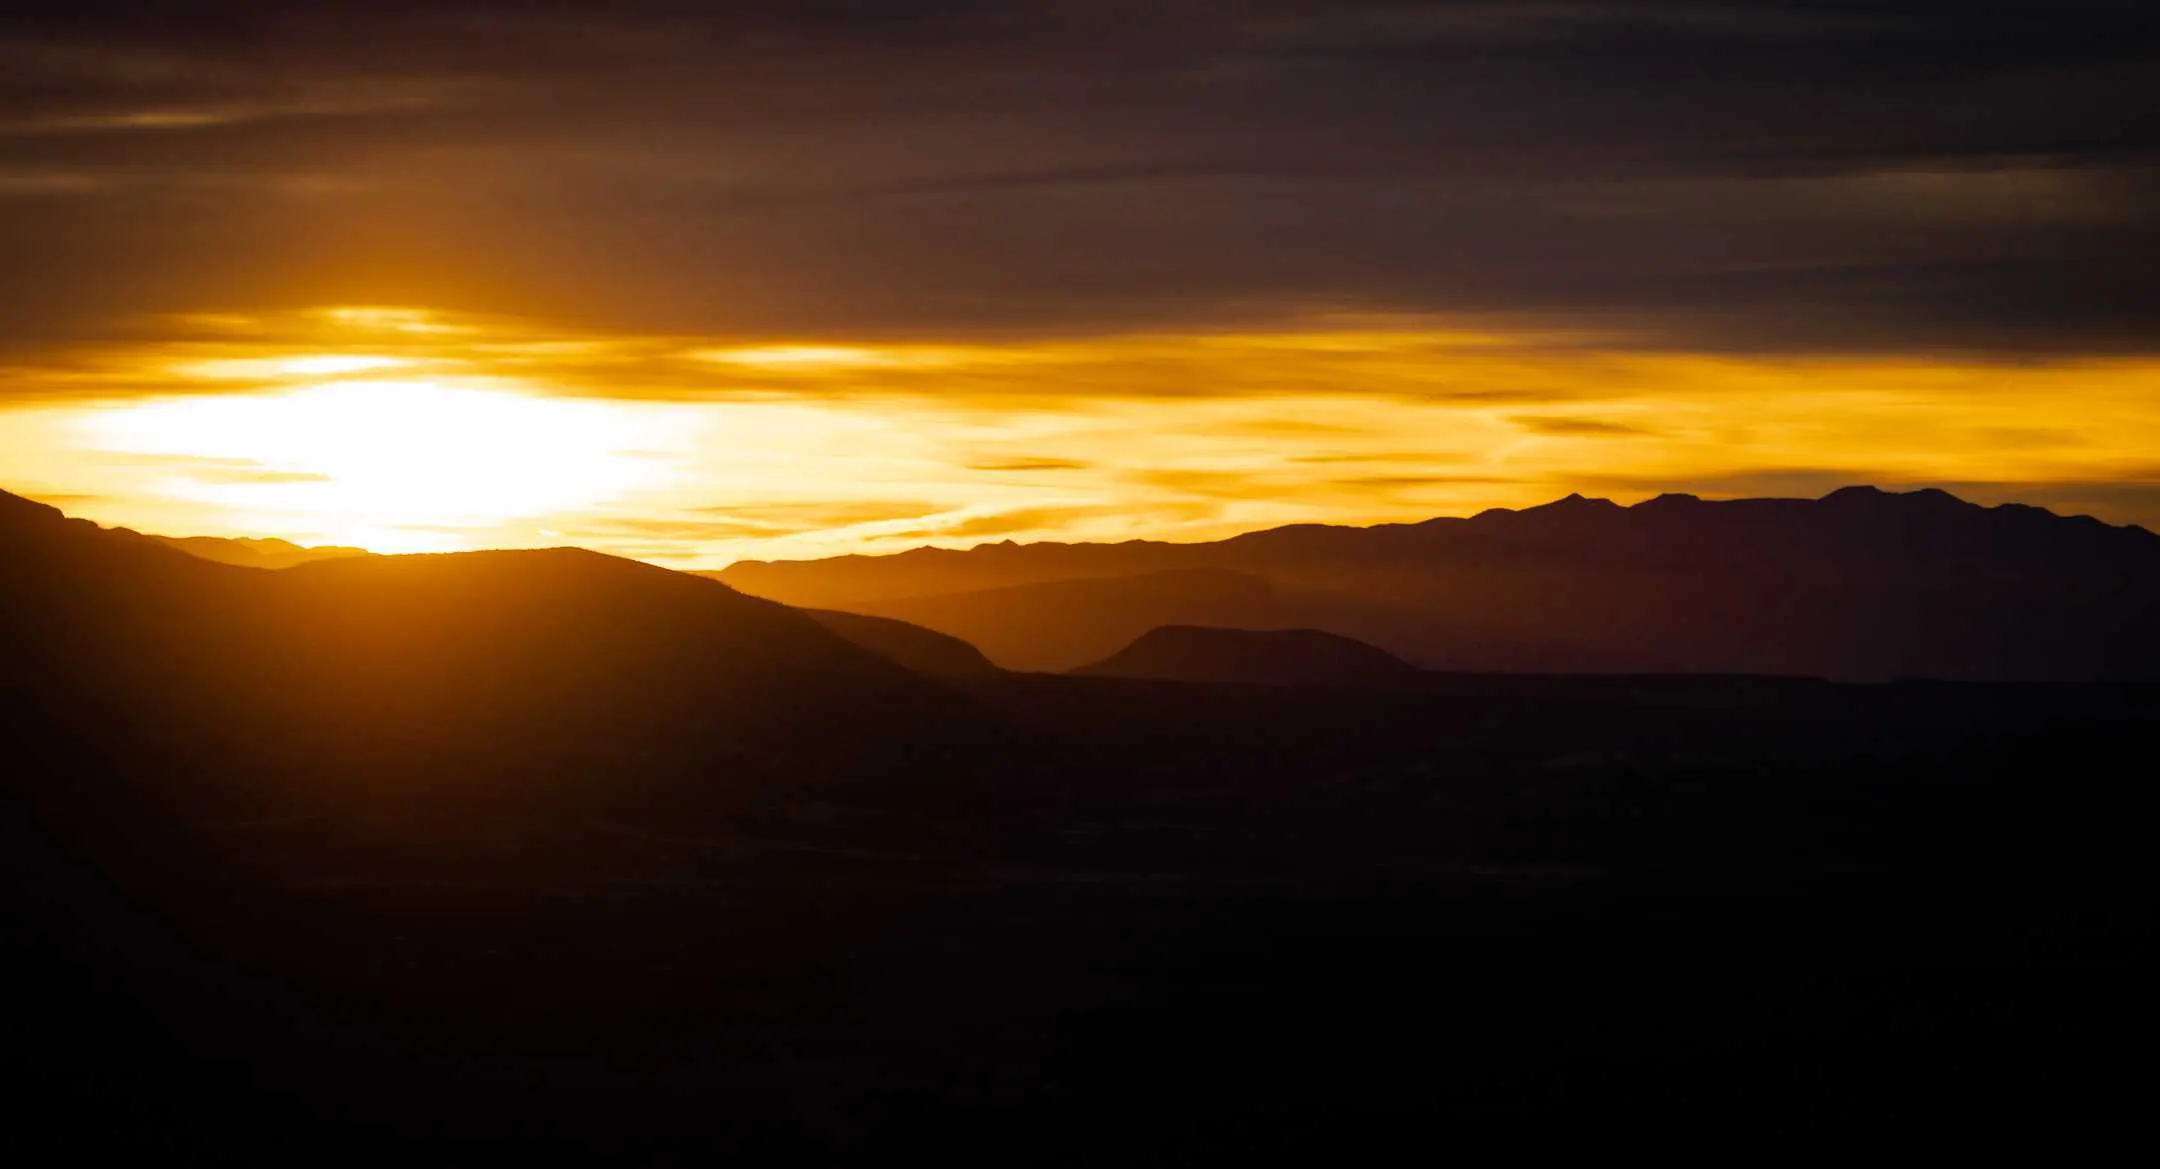
For example, the next time you take a sunset photo or any that involves bright light or low light, pick out the subject you want to see most and simply tap it on the screen. Your camera will detect the point that you select and expose for it. Otherwise it is trying to balance everything in the frame, which can produce some wonky results. For a photo of a bright sky over mountains, tap the sky on the screen with your finger. This will darken the sky and allow the outline of the clouds and mountains to pop and not become washed out by the sunlight. For a human subject in particularly bright or dark lighting, the same principle applies. That one tap will also make sure the image is properly focused. If the auto setting doesn’t come out the way you hoped, try tapping and dragging left or right to adjust exposure.
Lighting
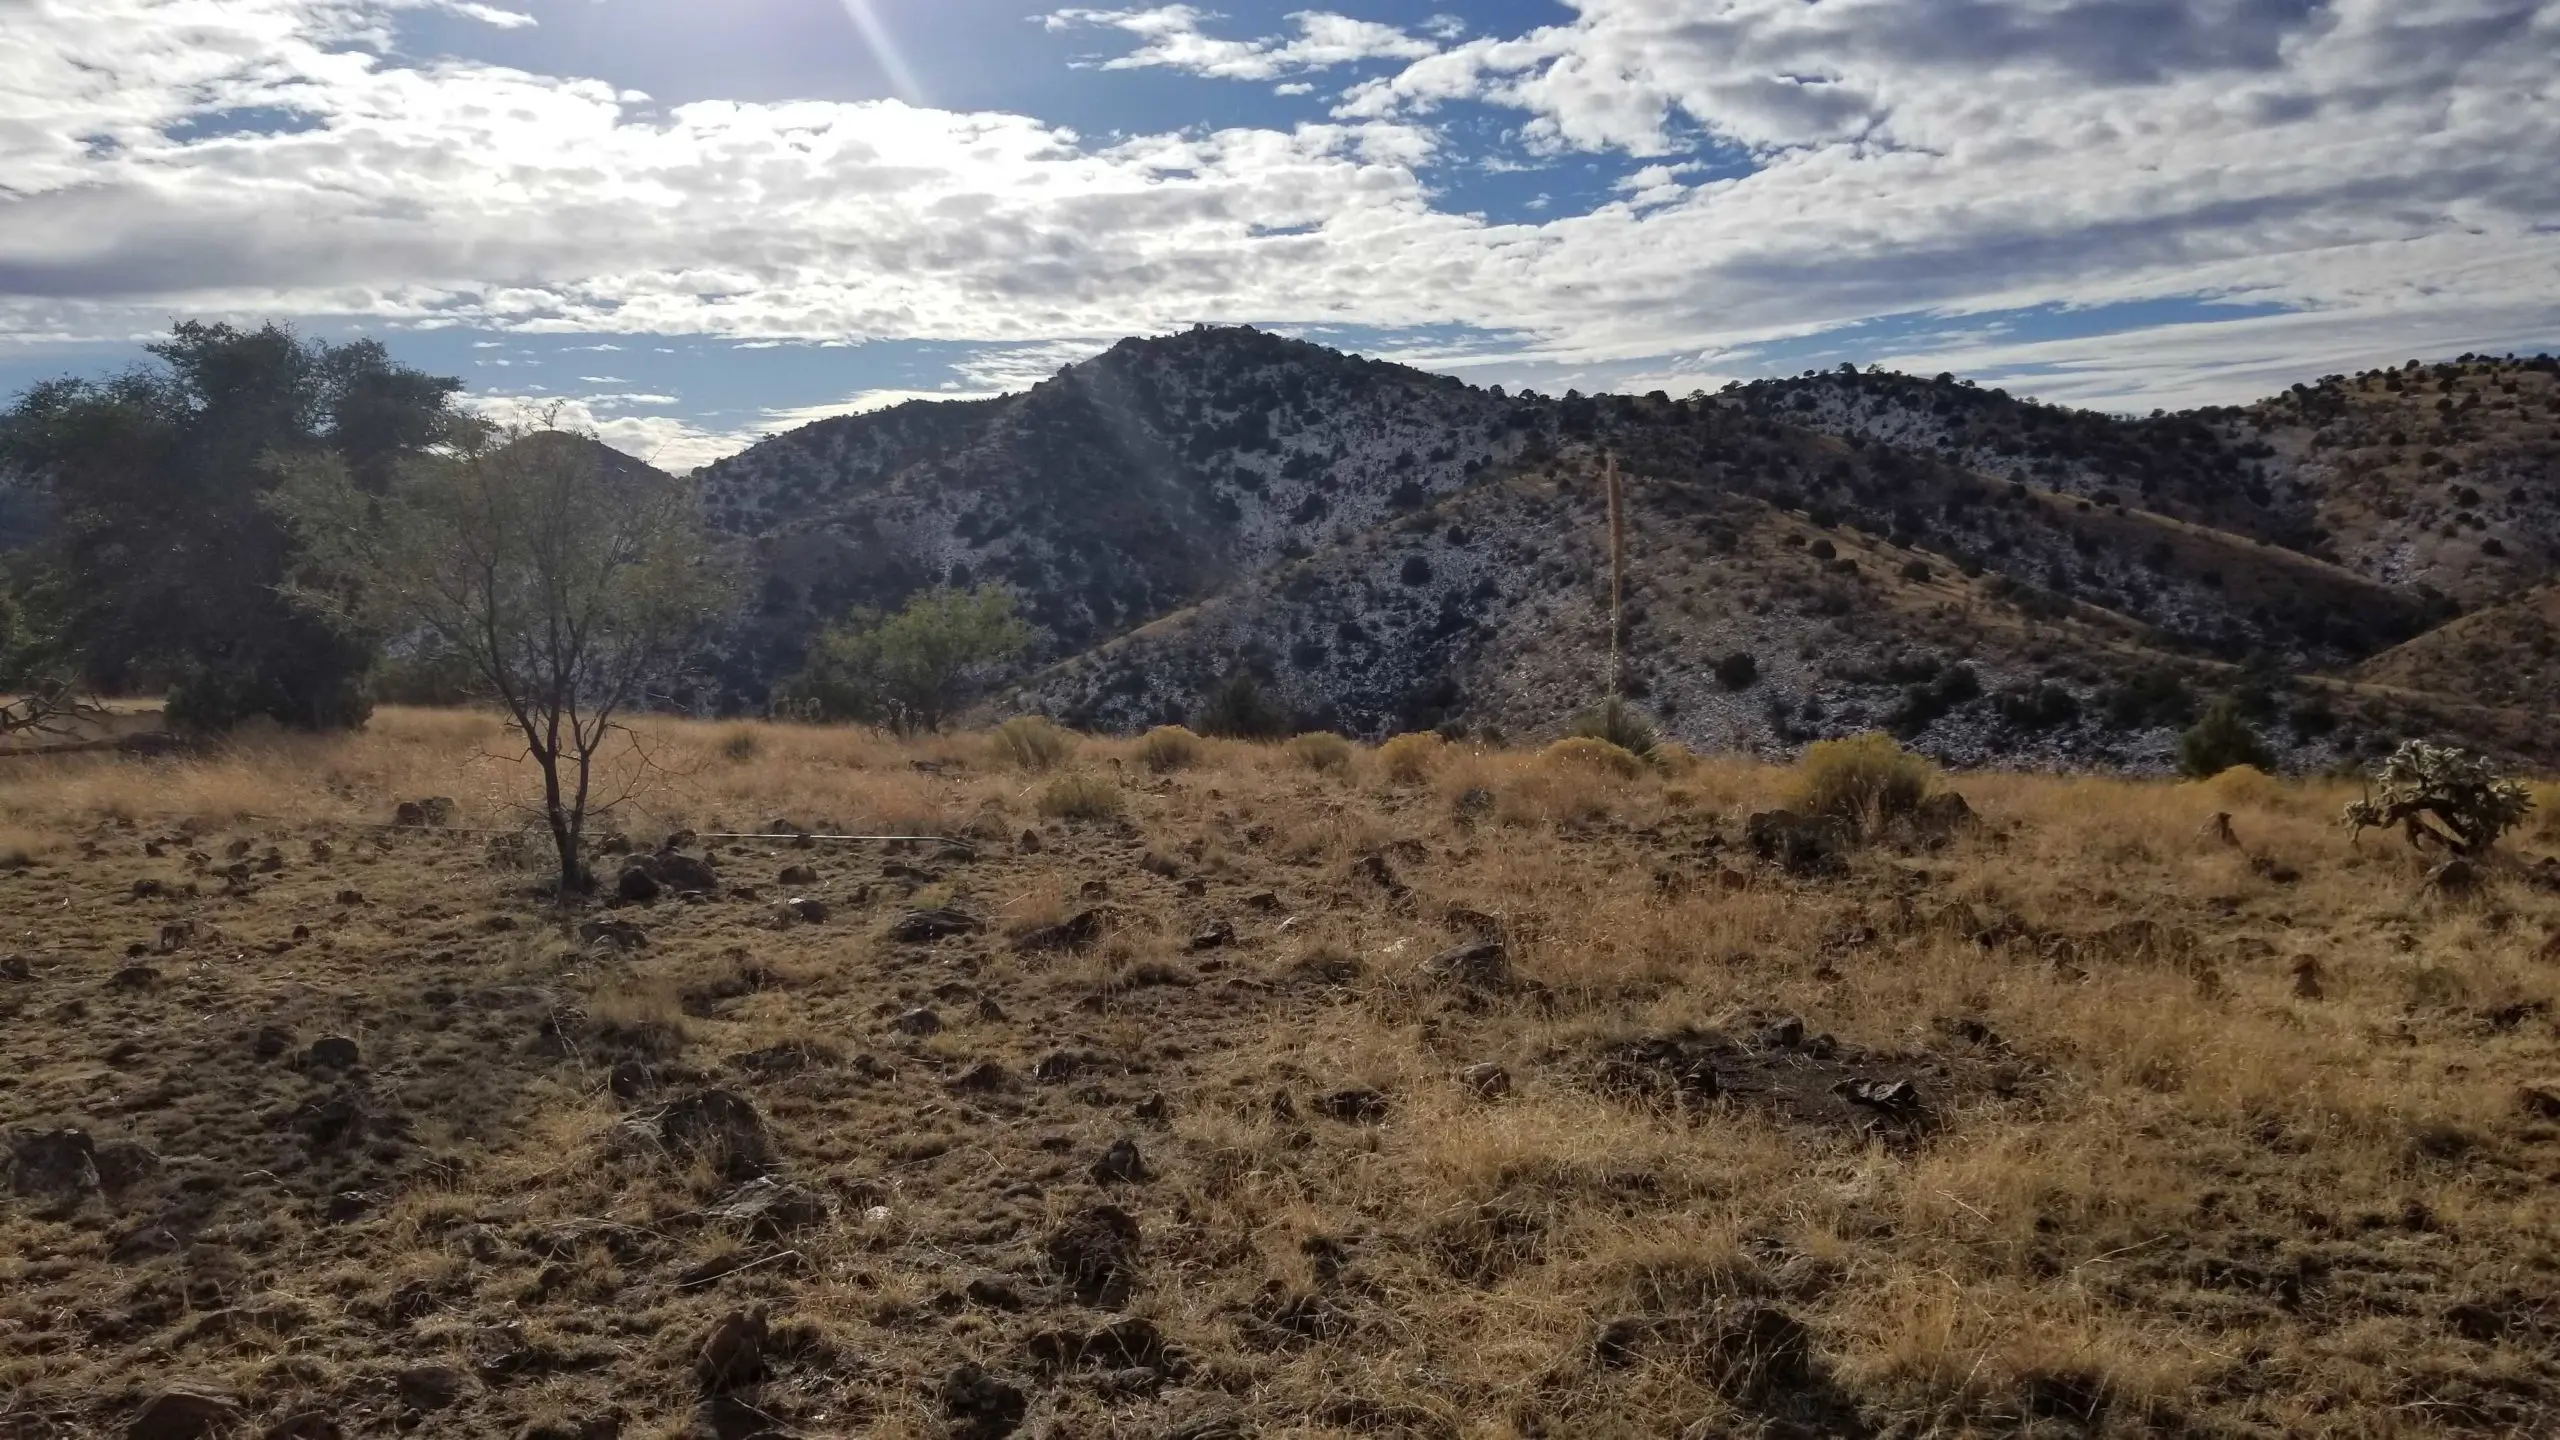
Moving on to the 15% that come out pretty good, the main thing to consider is lighting conditions. Nearly any photo taken with a smartphone when the sun is out is going to look just fine. The question is whether “just fine” is good enough. Ideal lighting conditions for photos occur when the sun is less than 45 ̊ above the horizon. Overhead sunlight is difficult to expose for and makes for harsh shadows.
Looking for interesting shadows or ways in which light interacts with the environment is a great way to add character to photos. A good example is the horizontal sunlight in the morning in timber country. The trees make shadows and those can make photos much more interesting. A headlamp is your best friend when it comes to taking photos in dark conditions. Shine one or two on the subject from different angles for best results.
Framing
One of the main features of the best cell phone photos we receive at Western Hunter is the way that the subject fills the frame. There is not a lot of dead space - unless that is a specific decision that the photographer made. Space is good for landscape photos and such, but for a cover shot or trophy photo, we generally want the subject to really stand out.
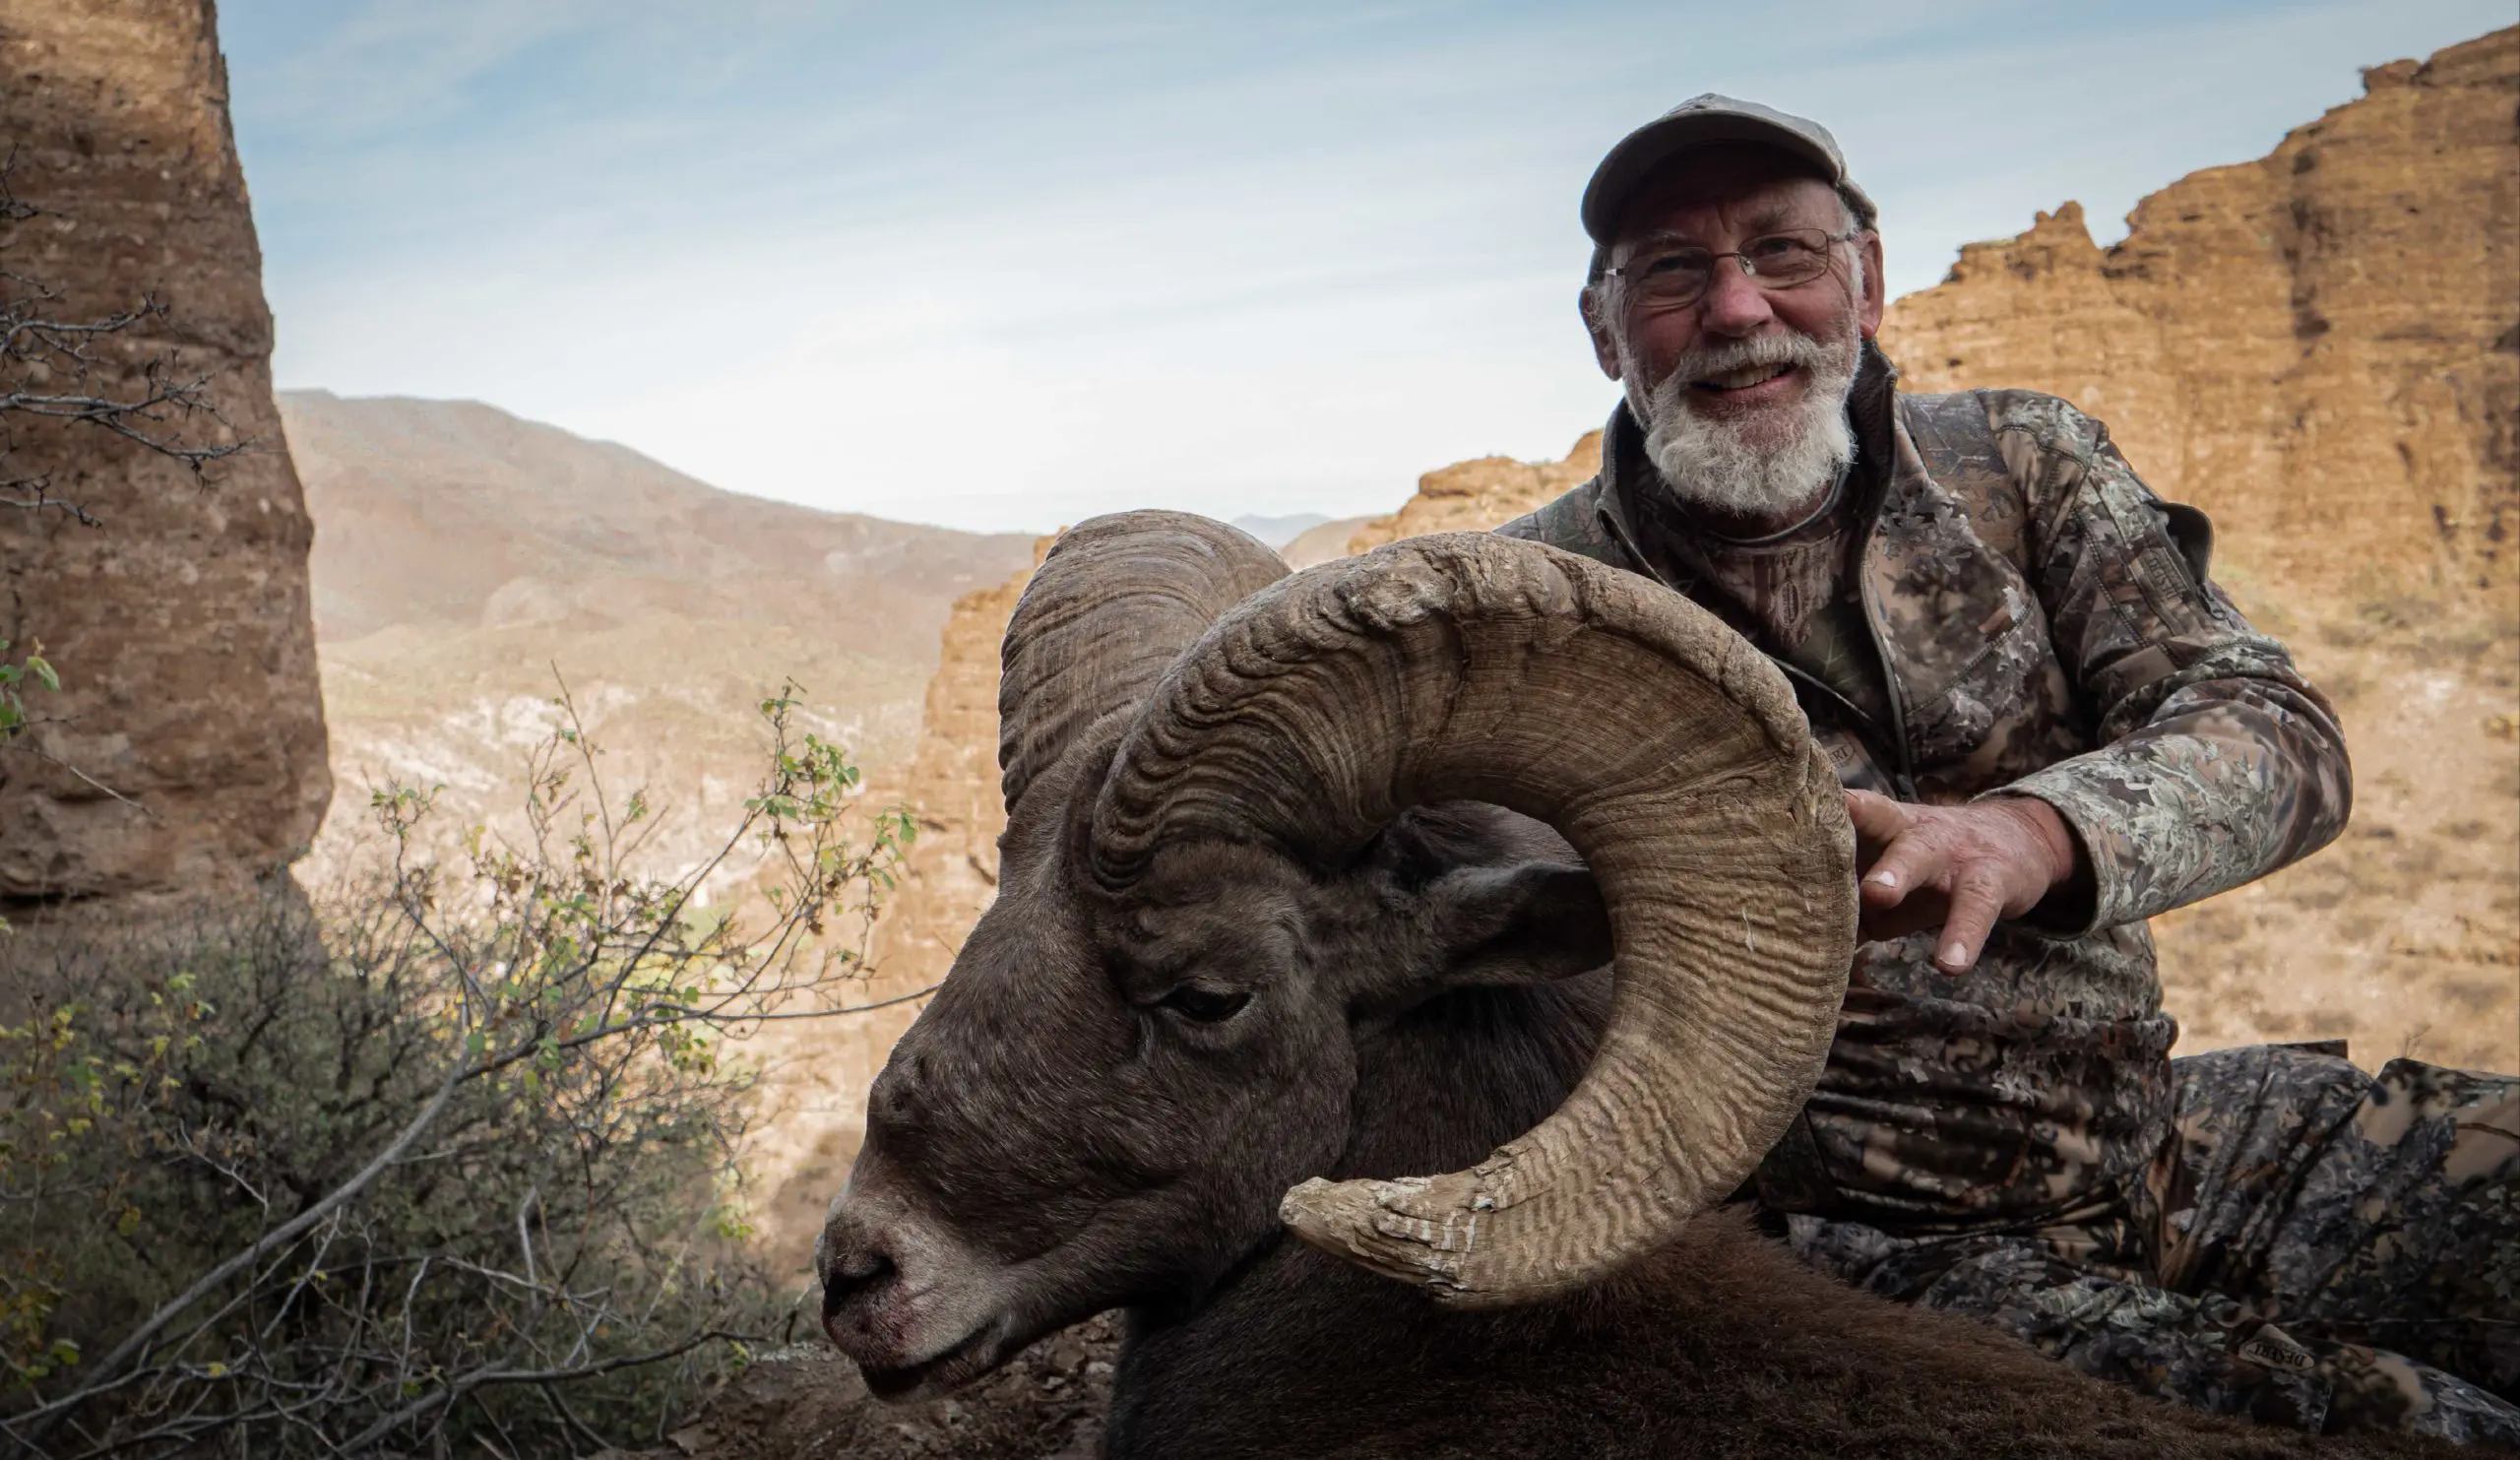
For taking photos after a successful hunt, be sure to get close and use a wide-angle (all the way zoomed out) to really exaggerate the emphasis on the animal. The technique here is to avoid using zoom. Moving closer is generally better unless there is a specific effect you’re after. This is not about making the animal look unnaturally large, but is about drawing attention to it. A suggestion I would make to any photographer is to always try to get a low angle to have more of the background/sky in the frame. You may have to sit or lay down, and if you’re not willing to do that, you have some other questions to answer.
The Good Ones
Lastly, how do we get those 5% of camera phone photos that really make us question the lines between handy and professional results? Here are a few tips to give your photos that extra boost over the top.
Composition
This is a scary, artsy term that boils down to the layout of the objects (or lack thereof) in your photo. Here are some simple elements of a cool composition to consider before snapping: Where is the light coming from? What’s behind the subject? What’s in front? What is in/out of focus? How much of the frame does the subject take up? What do I want the viewer to see or not see? To give a realistic explanation of this, I thought I’d walk through my thought process of a photo I took with my phone last summer at Lee’s Ferry on the Colorado River.
First of all, I wanted the shot to be wide. The immense size of everything in the Grand Canyon area lends itself to landscape photography. I wanted to capture the scale of the rock walls and massive river but needed a point of reference. My friend Jake was the perfect object for that. I shot the photo with both the “wide” and “ultra-wide” lenses on my Samsung S20, and as you can see, the UW was a little overkill. It looks nice, but Jake gets lost in the river at that extreme angle. A cloudy afternoon is one of my favorite times to take photos because a little mix of hard and soft light is interesting to work with.
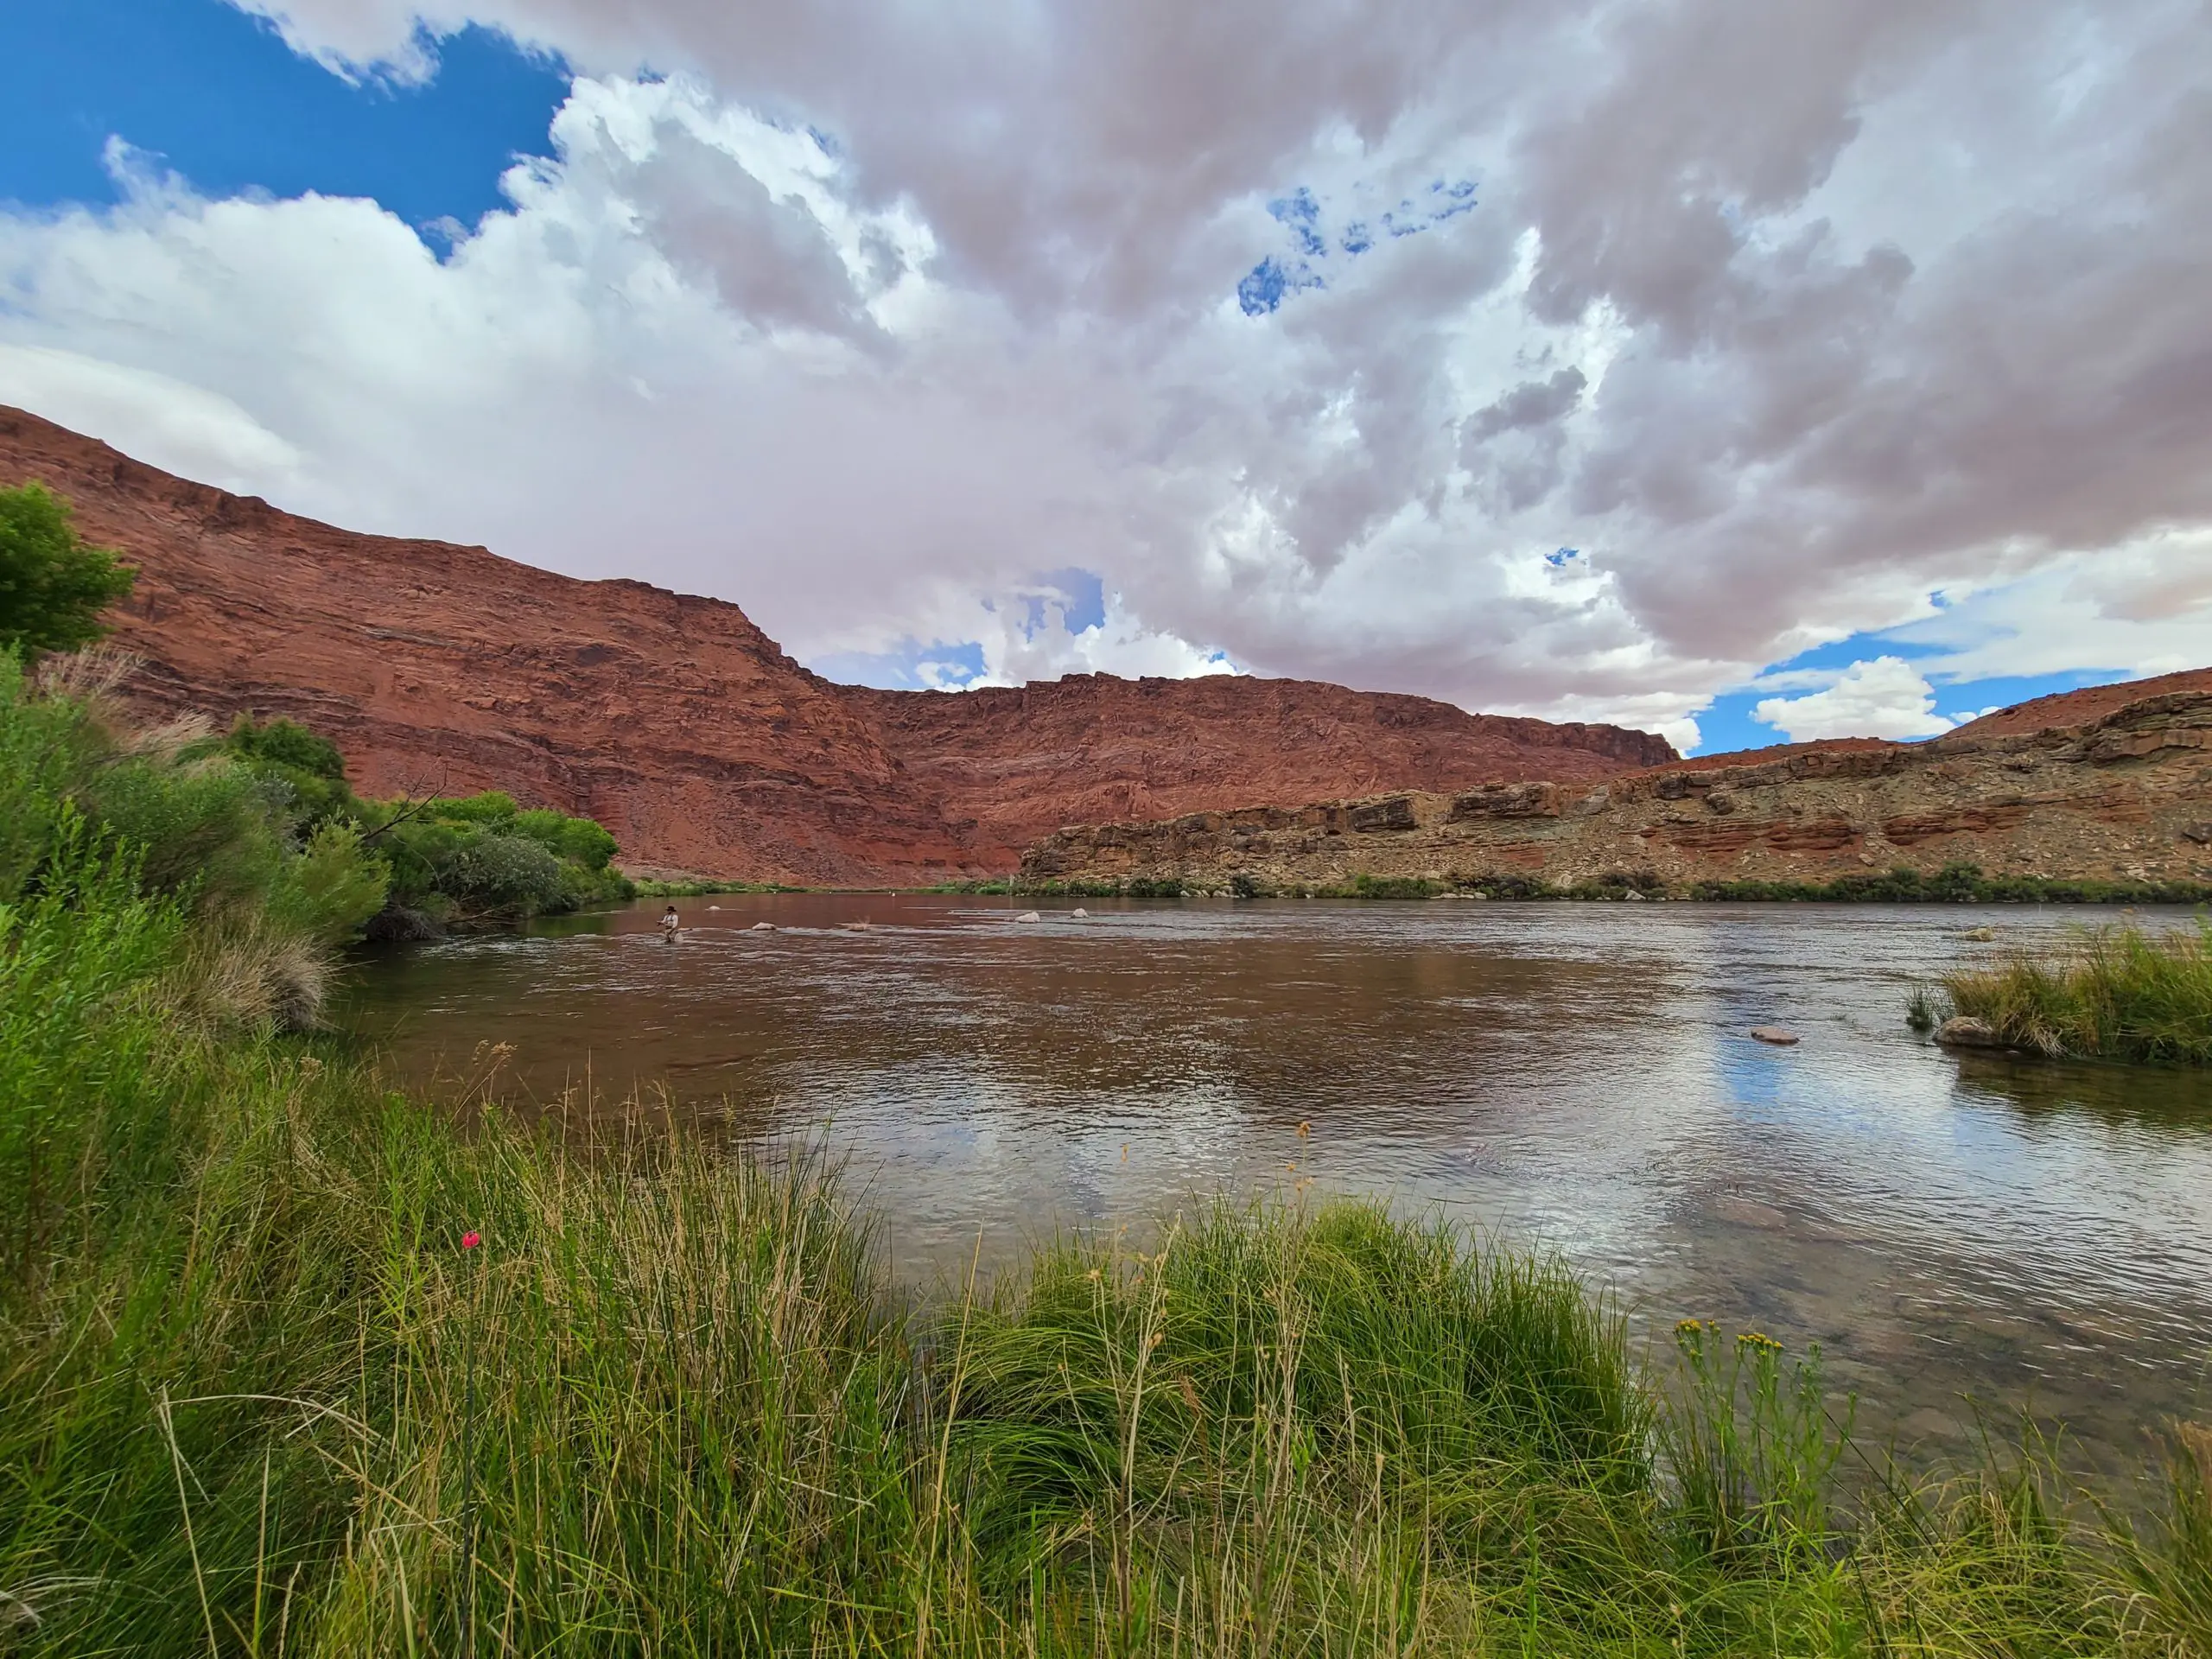
In this case, I got a little lucky. The sky still has all the details of the clouds, the rock face is bright but still holds some cool shadows, and the water is dark and clear enough to see through. My favorite characteristic of this photo is that no matter where you start looking at it, the lines of the landscape more or less lead you to Jake. This is not to say that anything that I did was “correct” because just like eating a Reese’s, there’s no wrong way. I spent some time thinking about it and ended up with something that I think looks pretty nice. That’s the most important part to me. Someone once told me to “use the rules as a way to break the rules”.
Basically, the three main things I am concerned with when taking photos are light, framing, and color. These are things that can make up a great image, no matter what camera you are using. If your subject is well lit and there are no spots in the image that are too bright or too dark, move on to framing. Color and framing go hand in hand for me, because I will always choose to use an angle where I can get some color in the frame. That can really take an image to the next level. Color could be an orange tent, a red truck, yellow aspen leaves, anything you can see that is prominent in the background, foreground, or on the subject. A lot of this is personal preference, so go with your gut.
Portrait Mode and Other Filters
Portrait mode is a digital re-creation of the depth of field and shallow focus that can be achieved by dedicated cameras. It is called portrait mode for a reason. It is made for close-up shots of a single subject with lots of room in the background. To know whether to use it, a good general rule is to have a clean background and a good amount of space between your subject and objects behind them. Keep the space between your subject and background at least twice as large as the space between your subject and camera. A busy background or lots of angled edges on your subject can confuse the camera’s processing of the image and cause some weirdness and/or gaps with the blur effect.
When it comes to using filters, don’t. Filters are permanent and can easily ruin a good photo. It is much easier to learn some simple photo adjustments from YouTube that can be done right in your camera app, and save as a separate copy of your photo. Often when editing photos, I will think a photo looks great, then step away for a minute. When I come back, I always think that I have over-edited and made it look too unnatural. Try that with the next one you work on.
You Can't Go Wrong
When it comes down to it, taking a little extra time to plan a trophy photo or look at a great view from different angles can help you really capture something you'll want to keep going back to look at. Taste is subjective, so if you like a photo, it's a great photo. Experiment and snap away! Storage space is a non-issue with modern cell phones, and there are lots of cool things to photograph in the places where we hunt. If you’d like to see more articles like this, consider subscribing to Western Hunter Magazine. If you have any questions for me, feel free to send them to Levi@westernhunter.net