NOTICE: Certain links on this post may earn a commission for Western Hunter Magazine from Amazon or our other affiliate partners when you make a purchase. Thank you for your support.
Intro to Backcountry Meat Care
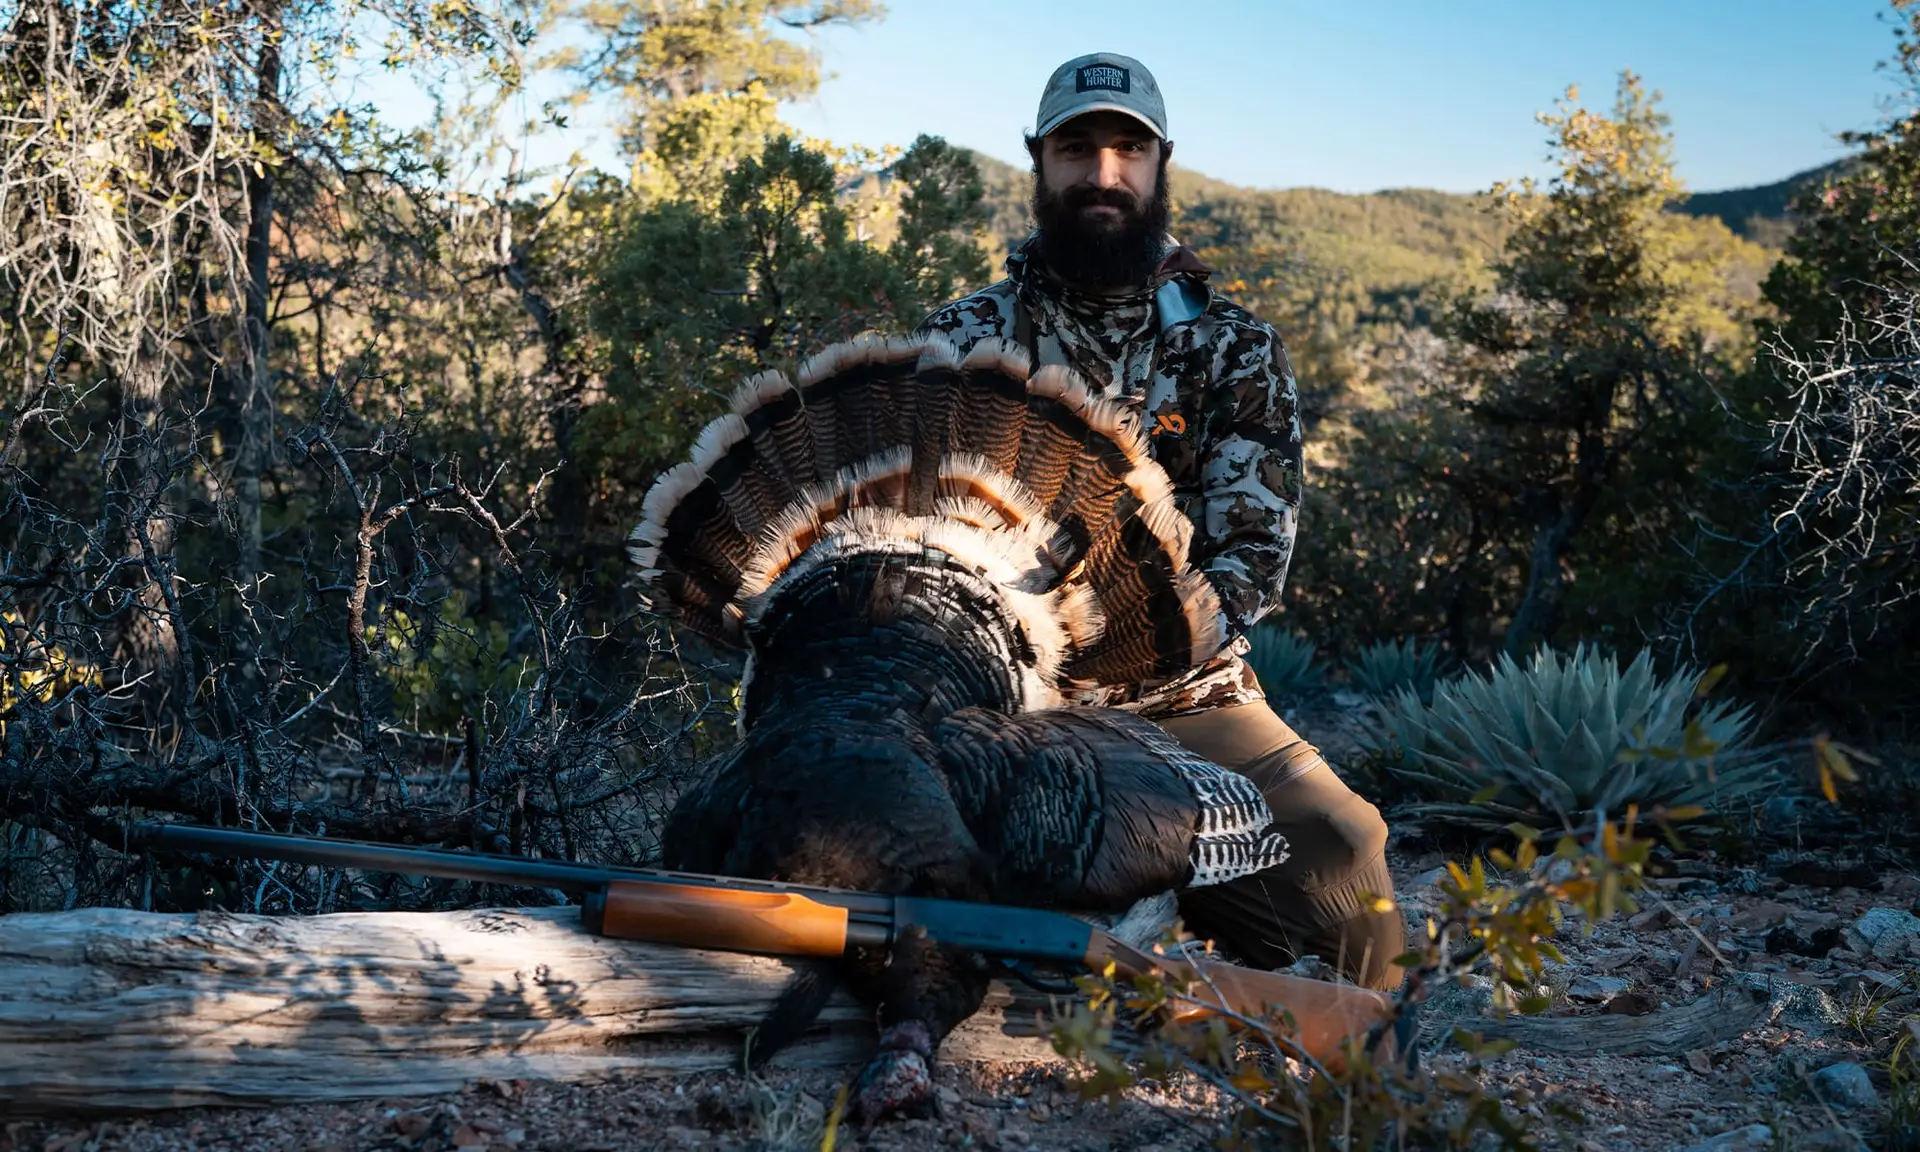
One of the very first and most important hunting values my dad mentored me on while growing up was meat care and cleanliness. I can remember details like it was yesterday… little me standing next to a downed wild hog in the mud that dad and his dogs had just taken, moments before my much shorter legs could make it to the scene. No sooner than the dogs were leashed, the knife was out and the field dressing began. I watched with intense focus and extreme interest as the blade glided through flesh, making exact detours around parts that would burst, bleed, or otherwise create a mess. My dad explained the importance of cleanliness as he went. Every single time, like a broken record to be honest. But it made sense to me at a very early age, and soon enough I was equipped to start perfecting the art with my own hands.
As the years went on I was fortunate to be in on many successful hunts, providing a plethora of opportunity to break down and pack out animals. I viewed these post-harvest activities as a ‘second challenge' of sorts to the hunt. Filling a tag was only a first battle victory, but the war wouldn’t be won until the animal was back to the truck in as pristine condition as the circumstances allowed for. In this article, I will share some of the tactics we commonly deploy to win these wars.
It's fun to get wrapped up and carried away in the trophy characteristics of the animals we take, but it's extremely important to the future of our tradition to avoid letting trophy qualities overshadow the value of meat care and appreciation. We owe it to the animals we take to do our best work possible in maximizing their nutritional yield. Whether you're a new hunter or a seasoned outdoorsman mentoring a young hunter, please make meat care a top priority and push others in your camp to do the same. We will all benefit in the end.
Shot Placement and Gutting, Or Not
Really, it all starts at the squeeze of the trigger. Shot placement obviously plays a huge role in what kind of protein aftermath will need to be assessed and address when the fun part starts. This crosses my mind while steadying a crosshair on most occasions, although I can’t say it’s a practiced fundamental while settling a bow pin… there’s always just way too much adrenaline flowing for that. Nonetheless, if you’re good or lucky, you accomplish a quick kill with minimal blood or gut shot and make life easy. When follow-up shots are necessary, I make a conscious effort to remain as calm and calculated as the first. From a meat perspective, the last thing we want to do is just start filling the critter up with holes. Either way it goes, in the end, at least an animal is down and with some care things will clean right up. We owe it to the animal, ourselves, and our heritage to do our best work possible from this point on.
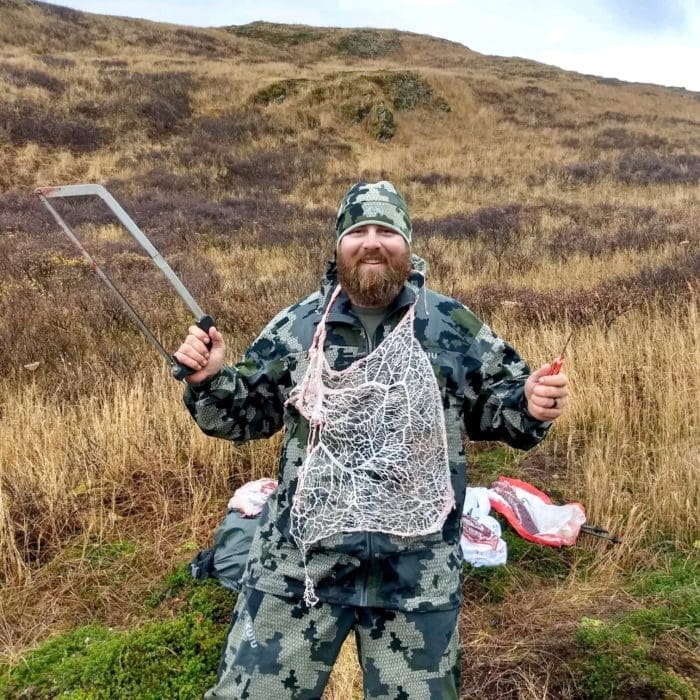
We always used to start with a full gut job and drain of the cavity. Anymore, this is reserved only for when an animal will be packed out whole. Any carcass to be broken into quarters or deboned is fully processed without removing the guts or opening the cavity. This method is especially useful when a projectile has ruptured parts of the digestive system, aka pretty much anything besides the heart or lungs. Nobody’s taste buds want these fluids on the meat, so keeping them contained in the cavity while the valuable extremities are removed is the way to go.
Clear the Area for Cleanliness and Safety
Removal of one side at a time from hindquarter, to shoulder, to back strap, to ribs, to neck meat is my favorite order of operation. All can be done with just a knife, except for removal of a bone-in slab of ribs. Before this work begins, the area is boot scuffed clear of as much debris and as many tripping hazards as possible. You’ll feel like a real idiot when you finally cut yourself after tripping over the same rock multiple times instead of just moving it. Trust me.
At this time game bags are laid out flat and clean to use as work surfaces. If there’s a log or flat rock close by, utilize those to lay meat up high off the ground to avoid dirt and whatnot from being kicked or blown onto the fresh, sticky flesh. Having plenty of room to work is important for safety and cleanliness, especially when multiple people will be busy. If quarters will be at ground level, avoid stink-eye from your partners by not stepping directly over uncovered meat throughout the project.
Breaking it Down
When the time comes for blade to hit flesh, the only cuts made from the outside-in are the initial cuts around the circumference of the lower legs/hocks (brush the loose hair off before proceeding). Everything else should be cut subdermal-out to minimize the amount of cut loose hair, which should be treated the same as dirt. This will also increase the longevity of the knife's sharp edge as hair, especially when course and dirty, dulls much faster than soft tissue.
For those interested in a full tutorial on how best to actually skin and remove quarters, back straps, and neck, your favorite search engine should be much friendlier than any long-winded written explanation I can give here. It really is a visual learning experience, and hands-on is even better. Still, here are a few key skinning and meat removal pointers to keep in mind that will lead to a better finished product:
- Utilize a partner to hold legs up and position the animal for best angles and access. The most effective skinning and breakdown is a 2-hand job.
- Slice accurately between meat and skin to avoid cutting into/through either one. A SHARP knife blade helps with this.
- Hug bone closely with the blade to maximize meat removal.
- Let the knife do the work. Long, smooth cuts tend to do cleaner and more efficient work than short, forced hacks.
- Pay close attention to anatomy, and make mental notes on cleanliness or meat loss mistakes that could be improved on next time. Sometimes it can be as simple as changing the angle of the knife blade while making a particular cut.
- If you see something that could be described as ‘Bloated’, refrain from poking a hole in it.
- As large portions of the hide are skinned away from a work area, keep it clean and spread out on the ground beneath the carcass to act as a ground cover.
- Take photos of any heavily bloodshot areas of meat that will not make their way into the pack. These photos could save you a long walk back to the kill site with the warden if meat removal adequacy were to ever be questioned down the trail.
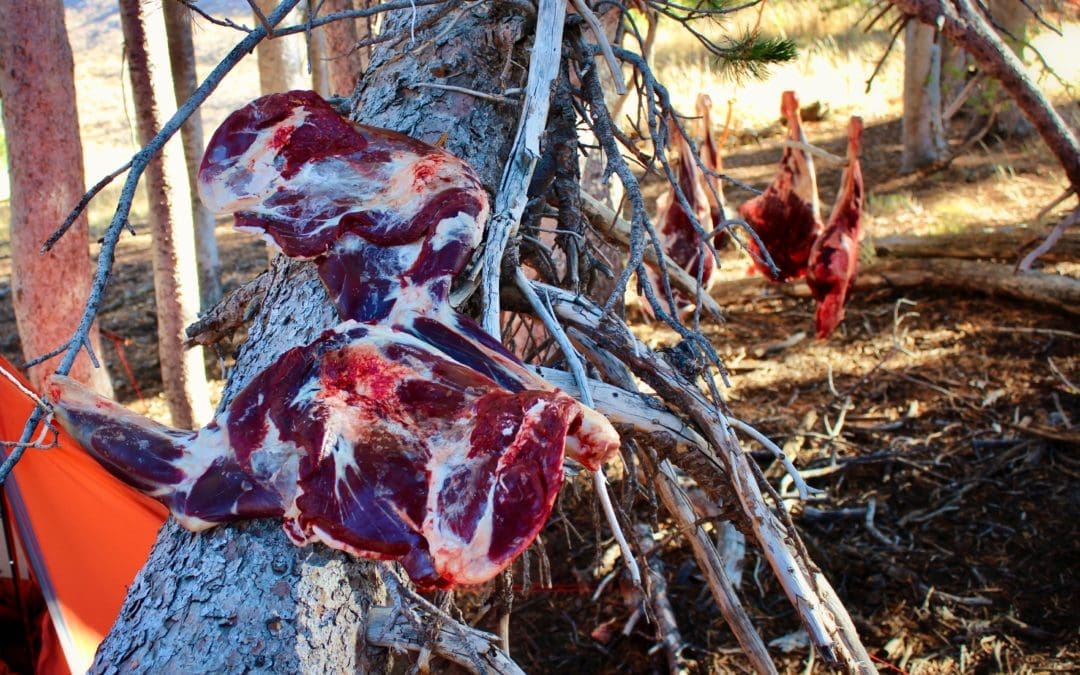
Cooling, Trimming, and Cleaning
As the quarters and other large sections of meat are successfully removed, they are laid on top of the game bags on the outskirts of the work area, in the shade if available. For this reason, I tend to pack game bag sizes that are slightly bigger than necessary. Leaving meat on top of bags instead of inside maximizes airflow for cooling, firming, and crusting over. Hindquarters will cool fastest with the ball joint facing up. Trimming, final cleaning, and de-boning are easier tasks once the meat has cooled and firmed up a bit. Even better, less dirt and debris will stick once the meat has a less sticky, firm exterior. If flies are present, keep an eye out for eggs being laid on the uncovered meat. If this starts happening, I like to release frustration with a couple of F-bombs and then diligently pick them off before putting everything inside the game bags instead.
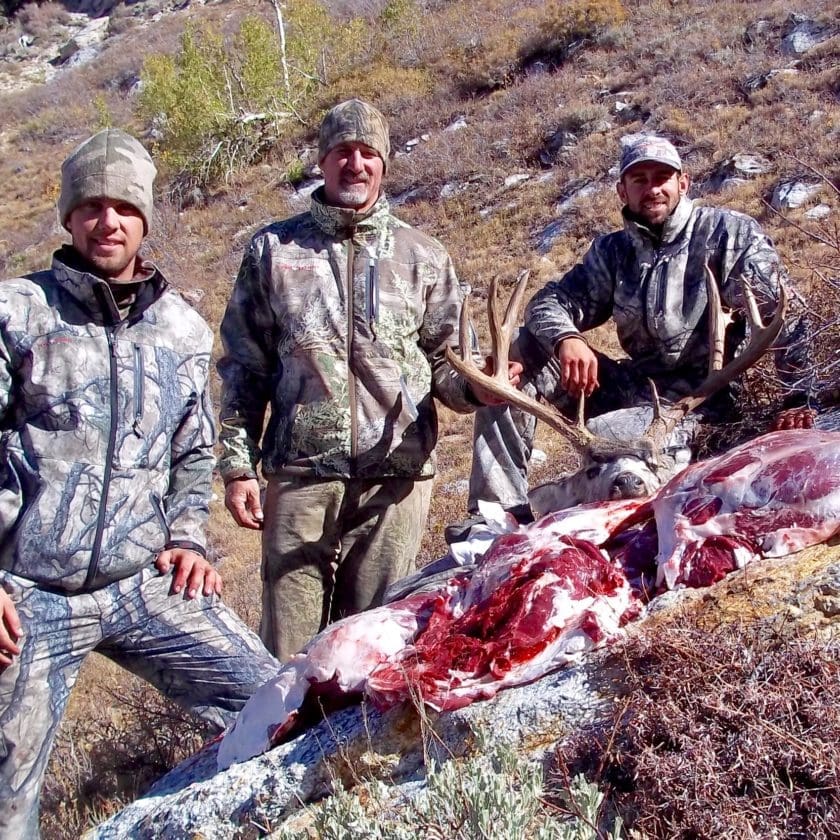
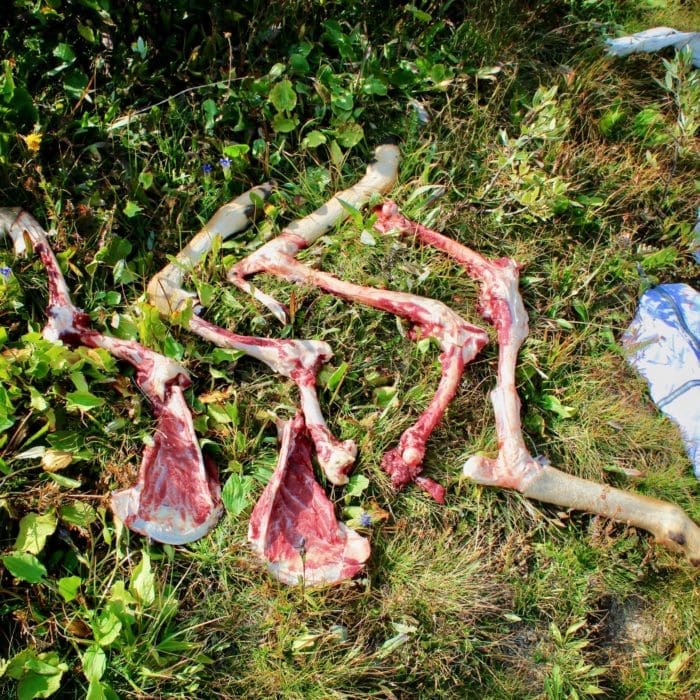
At this point in our hypothetical breakdown scenario, the carcass is down to only a spine, hip bones, and an undisturbed belly full of innards. Meat remaining on the carcass is limited to a thin, transparent film close to bone. A job well done up to this point is visually obvious; very little lean meat should remain. Another couple of photos at this stage is a good idea, if for no other reason than to show off your skills to your friends.
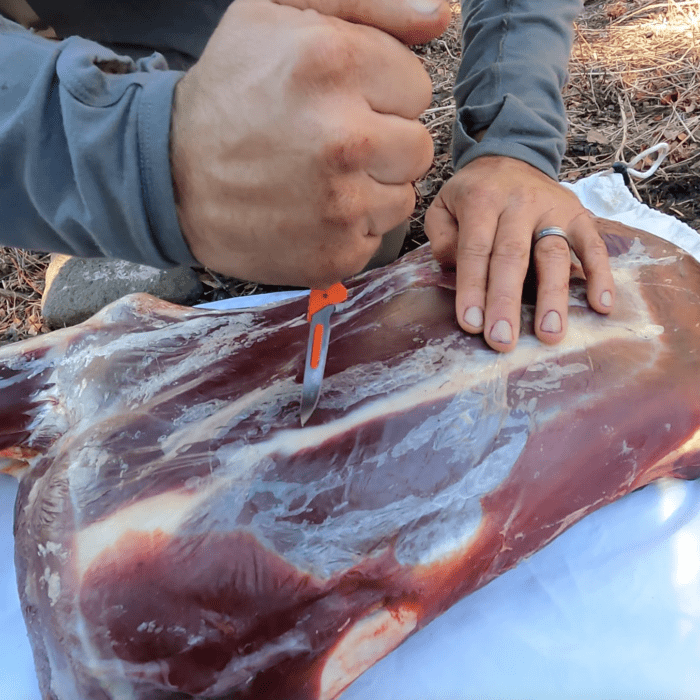
The next line of business is to prepare each portion for final storage in its assigned game bag. This starts with picking and wiping away any hair, dirt, debris, or excessive blood from the meat if present. The cleaner we get everything at this point in time, the better. A spare shirt dampened with water makes a good cleaning rag, but care should be taken to avoid soaking the meat with water. Maintaining the thin, protective air-caused crust is important for preserving the meat below the surface. This is also the best time to cut away any bloodshot, glands, and excessive exterior fat. Sometimes bloodshot will travel deep into the tissue, following the path of least resistance between muscles. I tend not to chase these sections too deep. Final deep and detailed cleanup can be done at home. Filleting down excessive thick, hard fat at this point will not only shave pack weight, but it also helps to cool the lean meat beneath by reducing the natural insulation.
De-Boning and Bagging for Pack Out
In warmer weather or when a long pack out looms, I prefer to de-bone the shoulders and hindquarters where legal. Heavy bone deep within the tissue retains heat and can sour the meat from the inside out by partially cooking it. Besides, these bones are heavy and not edible so unless you really love your dog at home or need to bait some crawdad traps on the cheap, just leave those things on the mountain. Hindquarters and shoulders can and should be de-boned all in one piece (full tutorial here). De-boning quarters in multiple chunks will lead to unnecessary meat loss due to increasing the surface area exposed to air, creating a more crusted exterior that will need to be trimmed later in the final butchering process. Making the de-boning cuts to the bone between major muscles is the best route, as it leaves the main muscles intact for the best steak yield when the time comes for cutting and wrapping back in civilization.
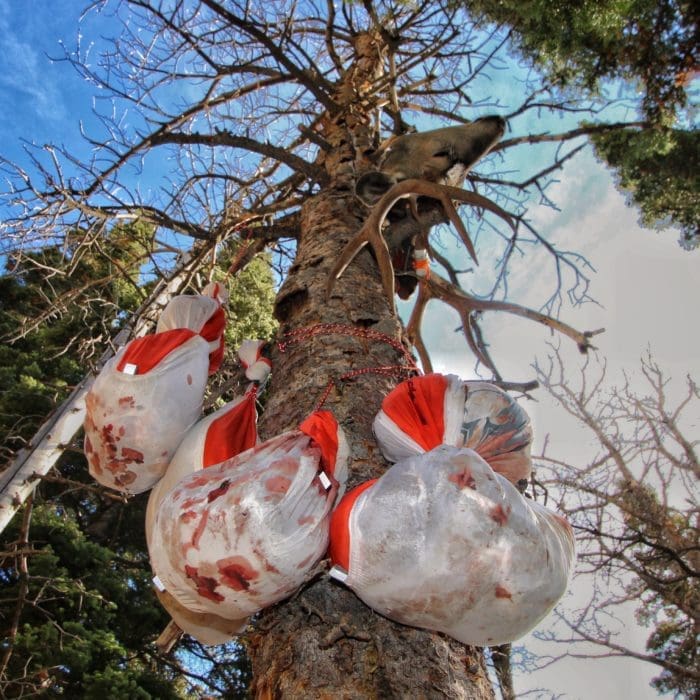
So we’re finally ready to bag our meat for transportation back to the trailhead or spike camp. The meat is likely still warm, and we want to be strategic about how it’s bagged to minimize trapping residual heat. Trash bags are a bad idea here because they don’t breathe. Game bags only, and good ones. Like Caribou Gear game bags, which are incredibly high quality.
The easiest way to accomplish this is to split the major sections into their own game bags to increase air space in between when loaded in a pack. Extra game bag material or even spare clothing makes a somewhat breathable contact buffer in between meat when cinched down tight. If heading back to a pack camp to spend more nights, take the game bags out of the pack upon arrival and hang them in a tree or layout in the shade to promote further cooling. Again, the more surface area exposed to air circulation, the better.
Maintenance From Camp to Cooler
If the game bags are damp from the meat once back at camp I like to remove them and let the bags and meat dry and breathe independently from one another for a little while, if flies aren’t present. It doesn’t take long for either to dry out, at which point the meat can be bagged back up. Care should be taken not to let the smaller and thinner cuts air dry too much, since the crust can quickly thicken to the point of excess waste. This most notably goes for ribs and tenderloins, although back straps, shoulders, and neck slabs can over-dry as well. Prolonged wind exposure has always seemed to be the biggest culprit for excessive drying in my observances, which is pretty easy to curb: just get it out of the wind. Put it in a cool tent, throw some rain gear around it, or use a dry bag if the meat is thoroughly cooled. This is worth paying attention to, but not stress-worthy.
Beyond this point, it’s all about keeping the meat as cool, clean, and dry as possible until it can get on ice or into refrigeration. This should be a low-maintenance task now that all of the previous steps and processes have been performed. If prolonged cooling or aging are going to occur once it’s back in civilization, the meat should need no additional work beyond what’s been described above. Perhaps just give it one last check for fly eggs first… those things can be sneaky.