NOTICE: Certain links on this post may earn a commission for Western Hunter Magazine from Amazon or our other affiliate partners when you make a purchase. Thank you for your support.
A Guide to More Comfortable Hunting Packs
I’ve done my share of packing. As an elk guide, it’s the crux of the job. I’ve packed out countless elk, using every method known to man. While horses and mules are an awesome way to get game out, they aren’t always feasible. The vast majority of elk hunters pack meat out on their backs. For those who carry the weight, this article is for you. While no elk pack-outs are easy, there are tactics that can make it easier. There are ways to carry more weight and feel less strain, as well as methods that make the pack out smoother. Although these tactics won’t carry the elk for you, they are lessons I’ve learned from many different hunting packs and packing a ton of meat, primarily on my own. They’ve kept me injury-free and allowed me to relish the challenge no matter the level of difficulty.
Hunting Packs and Adjustment
Anytime you’re lugging a heavy pack, it’s uncomfortable. However, there are some simple things you can do to make it better. For heavy loads, choosing a comfortable pack from any of the top tier hunting packs manufacturers is crucial. I’ve tried a lot of hunting packs, and have gotten rid of a lot of hunting packs because I want a pack that can do work and comfortably haul heavy weight. If it can’t work as hard as I want, it’s gone. Look for a pack with a good frame designed to carry 100+ pounds.
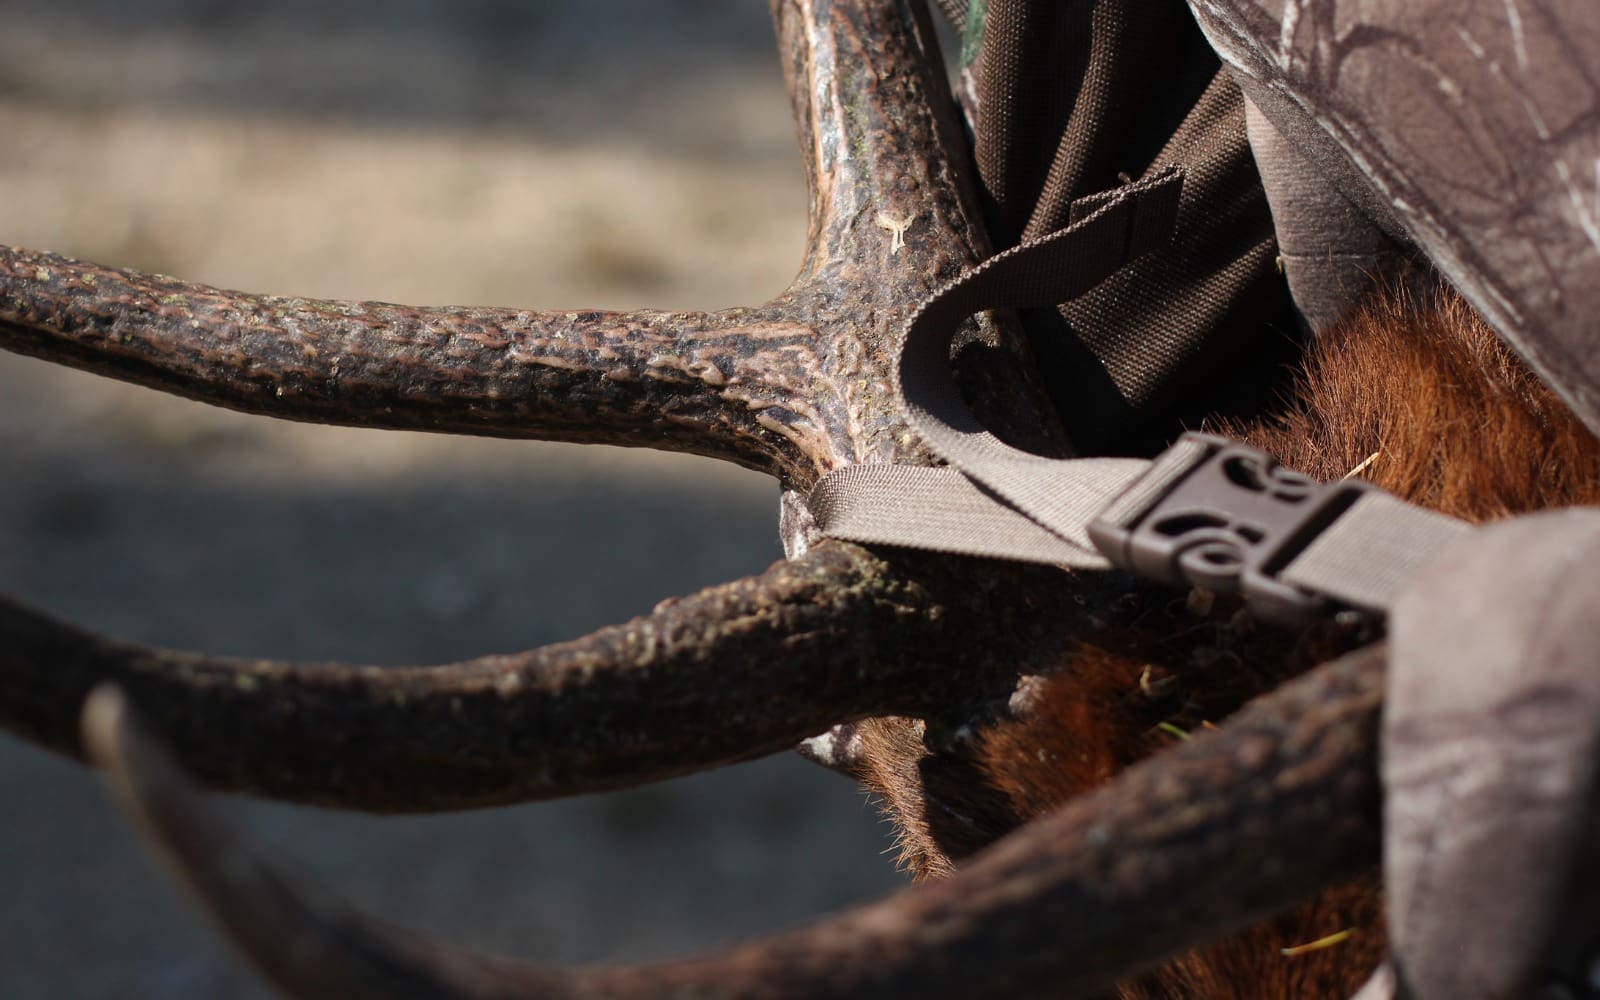
There are two different versions of framed hunting packs - internal and external. These boil down to personal preference. I use both and each has its advantages and disadvantages. Both can be constructed to haul weight, but how they distribute the weight and how they should be loaded can be different. In my opinion, a frame pack is generally better for hauling heavy loads, but there are some great internal frames that can be put to the test. I really want to focus more on the “how”, not which specific pack to choose. No matter which of the many hunting packs you choose, the most important thing is still the overall fit. I’m always surprised at how many pack companies come out with a pack that isn’t adjustable to fit your torso, or how many hunters have a pack that is adjustable but don’t know or haven’t taken the time to fit it properly. An improper fit on a pack is the same as boots that don’t fit and can often be worse. It can hinder movement, misplace weight, be inefficient, and even make it harder to hike.
One time I wore a hunting backpack that was too long in the torso. I couldn’t figure out why I was so worn out. After undoing the waist belt, I realized that hiking was much easier because my legs and hip flexors had been working against the pack. When fitting a pack, it should be on your hips, not your waist. If you were to put your hands on your hips with your thumbs back, you would be on your iliac crest. This forms a shelf above your waist near the top of the hipbones where the pack should rest and bear the weight. Your pelvis is designed as the weight bearer for your upper body, so you want to have a pack that fits your torso and doesn’t sit too high or too low. When fit properly, the waist belt should come around the front and be centered along with the two points of the pelvic bones.
Weight Distribution
Weight distribution is critical. It’s a game of loading the pack to make the same amount of weight feel lighter and ride easier. The easier you make it for yourself, the more you can carry per trip and minimize fatigue. The intention is to place as much weight on your hips as possible while maintaining proper balance. In general, when packing any heavy pack, the best way to distribute weight is to place the heaviest items closest to your back, near your shoulder blades so the weight doesn’t extend away from you and pull you back, which forces your core to work insanely harder. Mid-weight items should be higher in the pack and more central. The lighter gear goes to the outside and bottom.
Internal
Optimal weight distribution varies between internal and external hunting packs. With an internal pack, you want the heaviest piece of meat, centered high between your shoulder blades and tight against your body. The bonus to an internal frame is that you can lower your center of gravity for stability, with the weight slightly lower on your back. When packing an internal frame, I generally put a hindquarter haunch-side down in the pack with a jacket or lighter items I won’t need at the bottom to keep the weight a bit higher. If I’m carrying two quarters, I’ll put the front quarter in on top, with the heavier shoulder side of the leg up.
External
For an external frame, I load it the opposite. The heaviest stuff should be at the top and close against your back. I’ll often load a hindquarter haunch up/leg down. This can be tricky because you don’t want it above your head. You can do this by cutting the tendons at the knee, so it slides farther down the pack. If I’m carrying a front and hindquarter, I’ll load the shoulder meat-side down and the hindquarter meat-side up. This is the most optimal way to maintain stability and put weight into the hips. Just make sure that you feel stable and not too top-heavy. Most good hunting packs come with load lifters. These are the thinner straps at the top of the shoulder straps. They are designed to cinch the pack closer to your body up high, providing better stability, balance, and efficiency.
Getting On Your Feet
The hardest part about a heavy pack is getting off the ground. This may seem like common sense, but there is a proper way to get off the ground. Extending your arm to help someone with a heavy load can hurt you or them by creating undue strain. Many people also pick up the pack, put it to one of their knees, and twist into the straps. While both are fine up to a certain amount of weight, anything over 70 lbs. can tweak the body, and doesn’t use great form. Most hunters can carry more weight than they think, but they strain to get up or into the pack.
The right way
start with the pack on the ground and feet downhill. Buckle into the pack and tighten all the straps while seated. Then, rollover to your knees and all fours with the pack on your back. From here you can now engage your quads and stand with the power of your legs. This puts less tension or twisting in the back and joints, and lets you stand up using the strongest muscles available.
Hiking Stick/Trekking Poles
The key to carrying weight is to efficiently use your muscles for the longest time possible while eliminating unnecessary effort. A tool as simple as a hiking stick, either found or manufactured, can aid greatly. The function of the hiking stick is twofold. First, it aids in stabilization, which means you can use non-essential lifting muscles like your arms to provide more relief to your back, core, and legs. Second, it reduces the felt weight on your back and the amount of exerted force on your knees by up to 25%, according to some studies. Even the most skeptical hunters who have finally tried this method will tell you – it works.
Floppy Pack Syndrome
There is no quicker way to get worn out than by packing a sloppy load, due to all your extra stabilizing muscles working overtime. Once these muscles get fatigued, the whole process breaks down. To counteract this, once you have the meat in the pack, cinch down every strap available on the bag. Not all loads pack the same, so it never hurts to have a few extra straps. These are especially useful when it comes to securing antlers.
The Multi-Point Pack Method
It’s the age-old grocery bag dilemma: fewer trips with more weight, or more trips with less weight? Think of it like this: Do you A) grab a few bags per hand; or B) load as many bags as you can all the way up your arms to prevent having to go back out? If you answered B, you’re certainly in good company. Often, the thought of just overloading and suffering for one trip is the better option, but in actuality, it can be punishing (both short and long term) and sometimes slower depending on your fitness. I’m lucky to be in great shape and often opt to carry fewer heavier packs, but this isn’t possible for all hunters, and sometimes not practical at all. The balance comes with distance to your destination and the amount you can physically bear. Some trips are just too far and physically too difficult to reduce the number of trips. However, the multi-point method can be easier mentally and allow you to carry less weight per trip.
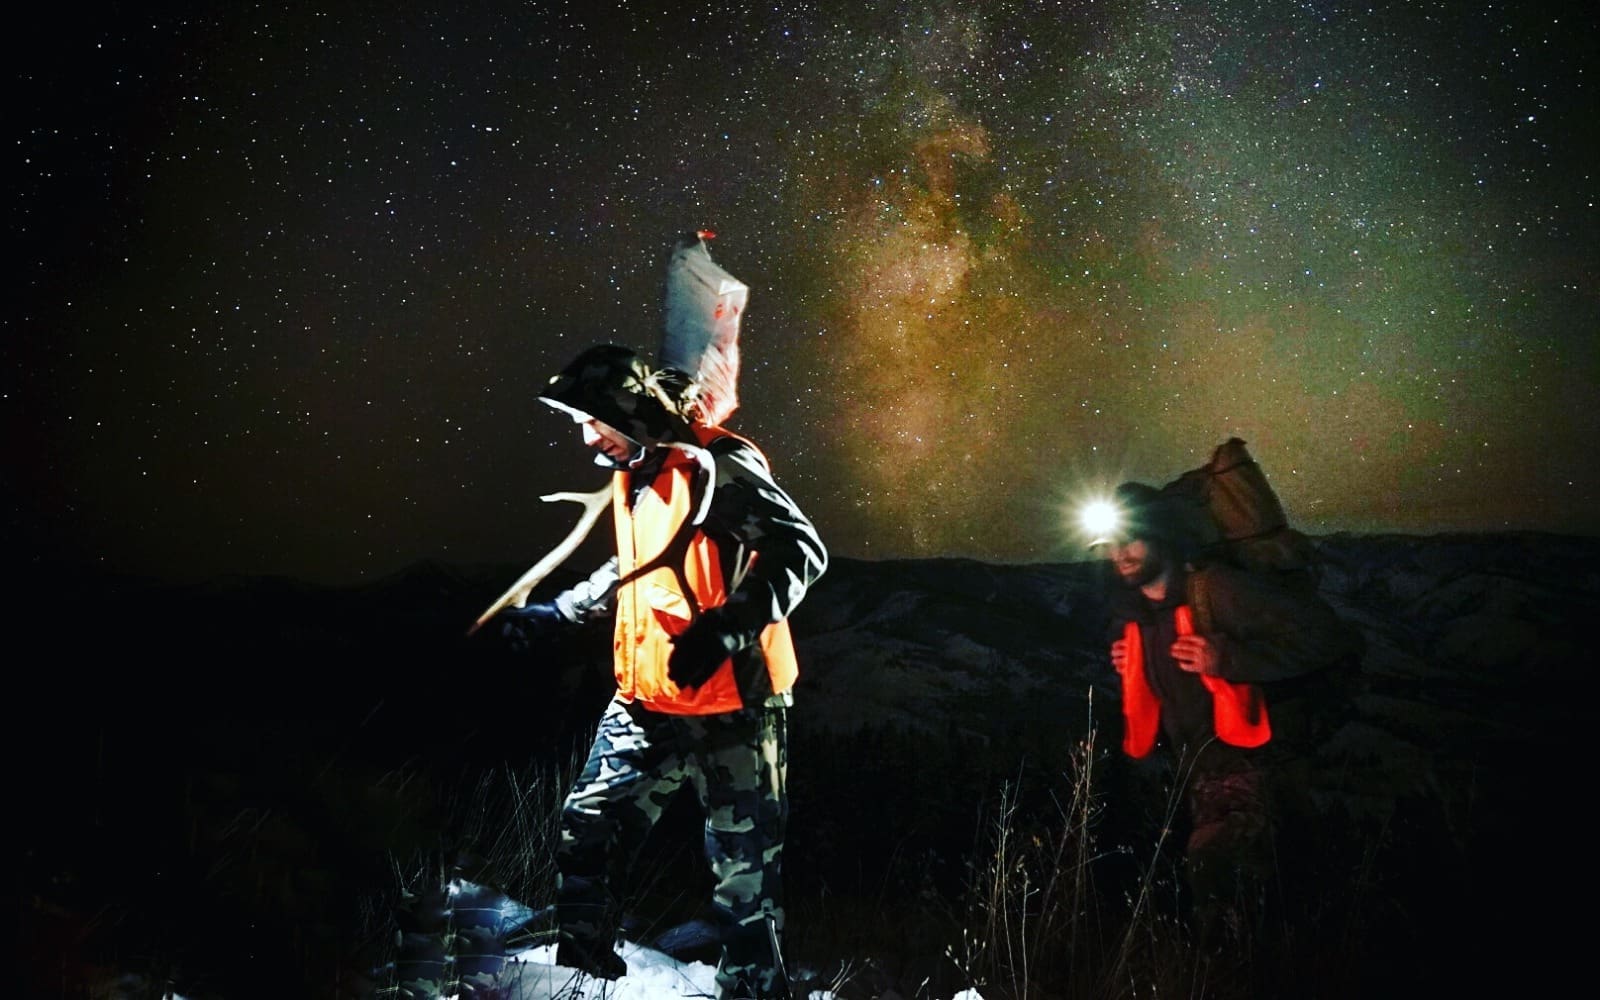
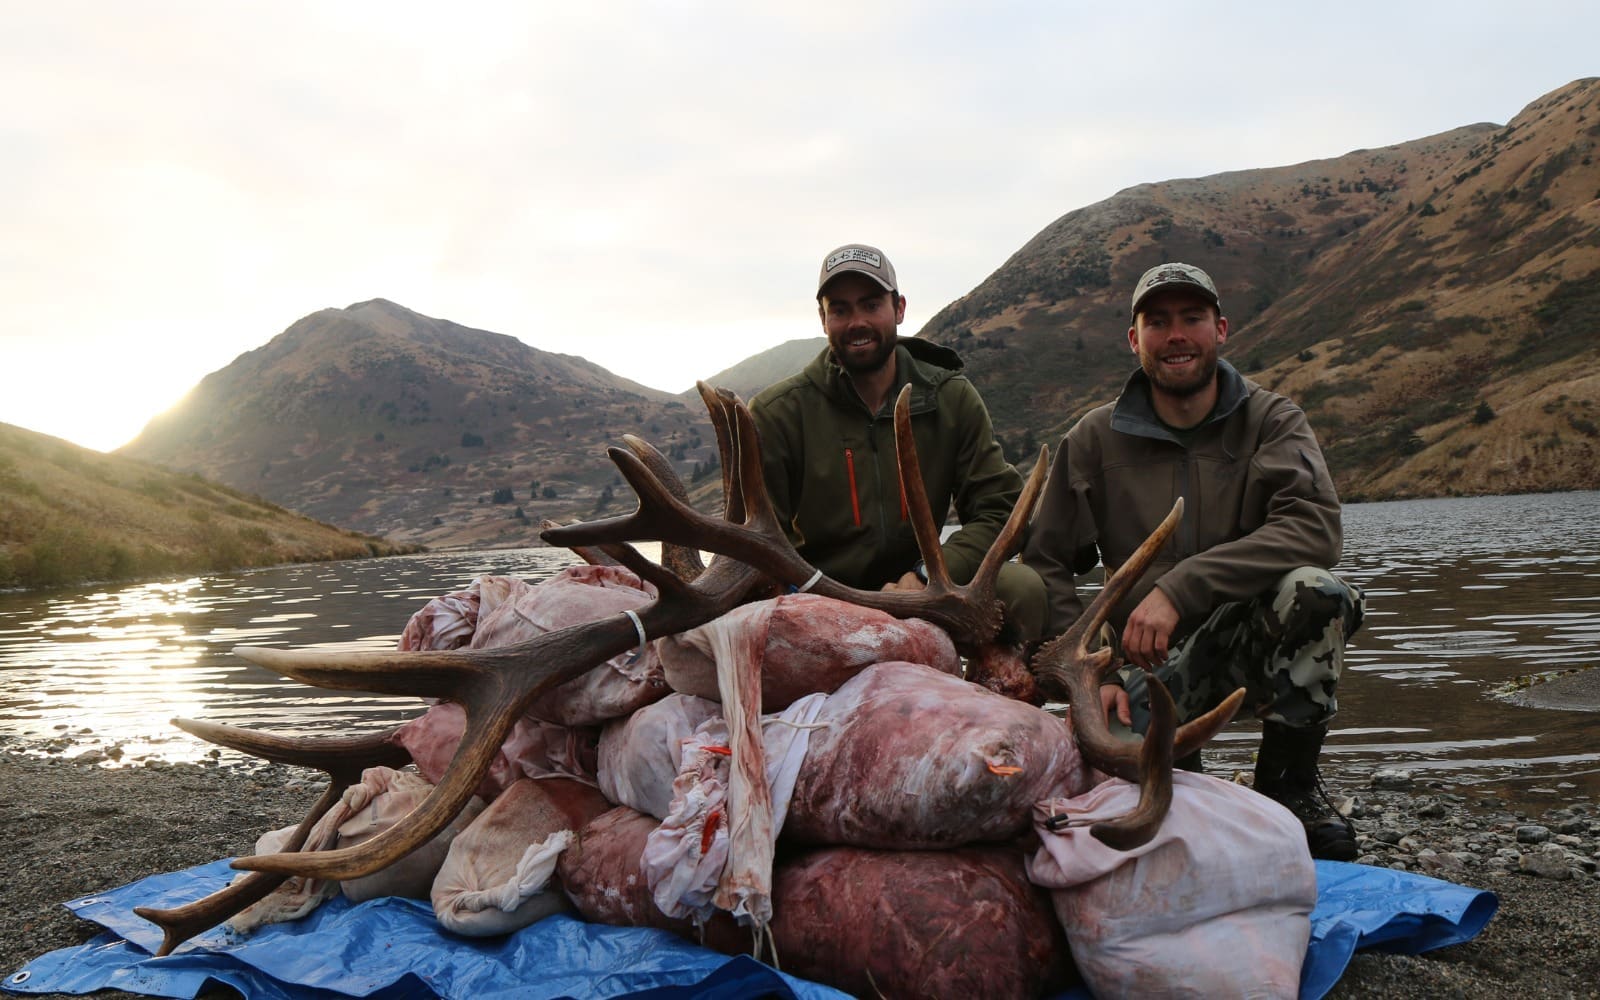
This method also works well because it allows for moving rest periods. These are the unweighted hikes in between loaded trips. This packing strategy allows you to make multiple trips but not the entire distance at once. For this, break the trip into multiple manageable drop points. Carry your first load to the first drop point and then hike back to get the next load, and so on. This breaks the work into more manageable sections and allows you time in between carries to recoup a bit. For extreme distances or when I’m hunting alone, I use this tactic often. On a recent elk hunt in Alaska, my brother and I used this method to carry over 700 lbs. for miles with extreme amounts of elevation gain. The trek involved both uphill and downhill over a mountain range. This allowed us to maximize our hiking time with periods of moving rest as we hiked back to the point for the next load.
The Hindquarter Drag
Putting this tactic here is ironic for me because my #1 rule is “don’t drag anything”. Dragging is typically a very inefficient way to move a lot of weight and puts strain on the body. That being said, there are a few instances when dragging works. This scenario mandates that there must be snow on the ground, and the majority of the trip should be downhill (for the uphill portions, I’ll use the multi-point method and ferry the elk). For the hindquarter drag, remove the hindquarter but leave the hair on. The hair will protect the meat from dirt and allow it to slide easily. You may be surprised at how slick and easy the hair-on quarters glide. Dragging in this instance can shave off a large portion of downhill relatively easy. Once I’ve run out of easy dragging, I skin out the quarters and backpack them
The Invention of the Wheel
Although this article is about making your hunting packs more comfortable and pack-outs easier, it’s important to mention a few alternatives to think about other than the well-known backpacking or pack stock methods. In the right scenario, a wheeled alternative can make carrying a substantial amount of weight quickly and easily. The drawback is that you need an adequate trail or cleared logging road. Carts: Although most game carts are meant for whitetail or antelope hunters, they can also work for elk. Most game carts are designed to take out whole animals, so some modifications may need to be made to haul out a quartered elk.
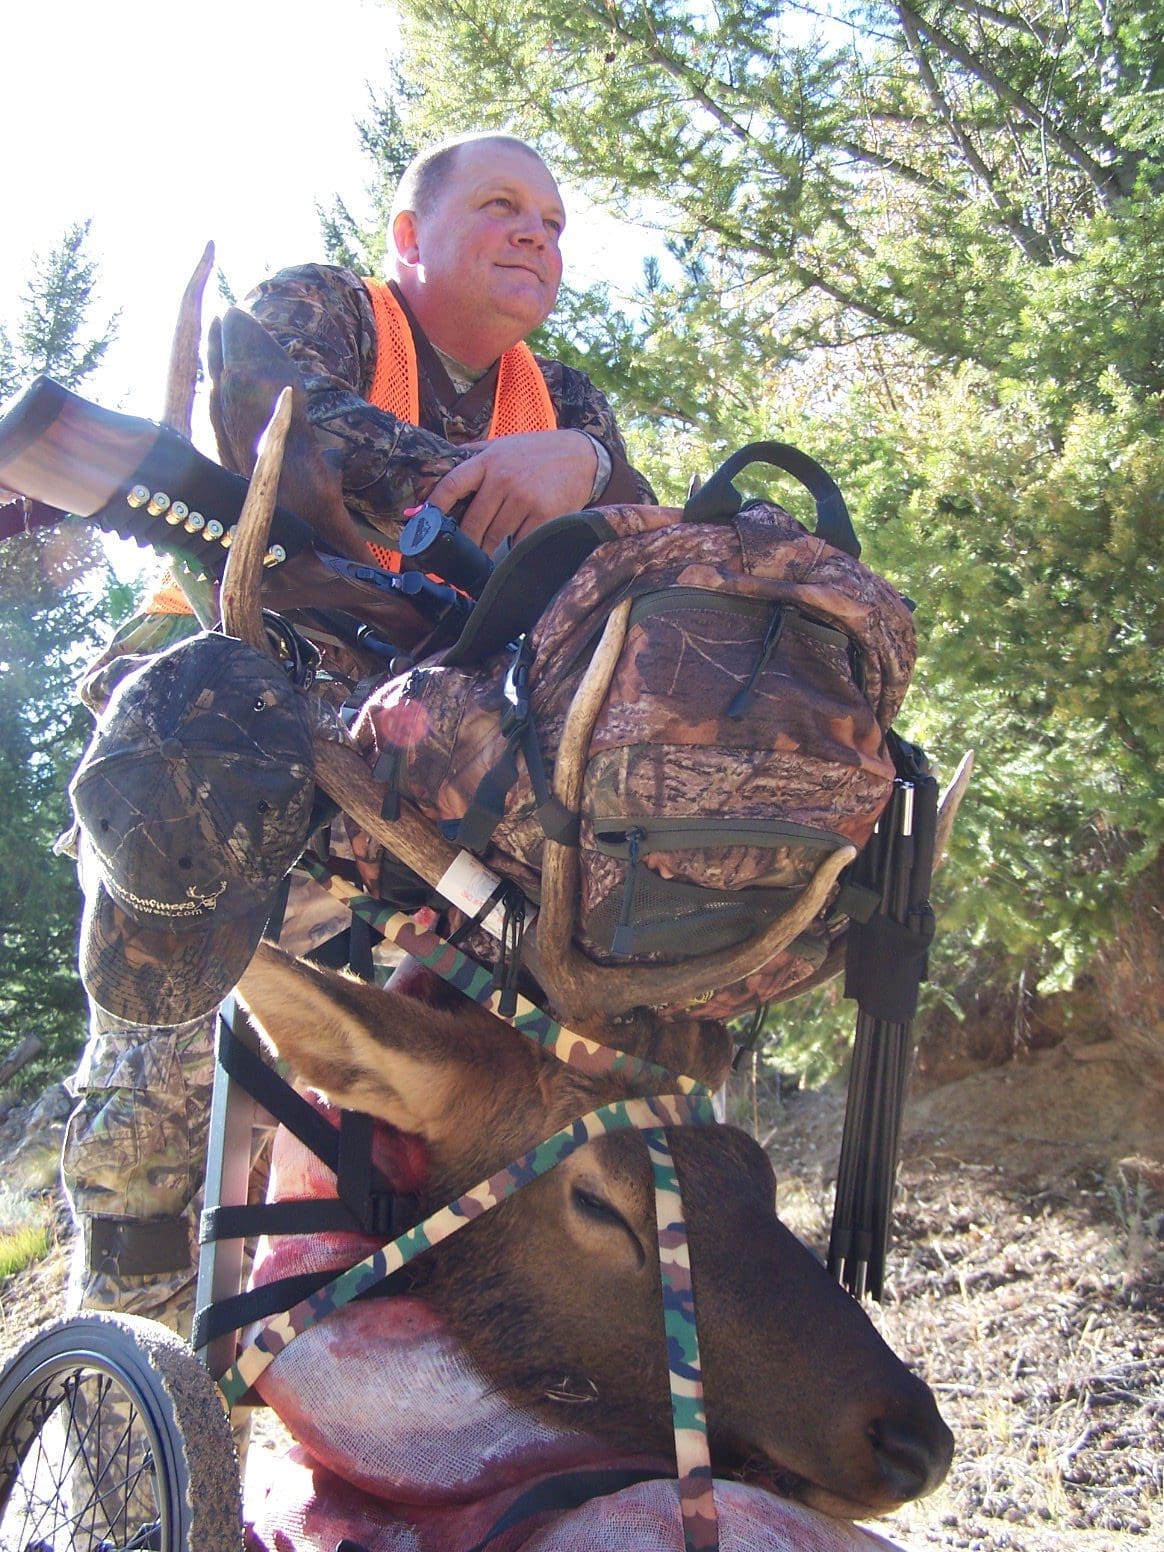
For most carts, the bars are too far apart and the quarters will fall through. This can be remedied by cutting a piece of plywood or attaching a metal mesh to the frame. You’ll also need plenty of tie-downs. Bikes: In some instances, a mountain bike can be an awesome option for getting meat off the mountain. The bike allows you to travel gated roads faster than hiking and carry weight with relative ease. Any mountain bike will do, but make sure it has good shocks and is built for rugged off-road travel. The added weight can be hard to get used to at first. As a word of caution, you may want to practice with a lighter pack to start.
The first time I packed out an animal with a bike, I went over the handlebars going down the single-track trail. If your area is conducive to biking, look into Cogburn fat-tire bikes. These bikes are great off-road and can even travel in three inches of snow. There are models equipped with racks designed for hunters at some Scheels stores. Some options include a tow cart that attaches to the back to carry extra meat. These accessories make it easier to take more weight safely with a better ride.
The Final Determination
The most important factor for a smooth pack out is the mental aspect. I’ve been on some brutal pack-outs and attitude is everything. If you start to tell yourself it’s going to be horrible, it will be. The mind is the most powerful motivator. When I first started guiding elk hunters, every time the elk was down the hunter would make a comment about how bad it was going to be. I got into the habit of verbalizing that the pack out was my favorite part and how “the harder it was, the better it was”. I’d be excited for the challenge, whether I truly was or not. Over time, I noticed that this attitude allowed me to push harder and enjoy the experience, even when it was tough. There is nothing more important than a strong attitude, even if you have to lie to yourself to get it! There is no replacing a positive mental attitude. So, lace up and pack on, because a heavy pack is the best part about being an elk hunter

