NOTICE: Certain links on this post may earn a commission for Western Hunter Magazine from Amazon or our other affiliate partners when you make a purchase. Thank you for your support.
6 Ingredients to Stalking Archery Antelope
Making the impossible possible, stalking archery antelope with a bow, made easier.
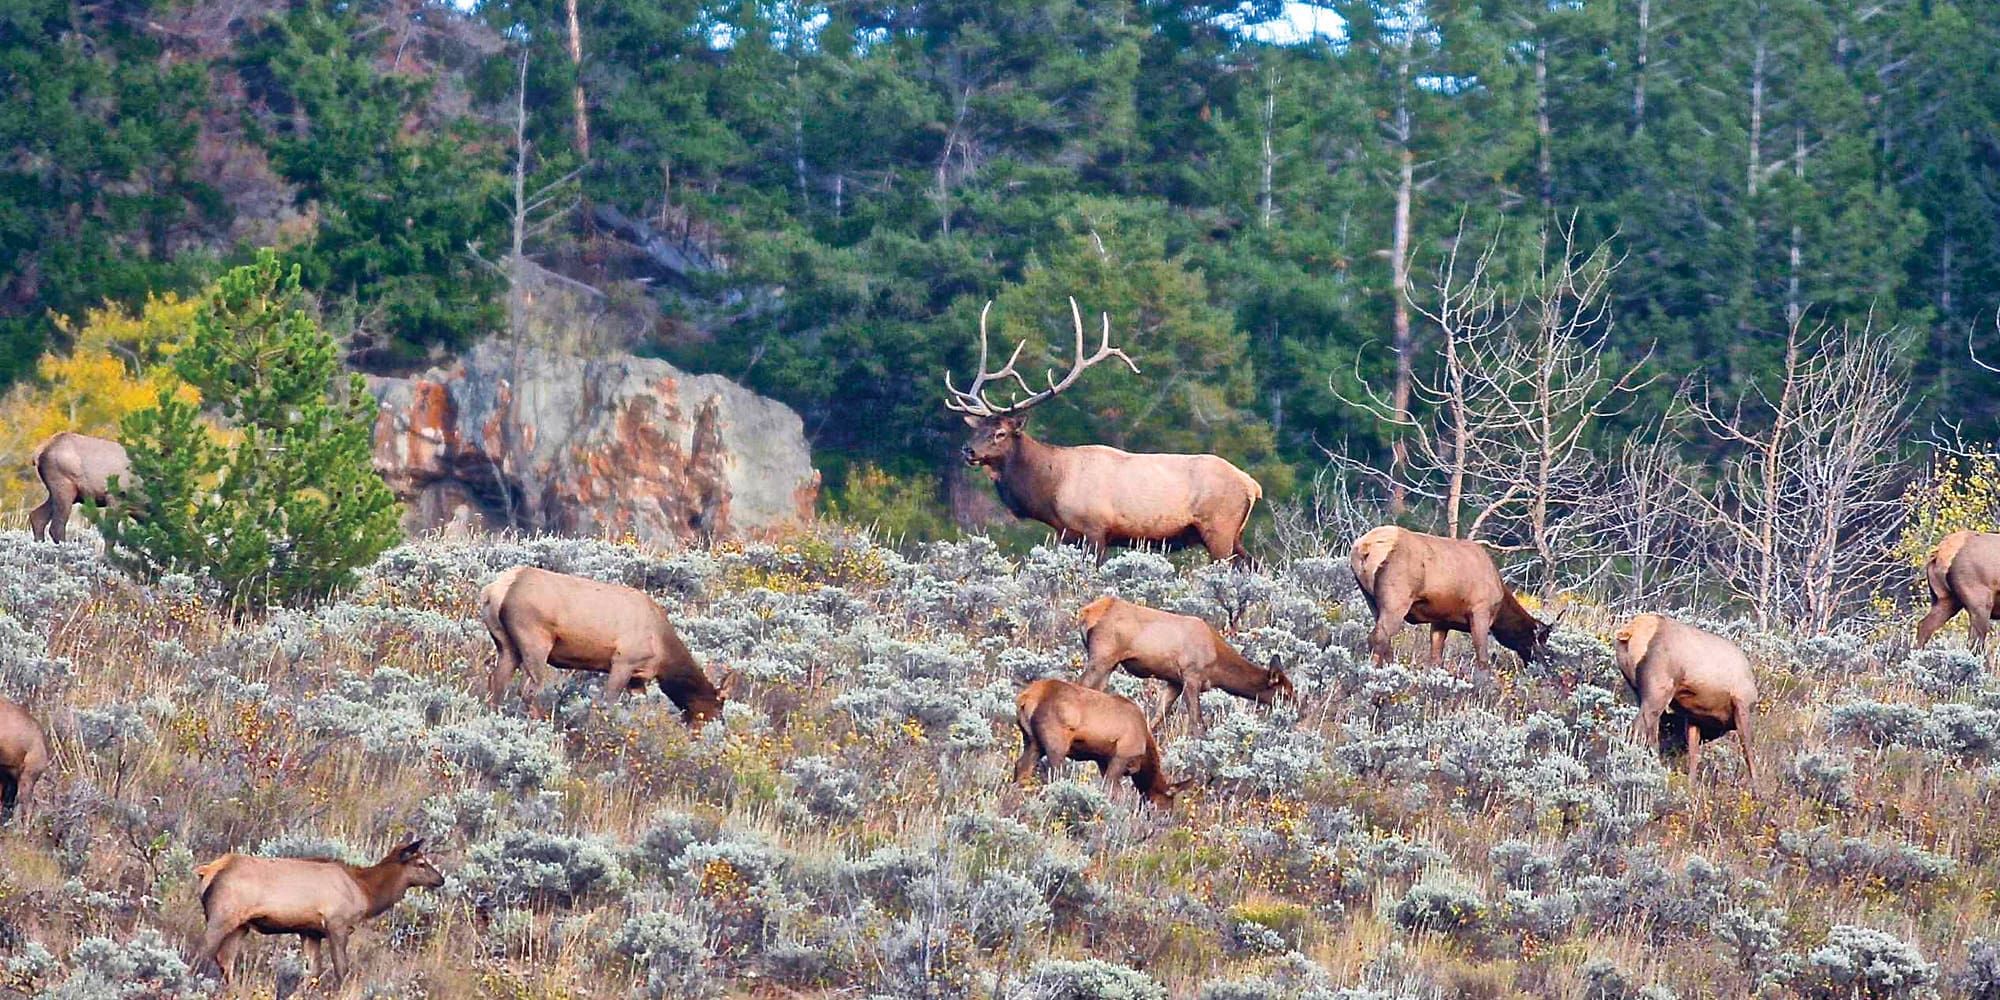
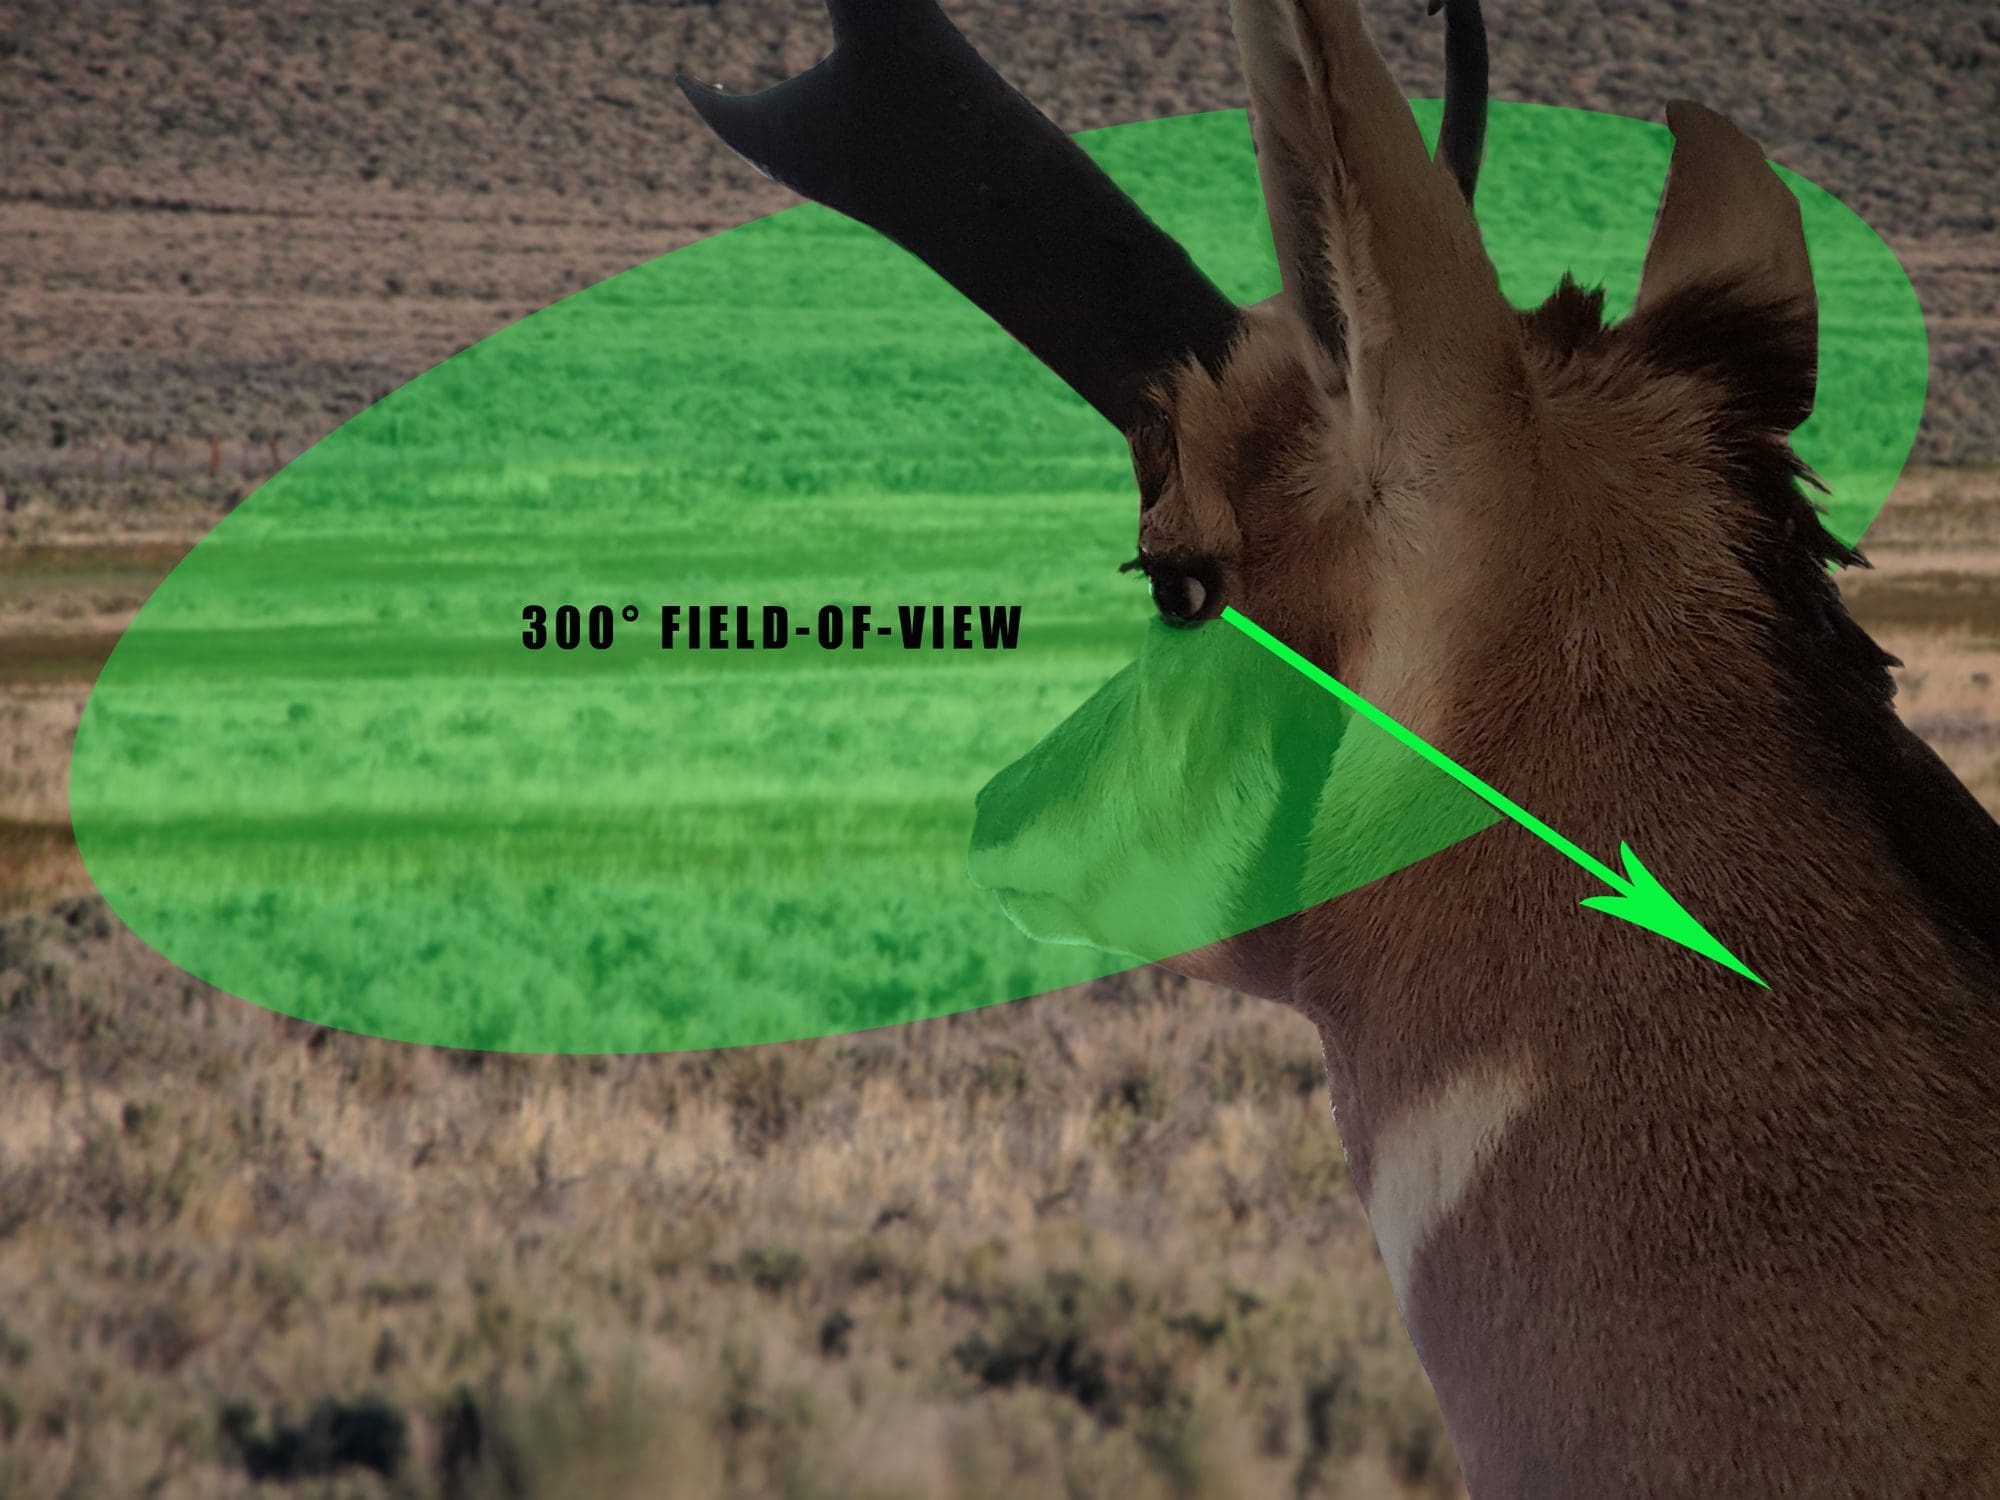
The American pronghorn is perfectly suited for the terrain of the West making it impossible to stalk an archery antelope. Their eyes – the largest of any North American ungulate - are their best line of defense against predators. They survive by spotting danger from miles away. To top that off, their eyes are situated in such a way they have a 300-degree field of view.
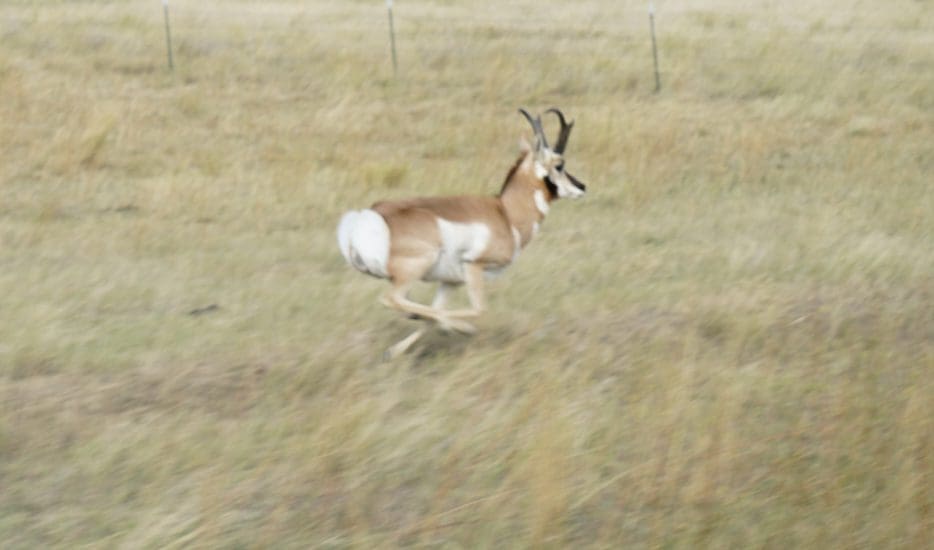
In order to utilize this defense, they hold to the open prairies and grasslands. When danger approaches, they take advantage of their speed and endurance, running away at top speeds nearing 60 mph. They survive by making themselves hard to approach.
This is all bad news for a bowhunter. So, what do do? To trick an antelope is to trick its eyes. Do this, and you’ll have little trouble getting within range.
At the onset, sneaking within range of an antelope seems impossible. However, archery antelope hunting isn’t as hard as it might seem.
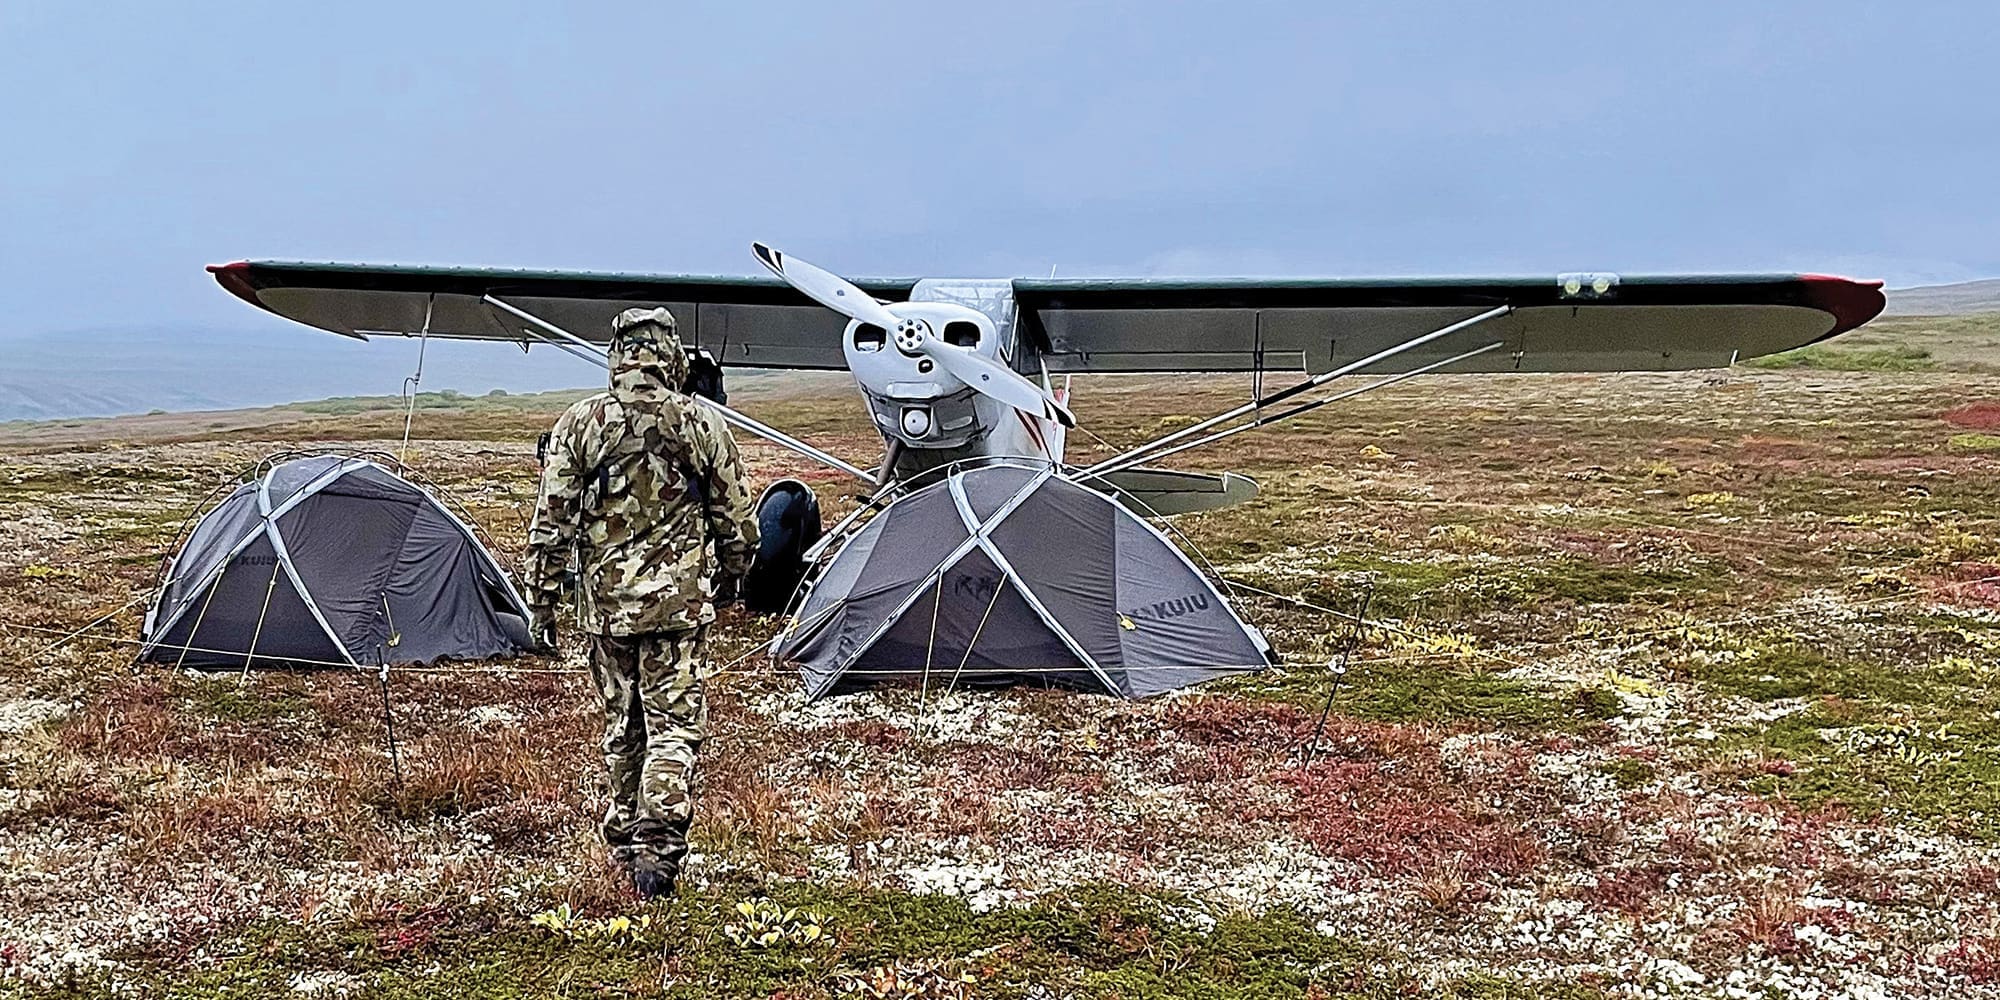
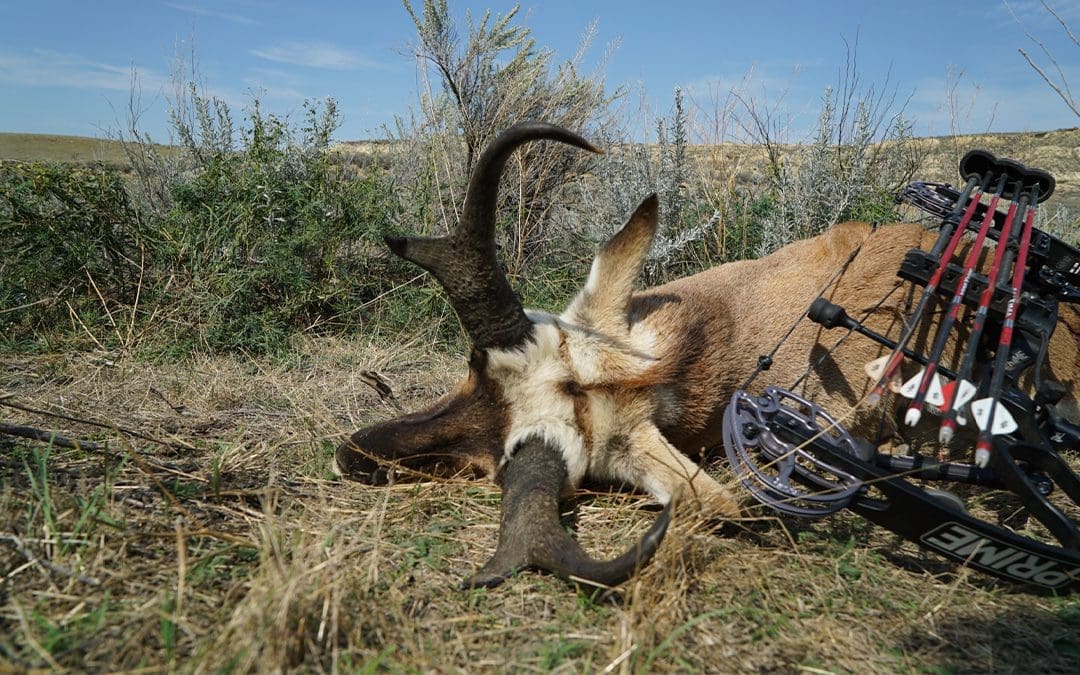
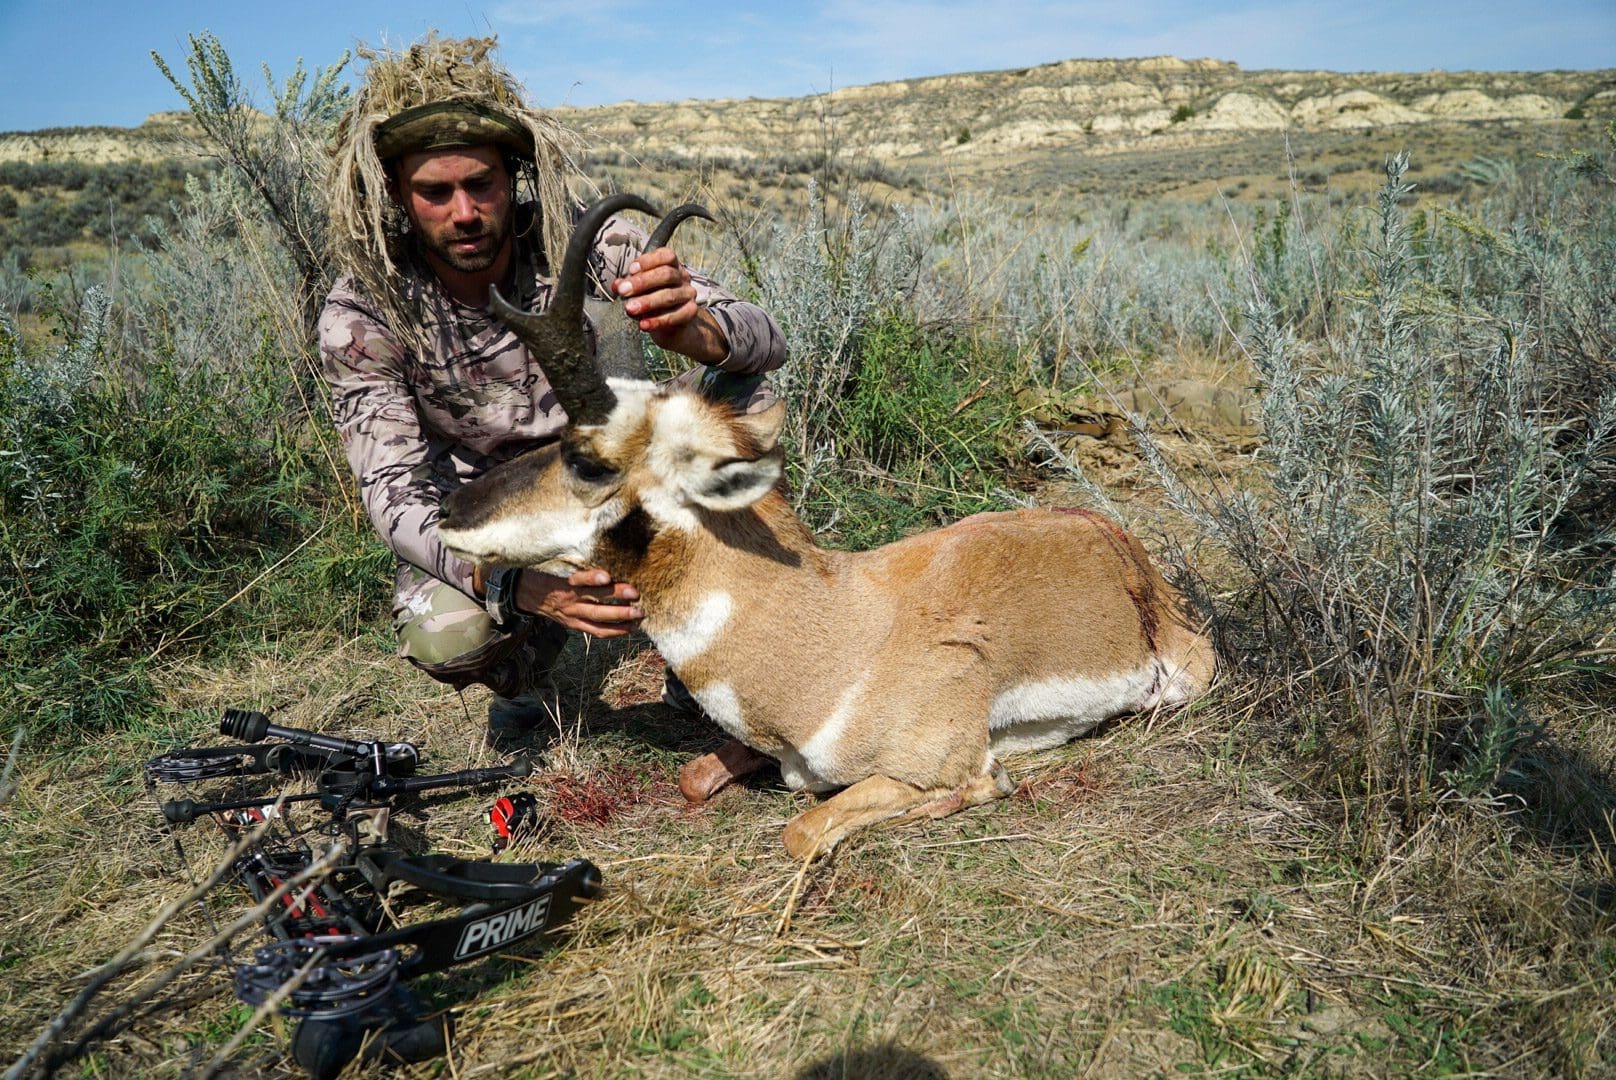
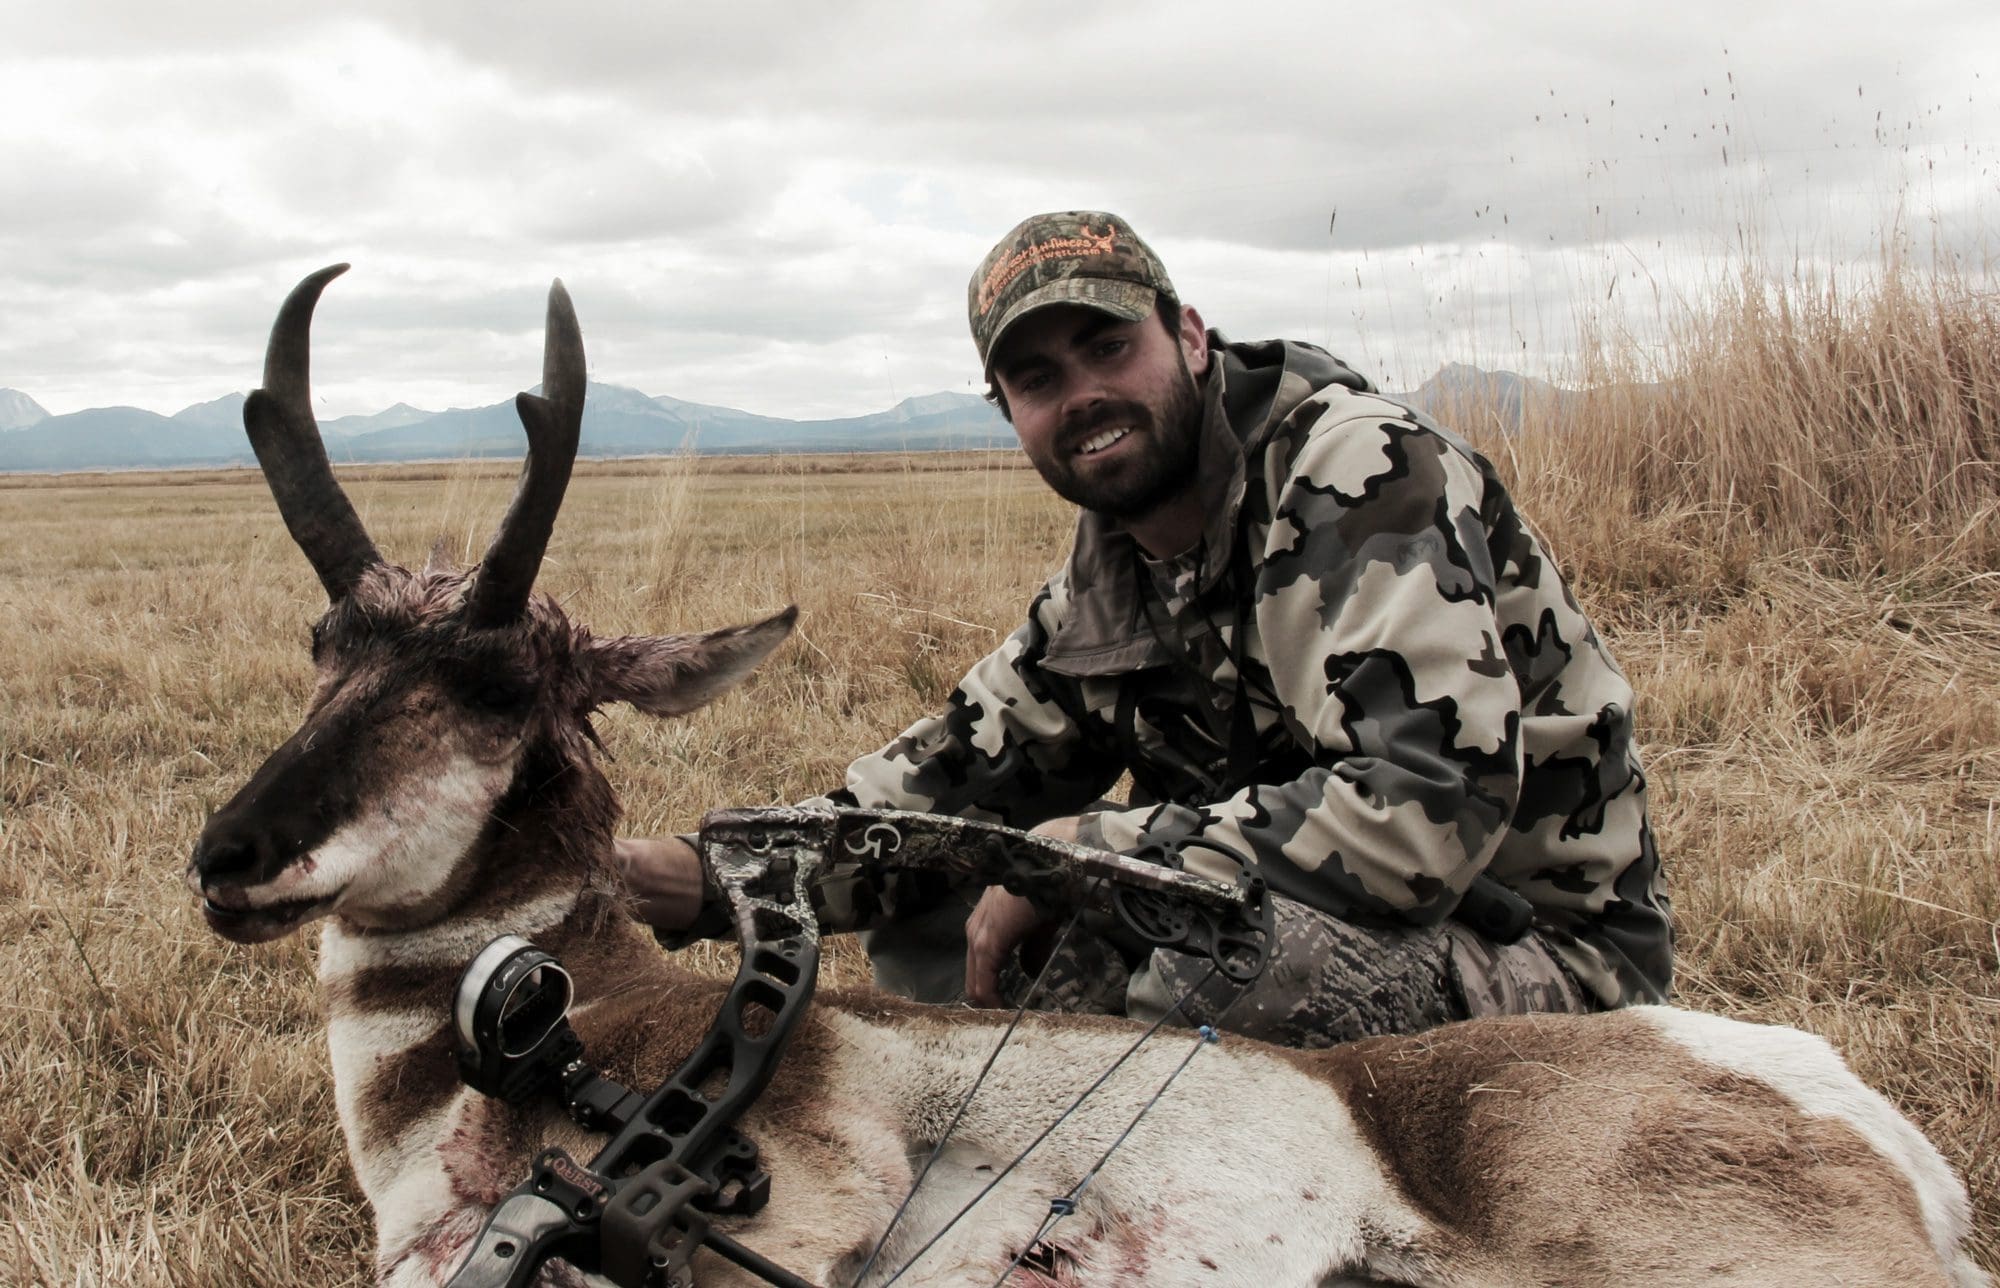
Quite a few years ago, I had a mission to kill an archery antelope, but I only had a day of hunting. I wasn’t going to be picky, but I was going to stalk every chance I could. Fifteen minutes before the sunset and countless stalks later, I found a formula that worked and sank an arrow into a pronghorn buck. It wasn’t easy, but it wasn’t that hard either. Doing as many stalks as I could, I learned fast that there were things that worked and things that didn’t. I carried that strategy into the years to come and found that spot-and-stalk archery antelope hunting quickly became one of my favorite hunts.
Every season I try to figure out the best way to trick the eyes of an antelope. I made it a mission of sorts to stalk as many bucks as I could while trying stalks I normally wouldn’t. I wanted to really test what worked and didn’t.
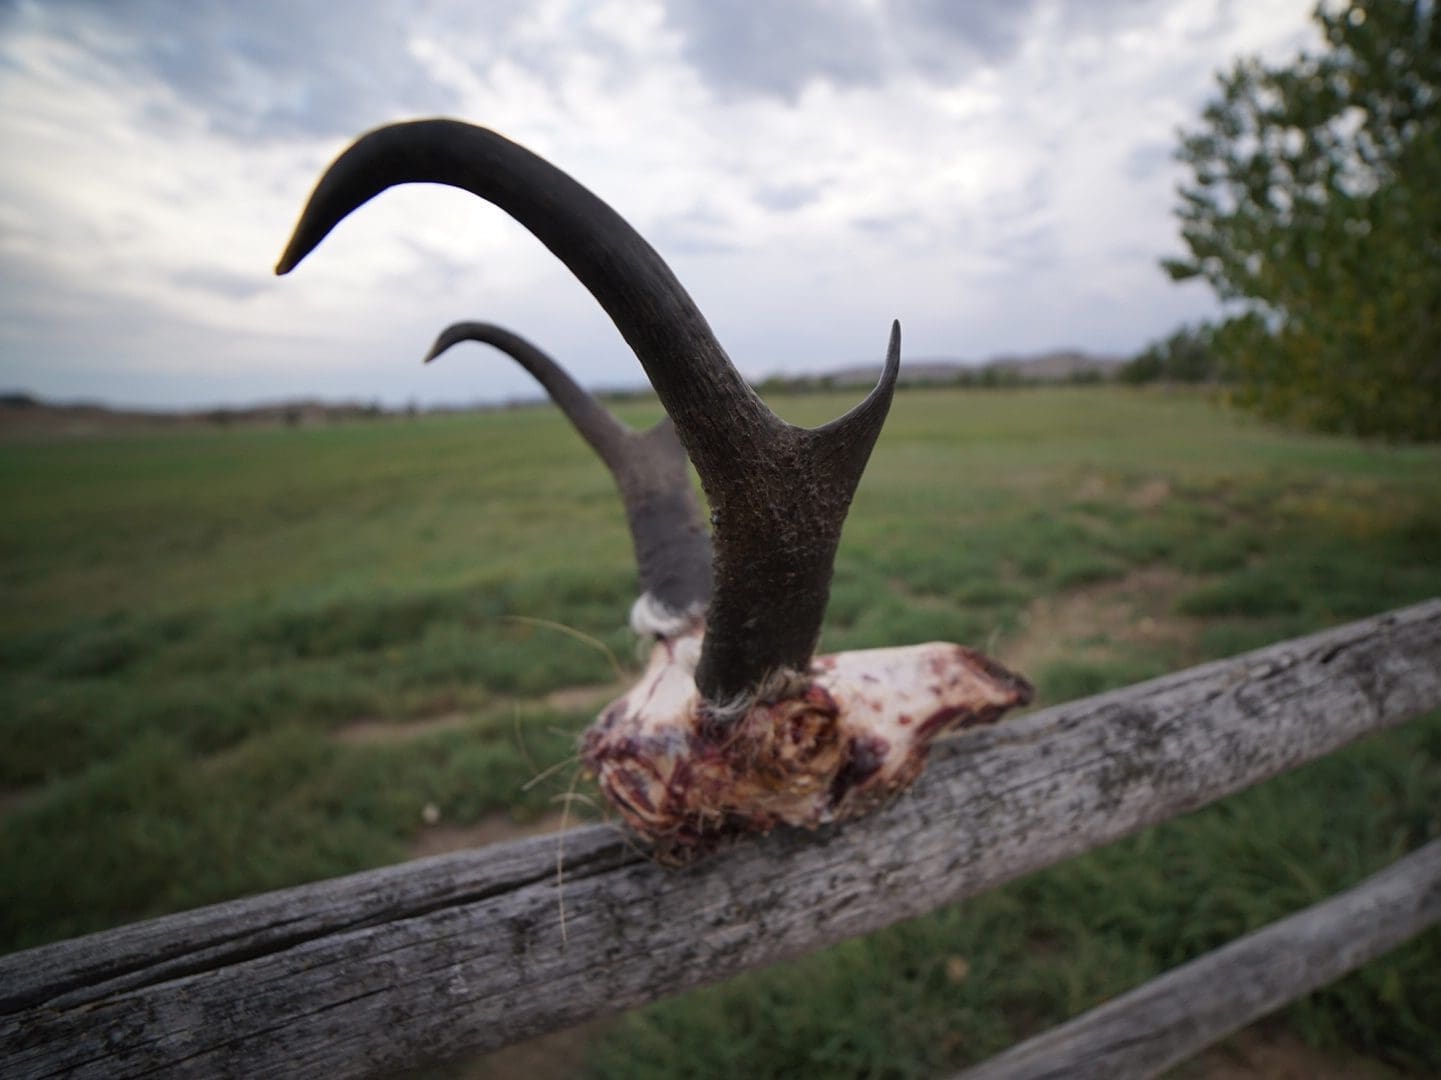
The six main ingredients to successful archery antelope hunt include terrain, distance, perspective, concealment, lighting, and timing. I’ve found that with the right combination, you can regularly get within bow range of antelope bucks.
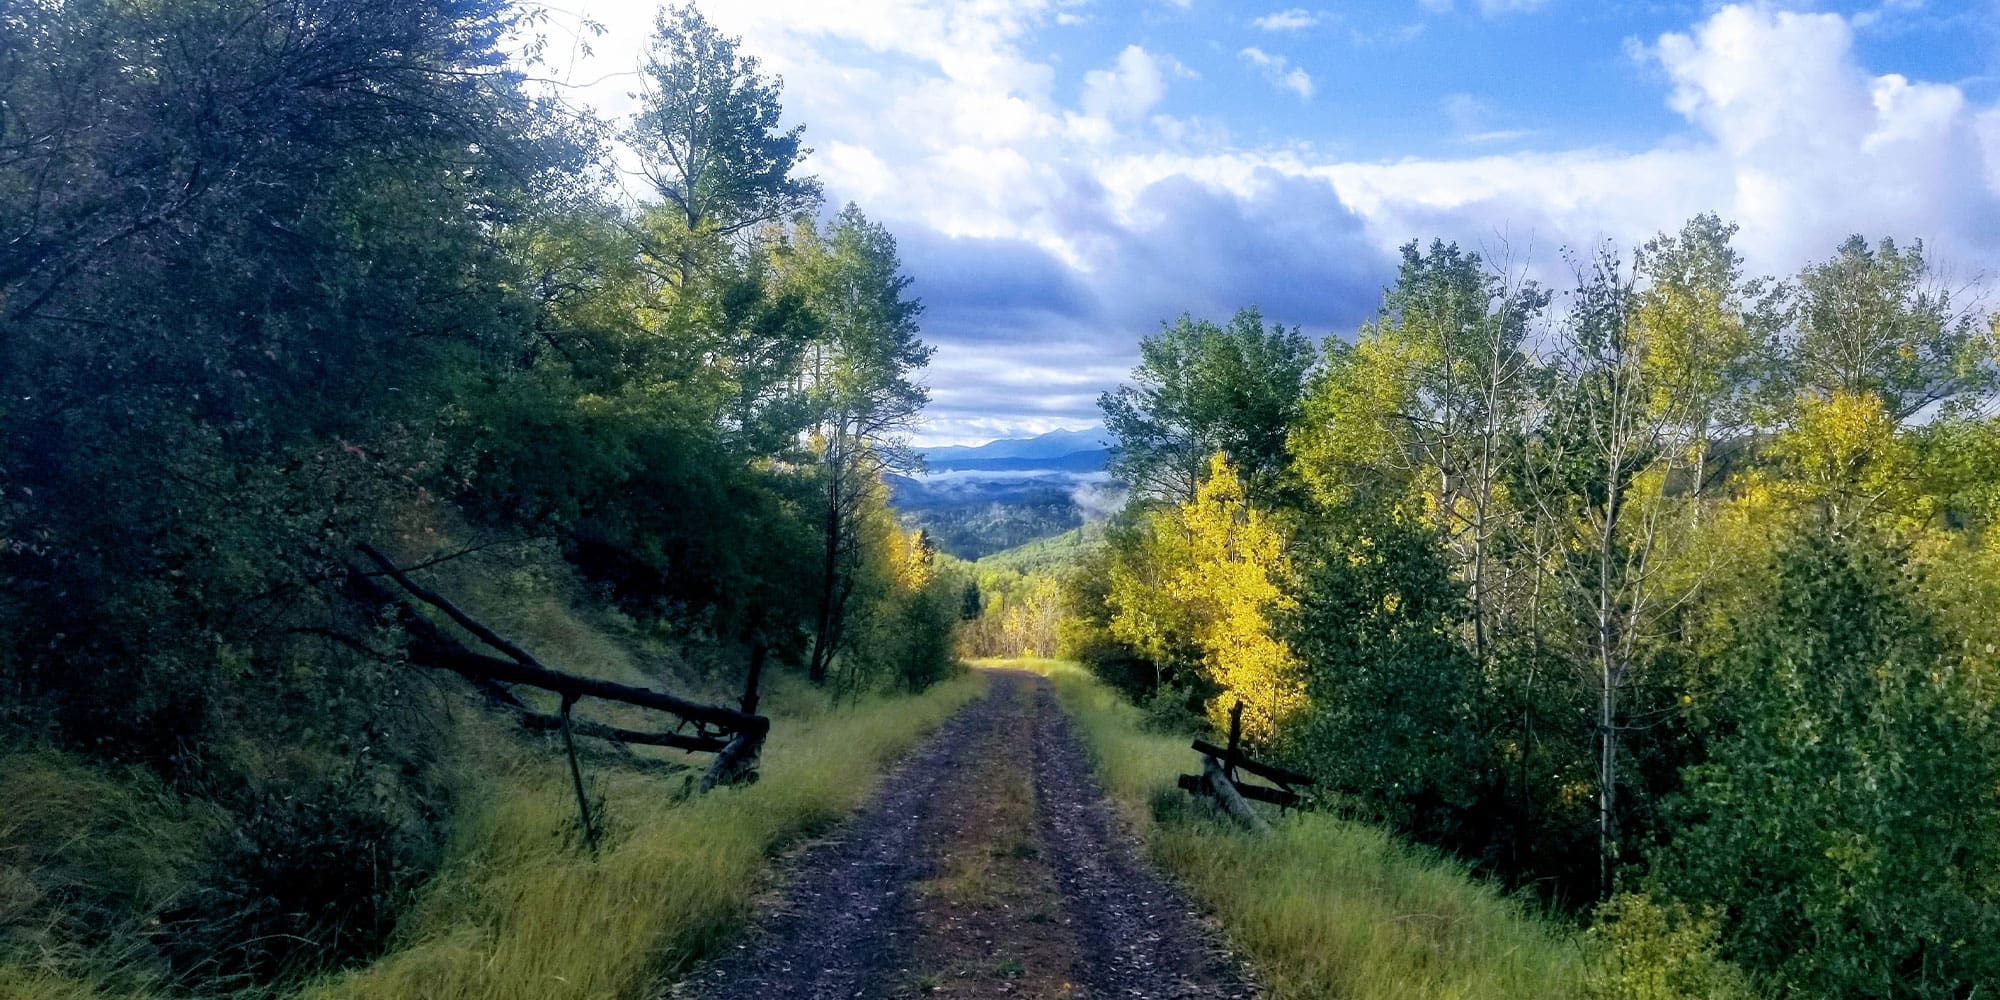
Terrain
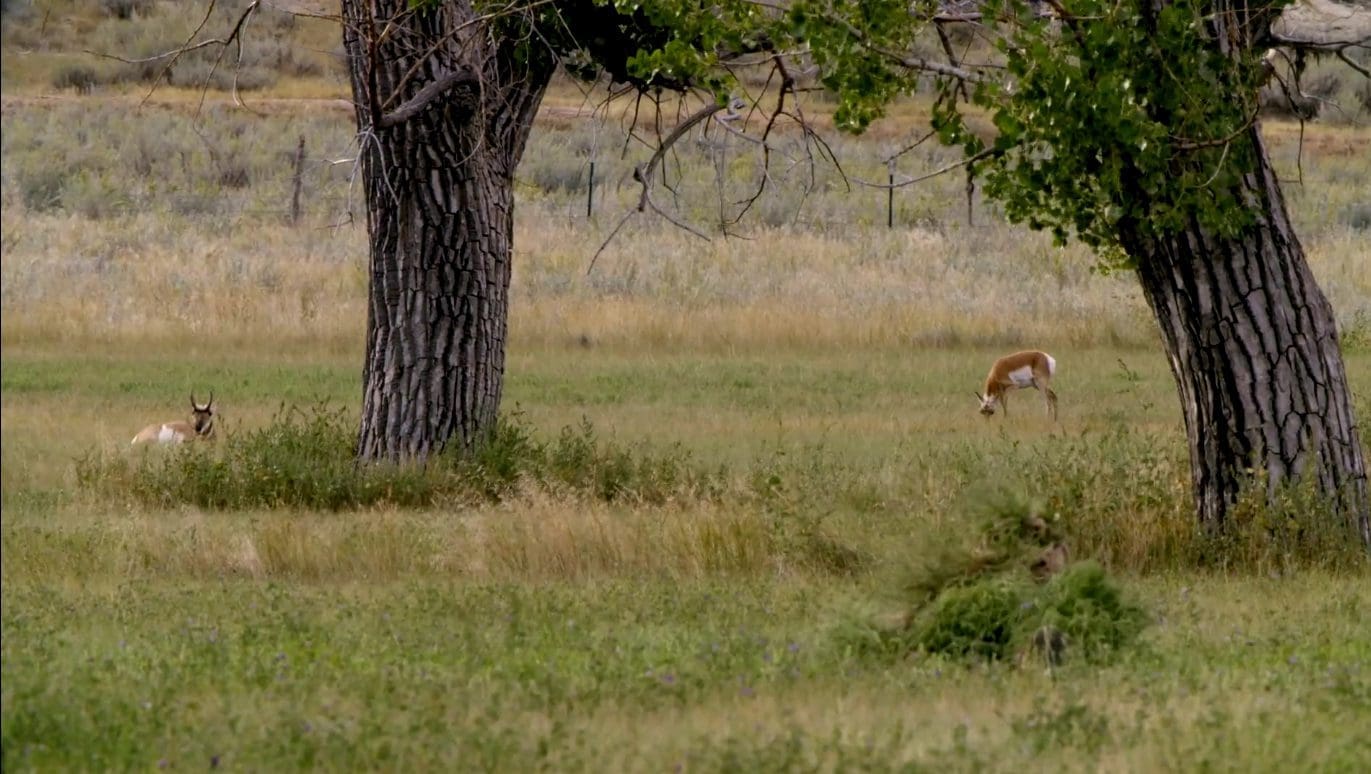
An antelope’s main defense is its eyes. This is the hardest sense to trick. The key to archery antelope hunting all revolves around navigating within range unnoticed, by staying out of sight.
To do this, you must use the terrain to your advantage. As flat and open as the terrain may appear, there are often rises and dips, hills, brush, little washes, and depressions. Some terrain features are large like a hill, but some may be only knee-high grass. Anything that blocks your outline can be used.
Key into features that lead in the direction you want to go. Even if there is only a small bush or feature, note it in your stalk plan. Going a little farther out of the way to utilize terrain that keeps you out of sight is always in your best interest.
When planning on getting close, an animal near something that will block its sight is the difference between a gimme stalk and a slim chance. The speed at which you can approach may depend on the type of terrain that can be used.
Distance
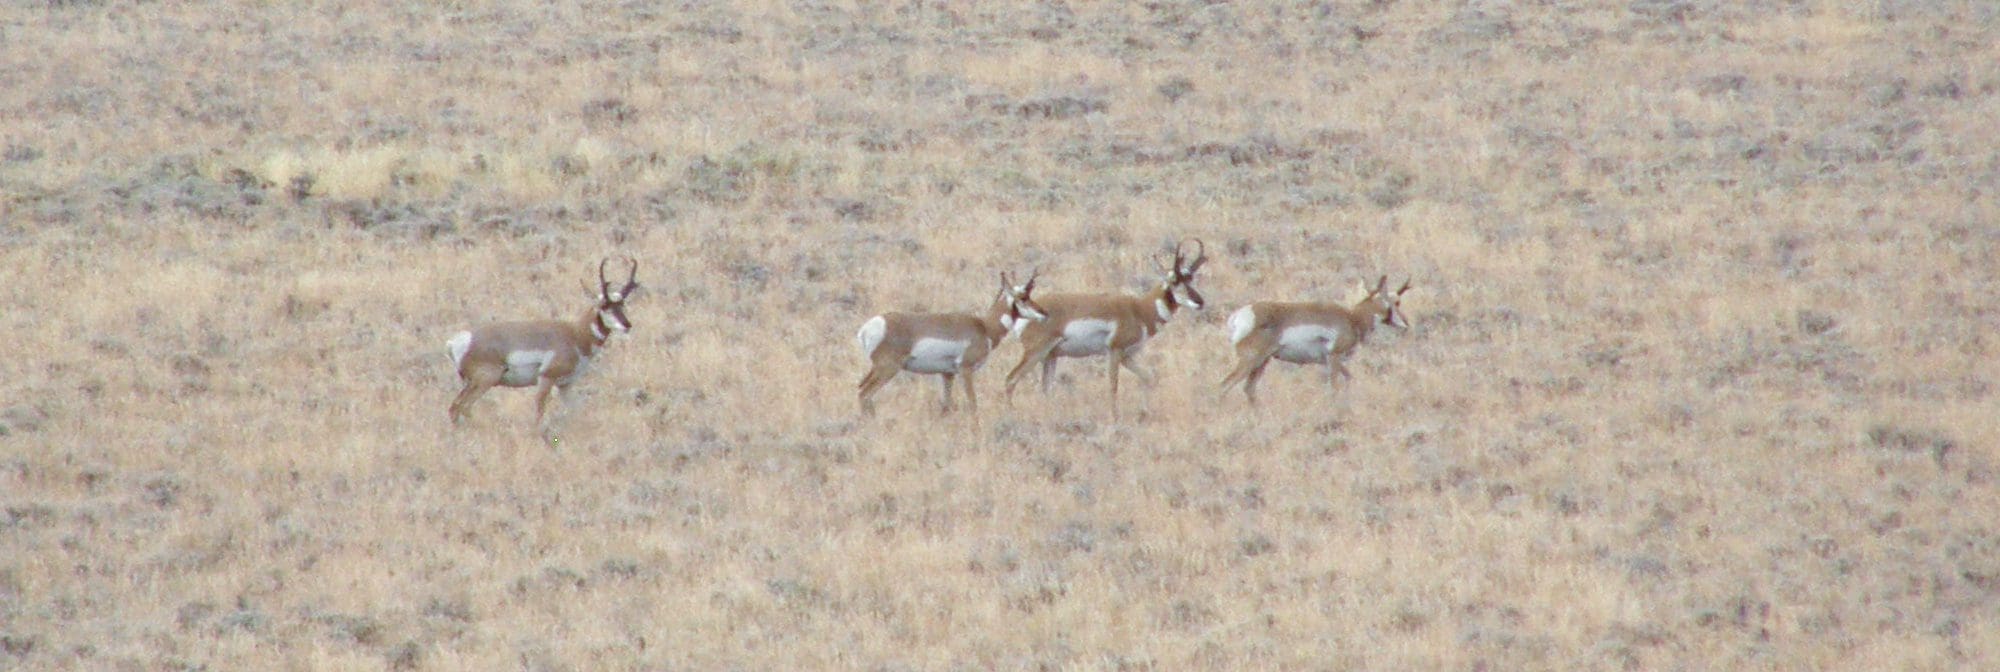
Most archery antelope stalks are blown before they even start. The care you take in starting the stalk often directly relates to how well it ends up. With antelope, this means planning and execution have to start from a long way out. Antelope can flag threats from over a mile away. Even if they aren’t running, they can be on alert from things they recognize as a potential danger at a distance.
Antelope can be strangely finicky. Some will see you a long way off and start running. Others may see you at the same distance or a lot closer and not even care. It’s really hard to tell when an antelope will care and when it won’t. I have had a lot of success simply treating every antelope like a live hand grenade. I find that more stalks are successful because I start out with extra caution. I break the stalk down in distance intervals.
The Attention Zone - 1760 yards to 1200 yards.
It’s really easy to get sloppy thinking your safe but get spotted and bring attention to an antelope. There is plenty of distance here to not spook them, but you still need to be smart about what you’re doing.
Plan and execute your stalk from here, looking at available terrain. Even out this far, I avoid skyline or lots of lateral movement. Watch the antelope and see if they’re watching you - a good indicator of alertness. If they’re showing interest in you a mile away, you better choose an approach that puts you out of sight fast. I’ve messed up a few opportunities at this distance by being careless. If they do pick me out, I try a different approach or stalk them from another direction.
The Key-In Range - 1200-700 yards.
At this distance, antelope often scan in open terrain. Here is where a full human outline stands out. If I have to move in from the open, I try to bear crawl at this range if there is some brush. This is the distance that most antelope naturally look out to and check for movement. At this distance, you will be less noticed by going directly toward them and using perspective as cover.
The Pick-Off Zone - 700-400 yards.
At this range, antelope will pick you off and not give you a second chance. Here, I stay to the shadows and make sure to manage any glare off my gear. From here on in, I expect to be easy to spot. I make sure to keep a low profile and try to stick to using terrain to stay out of sight.
At this range, lighting plays a big factor in how much you can get away with. In direct sunlight, hunters stand out. In shaded light, movements/outlines can go unnoticed as long as you’re keeping a low profile.
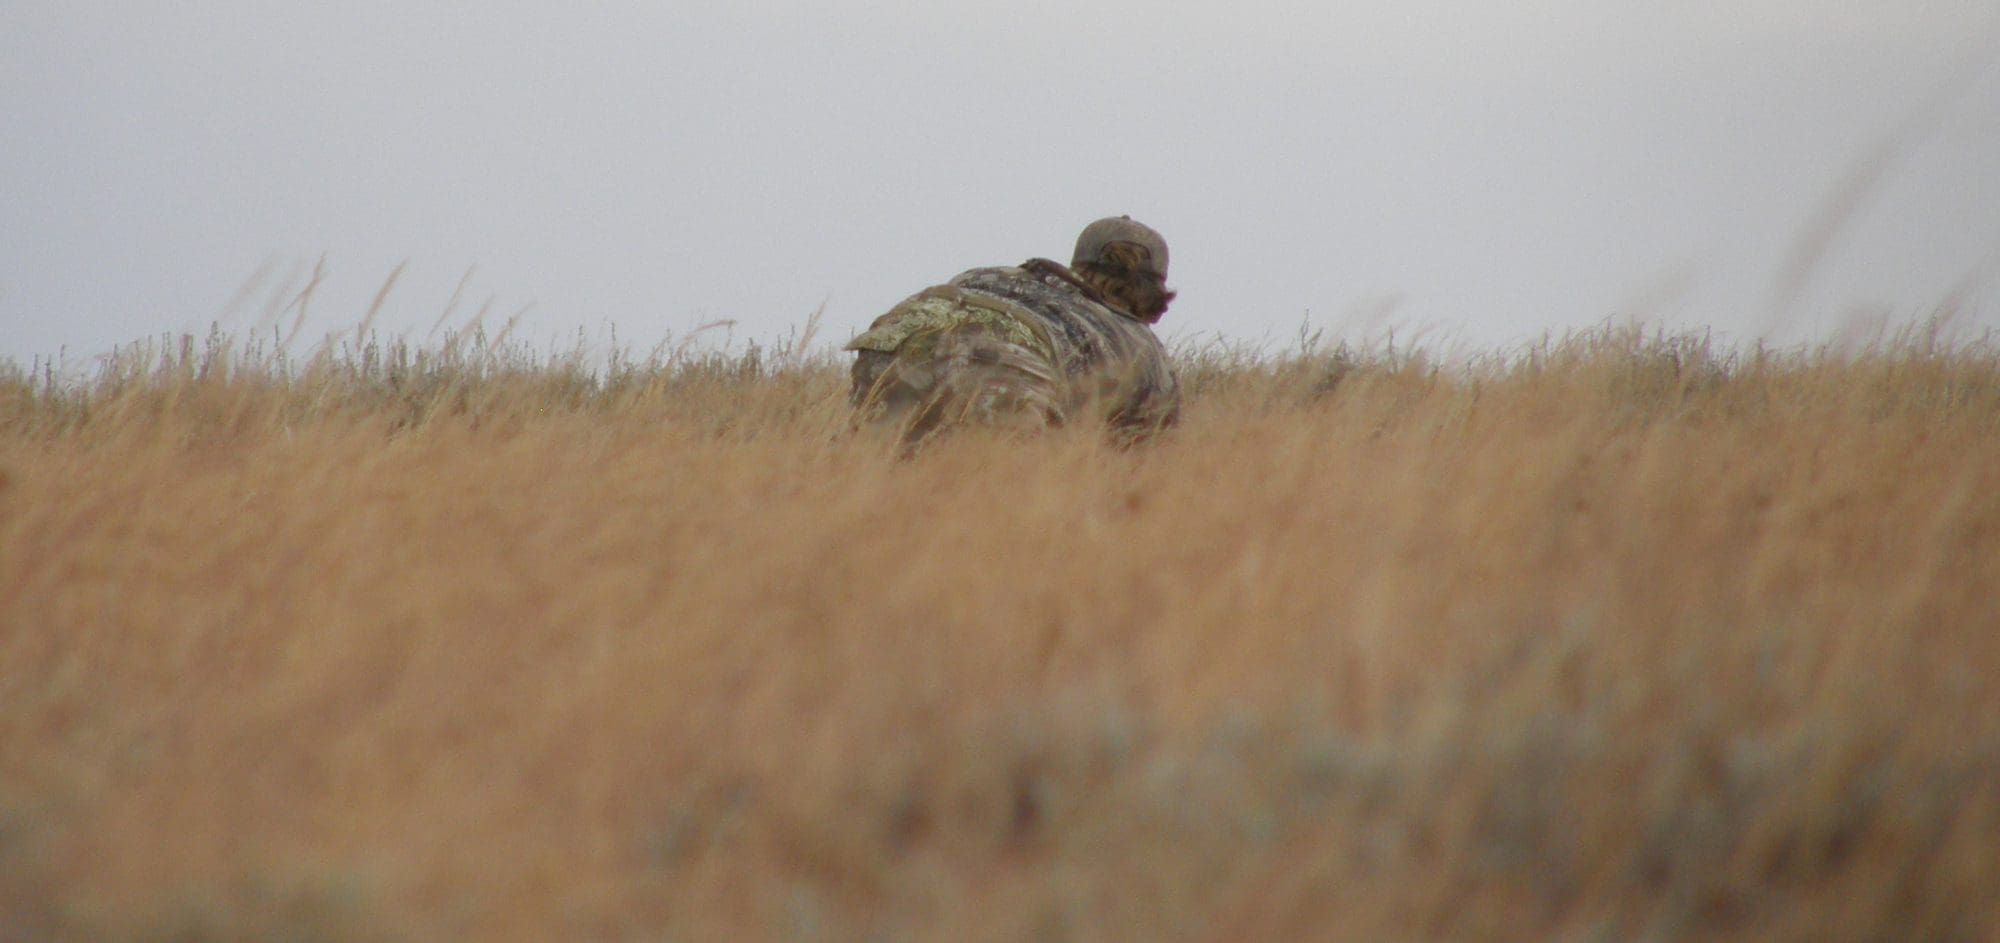
The Low Zone - 400-200 yards.
From here on in, unless you are out of sight, you had better belly-crawl. Reflections off gear and considerations such as covering your face and hands make a difference here. This is where the real stalk begins.
The Super-Stalk Zone – 200-70 yards.
At this range, antelope can pick up moving objects easily with their 300-degree peripheral vision. If you can see the eye, the eye can see you. Make movements only when the antelope’s eye is partially blocked by vegetation, its own body, or another antelope. Extreme patience is needed here.
At this distance, movement gets picked up first. Keeping a really low profile helps, but if you do get spotted in the open, freeze. Antelope are both curious and easily lose interest. They are constantly making decisions about potential dangers. Was that movement a harmless bird or a predator in wait? They process thousands of these a day. Staying still is your best bet.
The Looked-Past Zone – 70-15 yards.
Antelope have such good eyesight that they tend to seek out danger at farther distances more than at close range. I’ve found that in the correct lighting, close movement sometimes causes them to walk closer, stand longer, and be curious. I’ve had numerous encounters at close range where the antelope seemed more perplexed than scared that I got so close, giving me time to aim and shoot.
Slow movements are always better than fast. At close range, their natural predators make quick runs, sending them off at warp speed. Slow movements aren’t what their senses key in on. You can trick their natural defense of flight by moving really slowly.
Perspective
Getting into position and transitioning from various distances may mean that there are points in the stalk that you’ll be moving toward an antelope with little to no cover. I’ve found that antelope, like humans, are much better at seeing lateral movements than forward/backward movements.
When stalking an antelope, I choose to move straight toward them as much as possible. It gets noticed less and gives you a greater chance to start off without getting flagged. If you do have to go lateral, do it at a much slower pace.
Concealment
Camouflage is probably more important on an archery antelope stalk than most other scenarios, but still, concealment with antelope is more about going unnoticed. It’s about staying below the threshold of perception. There are ways to be in the open and still go unnoticed, camo, or not.
I’m not afraid to belly-crawl in antelope country. Most of my stalks are done that way. Crawling for a long distance is inherently uncomfortable, so kneepads and gloves are a must. Gloves with knuckle protection help for crawling with a bow.
A few years ago I experimented with the use of a ghillie suit. My thought was that if trained snipers with 60x spotting scopes have trouble spotting them, antelope might too. It worked really well. Even in an open field, I was able to crawl within feet of bedded animals. I still employed the use of available terrain and keeping their eyes out of the equation.
When crawling on an archery antelope stalk, they seem to pick up your head first, when you raise up to take a look. I noticed that this went unnoticed with the ghillie suit.
Although effective, the suit is pretty hot and has drawbacks. I feel that camo and a good facemask may be easier and worth the trade-off.
Unnatural giveaways:
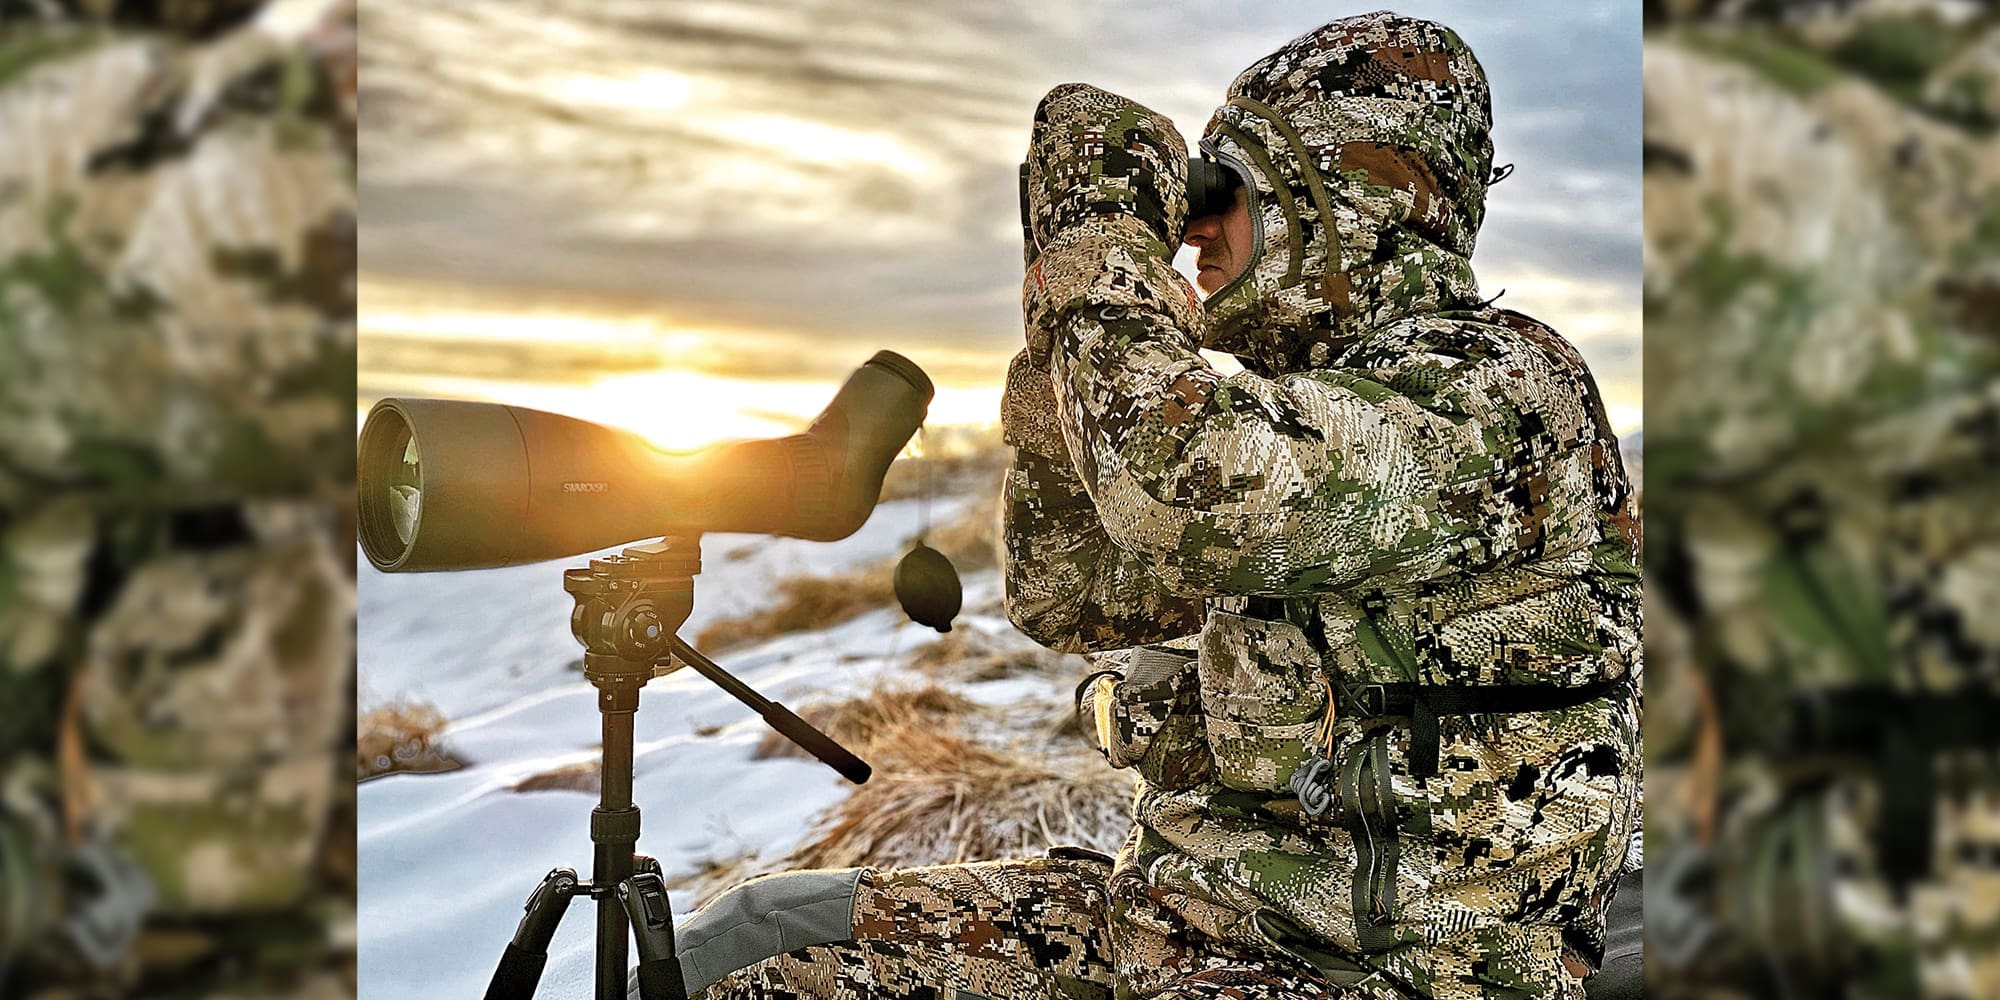
There is one thing that will give you away quickly and you may not even know it. Most archery antelope hunts are sunny, with no shade. In that sunny terrain, all it takes is a tiny glint off your glass to give you away. The reflection of the bino lens toward them or even back to your face is a death knell for a lot of antelope stalks. If I’m going to be stalking, I cover all my lenses or put them in a pocket. Often, I’ll leave the binos behind and crawl with only a rangefinder.

Before ranging, I make sure the lens is fully shadowed. Even if the sun is behind you, you aren’t in the clear. The light will reflect off the lens and shine back on your face as you go to look. Occasionally, I use a mesh facemask over the lenses to keep the glare off. I can still operate the optics and see through the mesh.
Keep in mind that anything with a shiny surface can cause this. A watch, eyeglasses, a shiny part on your equipment – all are signal mirrors that can give a perfectly concealed hunter away.
Lighting
Living in the wide-open lighting plays a huge factor in their ability to pick out objects. Heatwaves, reflections, and the bright sun glaring off you are ways antelope pick you out as something that spells danger.
Heatwaves, while hurting your ability to spot objects when there is a solid background, can have a reverse effect for antelope in open, flat terrain. At a distance on a flat plane, heatwaves distort your image, making it look much larger and closer.
I noticed this effect while traveling across the Black Rock Desert in Nevada. As I drove closer to a trailer, it got “smaller” - the opposite of what normally happens.

Direct sunlight is another dead giveaway and hard to avoid. It’s a reality of antelope hunting. Antelope are extremely diurnal (meaning their movement is restricted to daylight hours). They are active all day long. On days with passing clouds, I’ll use temporary cloud cover to my advantage. There are many times I’ll wait and do my moving across open areas when the clouds pass the sun. Temporary shadows allow you to get away with a lot more than direct sunlight.
When it comes to drawing on antelope, the hardest part is not getting picked off. If I crawl into position on a bedded buck, I’ll wait for cloud cover to draw if possible. I’ve crawled within range of a bedded buck, with only a few clouds in the sky, and waited for over an hour and a half for a cloud shadow before rising up and drawing. Killing the glare made all the difference in that situation.
Timing movements based on cloud cover is important and often overlooked. If there is no option for shade, I opt to stalk with the sun at my back. It’s a lot more successful than having the sun in your face.
Midday stalks are often the hardest to get close because the direct light affects you from every direction. During midday, I opt to find high-percentage stalks where I can use terrain to approach unnoticed. I’ll leave bucks that are in harder-to-stalk areas for fading light in the evening.
As good as antelope eyes are, they have a hard time seeing in low light. They are also less apt to pick up subtle movements - and become more eager to investigate movement - when there isn’t direct light on it.
I use this to my advantage. I plan stalks to coincide with more favorable light either early in the morning or in the evening. I’ll start my stalk with enough time to get into a position to catch the lowering sun either behind me or as it casts a shadow on me. I’ve had many successful stalks by waiting to close within bow range as evening shadows hit me. When shaded, I’ve had bucks catch the movement of me drawing and walk closer to investigate. This doesn’t happen as often in direct sunlight.
Most antelope don’t move throughout the night. I’ll often put a group to bed and find them in the same spot the next morning.
If going in before daylight, I try to plan to start out downwind and east of where they were the night before if possible. This allows more time to pull off a stalk with a good probability that the low rising sun will keep the buck from spotting me. This has been an extremely successful tactic. As the sun rises, you can start your stalk while the antelope is milling around feeding, without having to cover a considerable distance in the light to that point. This also leaves you time to get in position and draw while the light is still good.
Timing
With spot-and-stalk archery antelope, timing is everything. The stalk is a combination of running and crawling, either super fast or super slow. You have to be aggressive when their eyes are blocked. Because antelope have a tendency to suddenly move for no apparent reason, it’s in your best interest to quickly cover as much ground as possible. For example, if you get to a point where you have to crawl, but the buck goes behind a slight rise, get up quickly to close the gap while the coast is clear.
Timing of when to draw is also important. Waiting for the buck to look away, turn so his view is obstructed, or even waiting until a cloud passes in front of the sun, can all work. If you have no options for an “opportune” time, remember that at close ranges, antelope may be more curious than spooked if you don’t move fast.
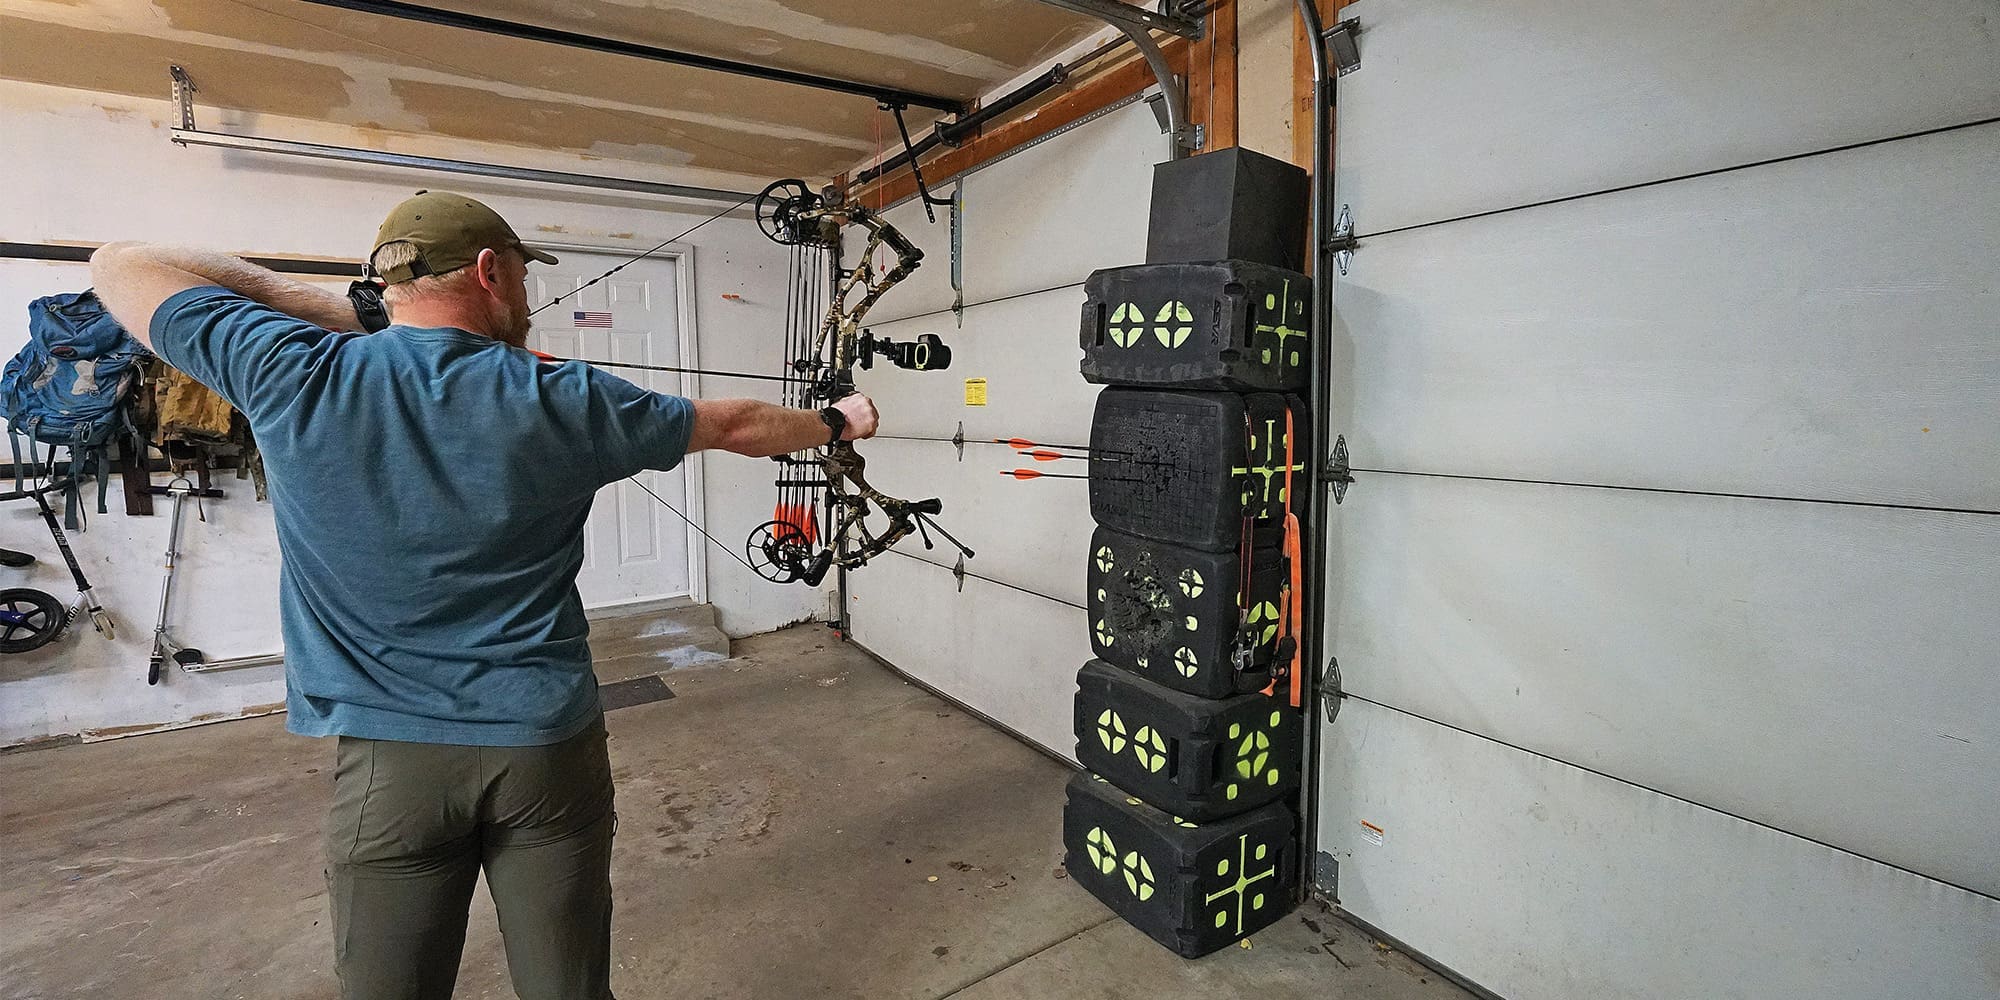
When getting set up on a buck, I set my body in the correct position to shoot and then raise up with the bow facing the buck. This way I have a straight draw on him. It goes back to the perspective: the movement of drawing a bow from an angle other than straight-on will be more noticeable and have a higher chance of spooking them.
No Shortage of Chances
With spot-and-stalk antelope hunting, success lands in tiny details. However, the best part is that if you blow one stalk, go stalk another. Antelope hunting gives you a lot of opportunities to try again. Although this type of bowhunting may seem difficult, remembering a few of these small tips can make it extremely successful.