NOTICE: Certain links on this post may earn a commission for Western Hunter Magazine from Amazon or our other affiliate partners when you make a purchase. Thank you for your support.
10 Tips for Better Archery Accuracy
Like a fine automobile, your archery skills need a tune-up now and then to keep driving arrows home without fail. Run through this checklist and see if there might be a few archery improvements you can make right now to take your game up to the next level.
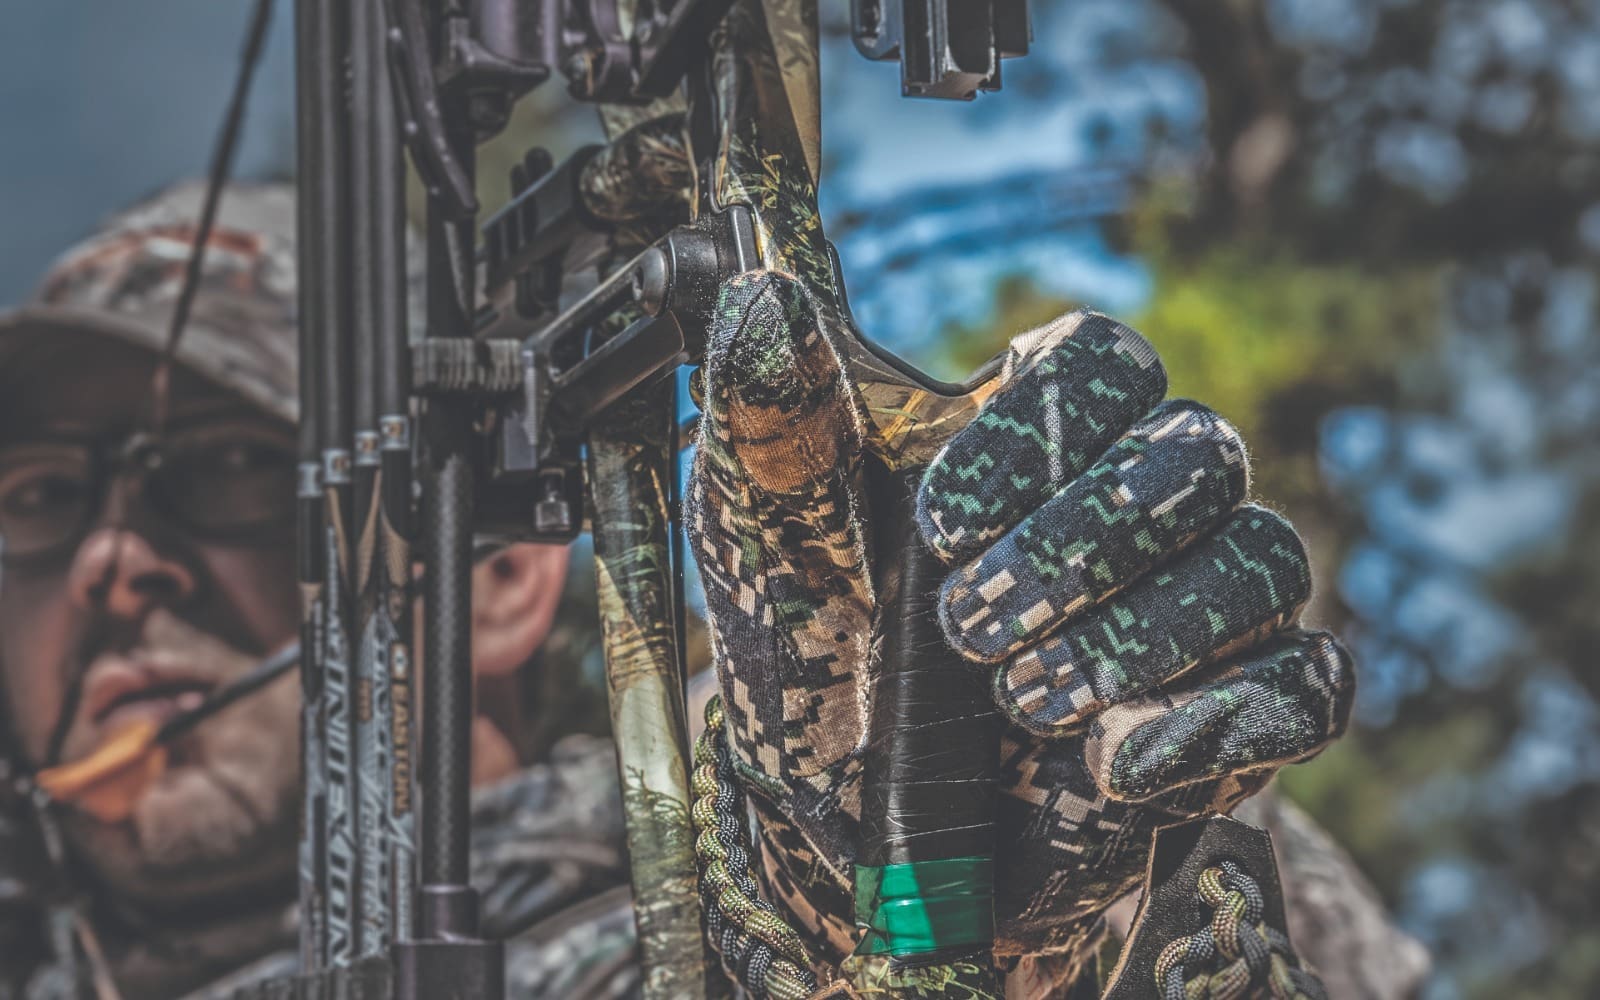
1) Relax Your Grip
Without question, this is the #1 piece of advice I can give any archer. Your bow hand is the only place your body actually makes contact with the bow, so it’s absolutely the most important thing to control.
Many archers try to use fine muscle movements in the palm of their hand to help aim the bow. These little bits of tension in the palm cause torque and sight movement. Even if you manage to muscle the sight pin onto the target with your palm, the shot will be torqued, and your arrow will likely be off the mark.
A relaxed hand allows you to aim steadier, lets your arrows tune, and fly more consistently, and your groups will definitely tighten up because, without torque, your shots will hit where they’re aimed. The best way to get a feel for a relaxed hand is to tense your palm at full draw, then let the tension melt away and feel the grip push through the relaxing muscles until it bottoms out on the underlying bone. Get a feel for this and learn to do it at full draw. I guarantee you will shoot and aim better.
2) Use a Bow Sling
This goes “hand in hand” with #1. It’s nearly impossible to maintain a relaxed bow hand if you’re worried that you may drop the bow upon release. Even a low-recoil, parallel-limb bow can get away from you when shooting steeply downhill or from a tree stand.
Use a bow sling so you can train yourself to keep your bow hand relaxed until the arrow arrives at the target. A bow sling helps you maintain concentration, promotes better follow-through and will keep your hand relaxed – all of which will have you shooting “hands-down” better than before!
3) Lean the Top Limb Uphill
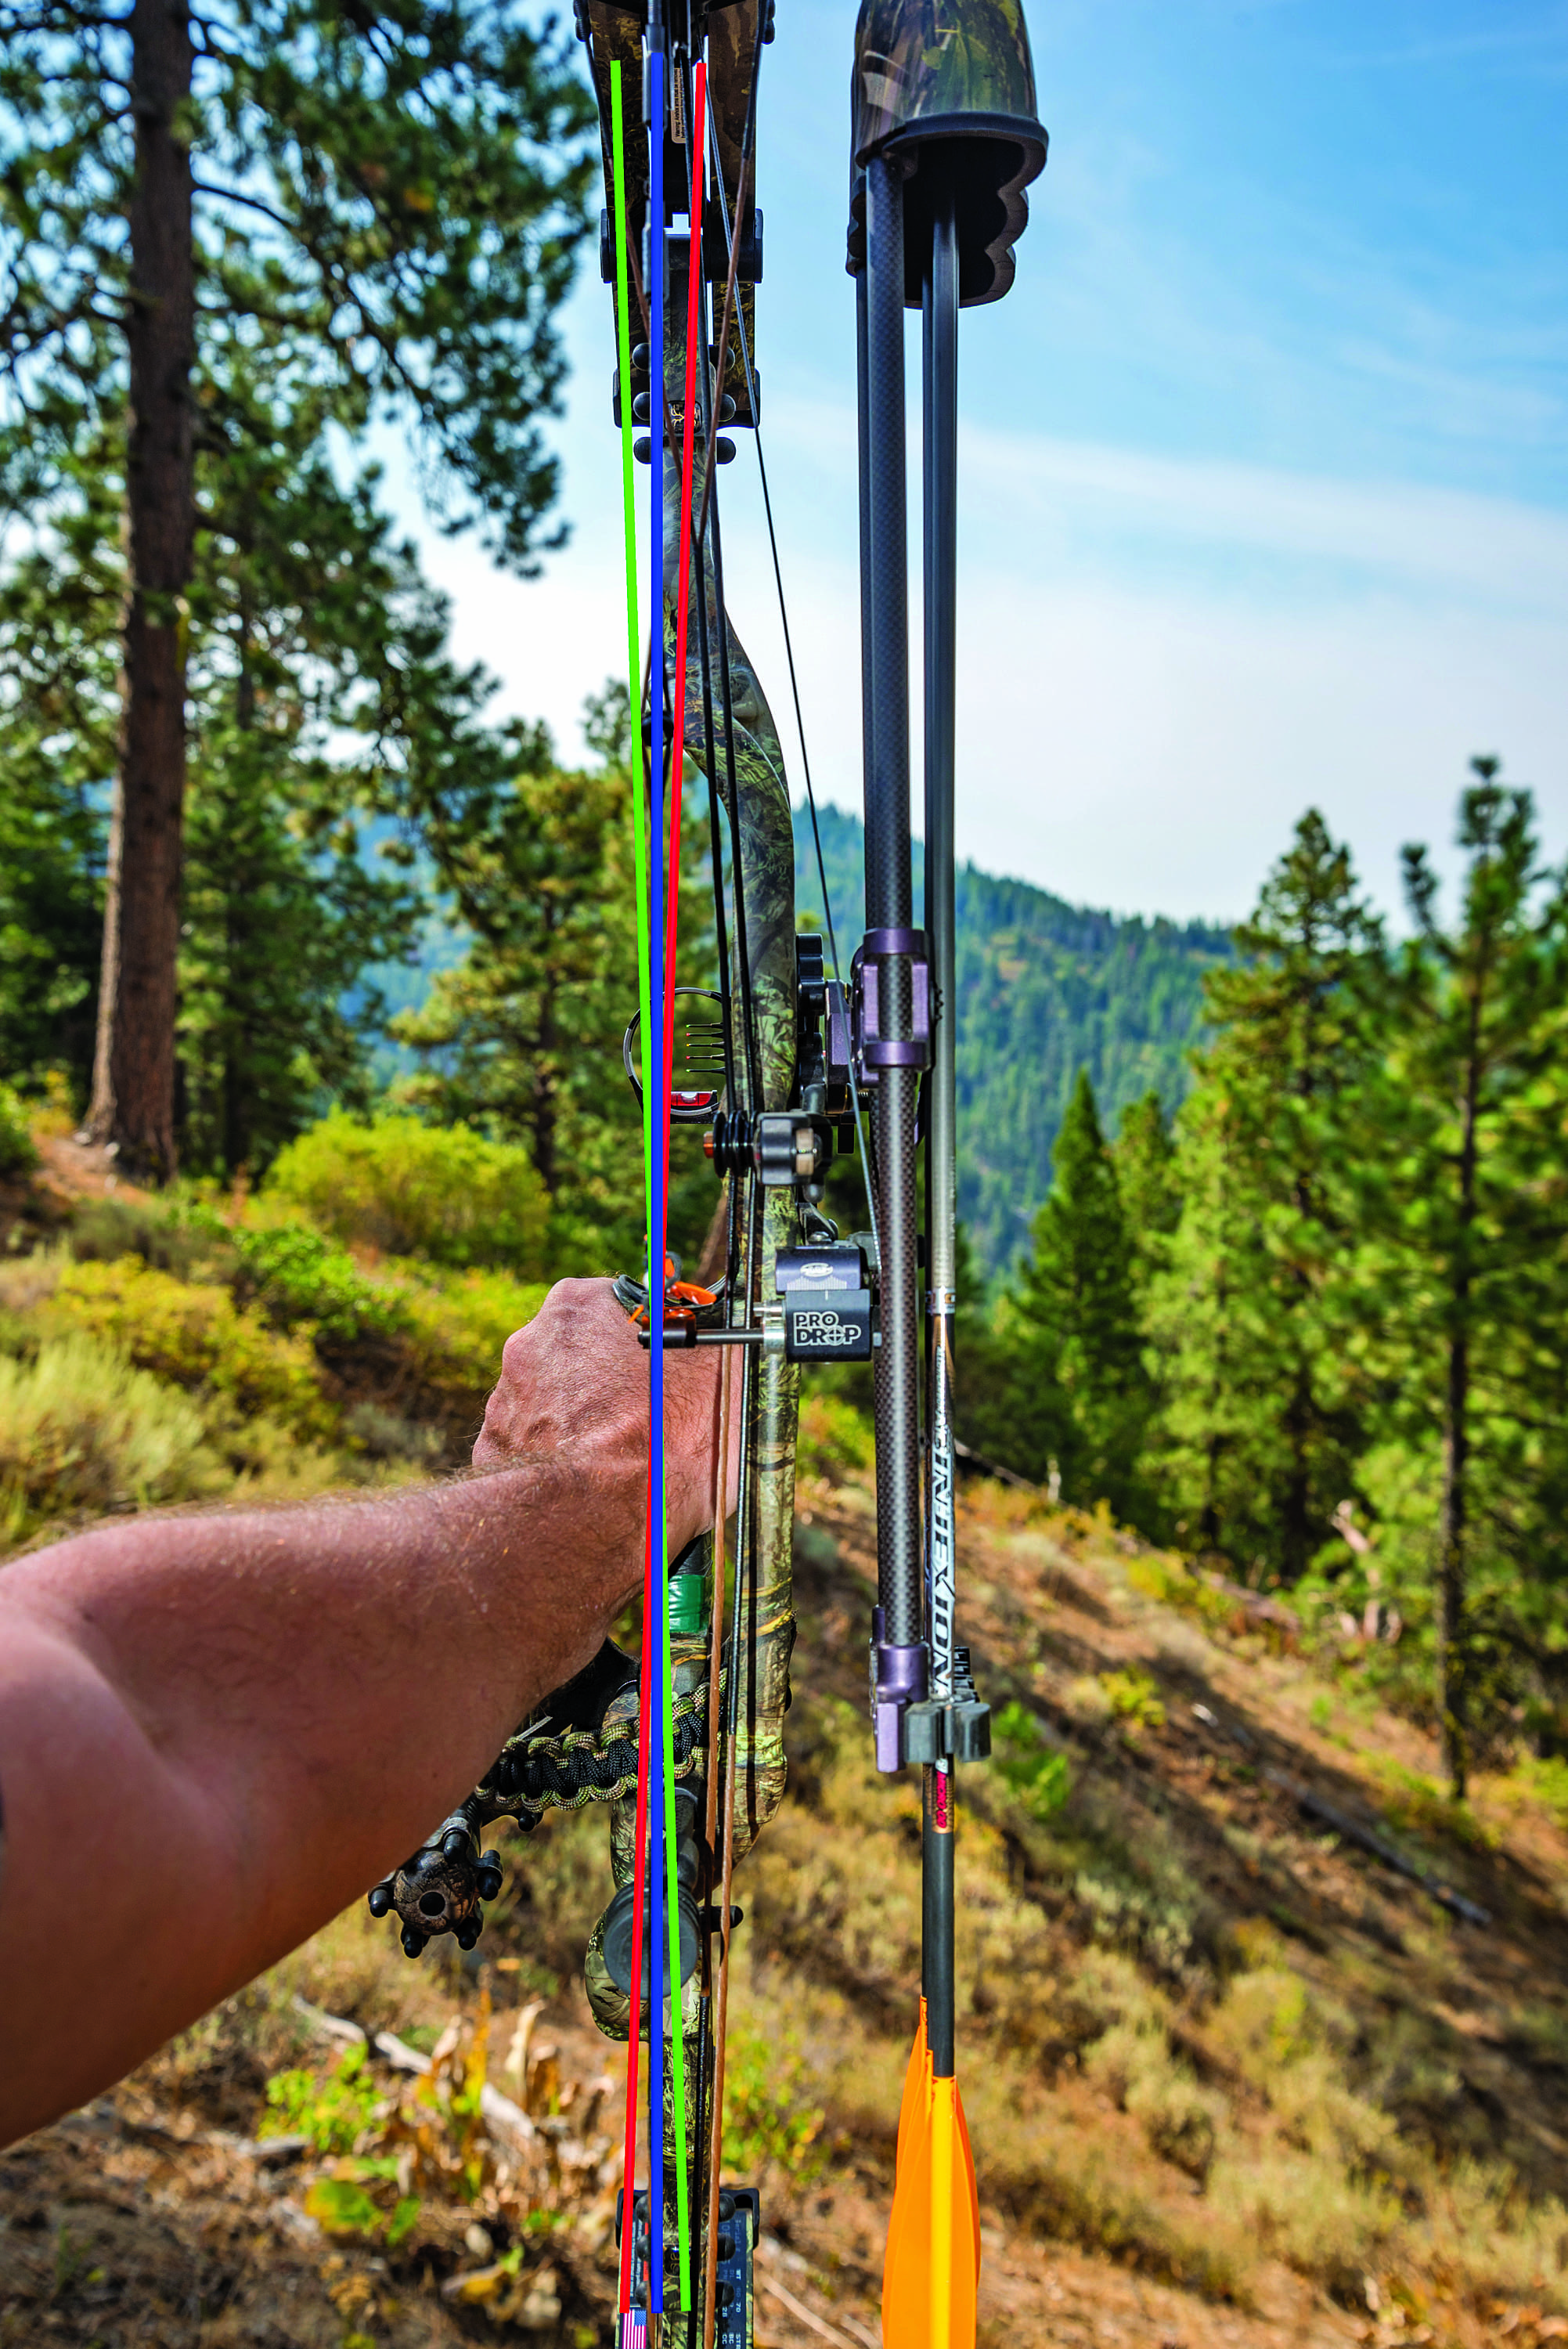
Archery hunting the West is an up-and-down affair, so sidehill hunting shots are far more common than getting a shot on perfectly flat ground. Unfortunately, almost all of your practice occurs on flat ground, so your subconscious learns to align the bow perpendicular with the horizontal terrain in front of you.
When the terrain slopes, we subconsciously tilt the top limb of the bow to the downhill side to keep the bow perpendicular to the terrain. This tilt will cause you to miss in the downhill direction.
To combat this natural tendency, always draw with your top limb leaned to the uphill side. Then, as you settle in at full draw, you can relax the bow toward level in the direction it naturally wants to go. If you start with the top limb leaning downhill, you’ll have to fight the bow uphill against your natural tendency toward the level position. Forcing the bow level will cause your aim to suffer and may add unwanted tension in your bow hand (refer to #1).
Practice shooting sidehill shots correctly to get familiar with canting to the uphill side and learn to trust your sight’s level, because you’re going to need it when you hit the mountains this fall.
4) Top-Down Approach
When you draw your bow, you should start with your pin slightly above the target. As you settle into your anchor and center the peep, you’ll want the pin 6 - 8 inches above the bullseye on a 40-yard target and about half that on a 20-yard target.
As you get further into the shot, allow the pin to relax downward, ever slower onto the bullseye. Settling down onto the bullseye will help you stay relaxed and aim better.
If you start below the target, you’re more likely to have to fight it up against gravity or “muscle” the pin up to the center. This is often followed by a bobbing motion that takes away from your ability to execute smoothly and you’ll miss a lot of shots out the bottom.
5) Peep Height
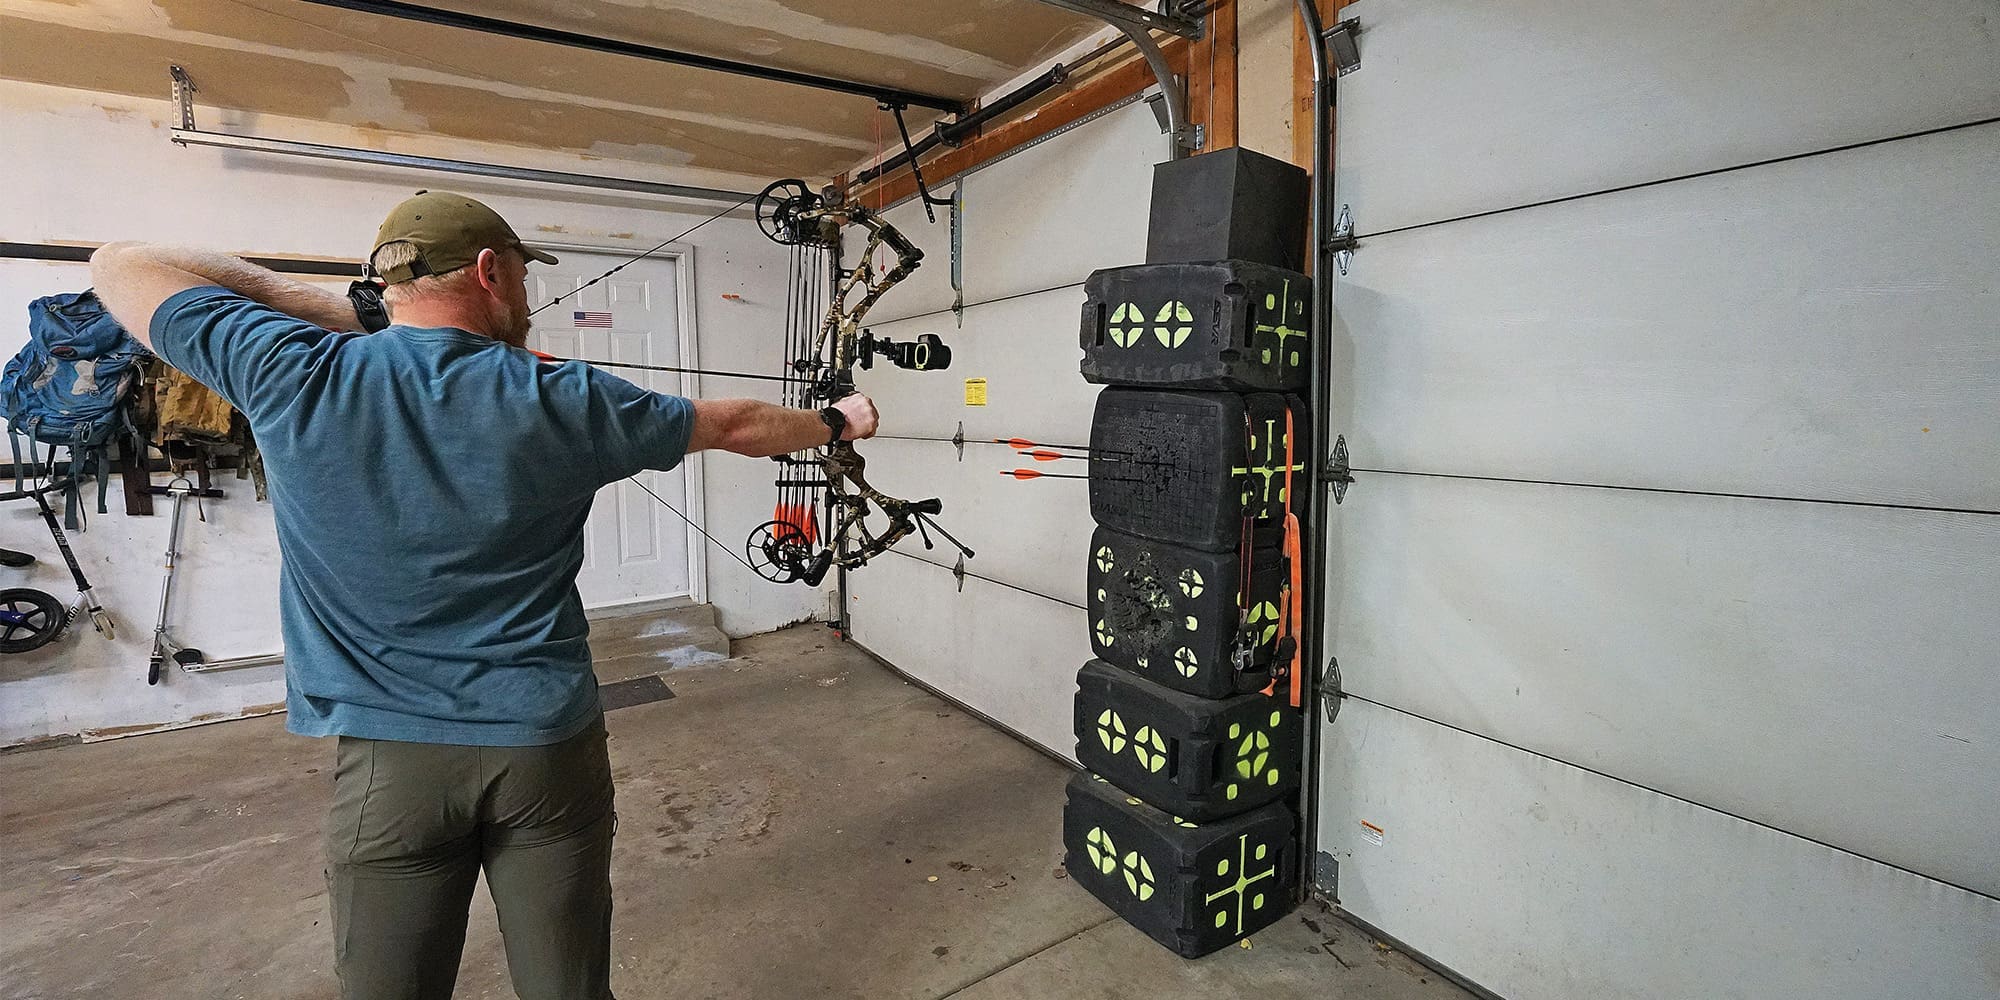
Checking your peep height is pretty easy, but archers often overlook this critical part of their bow setup. Draw your bow toward a safe target with your eyes closed. Make sure you get comfortable in your anchor before you open your eyes. When you open your eyes, you should see your sight housing or middle pin centered in your peep.
If the sight housing is high or low in your peep, then the peep needs to move in the direction of the sight. If your peep was off, then you’ve been moving your head into an unnatural or less comfortable position. Move the peep until it’s in line with your natural anchor. You’ll acquire your target faster and shoot better when you don’t have to move your head or stretch your neck to get centered.
Note that as you adjust peep height, you’ll need to gang adjust your sight slightly in the same direction to sight back in. Repeat the process until you’re sighted in properly and centered in the peep.
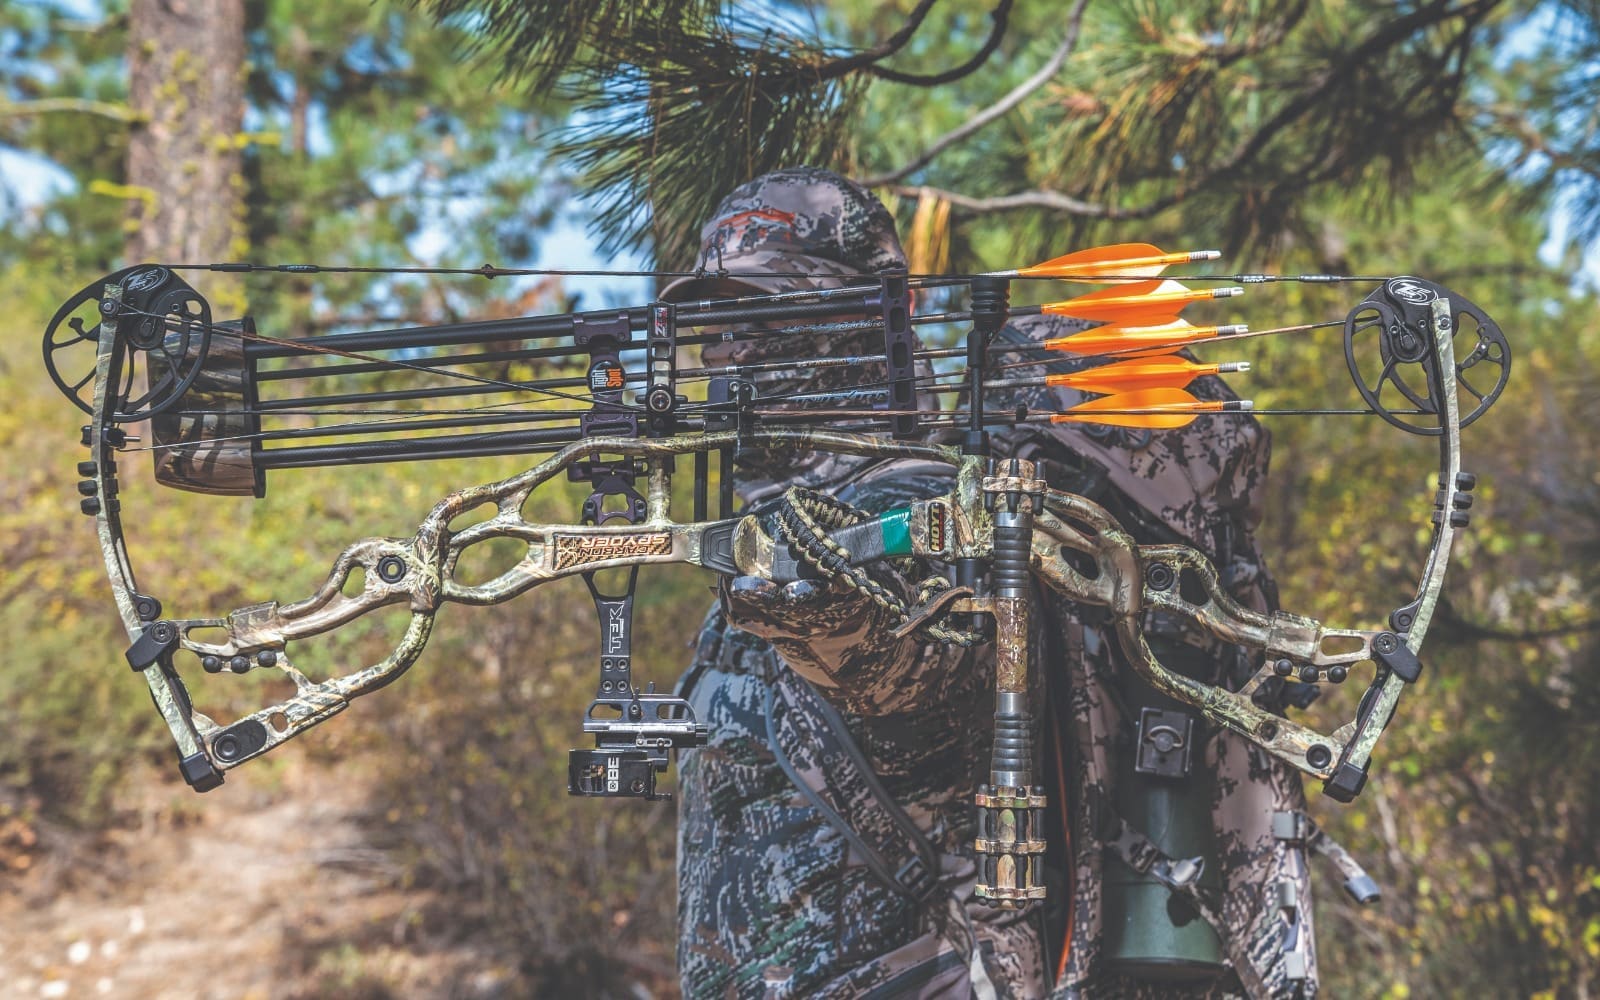
6) Balancing Act
There are two areas where a bow’s balance is critical. The first is at full draw. The often overlooked second is how well it balances as you carry it all day in your hand. The bow should not feel heavy one direction or the other.
Bows are never perfectly balanced out of the box, and they get worse when you add a sight and a quiver full of arrows to the heavy side. To counterbalance the bow, you’ll need to add weight opposite the heavier side using an offset stabilizer or “V”-bar.
A lot of people avoid doing this on their archery hunting setup because they don’t want to pack the extra weight. To that, I say, “Nonsense!”
A well-balanced bow carries much easier because it requires less effort to hold when you don’t have to keep it from twisting. Less effort means less fatigue in your bow hand at the end of a long day. A well-balanced bow is going to aim better and recoil in line with the target – both of which add up to better shooting.
Avoid top-heavy bows – they require a ton of stabilizer weight to get them to balance. If your bow is top-heavy, a shoulder sling might be a good investment to minimize fatigue.
7) Let it Float
The biggest mistake beginning archers make is trying to time the movement of their sight pin to coincide with the release of the arrow. This timing of release and sight movement is a predictable behavior and is precisely why so many archers develop target panic and flinching.
You have to learn to let the sight pin float while you squeeze the trigger, not knowing exactly when the shot will happen. You need to be okay with your arrow hitting inside the margin of error that your sight pin paints on the target.
If you try to force the pin steadier, it will only get more erratic. If you try to time the release with the moment the sight pin crosses the bullseye, you’re signing up for Target Panic 101.
If you can master the concept of allowing the pin to float and letting the release surprise you, then you’re well on your way to mastering the art of archery, Grasshopper. Aim as well as you can, start squeezing, and let the shot happen. Never force it.
8) Shoot Against the Wall, not in the Valley
When you pull a bow back, the natural tendency is to want to relax at full draw, right in the bottom of the “valley” where there is the least holding weight. That’s logical, but it’s not good for consistency.
The bottom of the valley is a nondescript place. Are you at the front of the valley or the back of the valley? Are you pulling back or letting up? If you relax too much, you’ll get pulled forward; pull back a little too much and you bounce off the back “wall”. These are things you’ll likely experience if you try to hold in the nameless place at the bottom of the valley.
Pretty much every bow I’ve ever shot performed most consistently when I shot it off the back wall. This means at full draw; you pull past the valley and hold a couple of pounds into or against the wall. This tends to stabilize your aim and makes your draw length and tuning more consistent.
If you’re a valley shooter, this might take a little getting used to and you may even need to shorten your draw length by adding a few twists to the string. With a little practice, you will definitely aim and shoot more consistently if you “lean” on the wall.
9) Let Down
Sometimes the best shot you can make is not taking the shot at all. If you feel your aim going to heck during a shot, let down! If your focus shifts from aiming to the guy’s cell phone that just went off, let down! If you start wishing your release would just go off already, let down! You get better by practicing good shots, not by forcing yourself to shoot bad ones.
I’ve even let down on live game on a handful of occasions because that’s the last place you want to force a bad shot. If I hadn’t learned to let down in practice, there’s a good chance I would have forced those shots and potentially wounded something. In almost every case, I was able to collect myself and make a lethal shot after having let down and I’ve never had to regret the results from an arrow I didn’t shoot. Letting a shot down is an important skill that will help you improve the quality of your practice by eliminating most of your bad shots before they happen.
10) Focus on Aiming
It’s really easy for your mind to wander while you’re shooting. When you aren’t consistently thinking about the same thing, you won’t likely get consistent results.
When you really get in a groove or in the “zone”, it’s often because you aren’t really thinking about anything. You’re just aiming & shooting.
One of the keys to finding the “zone” consistently is controlling your focus. Aiming should be the only conscious thought on your mind after you reach full draw. You should be 100% focused on the spot you want to hit, and the rest of your shot process needs to happen on autopilot.
If you consciously focus on aiming, you’ll naturally block out the other non-essential thoughts and sounds that can interrupt and derail your shot process. Your subconscious knows how to execute the shot perfectly, so let it do its job. If you lose focus, let the shot down (see #9), regroup, and start the process over.
Bonus Tip!
Use blank bale practice to implement new archery skills.
If you need to practice something new, like relaxing your grip or learning to shoot off the wall, you should always start by doing it with your eyes closed in front of a blank target bale a few feet away. Practice new archery skills like this for a few days before trying to take them to the range and shoot a target.
By developing new archery skills away from the process of aiming, you’ll be able to maintain your focus 100% on your new skill. Remember, when you’re at the archery range, you should be 100% focused on aiming.
Develop new archery skills by learning to “feel” them with your eyes closed so you can completely remove any other distractions. Not aiming means you can channel all your focus into the one element of your form you’re working on. With enough repetition and intense focus, you can quickly develop muscle memory and improve your shooting before you even go to the range.