NOTICE: Certain links on this post may earn a commission for Western Hunter Magazine from Amazon or our other affiliate partners when you make a purchase. Thank you for your support.
Respect For the Wild: 10 Bear Hunting Lessons Learned
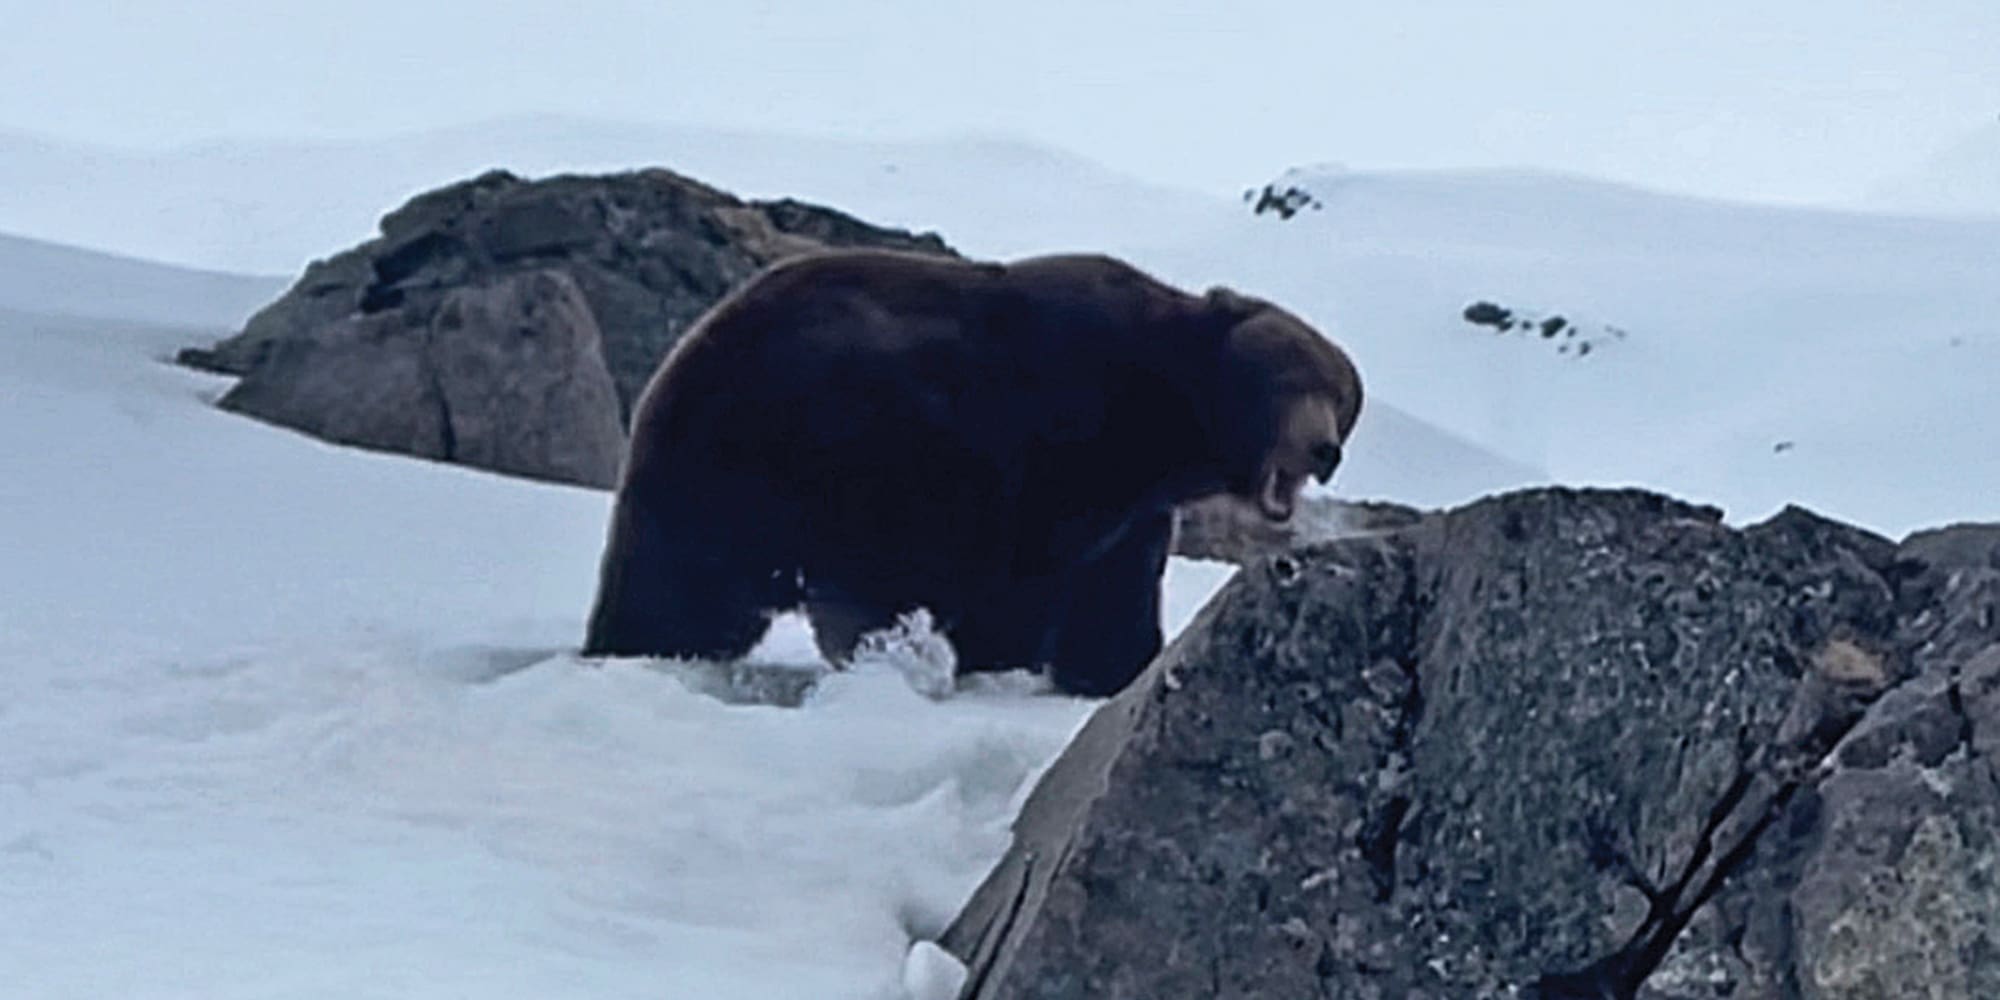
After our brush with death with a 10-foot brown bear, we spent many hours thinking, processing, and analyzing the situation we put ourselves in.
Experiences like this are life-altering. They force us to rethink every choice, every decision and analyze the direction our life is headed.
Trevor and I talked about the lessons we learned both in private and with family and friends. If we lived through something so traumatic, we wanted to be able to share the mistakes we made so others can learn from them, too.
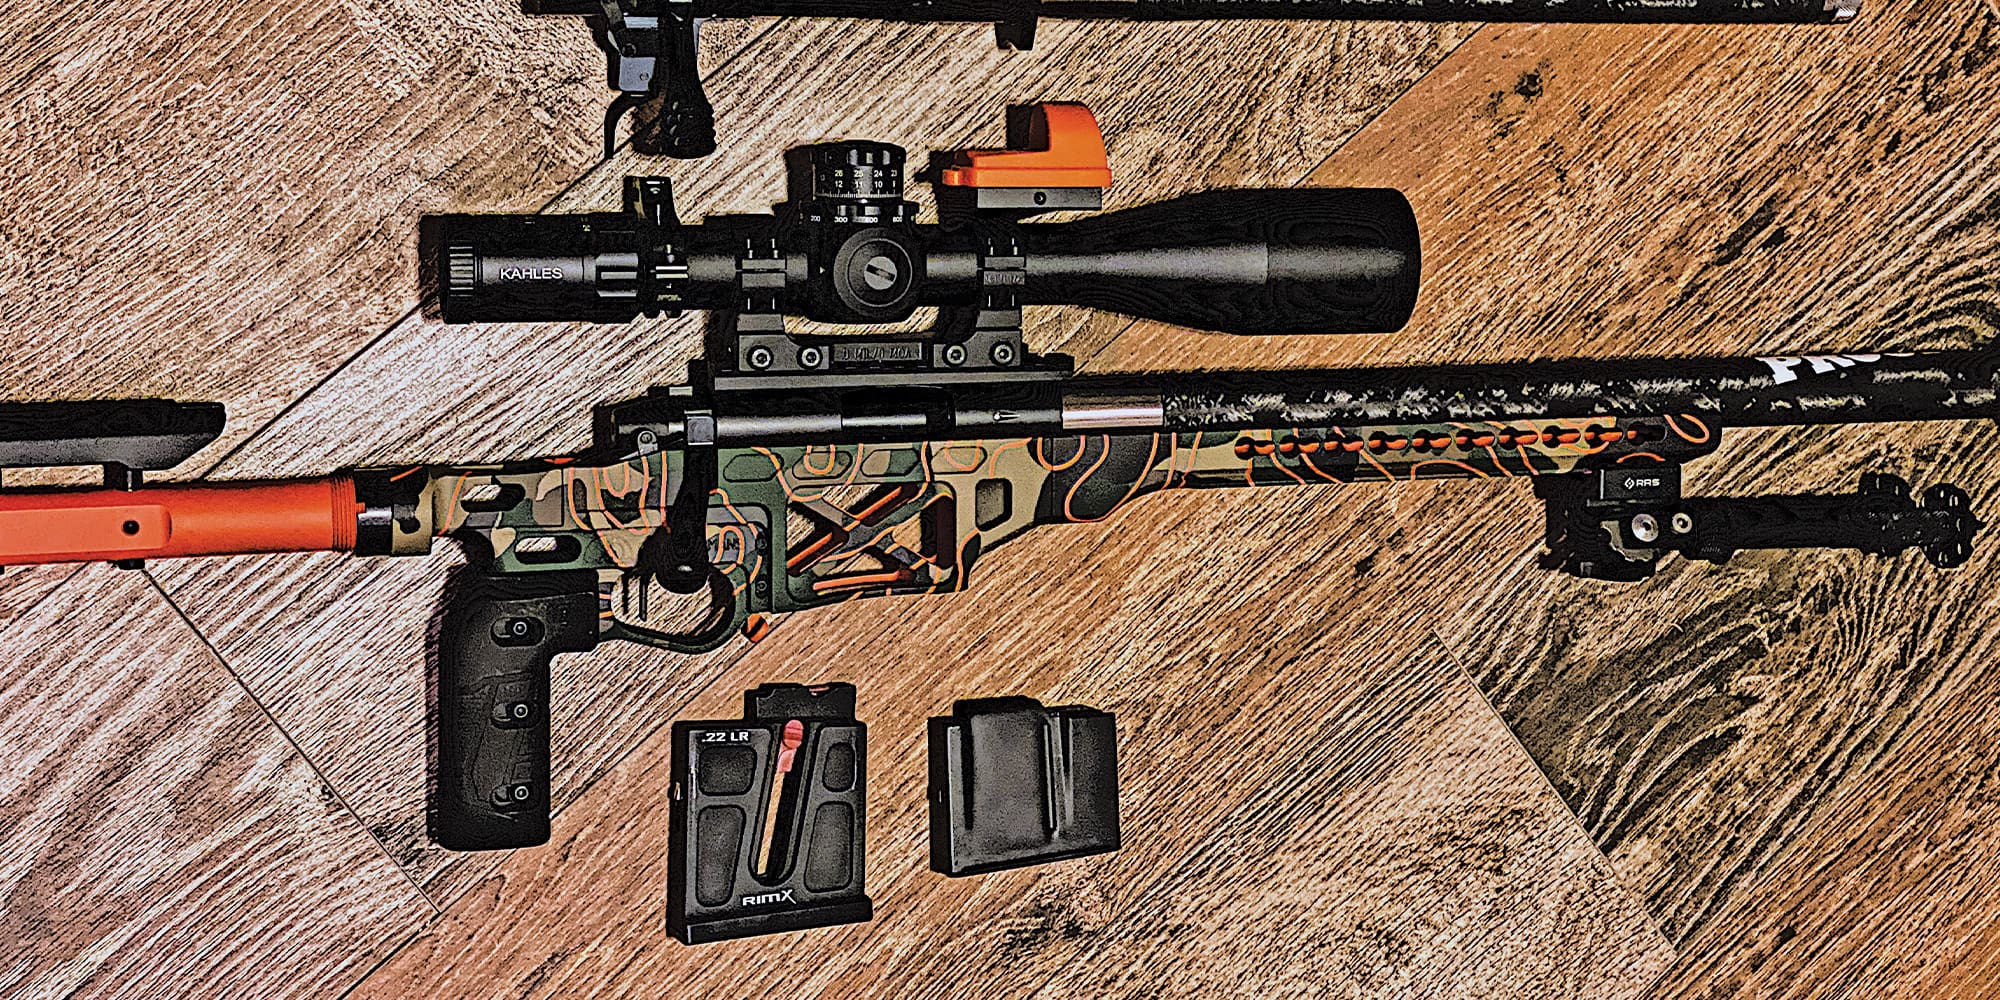
Lesson 1: Weapon choices
We had one rifle, one bow, and a pistol. I did not take a backup rifle due to the legality of the hunt. I could not “back him up” since I was tagged out for two more years.
Nobody expects their rifle of ten years to fail, so this experience was eye-opening. We agree that regardless of whether we are hunting archery or not, each person should have a big pistol strapped to their chest, and a rifle, especially in bear country.
Either way, you need access to a gun at all times, so if you have no pistol strapped to your chest, carry the rifle in your hand, not in your pack. You cannot react fast enough to grab a gun out of your pack when you really need it. Usually, a .30 caliber or bigger will do the job for a rifle.
For pistols, there is a lot of controversy with choosing a wheel gun versus a semi-automatic pistol like a 10 mm. I have heard both sides, I have seen both sides, and I have experienced both sides of this argument. After my latest experience, I will only ever use a revolver and a .454 or bigger. A revolver is less likely to fail or jam especially in the weather elements of Alaska. The argument of having 10 or more shots does not give much leverage in a true emergency.
The mere diameter of the bullet and the reliability of the gun working trump it all. It is also important to practice with that weapon so you are comfortable with it. I can say with certainty that if we had a 10 mm for that bear, I would not be alive today.
I know many people who carry a 10 mm for bear protection, many of which have not had to use it yet. They may be okay for smaller interior bears, black bears, or smaller grizzlies, but I would rather be safe than sorry. Where I live, we are among the largest bears in the world, coastal browns.
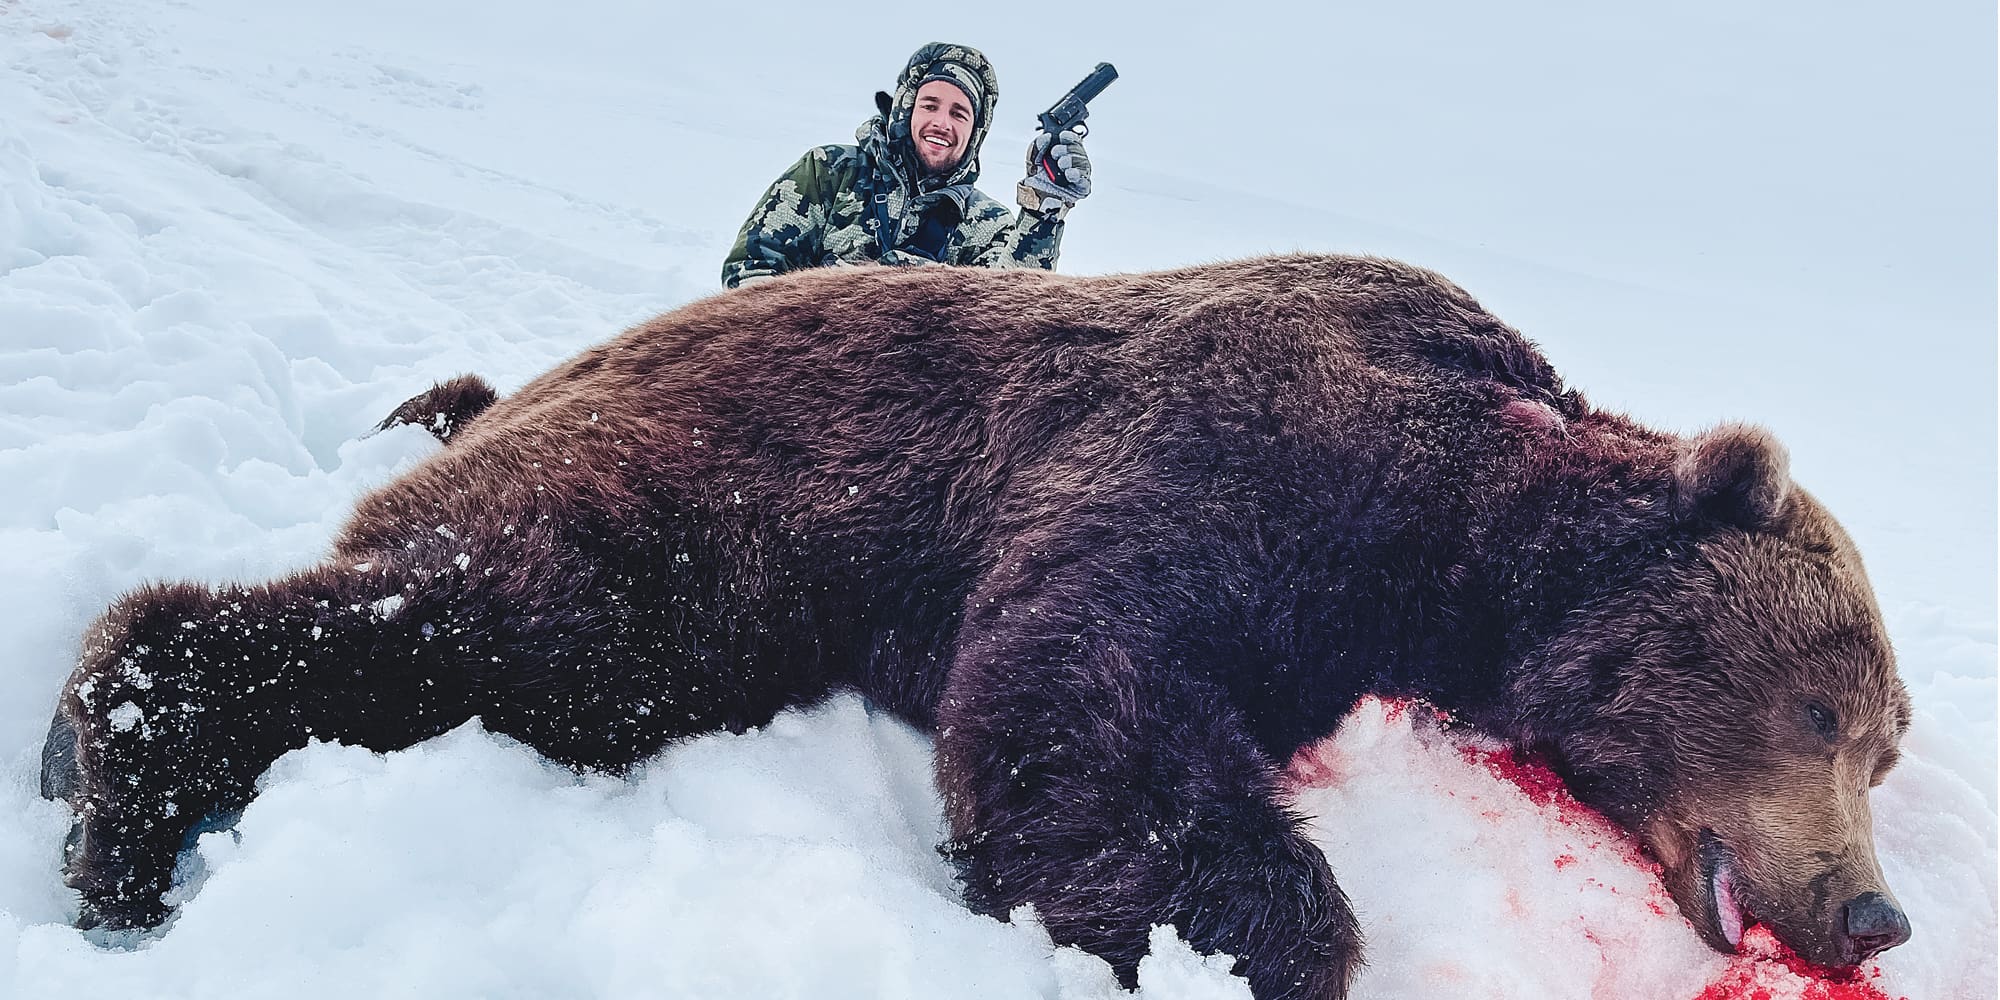
In our case, the bear took three 225-grain Accubonds from a .338 ultra mag and he acted like it was a bee sting. He was hit with three 360-grain Buffalo Bore rounds under 30 yards before he even slowed down. The fourth shot from the revolver is what killed him. If it is a TRUE emergency, you do not have time for 10 shots. You hardly have time for five. With these aspects, if you are hunting in bear country, carry a big revolver for a big impact. Speed does not matter with these big bears – you need big diameter bullets that pack a punch.
I am now carrying a .454 Casull and Trevor bought a .500 S&W, loaded with Buffalo Bore rounds.
Lesson 2: Reloading Errors
It was a rare incident that the primer from one of our rounds punched out when it fired and fell right into the action screw at a perfect angle to prevent the bolt from closing.
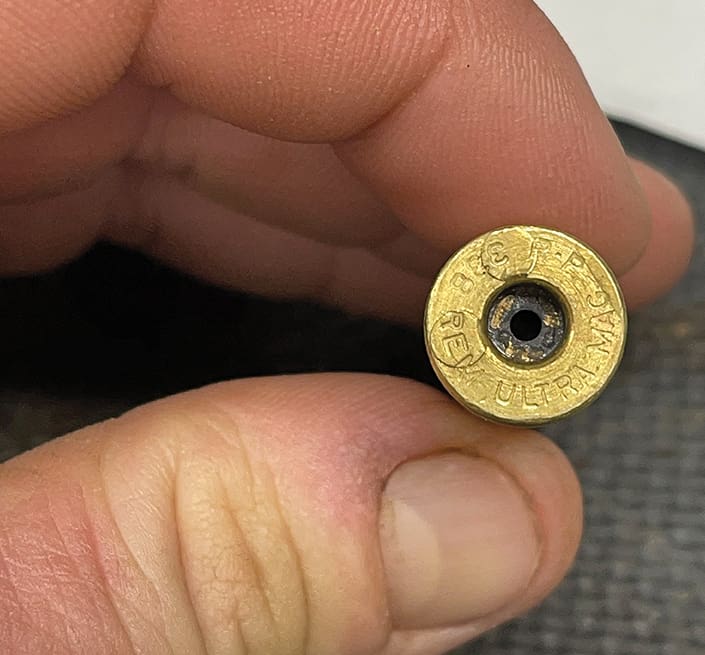
As we looked at the spent case of this round, it had two circular raised punches (rather than indented) which made us believe two things:
One, the elements of the freezing wind, cold, and rain on that arctic death mountain did not agree with the load pressure of that round. Two, this round was built from once-fired brass.
The primer was seated properly, but the pressure differential must have punched the primer out.
From now on, we will be keeping new, never-fired brass for hunts, and using once-fired brass for target shooting. We have paid attention to this before but not in perfect detail. We missed the mark when we were loading for this hunt and grabbed a couple of once fired rounds, which failed and caused the bolt jam.
Our load recipe has worked for 10 years and has never failed us before. This was a great lesson for all of us just to be more aware of reloading errors and new brass versus once-fired brass.
Lesson 3: Shooter Placement with Bears
If possible, get above a bear before you shoot it. If they see you, it can be all over. If they are wounded, they have a harder time coming uphill at you versus going downhill.
In our scenario, we could not get above this bear as he was at the top of the ridge. If we did this again, we would not risk being that far below a bear in the snow for him to see us and slide downhill to us. The higher predator has the advantage.
Also, find cover above the bear, or have some way to hide.
When I shot my brown bear in 2019 with my bow at 50 yards, I had a creek between us and I was in tall grass. As soon as I shot, I crouched down in the grass so it would not see me and come after me.
All in all, stay above them, have some sort of buffer between you and the bear, and do not let them see you. I would probably not go up in the snow after them again due to lack of cover.
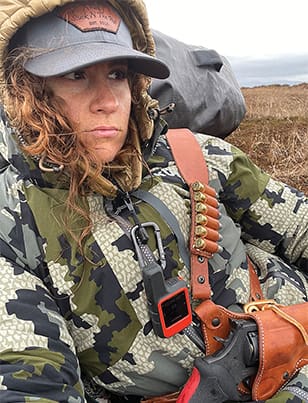
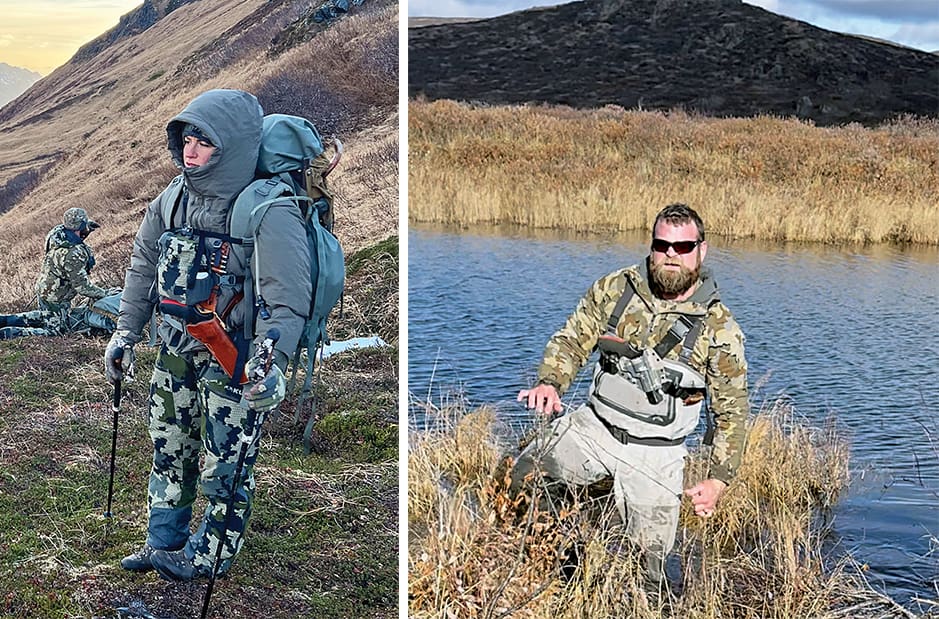
Lesson 4: Pistol Holster Details
Have a pistol on your chest or your hip, whichever placement you are the fastest with. I am personally faster with a chest holster than on my hip.
I heard great things about a Kydex pistol holster which many people use, so we got one last year. Our Kydex pistol holster failed us on this hunt and almost cost us our life. As we were running from the bear, the 454 flew out of the Kydex holster and into the snow. If we did not find it, we would not be here today.
At first, the revolver was very tight and secure. Before this hunt, we did not realize how much it had loosened after using it for a year. I have been told you can heat it up with a hairdryer and mold it back to the gun which we did not do before this hunt.
We now have Diamond D Leather chest holsters. So far they have been a great switch, even in the elements and rain. They are custom-made in Alaska and have a hammer loop to secure the hammer so the pistol will not fall out. Either use something like this or stay on top of heating and re-molding the Kydex.
Lesson 5: Survival Gear
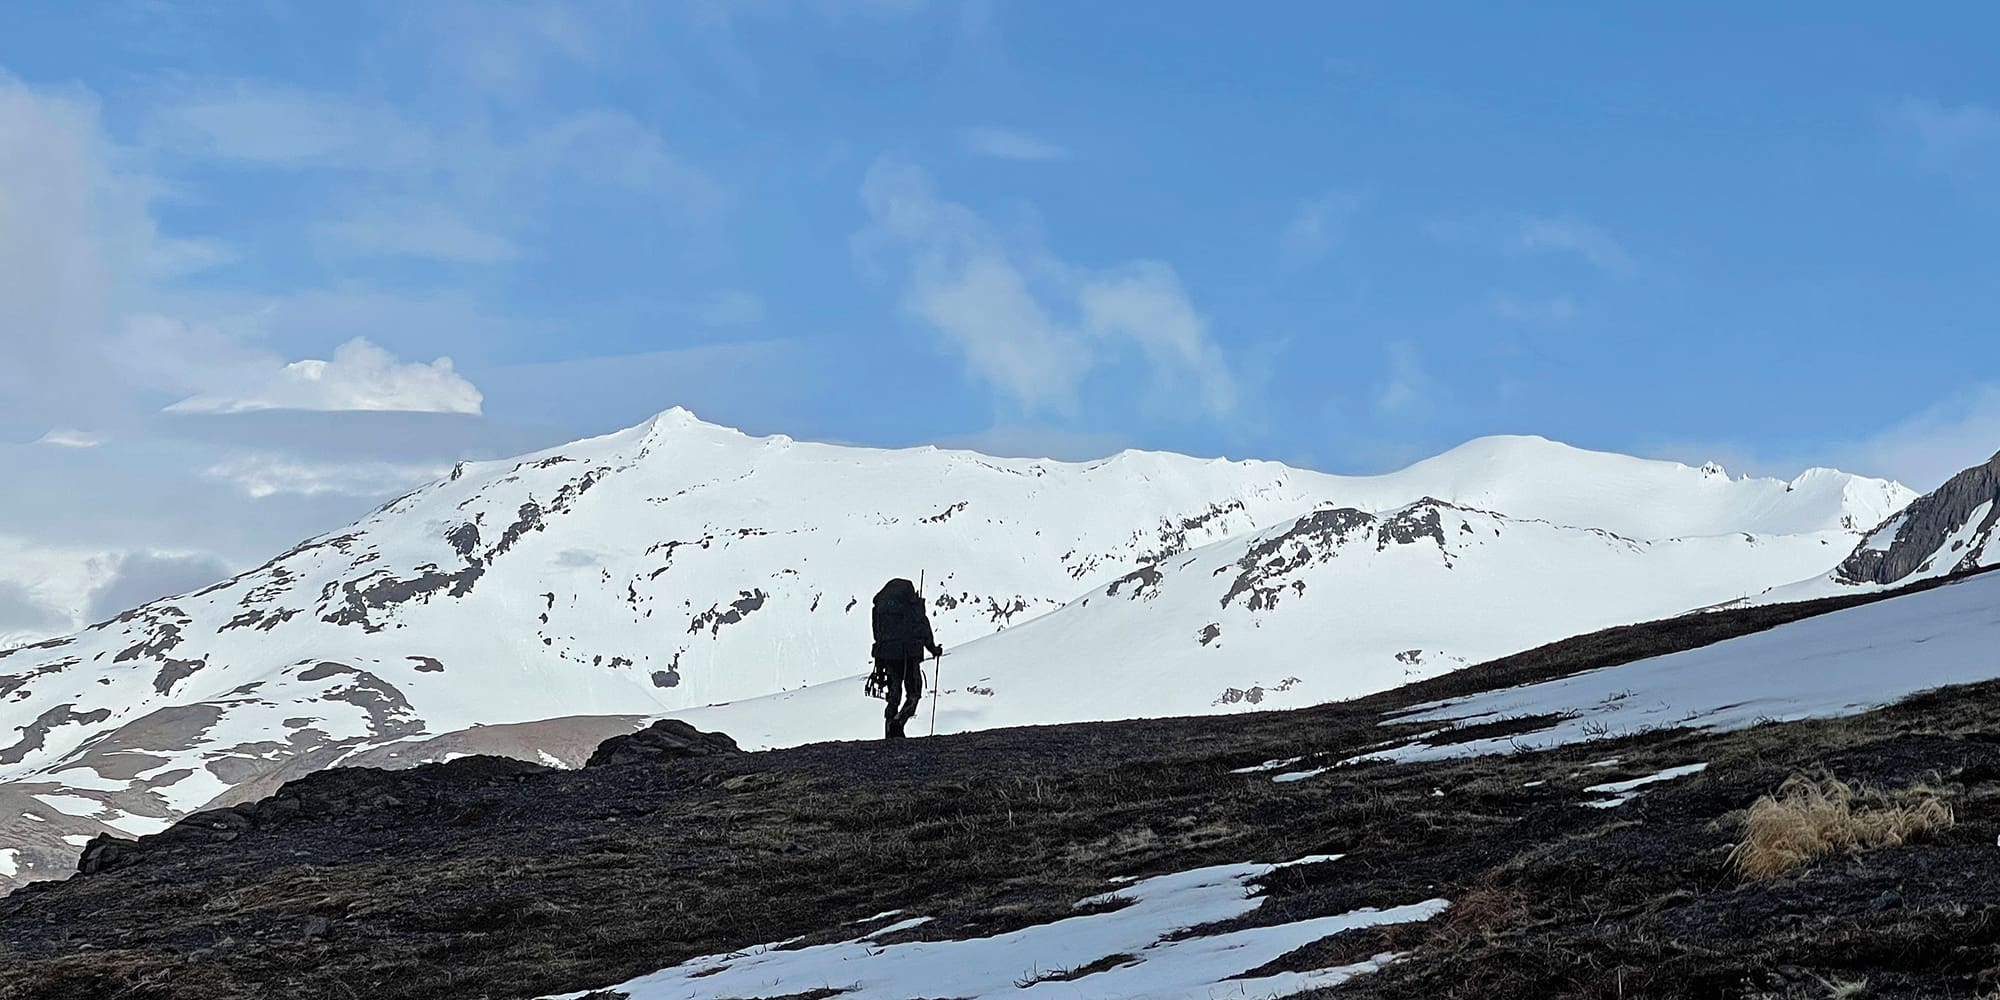
I have spent the night on the mountain away from the tent more than I would like to admit. When a hunt gets wet and stormy, it becomes life-threatening. Nobody can come to rescue you or fly you out in remote Alaska. It is truly you versus the wilderness and mother nature at that point.
A few pieces of gear saved our lives that night from hypothermia and a potential second brush with death.
First of all, we had a glassing tarp that kept us dry that we could huddle under. It is very lightweight and doesn’t add much to your pack (Seek Outside tarp). You can also bring a tiny bivvy sack (emergency blanket) that folds up into a small ball to keep in your survival kit.
Secondly, always carry a top and bottom puffy layer (we have
Another set we had that was life-saving was a warmer layer over our puffies. We used the
If I did anything differently, I may bring a light sleeping pad and always have that on me just to get off the cold ground.
Lesson 6: Rain & Flooding
In Alaska, always be aware of the weather and the rain. We hiked six miles up a creek bottom for this stalk, crossing 25 or more creeks and “camped” under the tarp on the river bed. We were aware of flooding. As the monsoon hit all night, the creek turned into more of a river, and the creeks we crossed raised a lot. Flooding can happen quickly with those big winds and rainstorms. Just be aware of that as small creeks can turn into raging rivers overnight.
Where you could normally cross with gaiters, you now needed hip waders.
One thing we always do for creek crossings is to have a light set of Wiggy’s overboots that act like hip waders. They weigh one pound, and you can throw them over your boots and clip them to your belt to cross anything up to your upper thighs.
Lesson 7: Listen to Your Gut
There were many times during this hunt where we had little gut feelings that we ignored and, instead, we kept pushing through.
Looking back, there were many “signs” we ignored and we just kept going. Trevor even called the mountain we were going up “death mountain” before we even got there.
Looking back, there were many “signs” we ignored and we just kept going. Trevor even called the mountain we were going up “death mountain” before we even got there.
When I was climbing up there, I was feeling high anxiety. Normally I experience the usual buck fever and excitement, but as I look back here, it was more anxiety that something did not feel right. I just kept pushing through it.
Listen to your gut and be courageous enough to walk away when things seem too dangerous, or you do not get a “warm, fuzzy” feeling about it.
Lesson 8: Use your Tracks/Map Features
Always put on your tracks on a map feature like a GPS, OnX, or Basemap during a dangerous stalk, especially if you know you’ll be hiking into the dark. This was another thing that kept us safe while packing heavy packs off the steep mountain over 2500 vertical feet.
Climbing up, we had a specific line to climb to navigate the cliffs and snow patches. We put our tracks on and we were able to follow our tracks back down the mountain, which saved us a couple of times from going over a drop-off we did not see since it was pitch dark, slippery, icy, and sketchy.
Lesson 9: Long Range Shooting with Big Brown Bears
As many people know with our family at Stuck N The Rut, we feel very comfortable shooting at ranges from 400-800 yards. Anything under 500 yards is normally something we are extremely comfortable shooting. As a general rule, I would keep the shooting distance under 350 yards on a big brown bear like this one. Even with our gun that takes down big moose at longer ranges, three rounds at 470 yards from a .338 ultra mag looked like a bee sting to him.
This bear took seven big bullets before he slowed down. The first three were from the rifle before it jammed, and the last four were from the pistol under 30 yards. The first three rifle shots were through the lungs, broke the front shoulder, and the third hit the high neck, just barely missing the spine. They are tough animals, and due to their abilities with hibernation, they can live and survive off of less blood flow and oxygen.
As I mentioned in the weapons above, FPS is less important for these big bears than the diameter of the bullet is. Closer ranges with big bullets are the way to go. Spine shots are also said to be a killer shot for a bear from several guides I have talked to. If you can, break bone, hit vitals, and go for the spine.
Lesson 10: Nothing is worth costing your life
All in all, the biggest takeaway from something like this is that nothing is worth costing your life. No hunt, no experience, no huge brown bear is worth risking your life for.
Trevor asked me before the climb, “Tana, is it worth risking our lives for a bear?” I said, “Absolutely not,” and then I kept climbing. I am stubborn like that.
This was a very humbling experience for both of us.
We are very weak as humans without our tools.
We are not the king of the mountain.
We are not at the top of the food chain, especially without our tools and technology.
Respect the animals, respect the wild, and respect nature. It is powerful and unforgiving, and it will kill you faster than you can even realize it.