NOTICE: Certain links on this post may earn a commission for Western Hunter Magazine from Amazon or our other affiliate partners when you make a purchase. Thank you for your support.
How to Properly Bore Sight a Rifle Scope
Sighting-in a rifle is a pretty easy process, or, rather, it should be. The best way to eliminate any unwanted frustration throughout the sight-in process is to properly bore sight your rifle scope prior to running live ammunition through your barrel.
The process of bore sighting your scope aligns the center of your barrel to the sights on your scope. It’s a process that is simple to complete and one that all shooters should know how to do. The main reason to bore sight your rifle is to get you hitting paper after you’ve mounted your new rifle scope and go to sight-in at 100 yards. It’s also a great tool to utilize each time you break your rifle out after the off season, prior to hitting the range.
I will typically hit the range to check zero each season prior to my first rifle hunt of the year. When I do, I will use my bore sighter to check to see if my scope is still on the money from last year. If you’ve properly mounted your rifle scope, you should maintain zero from year to year.
The Setup
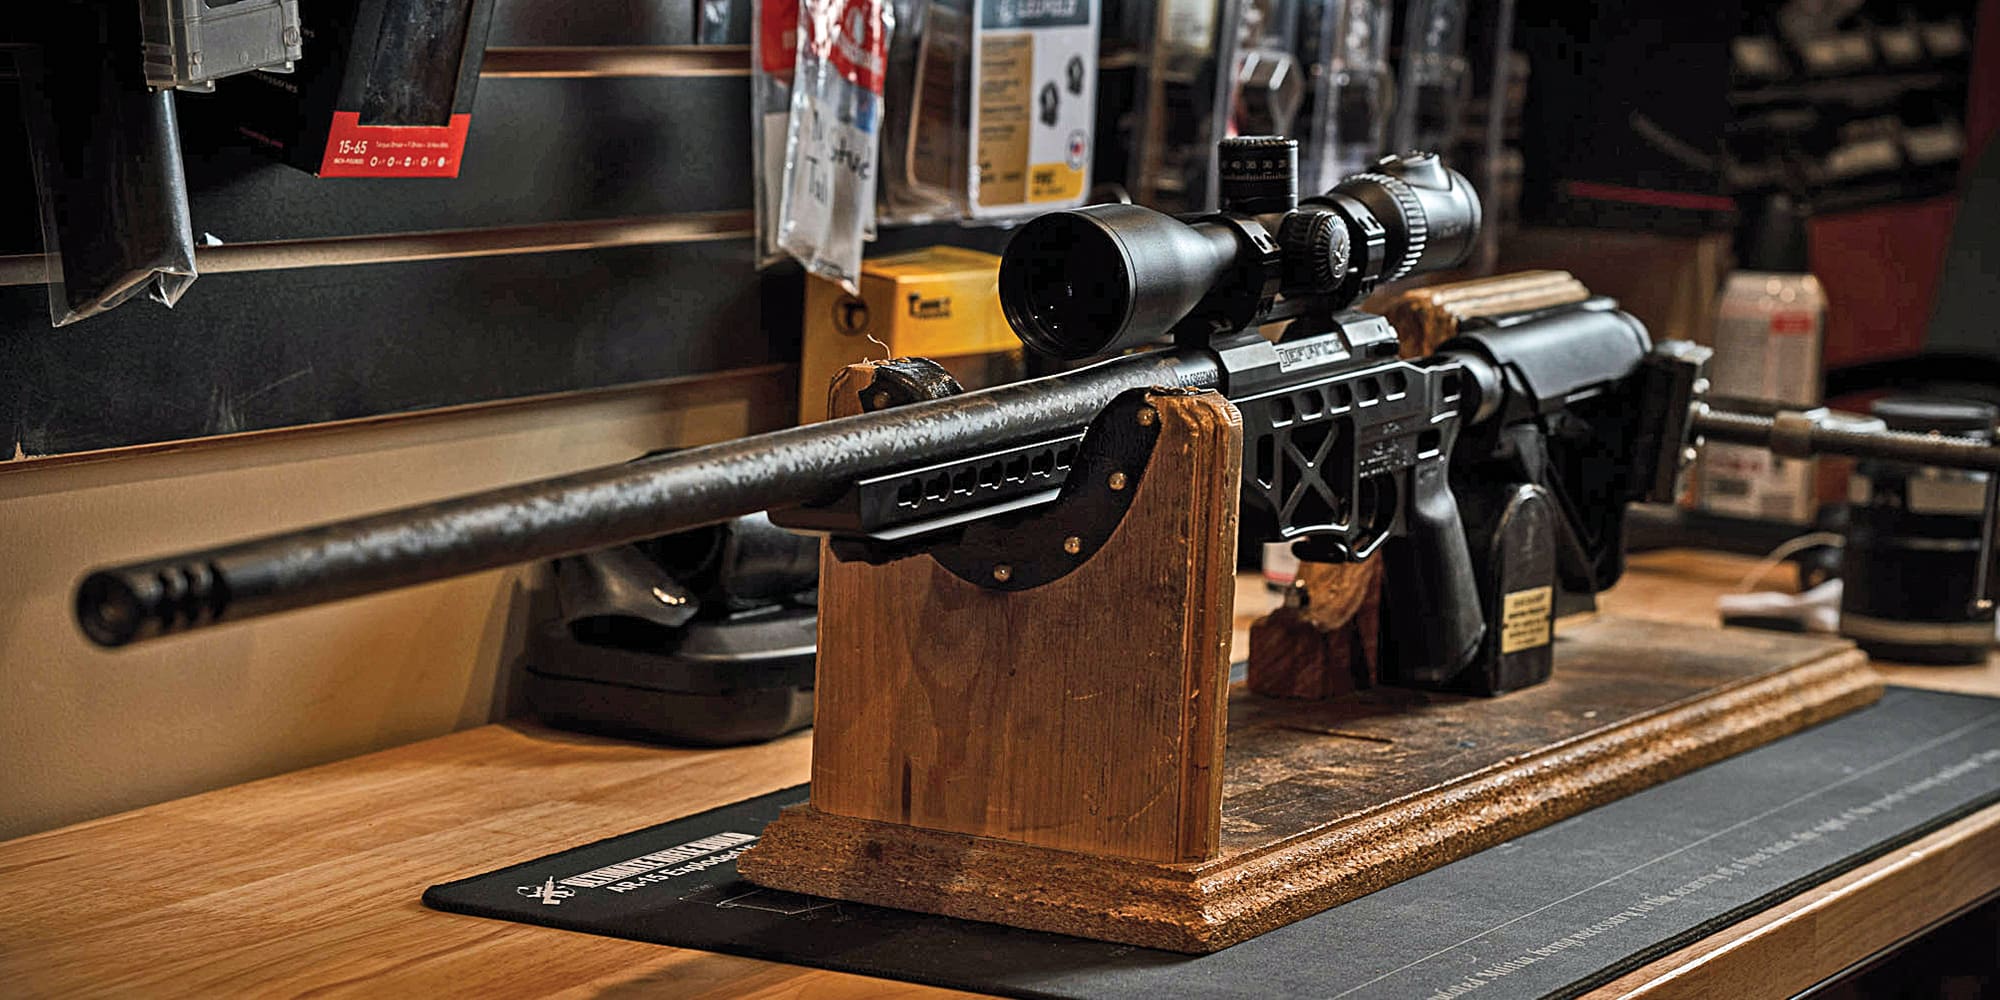
To begin, you will need a stable work space, i.e: a gun vise, 25 yards, and either a laser or standard bore sighter kit. The standard kits are great because they come with multiple rods that can fit most standard calibers. Laser bore sighters are great tools, as they are quick and painless to use. There are a couple of options for the laser kits; some that will be used in the chamber of your rifle, and others that will be used at the muzzle. The standard kit includes rods that connect to the bore sighter and run in the end of your muzzle, thus placing the bore sighter in front of your scope.
If your rifle is equipped with a muzzle brake, I would use a laser boresighter that runs in the chamber of your rifle so you can bore sight without having to remove your brake. I have found that muzzle brakes have some extra space and can cause some inaccuracies when boresighting via the muzzle.
The first thing you will need to do is set a target out 25 yards from you and your rifle. I prefer to use a target that has a very visible bullseye. Next, set your rifle in the vise and remove the turret caps from your scope.
If you are using a scope with a ballistic turret, you will want to expose the zero stop and adjustment mechanisms of that particular scope. Please refer to the owner’s manual for your scope when doing this.
Lining It Up
From here, remove the bolt of your rifle and look down the bore. Align the target in the barrel and try your best to center the bull with the center of your bore. Once aligned, look through your scope to see where your reticle is on your target. If your reticle is right of center, adjust your windage turret to the right to move your reticle to the left.
Keep in mind that this process is opposite of adjusting your bullet’s point of impact, however you will see the reticle move so it shouldn’t be too confusing. Next, adjust similarly for your elevation. If your reticle is below center, move your elevation turret down to move your reticle up. You have now successfully bore sighted your rifle scope.
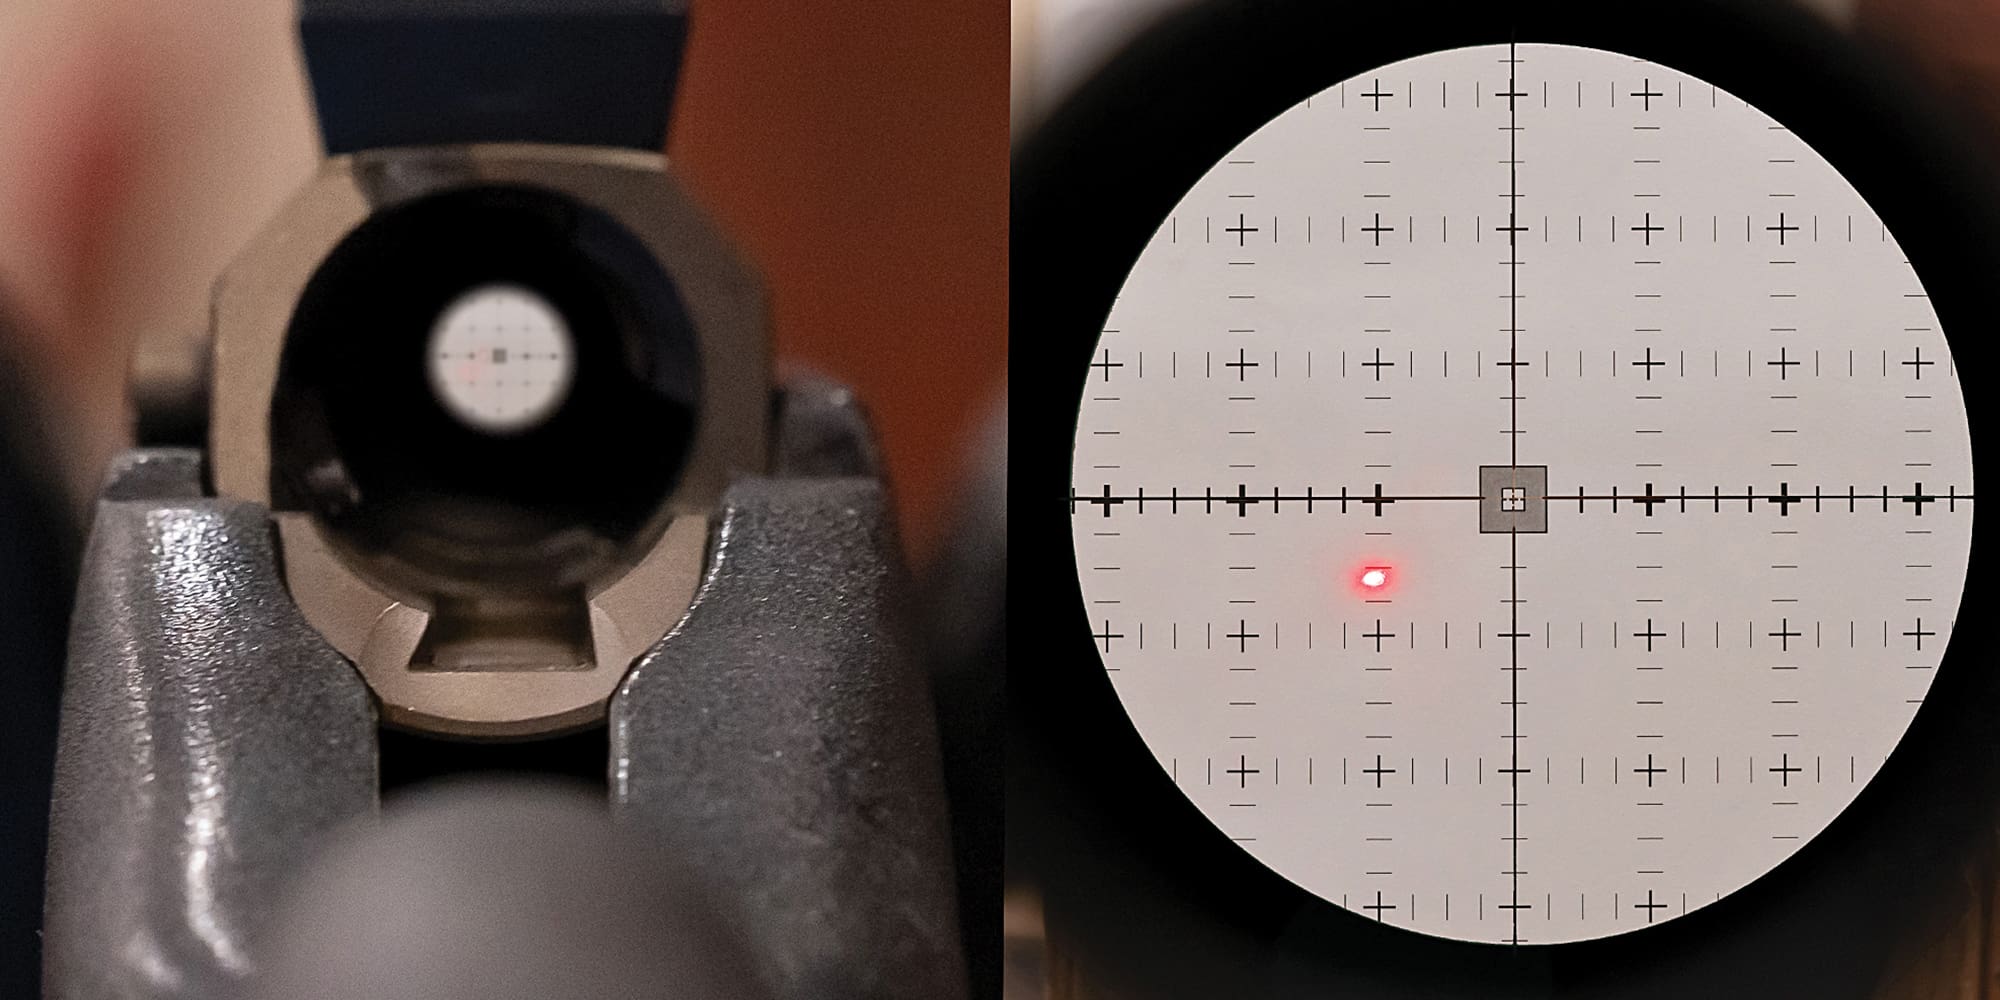
Next, you will want to attach the boresighter to your rifle and aim at your target. When using the standard kit, you will see a grid with your reticle overlaid when you look through your scope. Simply make the necessary adjustments to put your reticle in the center of the grid. The laser bore sighter will beam a dot onto your target. From here, adjust your turrets so the laser is centered in your reticle.
Finishing Touches
This process at 25 yards will, at the very least, get you hitting paper with live rounds at 100 yards. You can see how much frustration and wasted ammo you will save by simply bore sighting your rifle.
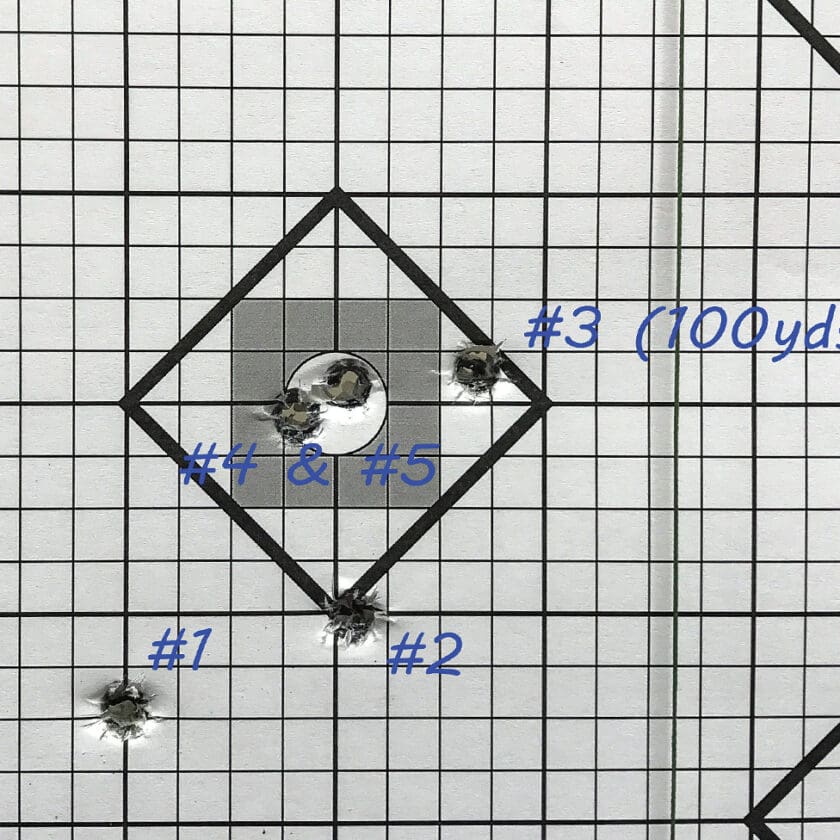
Now, let’s take it a step further. You will want to take a shot at your 25-yard target and see where your point of impact lies. You are looking for your round to impact one inch low at 25 yards. Most shooters agree that one inch low at 25 yards is the magic number for most rifles with a sight height above bore of 1.5” - 2”.
At this point, you are ready to sight-in at 100 yards. If you’ve followed the steps above, you should definitely be on paper, if not damn close to being on target at 100 yards and having only spent one or two rounds. As you can surely tell, boresighting can save you time and money.