NOTICE: Certain links on this post may earn a commission for Western Hunter Magazine from Amazon or our other affiliate partners when you make a purchase. Thank you for your support.
Tips for Improvised Rifle Shots
When I first started hunting, my father taught me how to shoot a rifle by constructing a rest from whatever resources you had to use at the time of the shot. This training early in my life was an invaluable tool that has built my shooting foundation and allowed me to harvest game from numerous different improvised rifle shots.
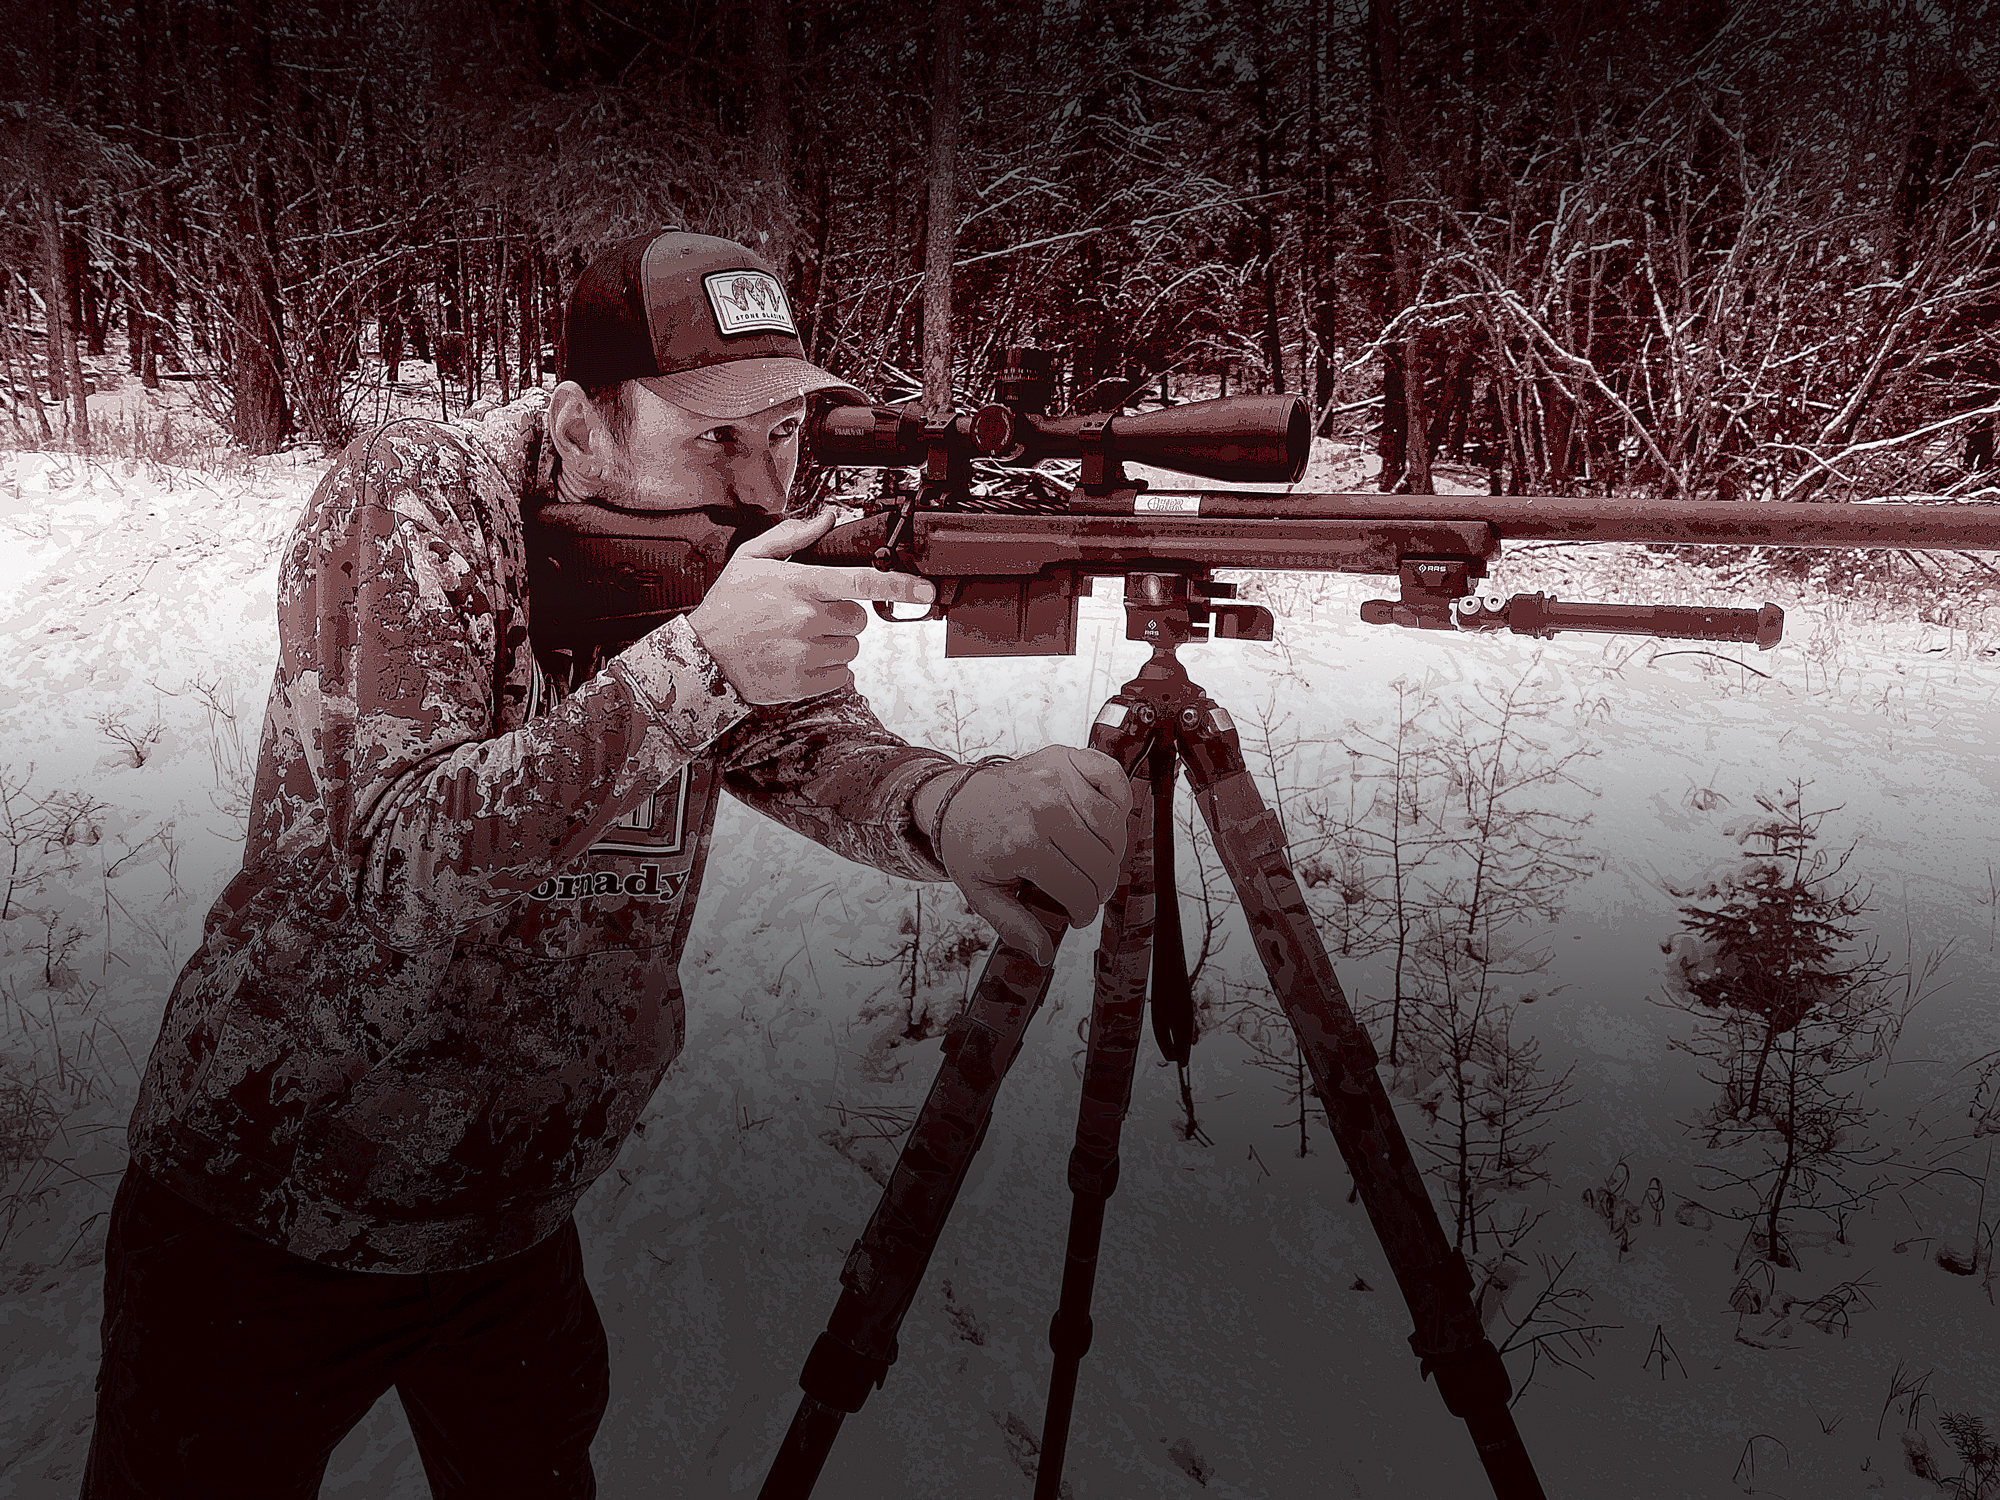
Your quarry will almost always dictate when and where you’ll have an opportunity. Bipods and tripods have aided more hunters to make precise improvised rifle shots under pressure and time constraints. Shooting from a bipod or tripod-mounted rest can be an asset or a hangman’s’ noose, depending on your abilities and training.
Always train with your equipment, but don’t depend on it to be useable in every scenario. Training this off-season by shooting from a variety of positions and distances will pay dividends this fall.
Difficult Scenarios Magnify Strengths and Weaknesses
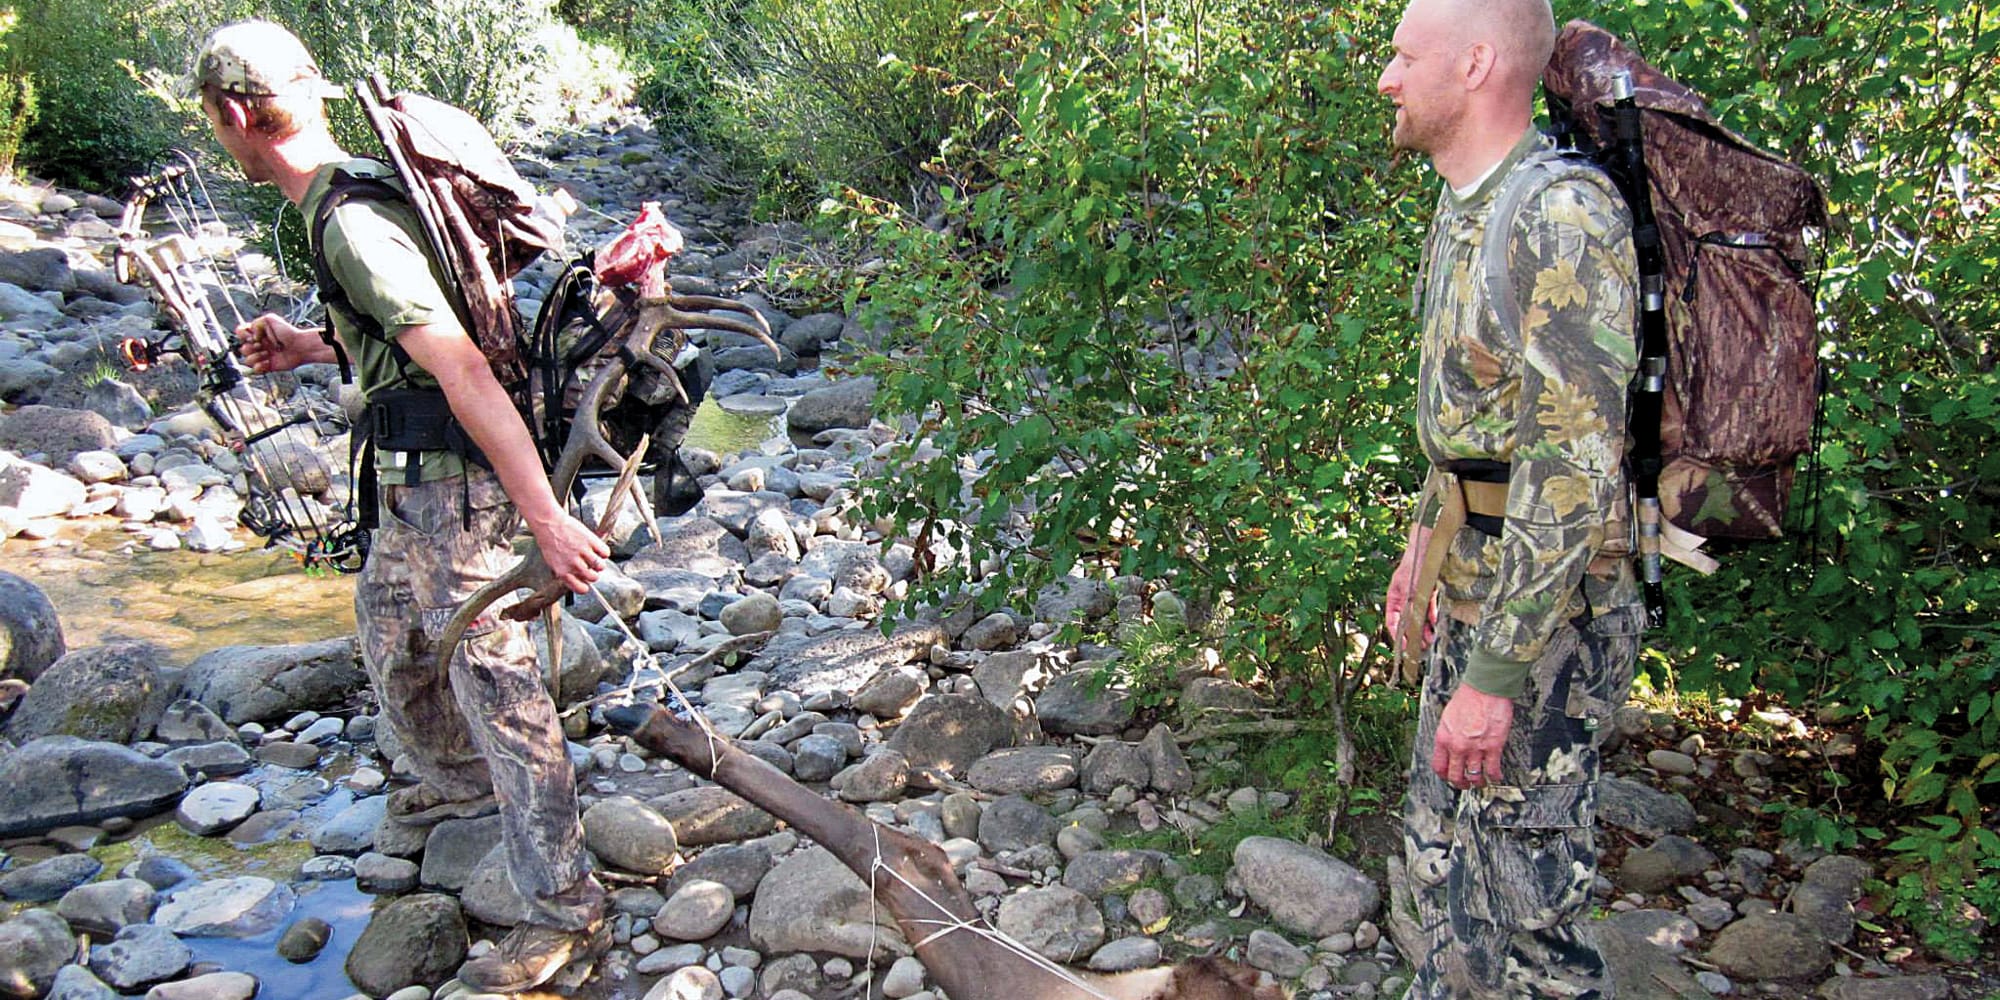
During my time as a big game guide in Arizona, I would see my clients struggle to get their bipod, shooting sticks, or pack ready to use at the moment the shot was presented. Their lack of coordination is a result of having never practiced shooting from that position until that moment. In some cases, we got lucky and the shot was made; other times a great opportunity was lost due to lack of training.
When a bipod or tripod was deployed as the intended rest, it very seldom was of any use due to the angle of incline for the shot, height of foliage around the shooter, or the available shooting lane. Since the hunter had only shot with his bipod from a bench or on flat ground, he had no idea how to set up an improvised rifle shot when the situation dictated a different scenario.
I recently harvested a Coues buck in Arizona using my bipod, a giant stump, Outdoorsmans pack frame, three large rocks, and a rolled-up jacket. There was no place to shoot prone due to the foliage, so I had to make do with what I had while the buck quickly moved across a hillside with fading light and a narrow shooting lane.
The distance of the shot prevented using my tripod rest. I needed a rock-solid rest that would allow me to break the shot without applying any torque to the rifle. In that situation, if I limited myself to shooting prone or off a fixed tripod, it may have been a missed opportunity.
“There aren’t any benches in the woods,” is a comment I’ve heard numerous times when I’m at my local rifle range. This statement is usually made by the guy that hits a 10” steel target at 100 yards and says, “Good enough for me!”
I believe that as hunters, we all need to train in the off-season shooting in a variety of situations. I’m not insinuating you have to spend your off-season building extreme shooting rests to be a successful hunter, but in the case of my Coues deer hunt, training in a variety of environments and situations provided for my success.
Dry-Firing, Safety, Confirming Zero, and Then Getting Real
There are always internal and external factors involved in precision shooting, so you should train to eliminate the obstacles you can control and be flexible to adapt to those you cannot. I train in several different areas to prepare myself for the upcoming season.
First and foremost, dry fire practice is the single best way to train behind your weapon, whether it’s a pistol or a rifle. I typically shoot 25-50 dry fire shots for every live round fired through my weapons. This allows you to practice your breath control, sight picture, and trigger control without going to the range and wasting ammo on the fundamentals.
Obviously, safety is first. Keep live rounds out of the area and only have snap caps in the rifle. Despite the old wives' tales, dry firing your centerfire weapons will not damage them, especially when a snap cap is used properly. You can also use dry firing to show any flaws in your form, rest, and follow-through. As you break the shot, nothing should move except the firing pin traveling forward to strike the primer.
Second, after I confirm my zero on my rifle from the bench, all my other shots are fired from prone or various other positions in order to start building the foundation for in-field improvised rifle shots. When you train in this manner, it becomes second nature in the field when you are presented with an improvised rifle shot. Your brain will auto recall your training from the off-season and remember what worked and incorporate those tools into the current situation.
If you shot from a static bench, prone, or tripod-mounted rest all summer long, you’ll more than likely flounder when you’ve been presented a shot that is uncomfortable or different from your “norm”. Add in distance and fatigue and you’ve just raised the demand to another level that you’re not equipped to handle.
Channeling Your Inner MacGyver
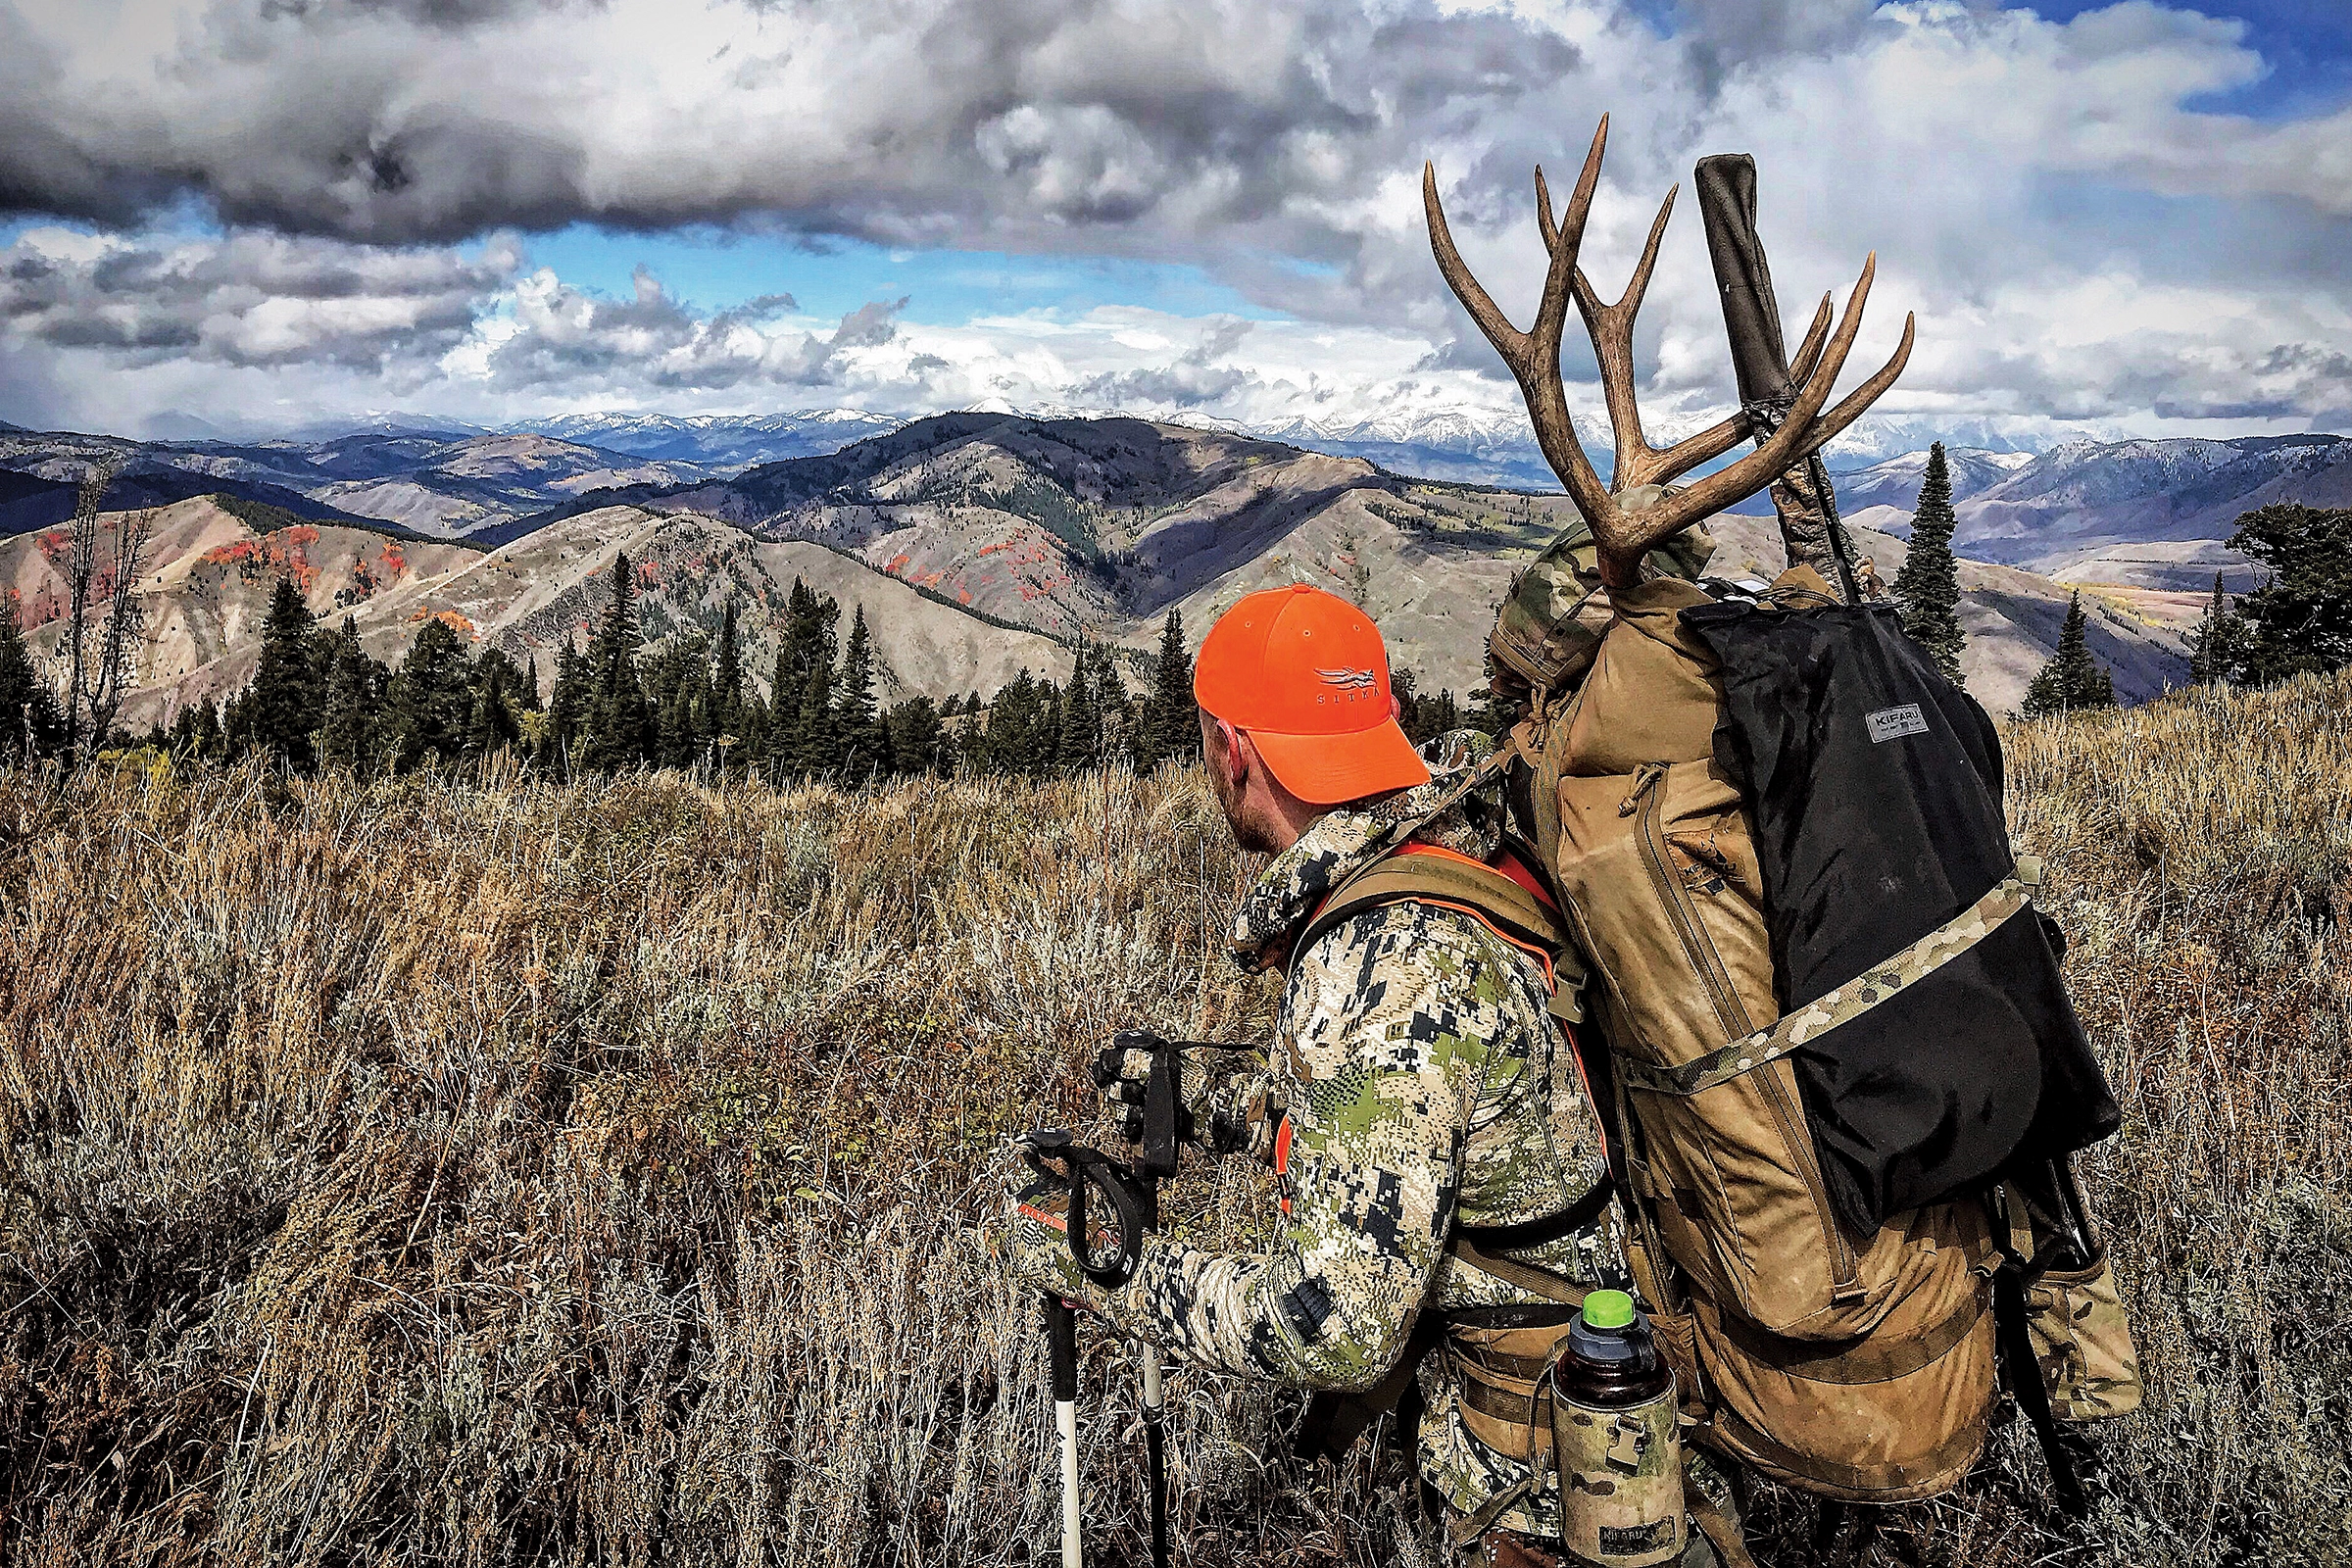
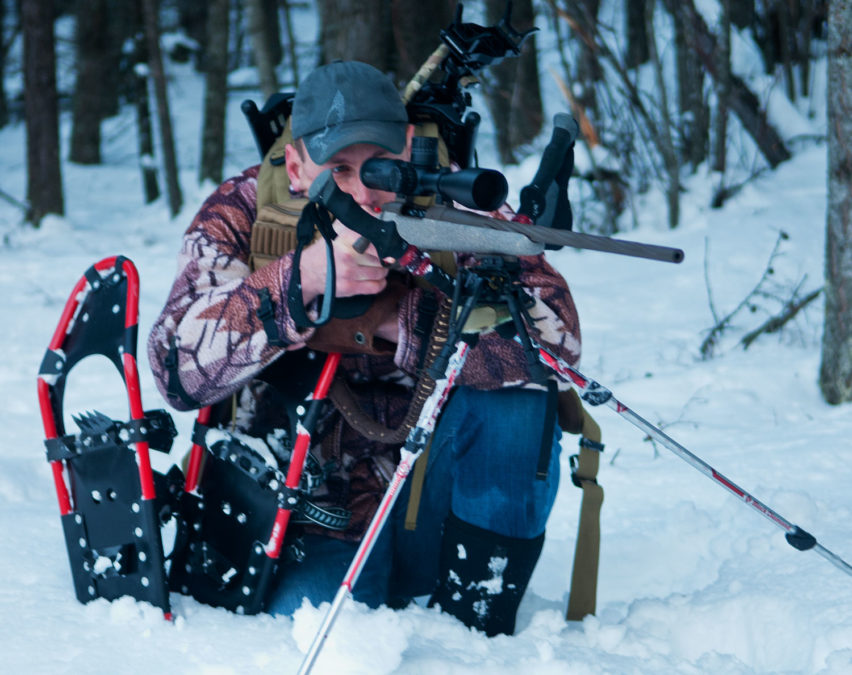
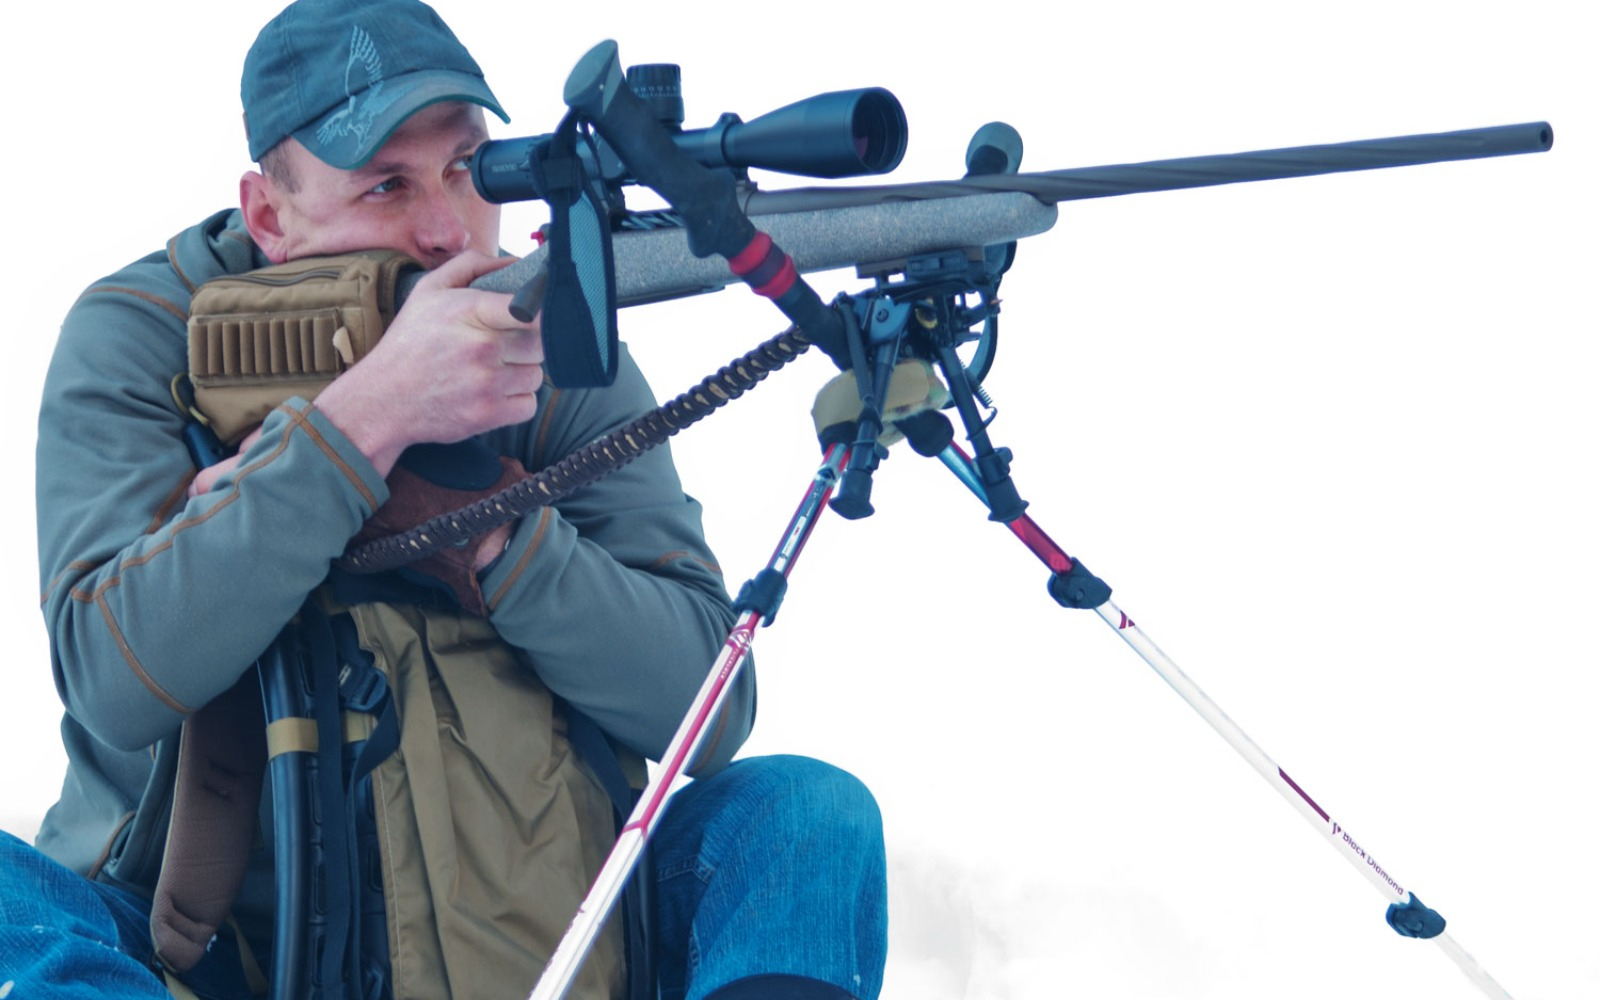
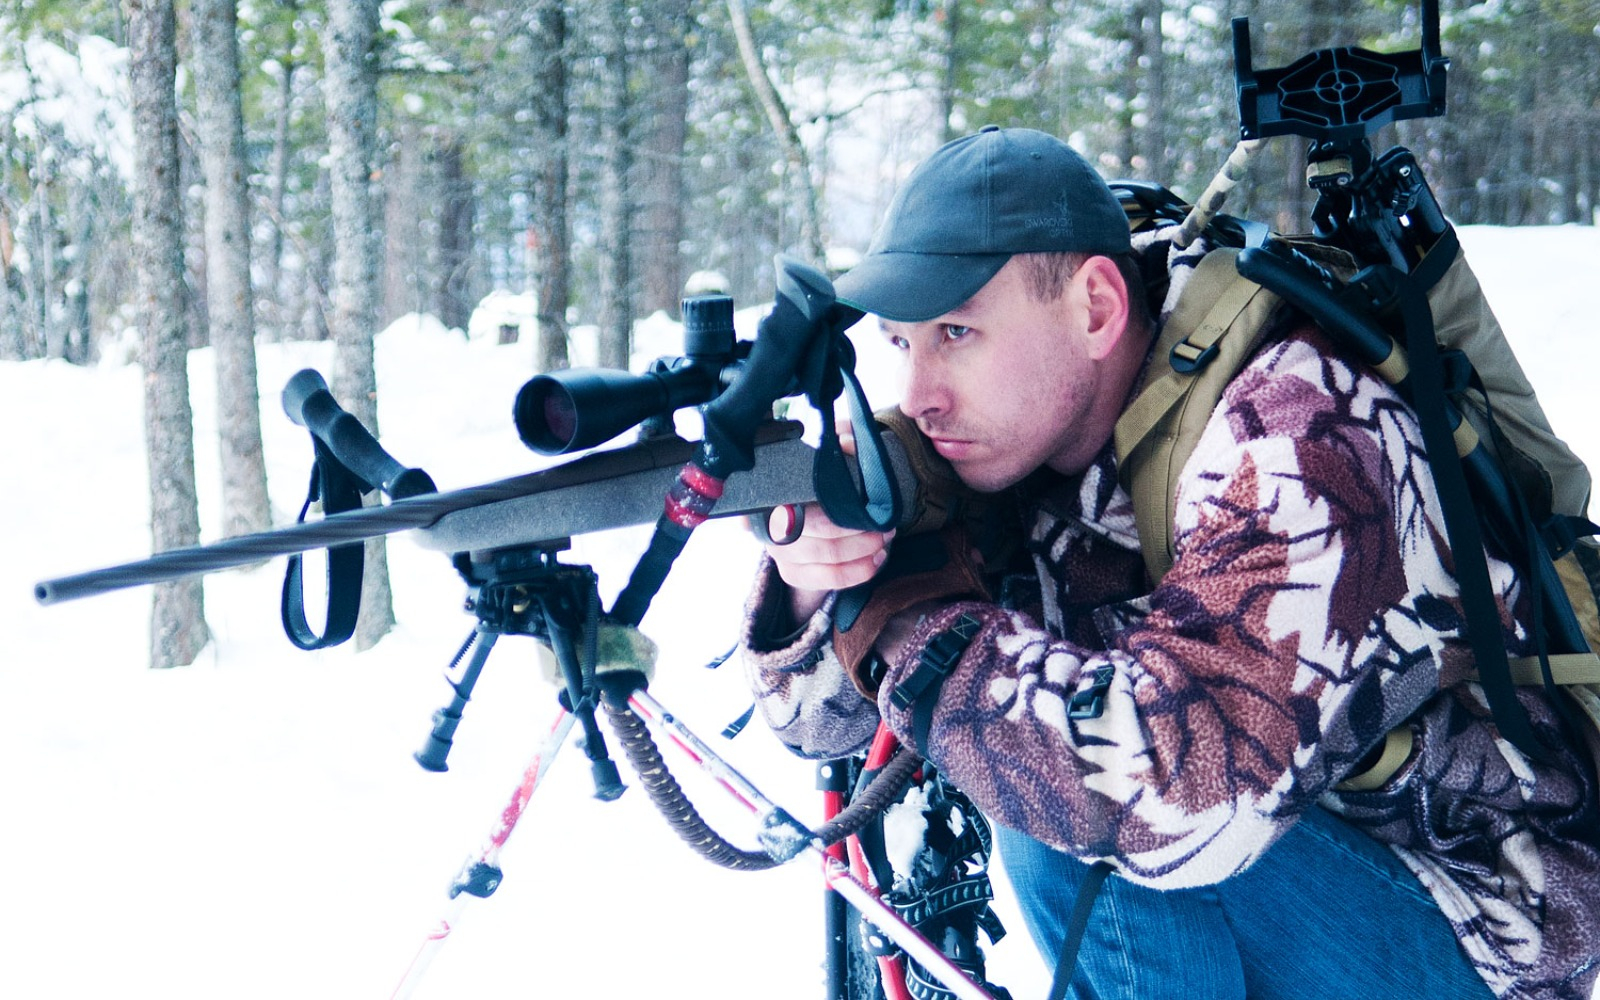
Incorporating the tools that you carry in your pack to help create a shooting platform is the best practice for improvising a rest. More and more hunters are using trekking poles to help conserve energy when hauling heavy packs into the backcountry. A simple Velcro strap can convert your poles into a great pair of shooting sticks, which are extremely versatile and stable. I found a 2-pack of Velcro straps at Home Depot for a few bucks, and they were even MultiCam! I found a variety of uses for the straps and made several different rests using the straps as lashing.
I’ve also started carrying a competition glove, which aids as a great rear support for the rifle in a variety of situations and is well worth the extra ounces in weight. I was introduced to the glove at the FTW Ranch during a rifle course and walked away thinking, “why didn’t I think of that before?”
Push Yourself
Any time you’re building a rest for precision shooting, keep in mind your natural point of aim. You want the rifle to sit naturally on the rest without any torque or influence from you. A good way to find this is to get behind the rifle, settle in, and close your eyes while you fully relax into your controlled breathing. When you open your eyes, the crosshairs should be where you left them, and you should have a clear sight picture with no parallax in your scope. This is also greatly affected by your cheek weld on your rifle, so be sure your rifle fits you properly.
To simulate the stress, fatigue, and adrenaline of hunting in your off-season practice, try shooting under the stress of a shot timer for a par time. Start by setting a par time for 8-10 seconds for you to control your breathing and break the shot before the buzzer. This adds a little more stress to an ordinary day of launching lead at steel. This form of training helps you establish what shots you’re capable of taking and what is required of you to perform during an improvised rifle shot.
The most important factor in all this is to have fun while applying the fundamentals and skills of rifle shooting in a variety of environments. These are just a few training tips I use that have helped me. Hopefully, you can take something from them to add to your training regimen. I’m open to learning from others and always trying to push myself to be a better shooter in every aspect.
Just like any other skill set, you only get out what you put in. Spending 20 minutes a day or a couple of hours every weekend honing your shooting skills at home will make the difference at the range and in the field.


