NOTICE: Certain links on this post may earn a commission for Western Hunter Magazine from Amazon or our other affiliate partners when you make a purchase. Thank you for your support.
Gearing Up for the Off-Season
Organize and clean your gear to make next season easier.
The drive home from any hunting trip can go one of two ways; either we are on a proverbial cloud riding high in the sky of success having filled our tags, or we feel a little defeated with nothing to look forward to except tag soup. Regardless of the outcome, when hunting season is over, and we hit that button to open our garage door, our gear has been through the worst of it all.
We are hurting for a shower, our clothes are dirty and possibly torn, our boots covered in mud and may have a broken lace or two, the batteries are low in our headlamp, and with any luck, our backpacks are soaked in blood and our knives are dull. We are tired and 1,000 horses couldn’t drag us away from a hot shower, the last thing we want to think about is the hours of clean up that lie ahead of us.
After we sleep off the hunting hang-over, it’s time to get geared up for the off-season. This is the time to take inventory as to what you used, what you broke, what needs to be replaced, what you need to buy, and even what you need to throw away.
It All Starts with a List
A structured list is important to staying organized, both before and after your hunt. Introduce a routine and establish a categorized checklist system. Personally, all of the packing that I do for any hunting trip begins with a very detailed four-page “master list.”
This master list is categorized by the following sections:
Clothing, Footwear, Sleeping, Hunting Equipment, Rifle/Shooting Equipment, Cooking & Food, Miscellaneous, Personal Items, and Optional Equipment.
This list allows a visual opportunity to confirm what specific items are needed from each category and what can be left behind in a checkmark process that helps to ensure preparedness. After the hunt, this master list is also valuable for you to add any gear or items that you wish to consider packing in the future.
Additionally, create a new, separate list that we will call the “to-do list.” The to-do list is the place to keep track of what you may need to purchase, replace, or repair following the hunt. This working list will help you to prioritize items that you may want to purchase and will help you to plan your wants and needs based on your finances.
Gear Bomb!
Here comes the gear bomb! Start by laying all of your dirty gear on the floor. This is your opportunity to sort through and take an overview of your gear. If you have gear that you want to retire, place that gear in a separate pile and allow your family and friends first dibs! If items are broken beyond repair, discard that item and add those items to the to-do list so that you don’t forget to replace them.

Clothing
Typically, clothing takes up the most space, making it a great place to start. As you prepare your clothes for the wash, make note of any needed sewing repairs, and plan to have the repairs completed as soon as possible. Treat your rain gear and clothing that has a Durable Water Repellent (DWR) coating with a clothing tech wash like Granger’s that re-treats the DWR. Also, note if you felt that you were missing any articles of clothing that would have made your hunt more enjoyable as you may want to purchase these items or add that item to your master list for future packing consideration.
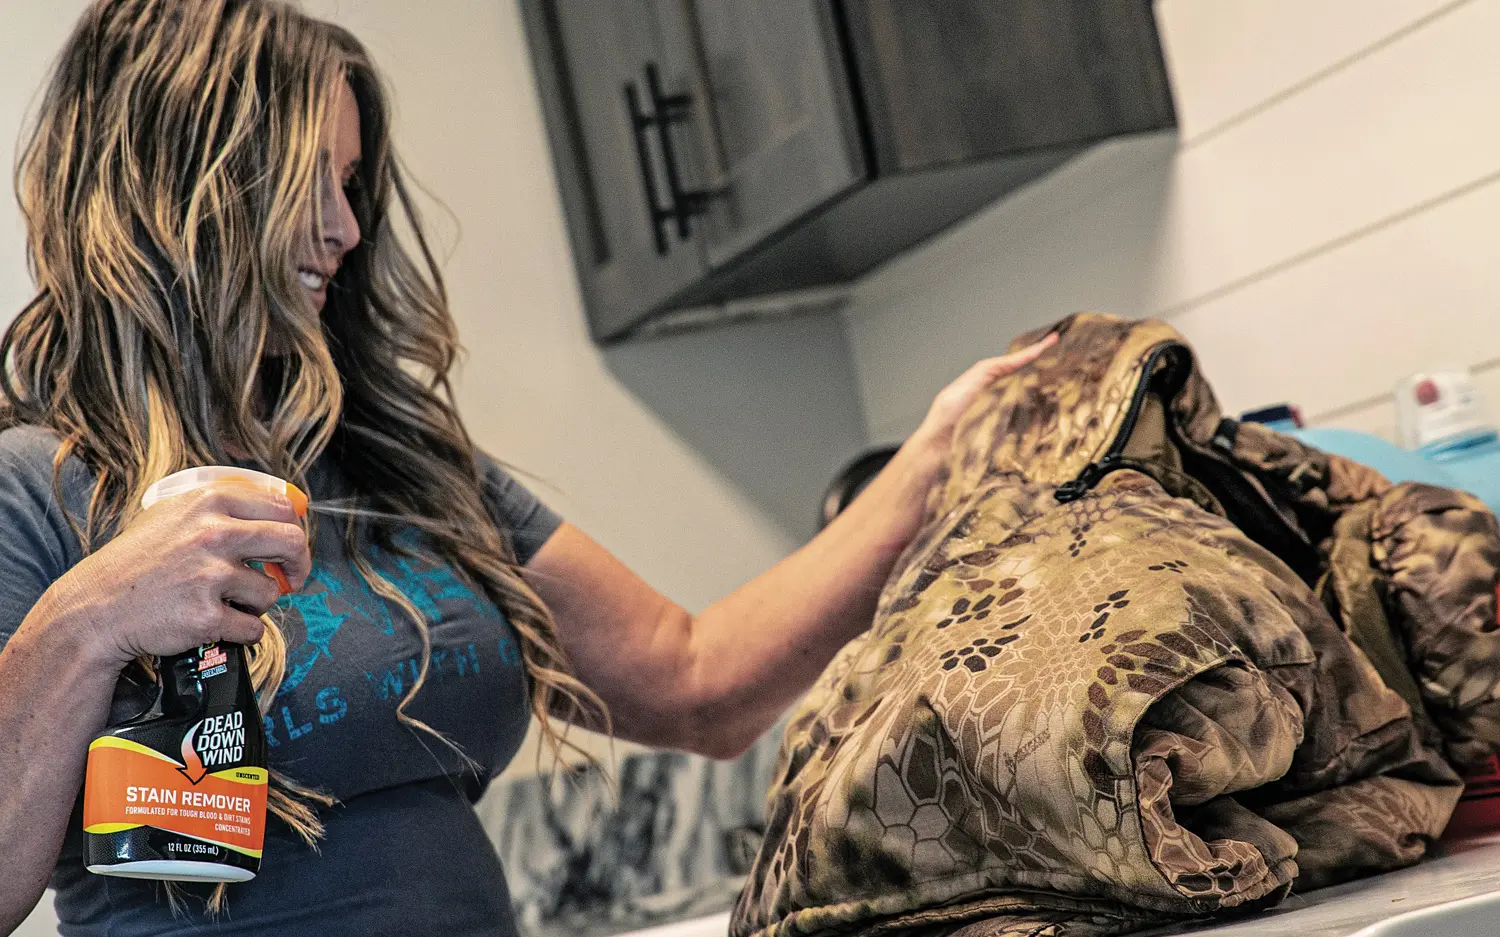
Backpack
Next, empty the contents of your backpack. If your pack has gotten dirty, you will want to launder it to prevent any foul smells or degradation of the fabric. A laundry sink or bathtub is a great way to submerge and wash your pack and frame if they cannot be separated. Typically, I submerge my pack in warm water and Dead Down Wind liquid soap. If necessary, use a handheld brush to agitate the fabric and scrub out any stains. If your pack is super messy, change the water as necessary until it is soaking in clean, soapy water. I usually soak my packs overnight in soapy water, followed by a good rinsing, and then let them hang dry.
Boots
If the soles of your boots are muddy or dirty, spray them off with a garden hose. Do not place them by a wood stove or fireplace to dry if they contain a Gore-Tex or similar membrane as the intense heat can damage the waterproofing liner, potentially causing them to leak. Instead, let them air dry naturally or place them on a boot dryer. After your boots are dry, remove and inspect your laces and replace them if necessary. To condition and waterproof your boots, apply a liberal coat of waterproofing boot wax, allowing it to naturally absorb into the leather. Next, you can re-lace your boots and they are ready to store.
Tent
Your tent is your home away from home that protects you from the elements which means it may need to be dried out, washed, or repaired. Pitch your tent allowing it the opportunity to properly dry out. Use this time to inspect it for broken or damaged zippers, poles, or missing tent stakes. If needed, consider washing your tent in a performance product like Nikwax Tech Wash which cleans and waterproofs. You can quickly and easily repair any small holes on your tent with Tenacious Tape and liquid sealer. Larger holes or tears may require a formal patch kit.
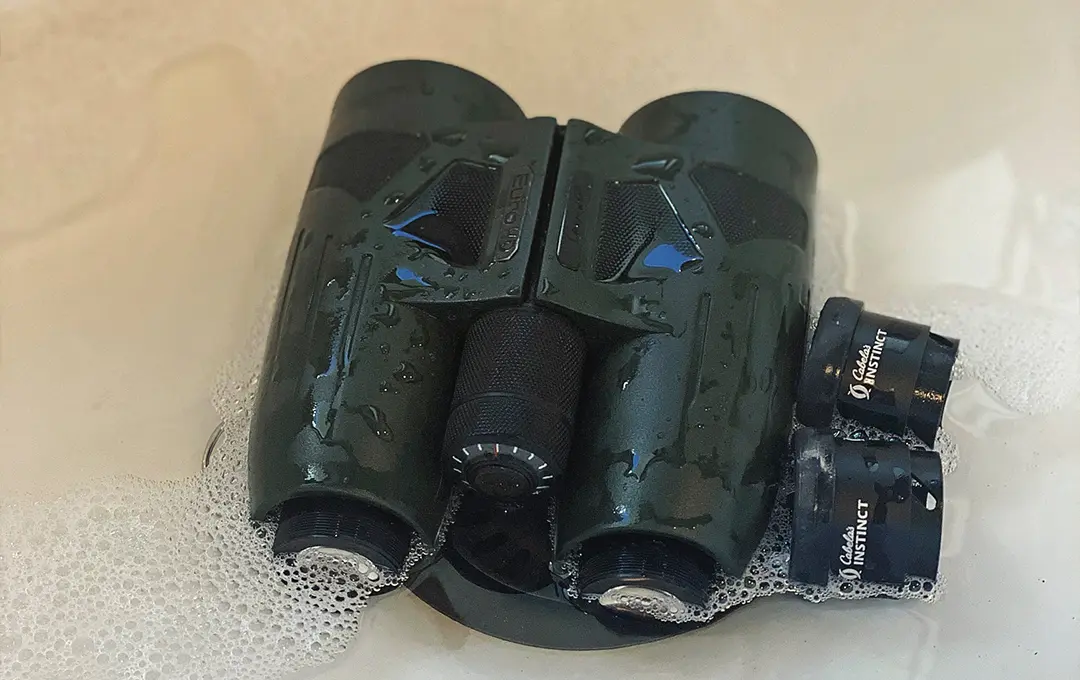
Optics
For the most part, binoculars are designed to be waterproof making cleaning them up after hunting season super easy. Simply unscrew your binocular eyecups and place both your binoculars and eyecups in warm soapy water while using a soft cloth to wash them thoroughly. If desired, after you have allowed them to air dry, you can use an anti-fog treatment/cleaning wipe on the lenses.
Knives
Most knives are made to last a lifetime, however, when it comes to cleaning them up submerging your knife in water or using harsh detergents can accelerate metal corrosion. Cleaning your knife is easy using a residue-free spray cleaner or gentle detergent. Double-check that all debris has been removed, particularly from any moving or locking parts. And, at least twice a year, place a small amount of oil on any pivot points and on the blade to ensure proper function and remove any small amounts of rust.
Miscellaneous Items
This is when it’s time to get down and dirty with emergency gear. This is typically the small stuff that you often wished you either had or thanked God that you had it handy. Verify your inventory level of items like zip-ties in a couple of lengths, tenacious tape for repairs, duct tape, electrical tape, athletic tape for blister prevention, nylon straps, extra backpack buckles, matches, and fire-starter. Inspect the integrity of collapsible water bladders and the condition of your water filter, replace them if necessary. Items like headlamps should be stored without batteries to increase their life and prevent battery corrosion.
Inspect & Care for Your Weapon
Maintaining all of the components of your firearm and accessories requires minimal work and will extend the life of your firearm significantly. Begin with inspecting the torque of your front and rear action screws, scope rings, and bases using a torque wrench set to factory recommendations. Note any cracks in your stock and/or repair any loose sling mounting points. Also, ensure that there is no dirt or debris in the barrel channel, keeping it free-floated from the stock of the rifle.
Remove dirt from your riflescope body tube with a soft cloth. Remove the dust from lenses with an optic brush or lens pen followed by cleaning wipes. If necessary, return your turret to zero.
Ensure that the bore of your rifle is free of debris with a cleaning rod and dry patch or use a patch with a cleaning product of your choice. Do your product research as some are designed to remove copper and carbon while some products remove carbon only.
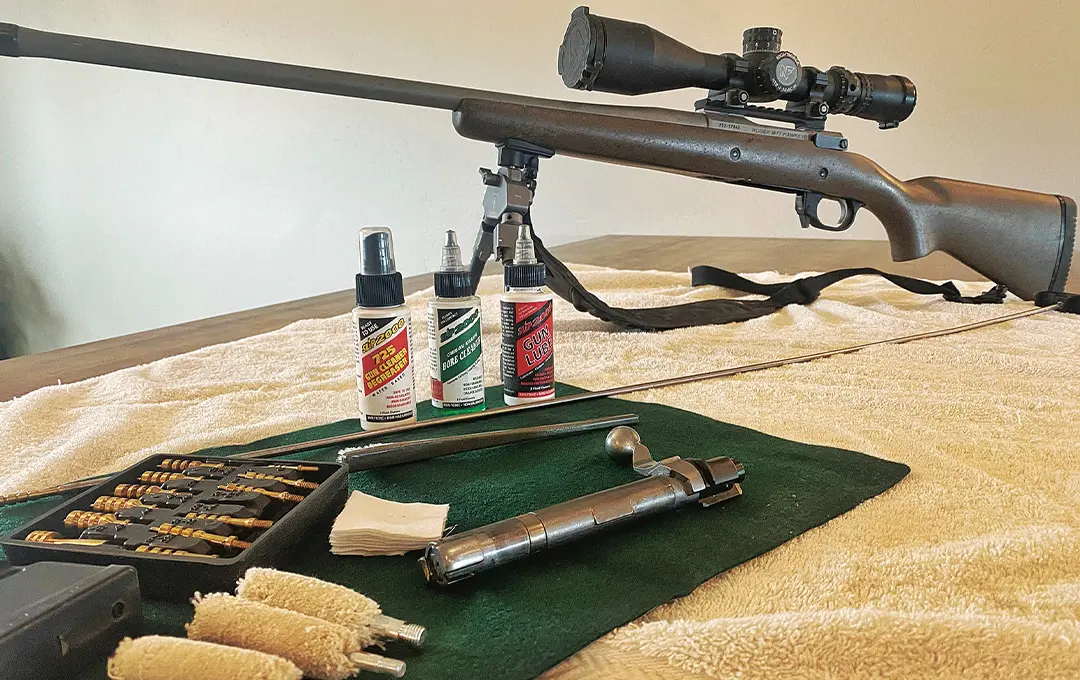
The chamber area can be cleaned with a cotton bore mop. Clean the bolt and bolt face and coat the bolt with a small amount of rust-resistant bolt grease for smooth operation.
If desired, wrap electrical tape around the buttstock of your rifle a few times. It can later be peeled off and placed over your barrel while afield.
Conclusion
Taking the time to introduce a routine and to establish a categorized checklist system in conjunction with properly caring for your gear is the best safeguard against equipment malfunctions while afield. If nothing else, gearing up for the off-season will ensure that you are organized and will make your next hunting season a lot easier.