NOTICE: Certain links on this post may earn a commission for Western Hunter Magazine from Amazon or our other affiliate partners when you make a purchase. Thank you for your support.
How to Take Better Mountainscape Photographs
Western hunters are drawn to mountains. Our appetite is for rugged terrain, steep slopes, clean air, and the effort required to pursue wild creatures in often unrelenting habitat. Many non-hunters think our quest is about only the kill, but we know it’s more. It’s about the experience, the challenges, and the journey. Mountain hunting is a culture more than a place or a destination. That is why as a hunter and photographer I am drawn to mountainscape photography.
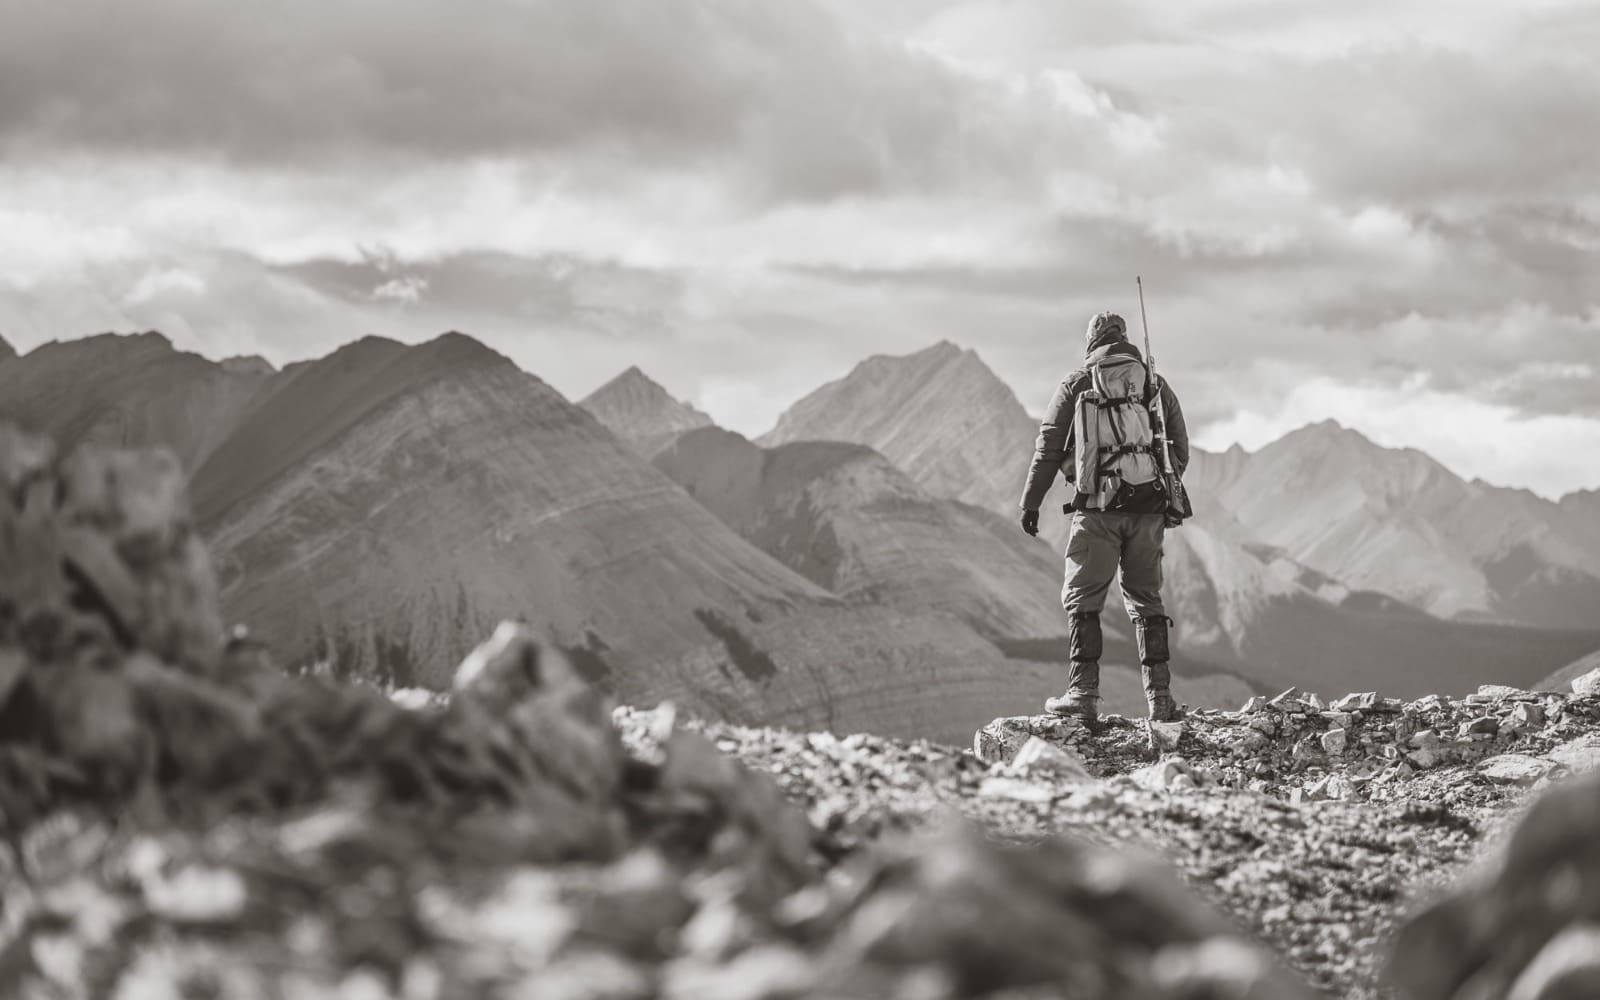
I recently returned from the Pyrenees (the alpine mountain range between Spain and France), where I photographed three separate hunts. It was confirmed while on that journey that “the mountains” are a universal language that mountain hunters understand.
The game warden – a requirement to hunt in this part of Spain - spoke only Spanish, Catalan to be specific. As the sunlit the snow-covered peaks at the back of a short but narrow forested drainage, the game warden, now a friend, pointed to the mountains while he watched my reaction. At once we grinned with excitement. We looked up the valley smiling, almost laughing, our heads both nodding - an expression of our shared love of the alpine we’d soon explore.
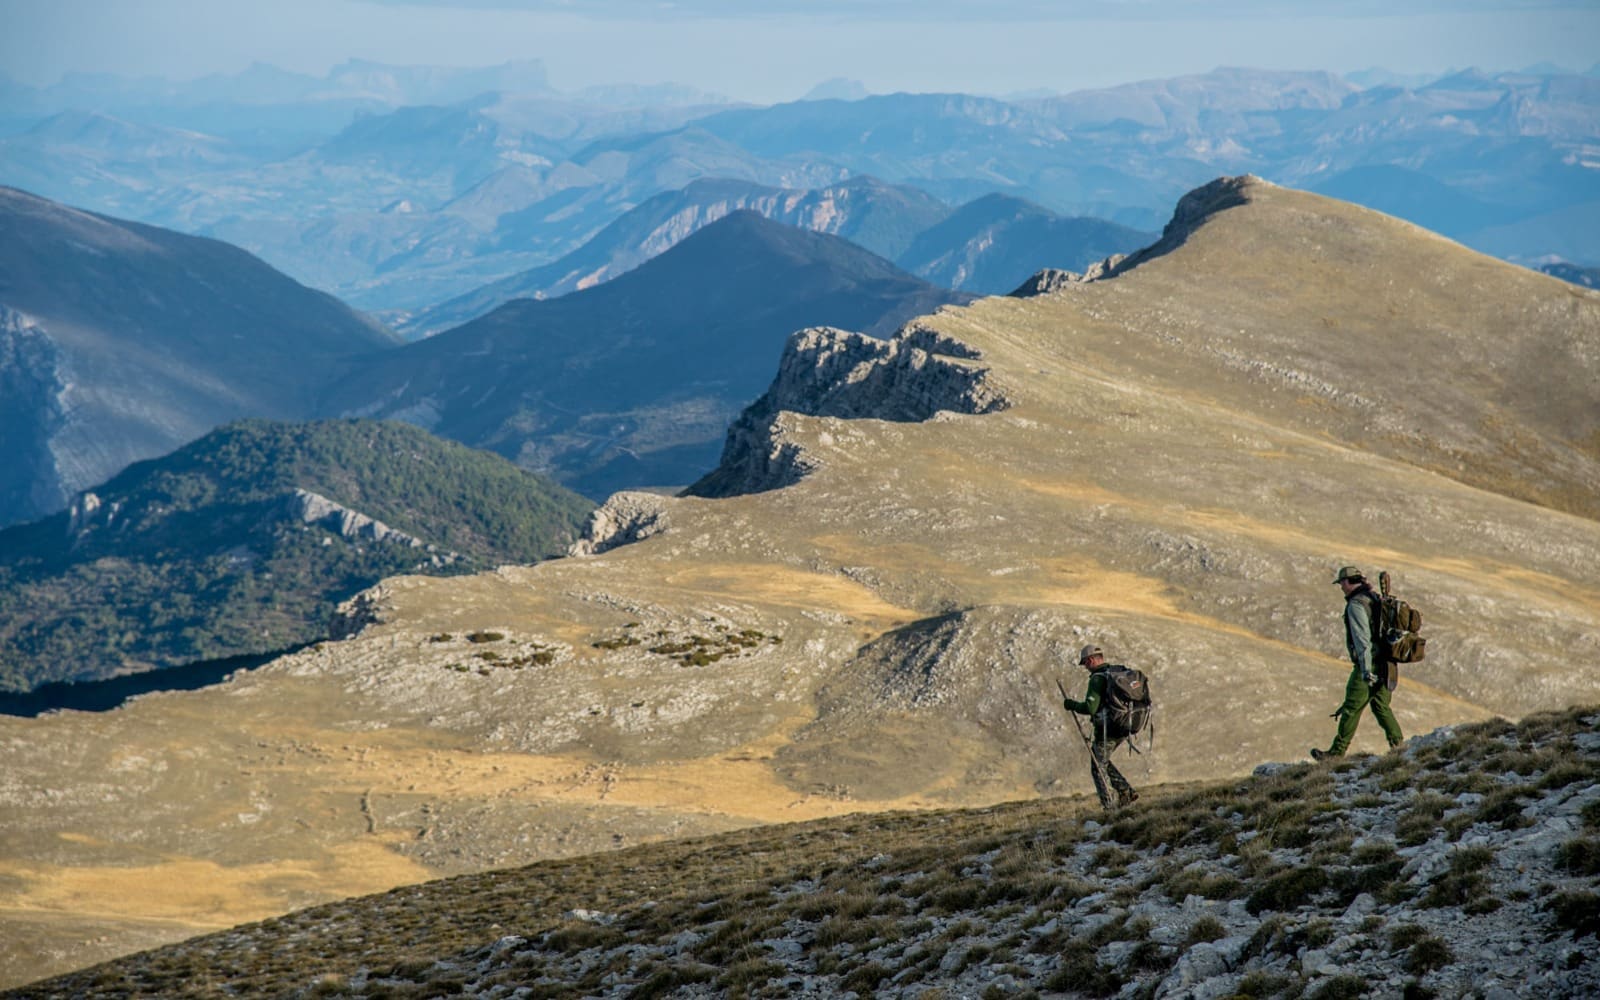
The sight of the mountains creates an instant bond between mountain hunters. We are part of a small culture of people whose souls revolve around mountains, freedom, wild places, and the animals that inhabit them.
You’re probably wondering what this has to do with photography. The short answer is “everything”. Photography is guided by the soul, not the camera, just like mountain hunting is guided by the journey, not the kill. Few western hunters, even the most ardent mule deer hunter, would ever tackle the mountains for a buck unless there was something special about the terrain and the mountain experience.
The passion to create comes from our drive to explore new and unfamiliar places in search of something. For me, camera in hand, the mountains, and mountain hunting offer a chance at that perfect photograph I’ve yet to take.
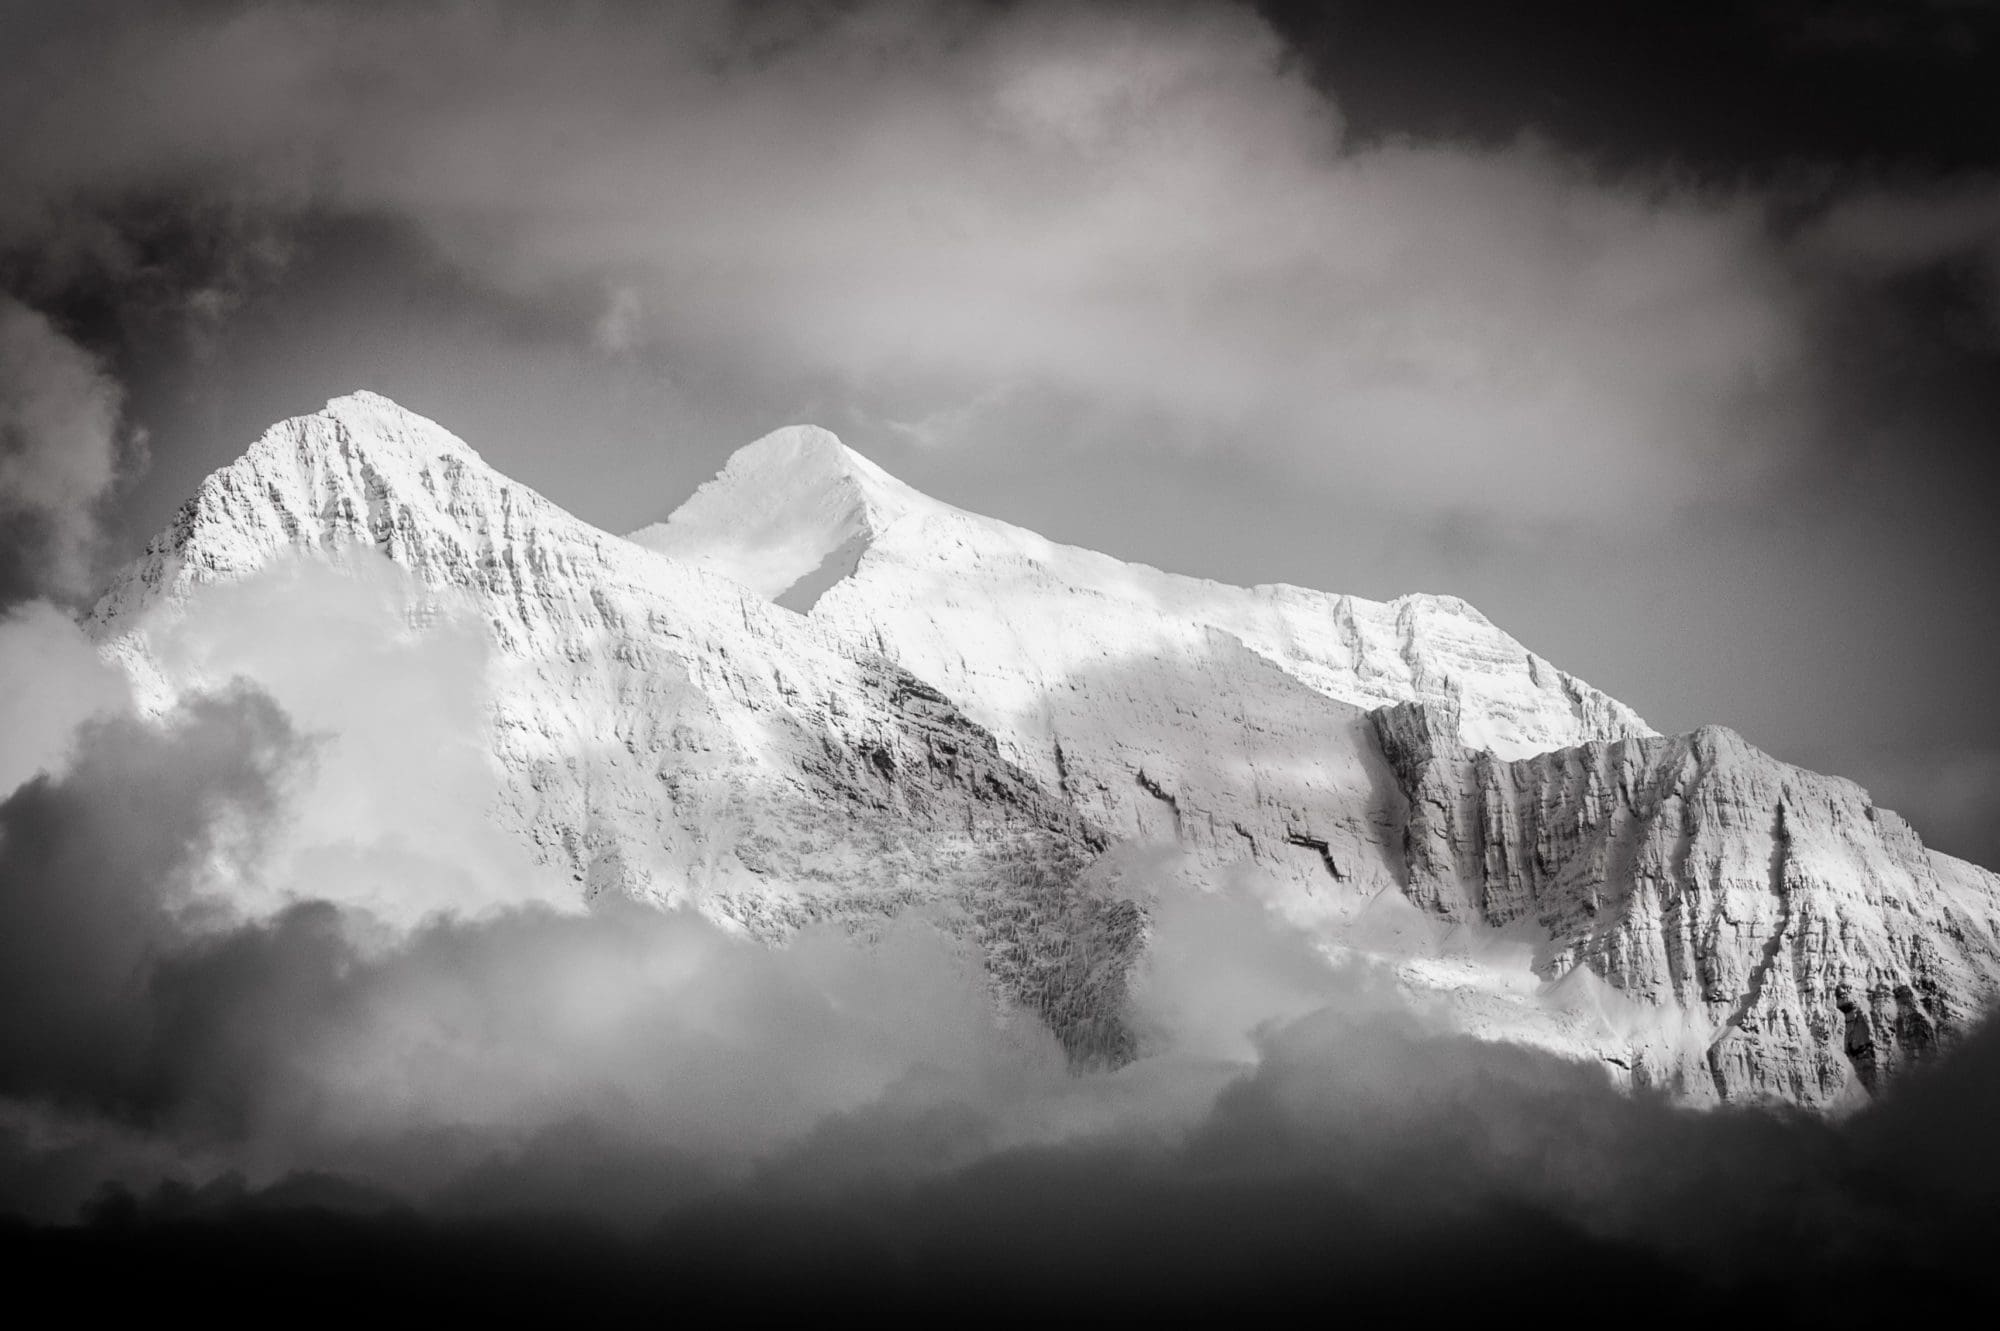
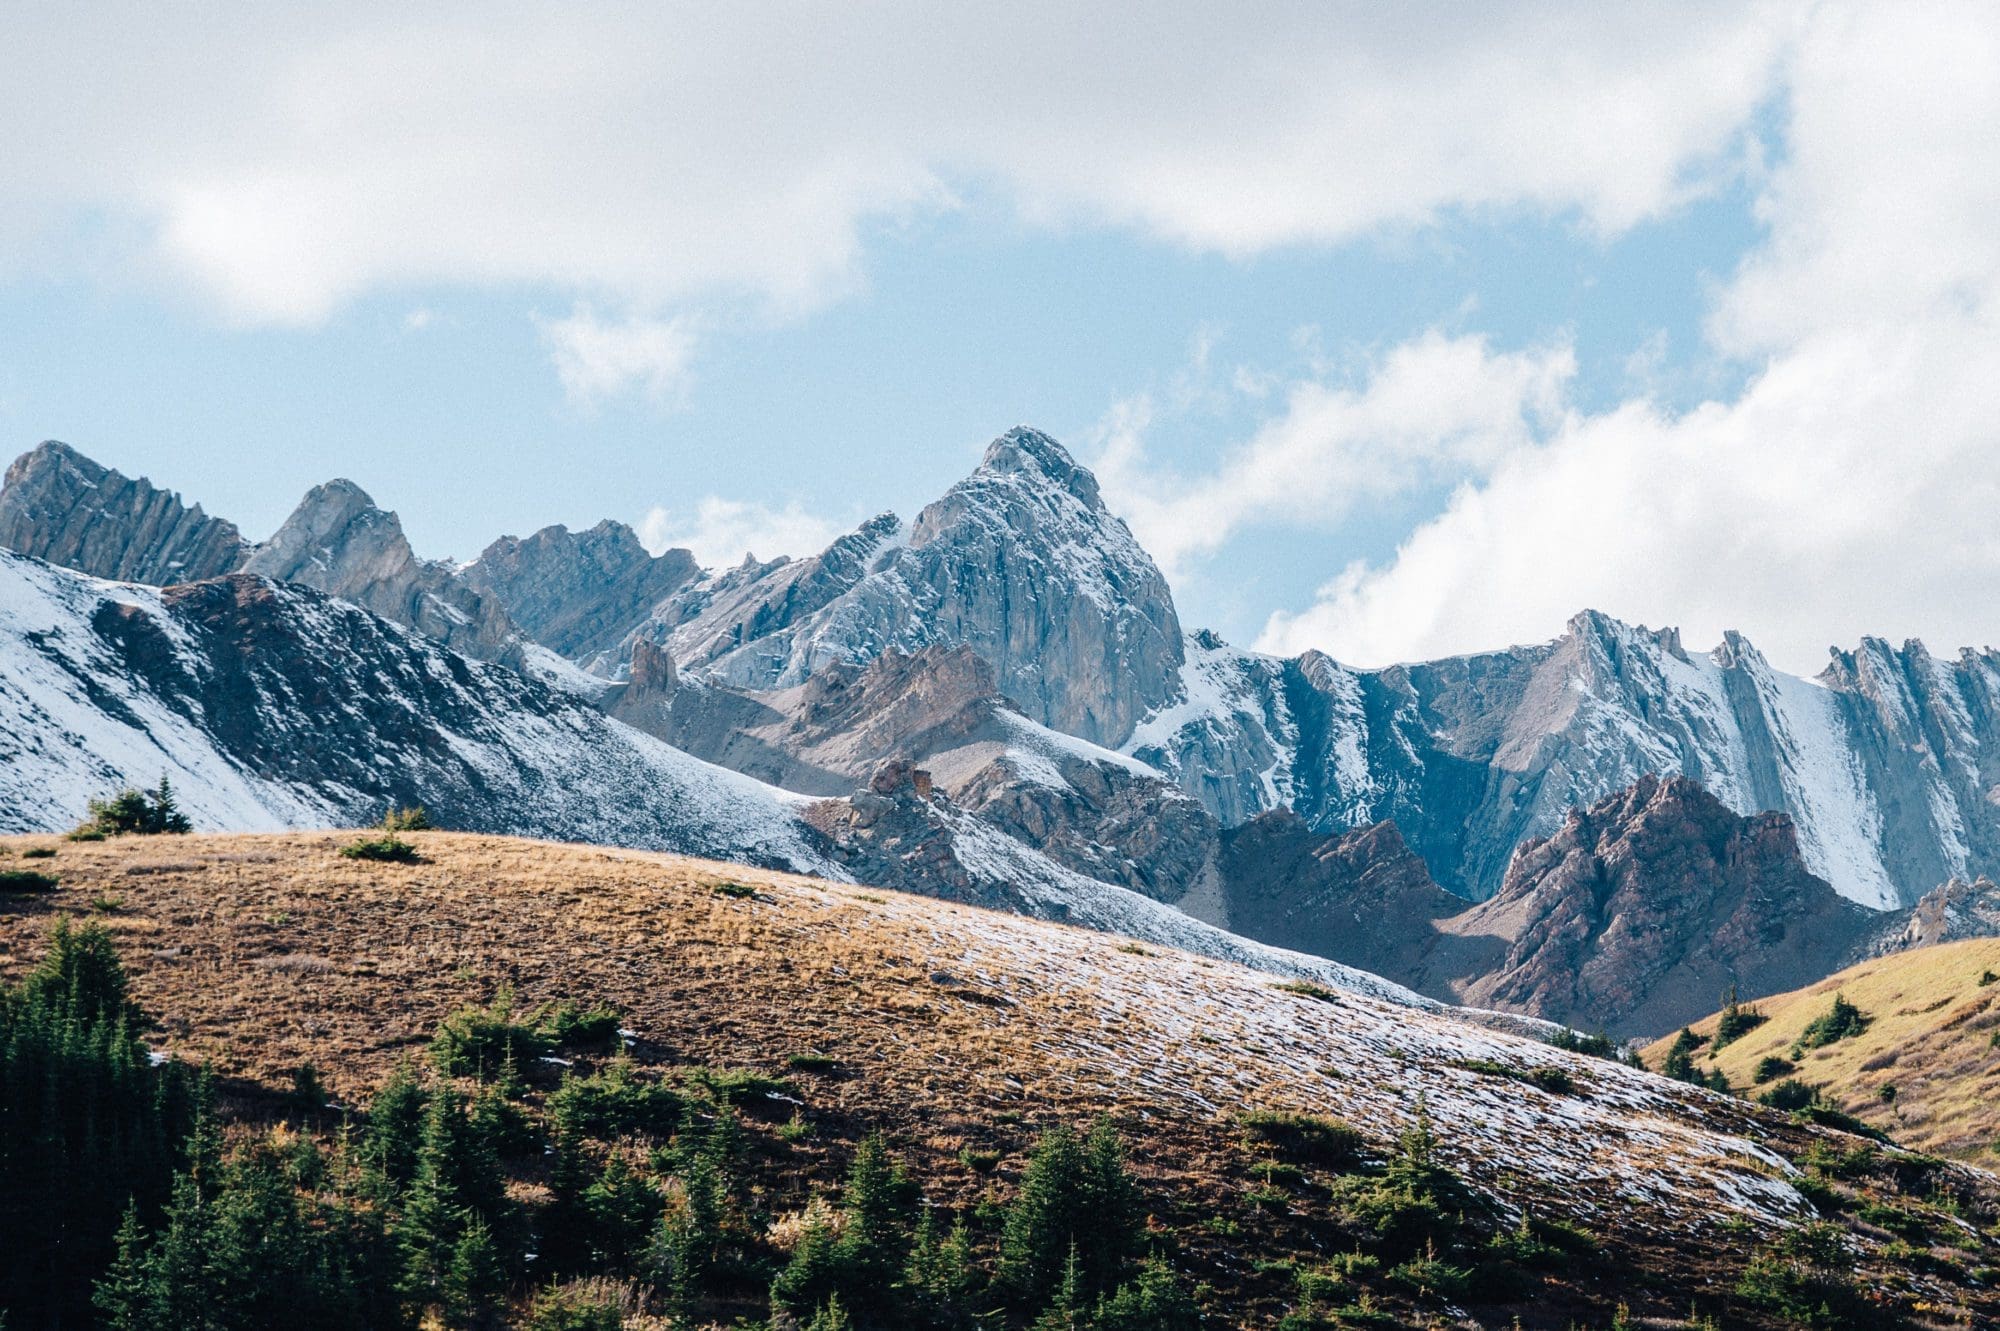
Mountainscapes show texture, color (or lack of), size and shape of ridges, trees and vegetation, weather, maybe a human or two, but little else. They should convey power and scale. Let’s dig into the finer points of mountainscapes - the gear, the elements, and some technique.
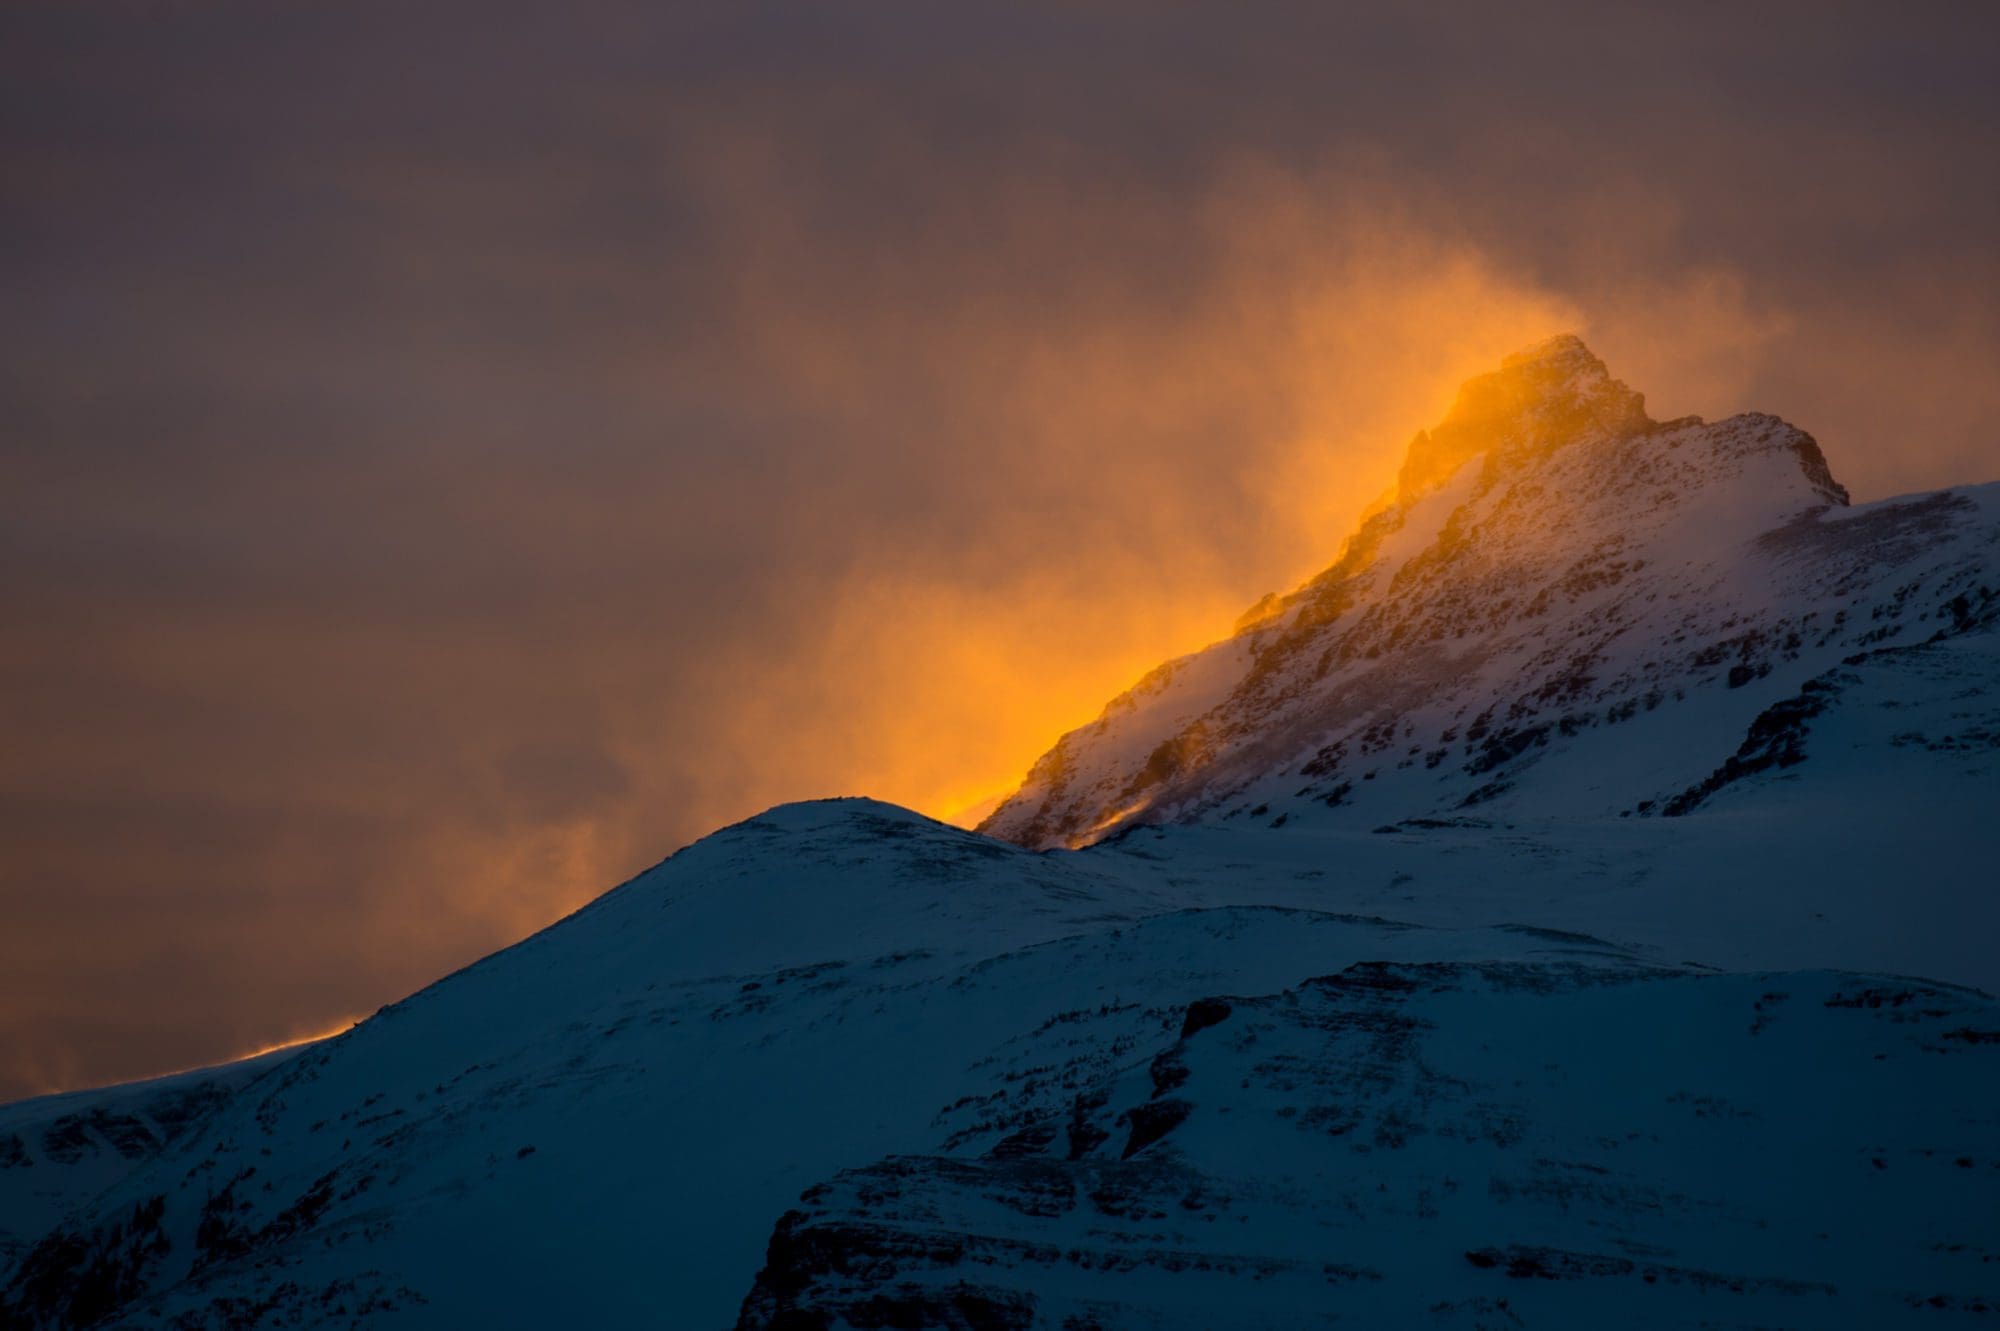
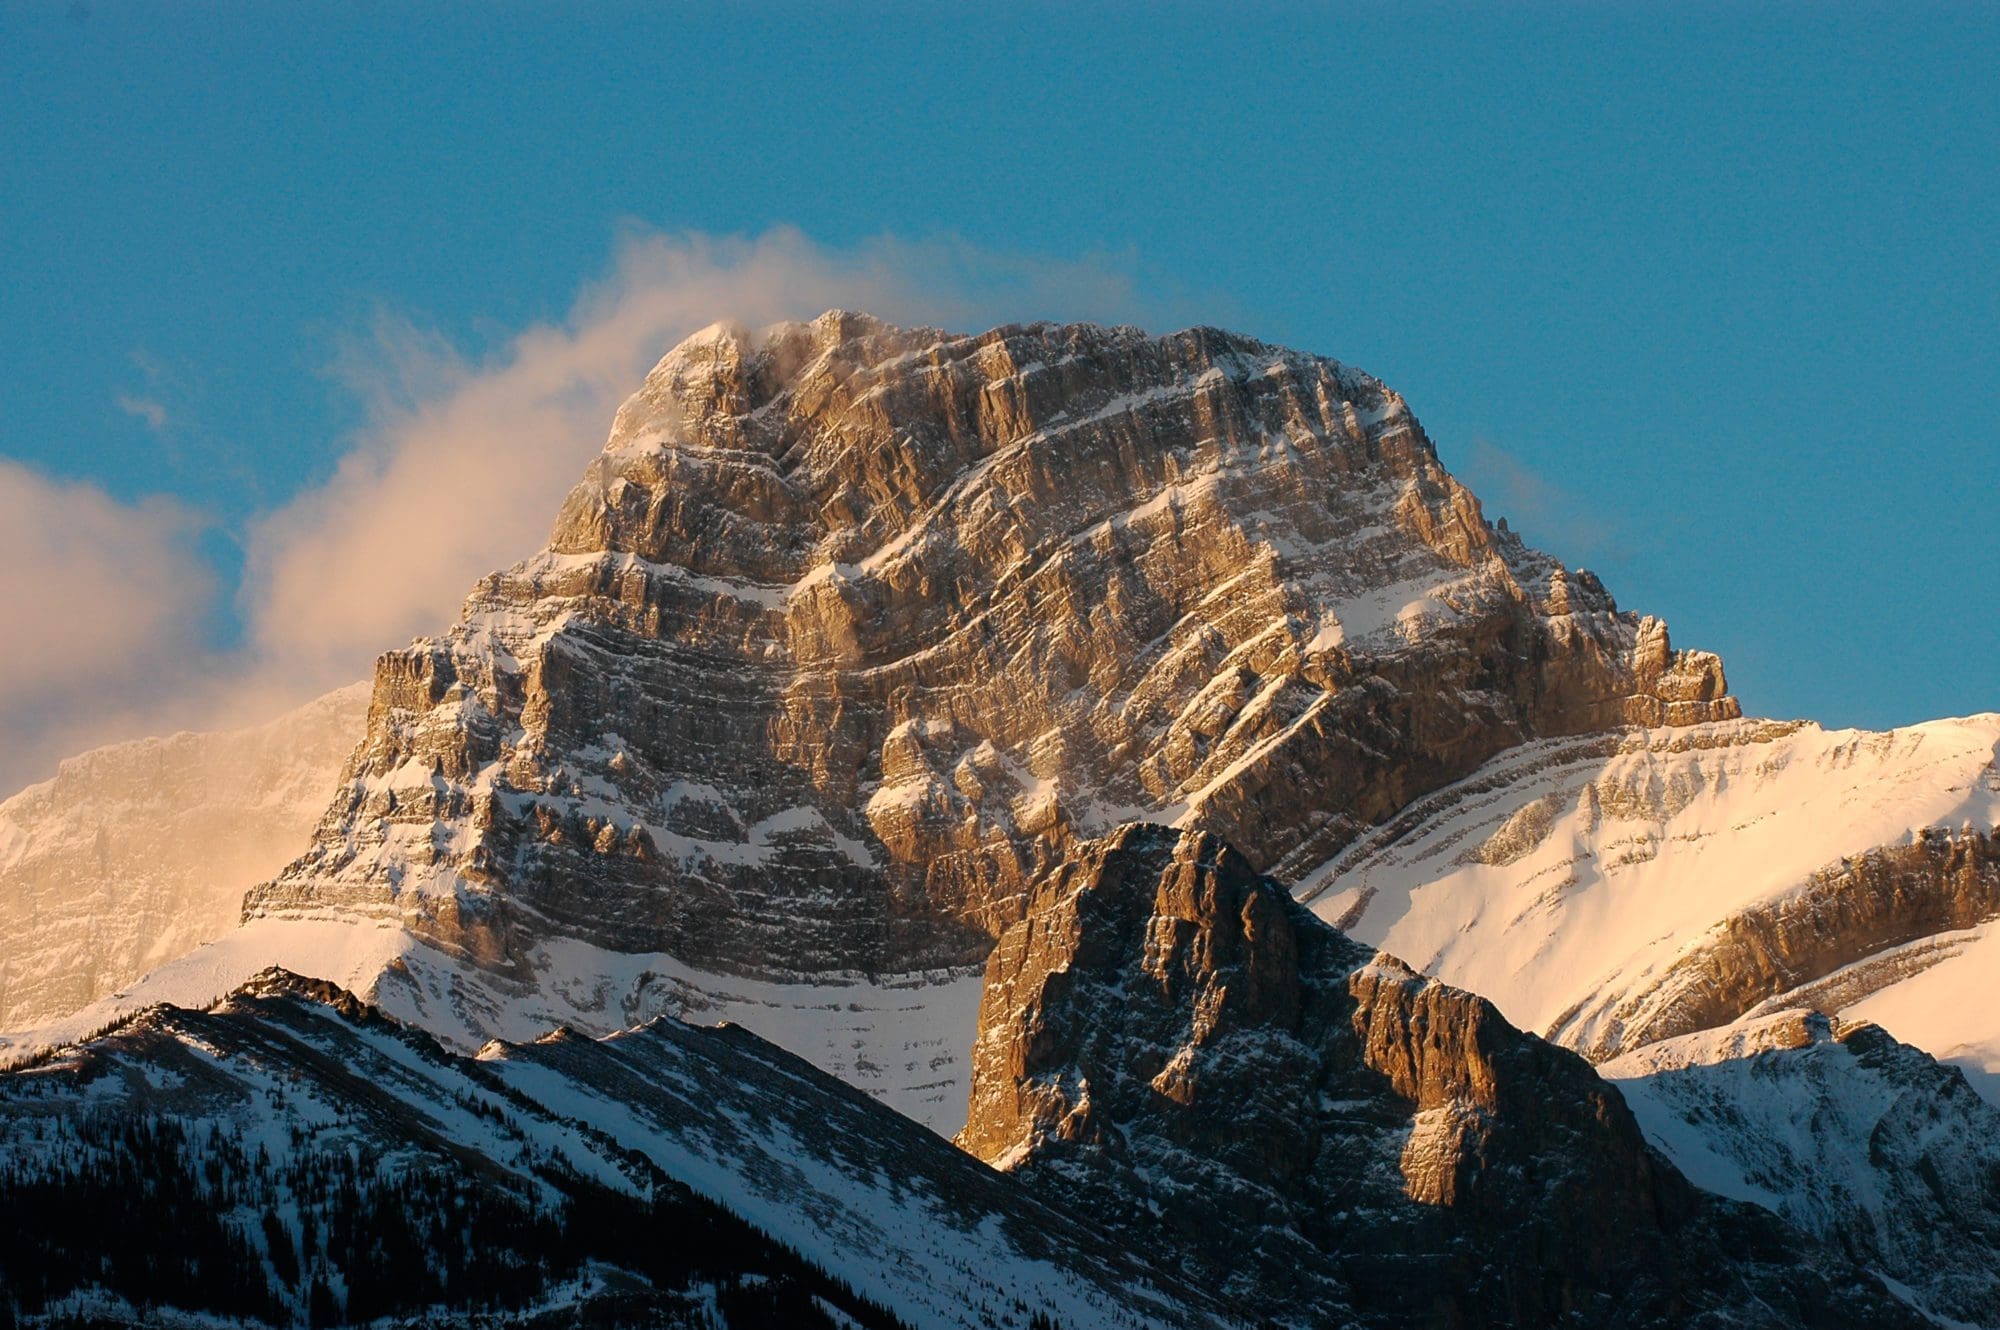
The sunsets behind a mountain peak. The wind is kicking up the snow, making for very appealing mountainscape photography. Nikon D810, 200-400mm f4 a-fs, Shot at 400mm f5, 1/125 sec., ISO 100. A stable shooting platform is a must for this image at these exposure numbers. I wanted a low ISO in order to preserve the details.
Lens Selection and Focal Length
Anything over 50mm is considered telephoto. My lens of choice for mountainscape photography is the 70-200mm f2.8 with stabilization. Any zoom in this range will make an excellent choice for mountainscapes.
Occasionally I’ll shoot mountainscape photography with longer lenses, beyond 300mm. I feel like if you get much past 400mm, there are too many variables that can hurt the final image - image shake, poor air quality, moisture, and mirage.
Generally, if you shoot mountainscapes early/late in the day during the golden hours, mirage won't be a problem, but dust and moisture can be. So, I try to stay below 400mm and shoot mountains when the air is mostly clear.
Another great choice for mountainscape photography is the 200-400mm zoom or the smaller, lighter 80-400mm, or even the 100-300mm. The point is anything in that medium telephoto range will work. Just remember that the quality of the optics and atmospheric conditions really matter when the subject is distant.
“Compression” Stacking
My favorite mountainscapes consist of mountains stacked one in front of another. This layering or stacking effect gives the appearance of depth. No matter what you do with a camera and lens, the image is still two-dimensional, but the one thing that helps create the feeling of depth are shadows and layers.
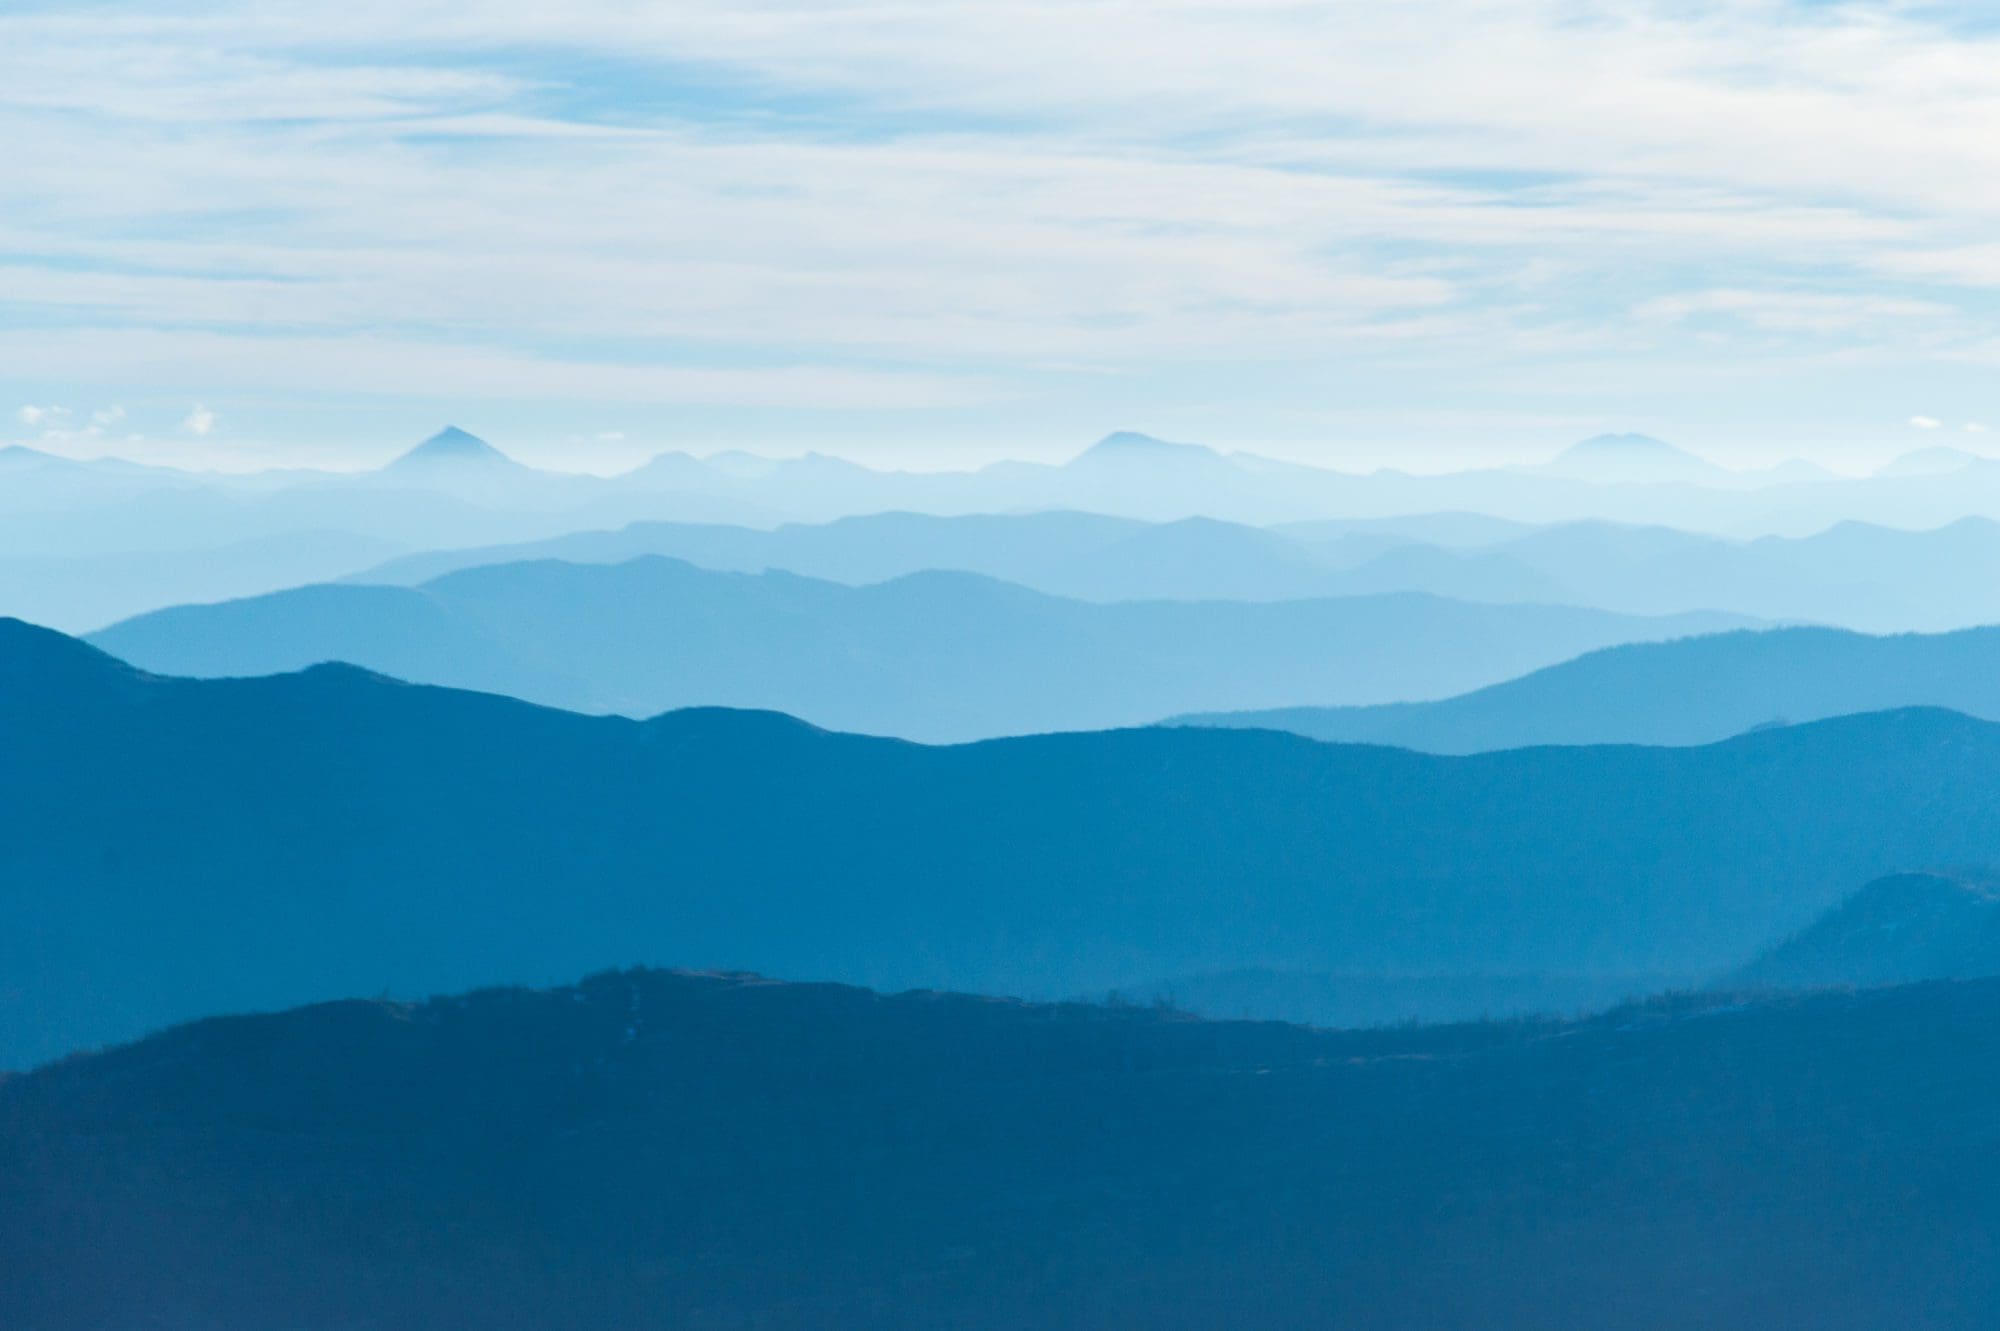
Cool blue mountains photographed mid-morning. Notice the haze. This is a great example of what I call “stacking.” The mountains are compressed, making them look closer than they are. The actual land distance is about 50 miles. Nikon D4, 20-120 a-fs f4, shot at 120mm f5.6, 1/3200 sec., ISO 200. This image was shot from a helicopter. I used a very fast shutter speed to eliminate any vibration that would degrade the image.
The longer the focal length, the more apparent the stacking or compression. For example, mountains that are far off can look closer to one another than they actually are when shot at 100mm or more. The inverse is true with wide-angle lenses.
Think about the passenger's side mirror on your car or truck. There’s a reason it says, “Objects are closer than they appear.” The image in the mirror looks closer because of the wide-angle of the glass. In order to show you more viewing area and to expose the blind spot, the glass is slightly convexed, creating the illusion that the car or bike behind and off to your right is closer than it really is. Telephoto lenses compress the image, while wide-angle lenses widen and increase the apparent distance between the foreground and background.
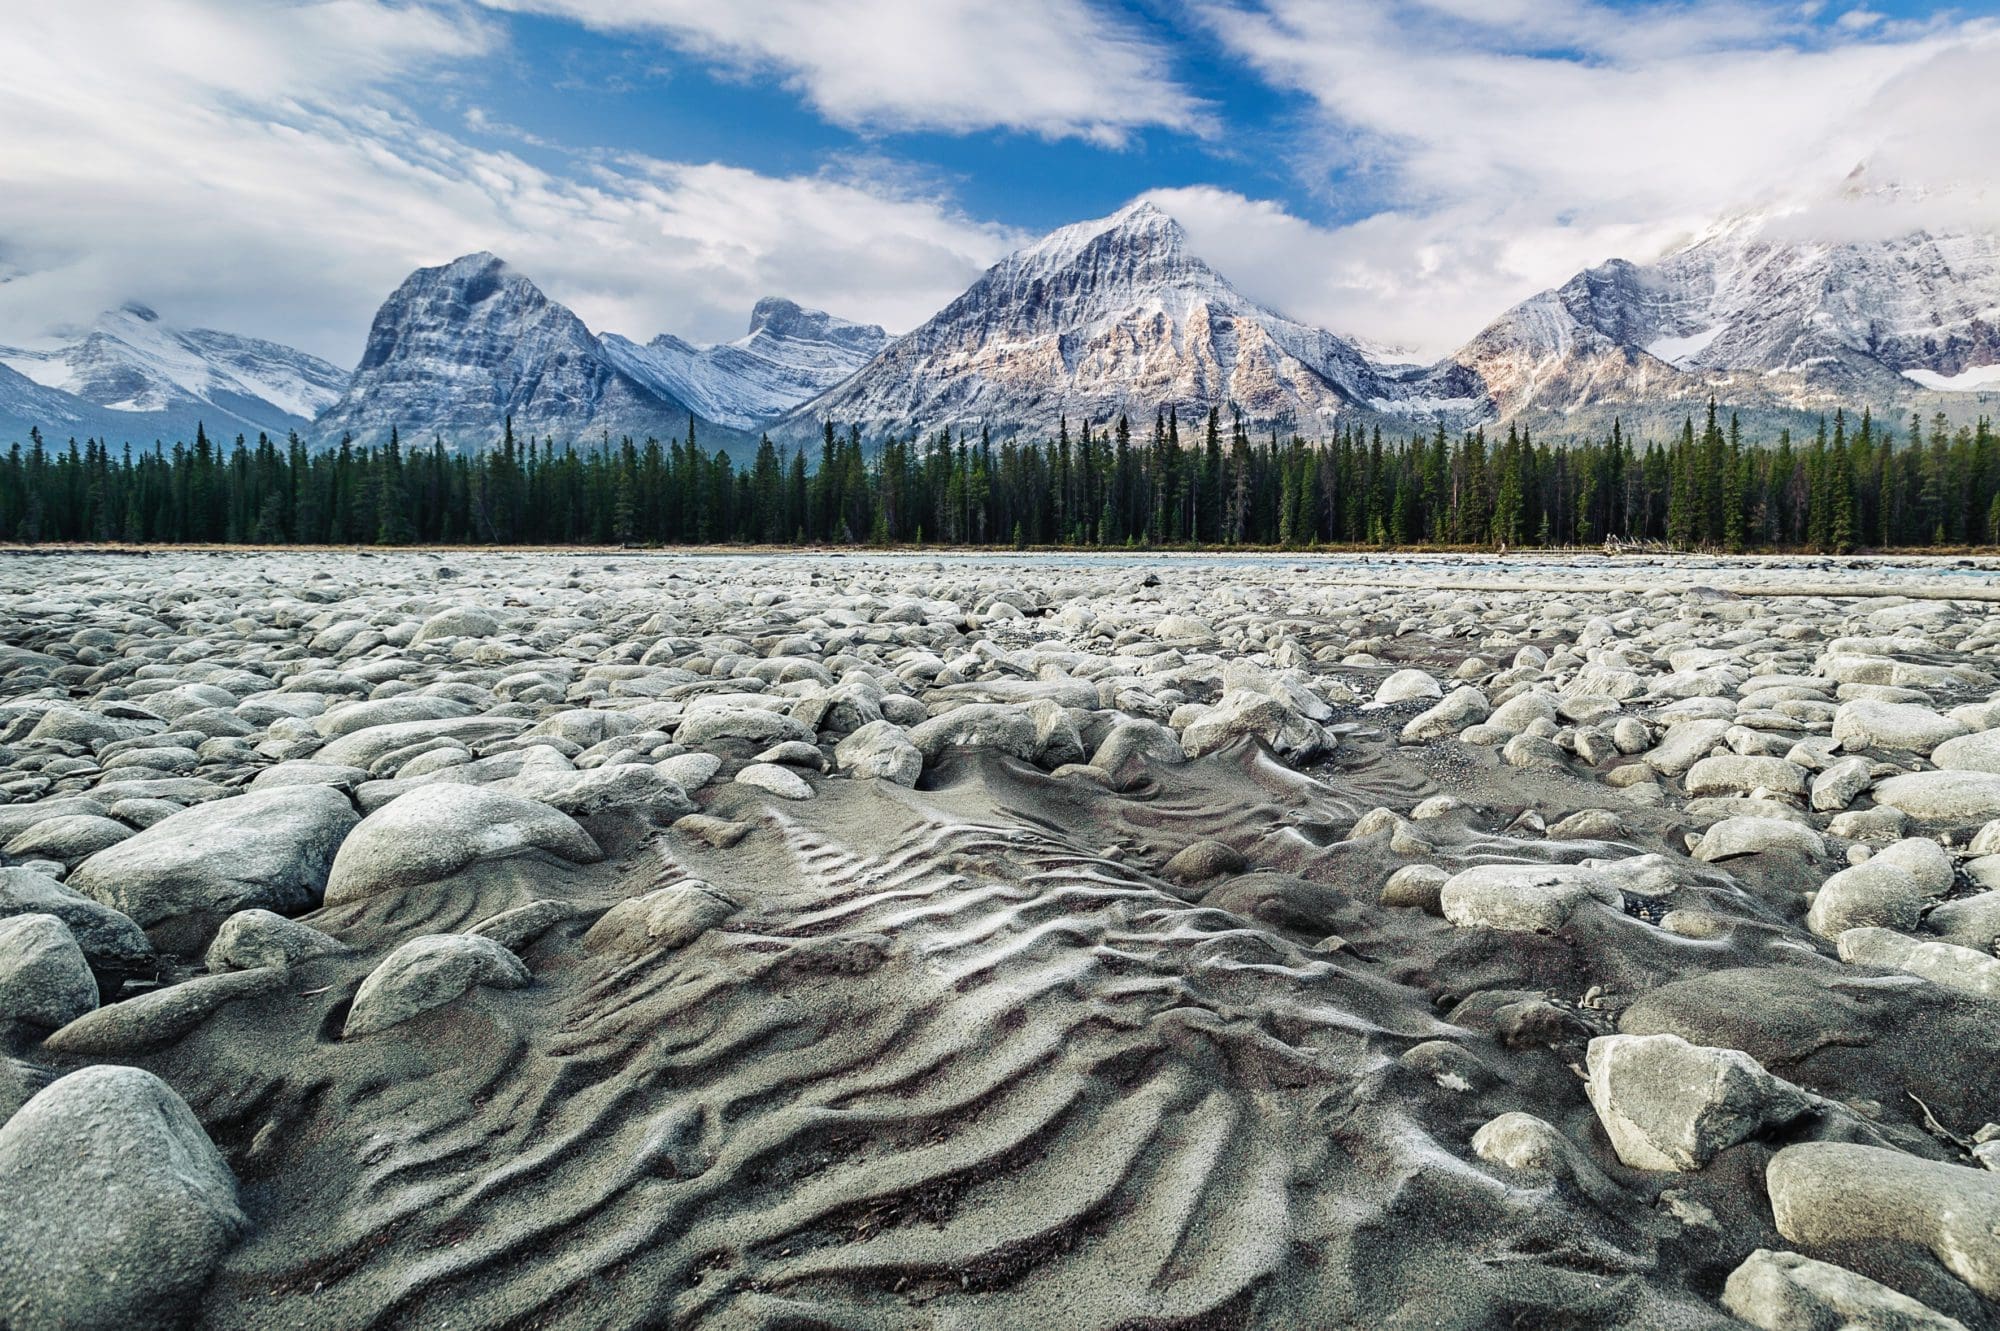
A typical landscape image shot with a very wide-angle lens. Notice the exaggeration in the foreground scale. The mountains are not that far away and the sand riffles are not nearly that large. While wide-angle lenses can be used, it takes some careful thought and the correct distance from the background to effectively create an image like this. Nikon D3, 17-35 f2.8 a-fs. Shot at f11, 1/40 sec., ISO 200. Notice the image is in focus front to back.
“Isolation” Aperture, Distance, and Focal Length
The three work together. Simply put, the closer you are to your subject, the shallower the depth of field is relative to your chosen aperture. For example, if you choose f/2.8 and you’re 20 feet away, you will have MORE depth of field - more in-focus area - than you will if you’re two feet away.
The farther away from the subject, the more depth of field you will visualize. While photographing distant mountains, or trees for that matter, you can use wider apertures (smaller numbers) and still have plenty of depth of field.
A mountain a mile or two away shot at f5.6 will be in focus. The same mountain shot at a distance of a few meters will have a shallow depth of field at the same aperture. This fact holds true for all subjects, not just landscapes or mountains.
In practice then, as your subject is farther away, there is more depth of field at any given f-stop. In fact, I shoot a lot of my distant mountainscape photography at f5.6 for a good balance of depth of field and shutter speed. If I need more shutter speed, I’ll increase the ISO or open up the aperture to f4 to allow more light in at the same shutter speed.
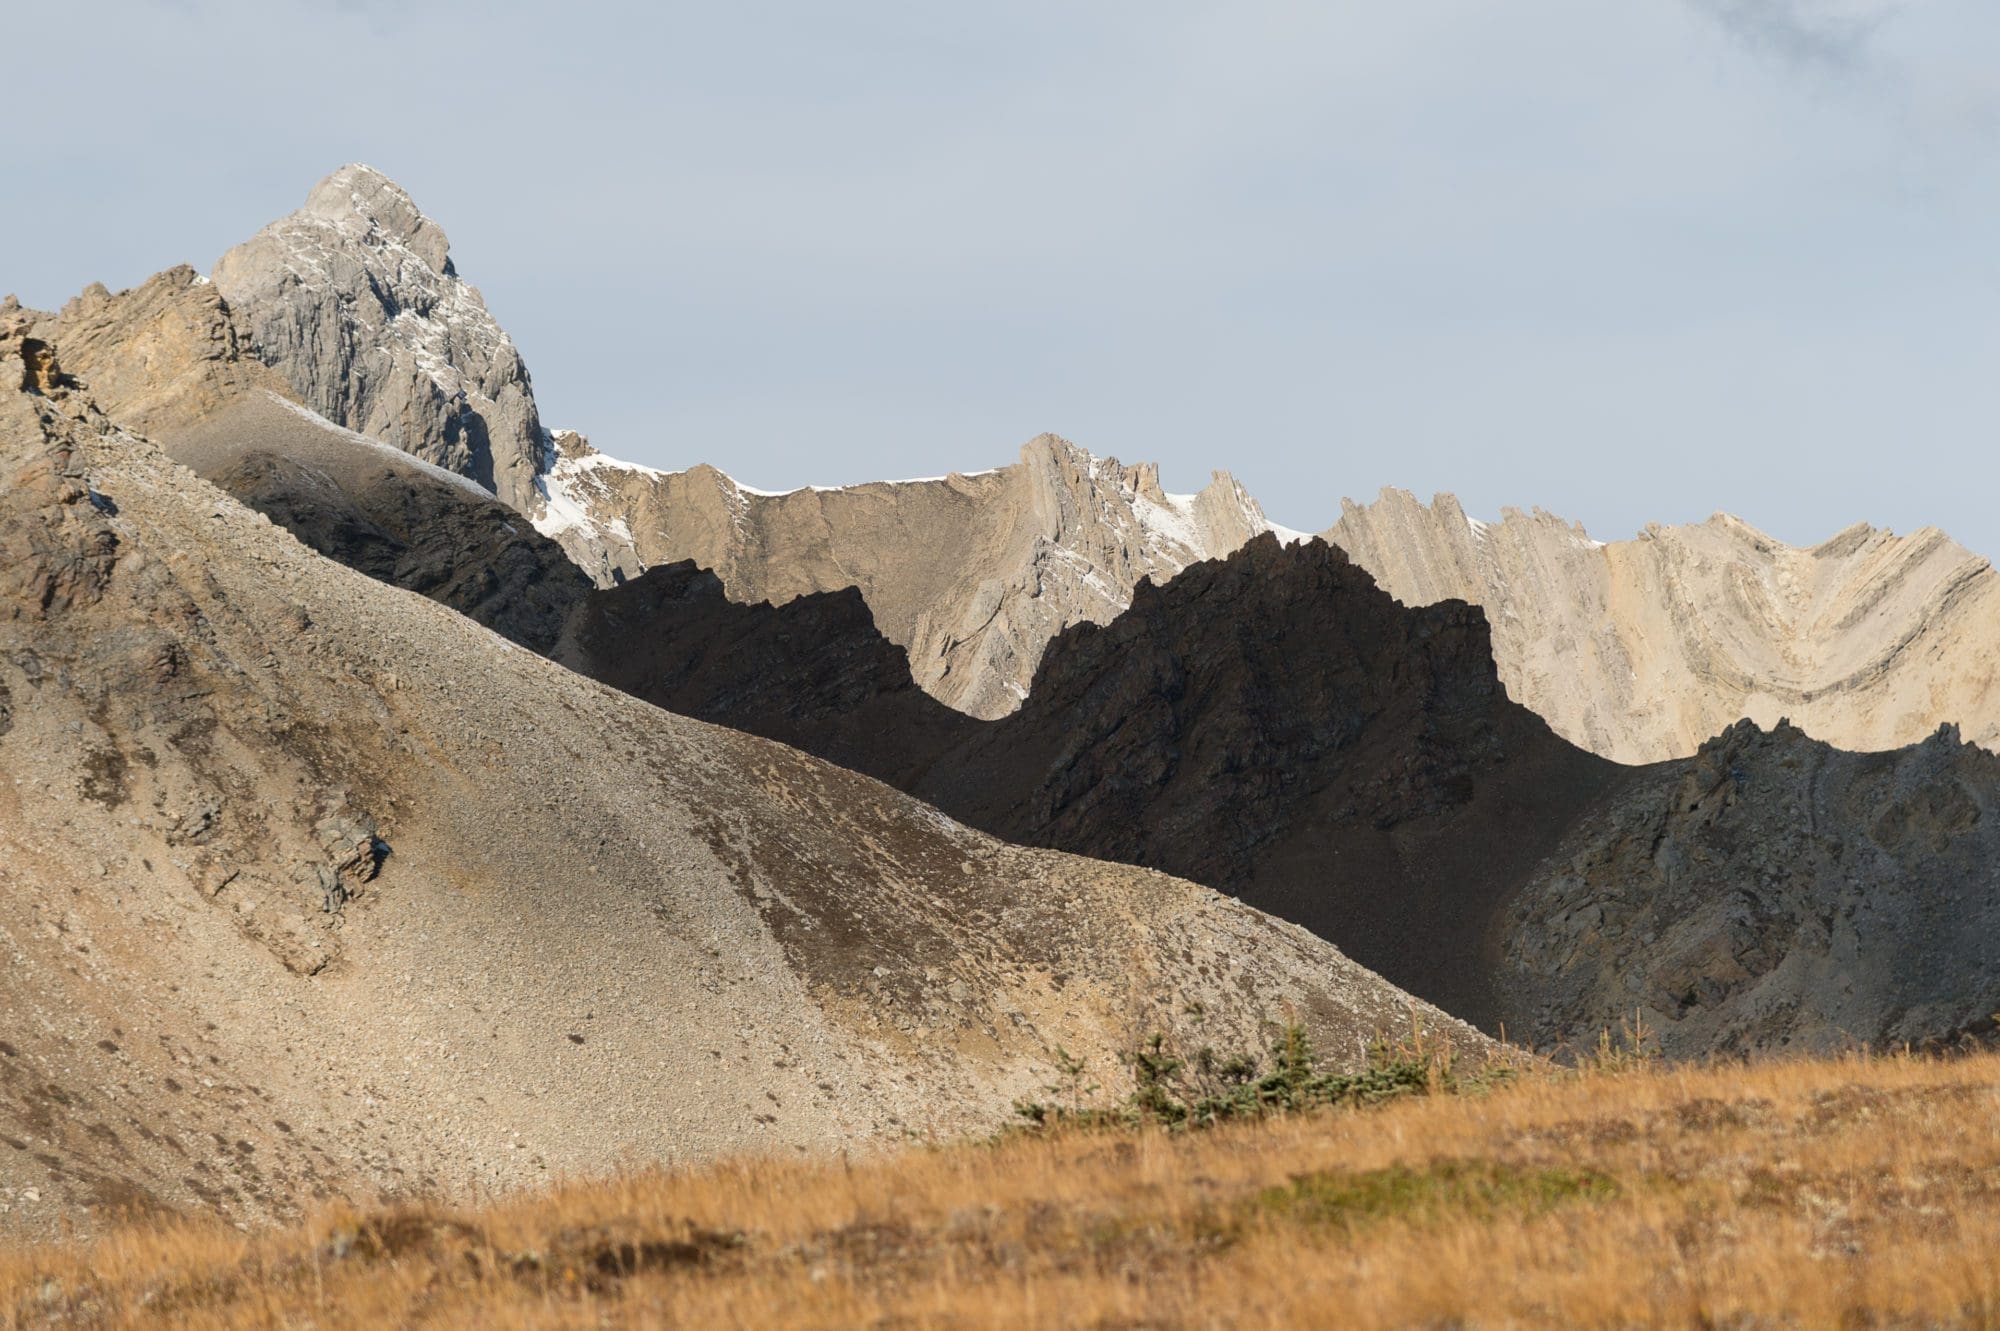
This mountainscape is a great example of several elements all in one image. Great contrast and an out-of-focus foreground give this otherwise bland shot depth and energy. Nikon D4, 24-120 f4 a-fs. Shot 120mm, f5, 1/800 sec., ISO 100. When you see clouds creating shadows like this, you better take the time to shoot!
In the above image, the foreground is out of focus. I was closer to the foreground and took this image at 400mm at f5.6 with my in-camera point of focus squarely on the mountains. The results are shallow foreground, and in-focus middle and background.
Imagine if the shallow foreground wasn’t there. The entire scene would be in focus at f5.6 and the even distance between the two ridges is rather large.
Isolation
Using telephoto lenses for mountain photography allows you to isolate the subject. This happens for two reasons. First, you can crop out distracting elements and just concentrate the composition on one single element. Second and maybe more interesting is how depth of field, or the “f-stop”, helps produce the feeling of isolation.
Wide apertures (the small numbers - f1.4 to f2.8) are considered wide apertures. F8 and f11 are medium to small, and f18 and beyond are small apertures. Aperture is the hole in the back of the lens that allows the light to pass through, exposing the sensor. The aperture gets smaller as the number gets larger - don't worry about why just remember it.
Light
Light is the most important part of photography. It’s what gives an image the appearance of depth. Shadows and highlights in the right ratio or the right location create mood, depth, and the overall feel. I try to find light that creates both bright highlights and good darks. It’s the contrast between the two that, for me, makes great mountainscape photography. It helps define edges, ridges, and valleys.
This is one of my favorite mountainscape images. I like the color, contrast, depth, details in the rocks, trees, and sky and the composition works, too. I’m just glad I was there to capture it. It took days to get here on horse and foot and I’ll likely never be back, but this single image reminds me of the entire hunt. Nikon D4, 240120 f4, a-fs. Shot at f5, 1/800 sec., ISO 100. The entire image is in focus due to my distance from the foreground, middle and background.
The quality of the light helps create the color, and the shadows. Generally speaking, light quality is best early and late when both color and angle are optimum. Low-angle light provides good shadows, and more often softer light with enough power to cast shadows.
Technique
Almost all of my mountainscape photography is shot handheld. I use a tripod when the shutter speed is too slow, but with today's cameras and great ISO, I can usually increase the ISO to compensate for slower shutter speed. However, increasing the ISO too much will increase the amount of “noise” in an image, making it less sharp.
If you like to shoot with a tripod, you’re golden. I tend to move around too much and don't like being tied to a tripod, and of course, they also tend to be heavy.
Use short-to-long telephoto lenses for mountain photography. Normal (50mm) and shorter, down to 12-14mm, can be used but they work better for when you’re in the mountain or very close to a tall one! Wide-angle lenses distort the scene by making what’s in the center of the frame look farther away, and what’s closer and near the edges distorted and much larger.
Use image-stabilized lenses for better results. Longer lenses require faster shutter speeds. I almost always shoot off-hand, so having a camera or lens or both with image stabilization will help by allowing you to handhold your telephoto lens.
Choose as low of an ISO as you can while still maintaining the proper shutter speed (shutter speed should be at least as fast as the focal length of the lens).
My Approach
I always look for multiple layers for my mountainscape photography. I love the effect of compression created by long-lens landscape photography. Once I find the layers, I decide what’s going to be in the frame and what’s not. I choose my subject - usually a peak or a prominent feature – and then I compose for the subject, followed by choosing a foreground, middle ground and background. With these elements in mind, I choose an aperture based on distance and the look I want to achieve.
Learning how the tools work. The camera and lens are important, but more important is your ability to work at capturing photographs. Your passion for the mountains will come through in an image, so always let your soul guide you.
If you're looking for further information on either Lens Care or Fire Photography checkout some of the articles I have written in the Lifestyle section of the website.

