NOTICE: Certain links on this post may earn a commission for Western Hunter Magazine from Amazon or our other affiliate partners when you make a purchase. Thank you for your support.
Eating Fresh Backcountry Meals
I learned long ago that in order to be successful while hunting in the backcountry, especially in extreme weather, you have to be able to stay dry, get good rest, and eat good backcountry meals. If you don’t have the right camp gear and the “right stuff” to eat, your body simply can’t keep up with the rigors of the hunt. Careful planning in regard to food preparation will help assure you of a quality experience, regardless of other variables.
Recently, Arnold Tevas was planning on packing into the Washington high country on a September mule deer hunt. He sent us an email asking for recommendations on how to preserve perishable foods without dry or cold ice and ice chests. I put together some ideas, and after I sent him the recommendations, we decided this topic would be a good one for a more detailed article.
With the variety and quality of freeze-dried backcountry meals and powdered drinks available today, the simplest and most efficient way to handle camp meal logistics is for everyone to bring what they’ll need for the trip. Even so, guidelines as to weight and space need to be considered. With this being the case, you may be asking yourself the question, “Why would anyone want to go to the trouble to pack perishable foods into the backcountry?”
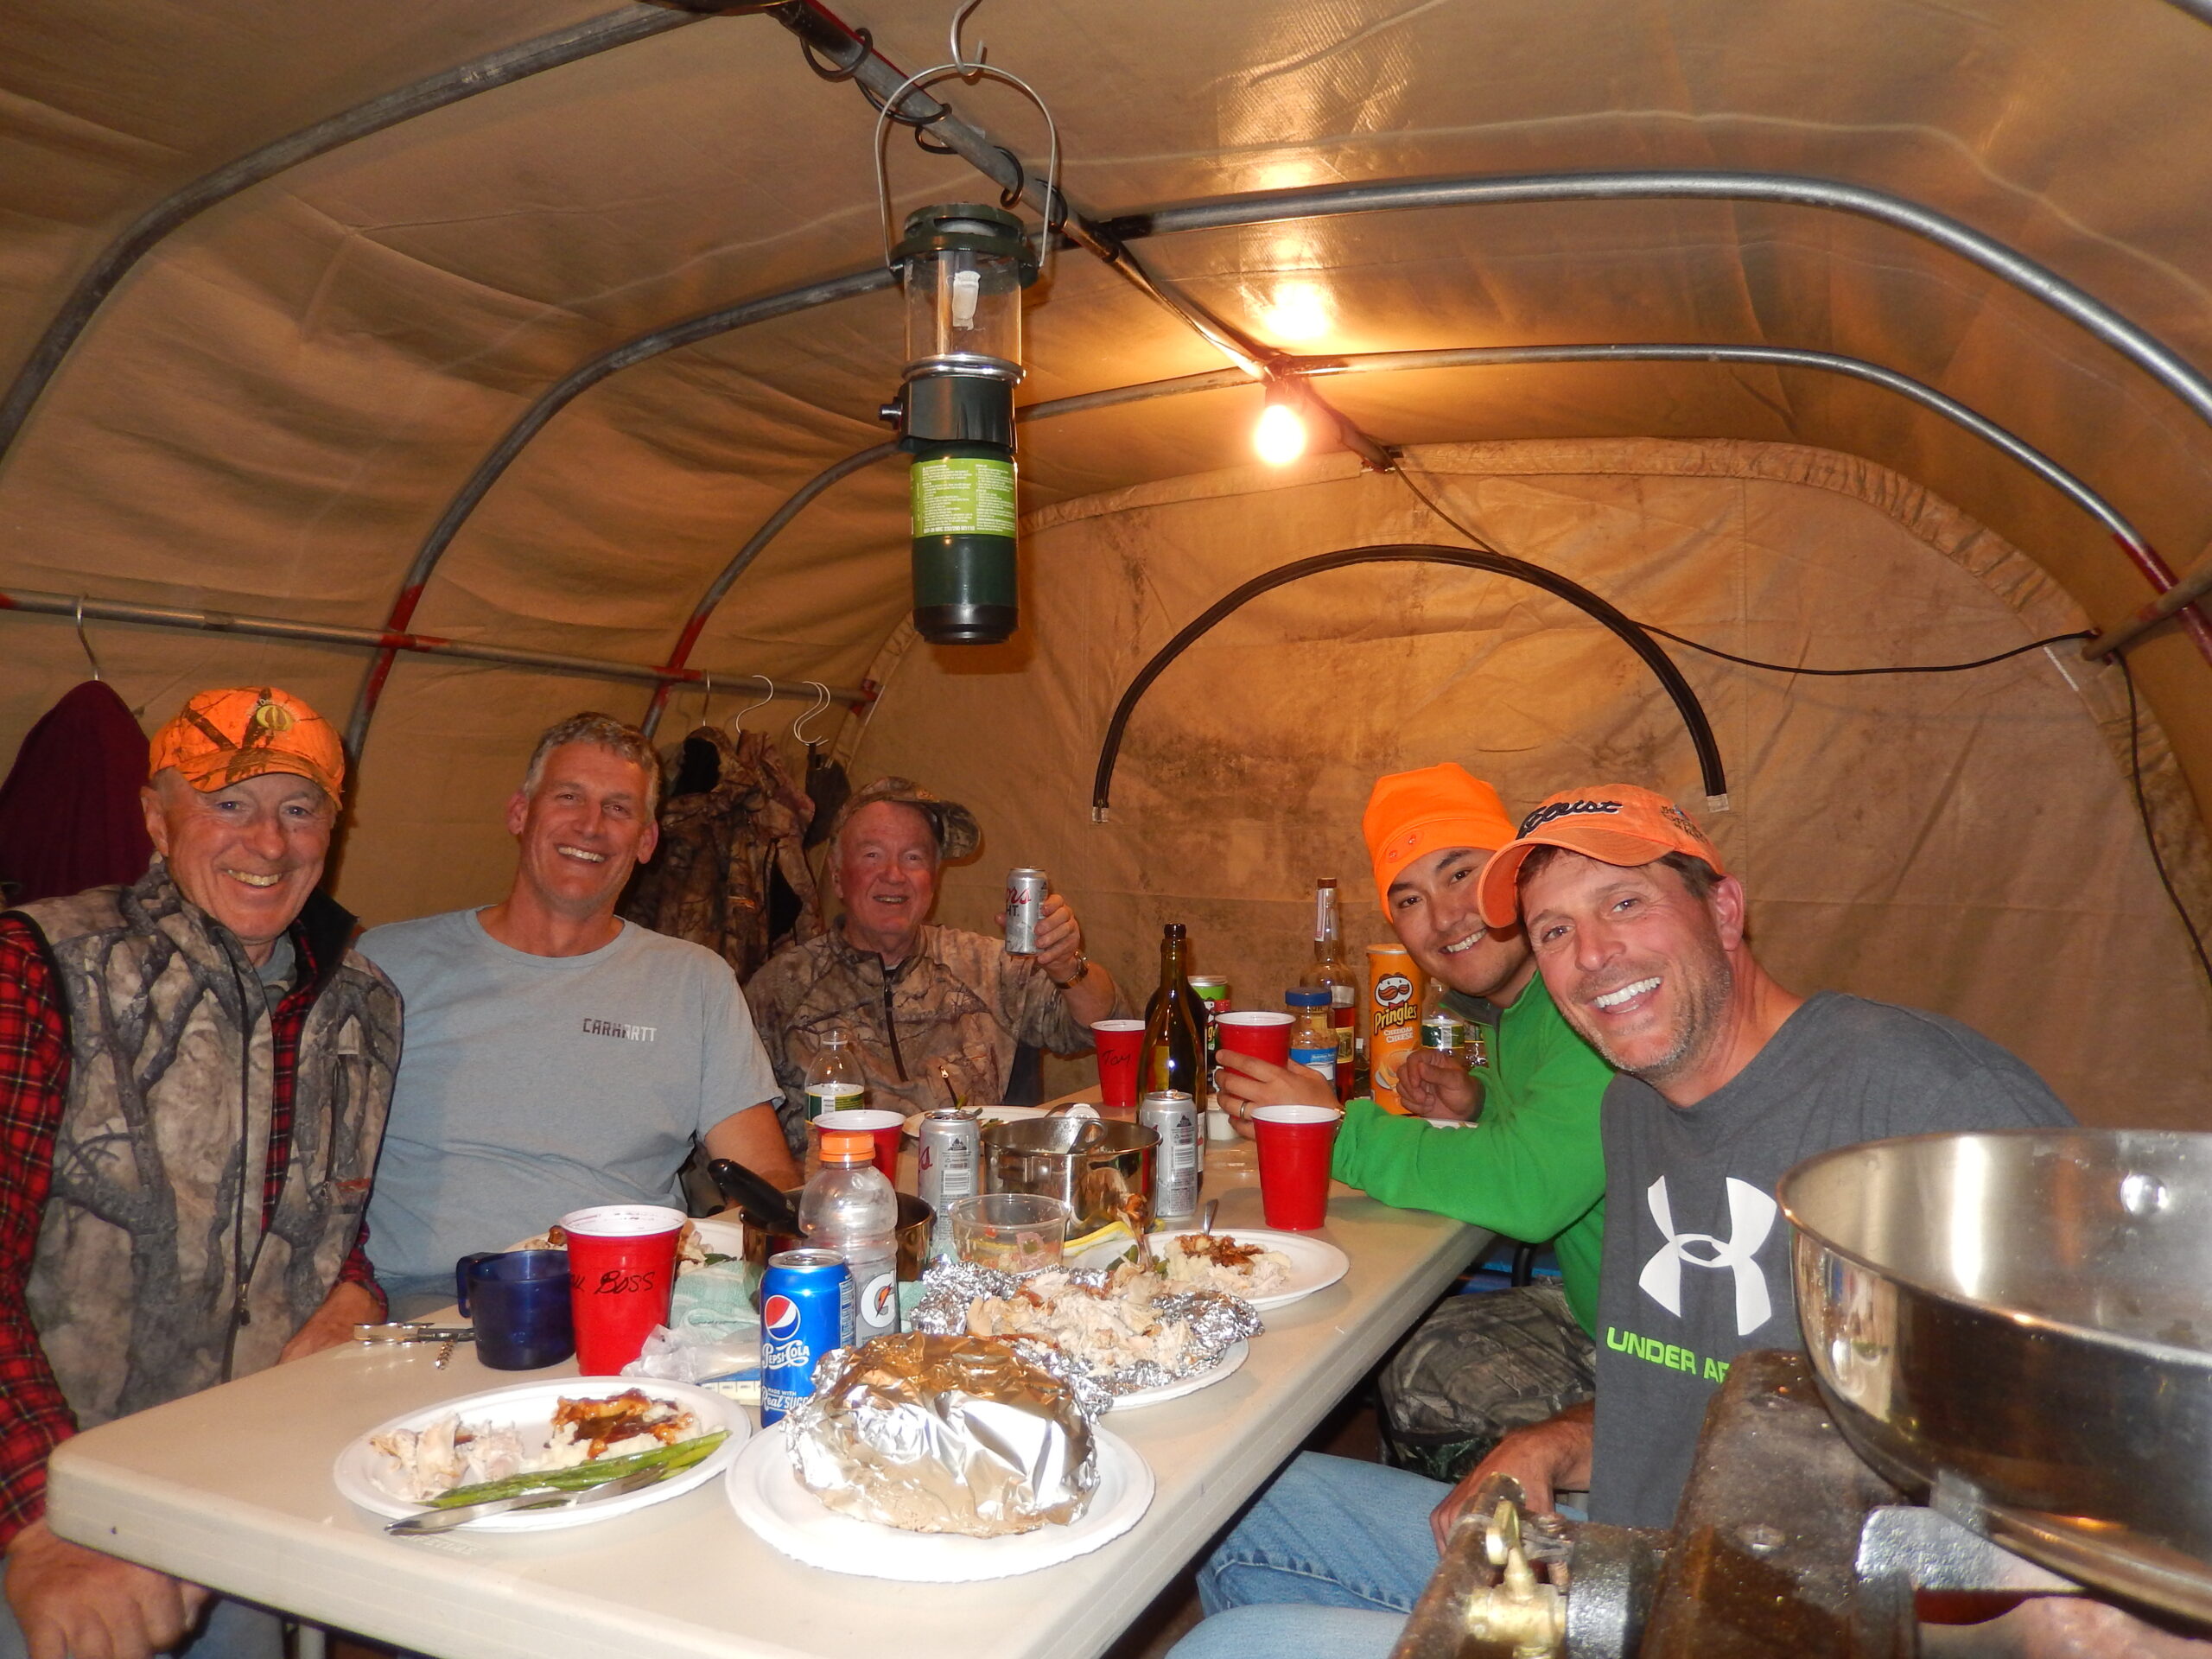
In addition to just tasting better, fresh and frozen foods served in elk camp are often akin to traditional family dinners around the dinner table. In my experience, such dinners comprise many of the best memories of hunting camps shared among good friends.
Longing for More
My experiences with C Rations in the Army during the Vietnam era and MRE’s later on pretty much soured me on these sources of nourishment. When I began making lengthy DIY backpack hunts in Alaska for brown bear and sheep, and then treks into the Idaho and Montana backcountry, I had eaten about every kind of freeze-dried meal available at the time, as well as an assortment of pilot bread, crackers, sardines, Vienna sausages, dehydrated foods and more. Although these items sustained us, I found myself longing for a “fresh” meal by the end of these treks.
From the beginning of my packing experiences in the 1970s, having stock to carry the load provided a new opportunity to plan for and experiment with more varied and fresh backcountry meals. Joe Back’s Horses, Hitches, and Rocky Trails was my initial reference. Joe’s grocery list, dating back to 1951, included a variety of foods such as bacon, eggs, carrots, potatoes, frankfurters, steaks, onions, turnips, lettuce, milk, cabbage, and apples in addition to canned goods.
When Smoke Elser’s 1980 Packin’ In On Horses and Mules was published, I had been packing for nearly a decade. Smoke’s grocery lists weren’t much different than Joe’s and included fresh chicken breasts, pork chops, steaks, eggs, cheeses, lettuce, cabbage, lunch meats, etc.
These lists seemed to be tailored to larger hunting parties and didn’t consider the amount of time and cooking gear it would take to prepare backcountry meals. There was no mention of how to get such “fresh” food items into the backcountry and keep them fresh long enough to consume them safely. It seemed to me that either someone had to be in camp to prepare meals or a plan had to be devised to organize meals so that hunters could cook group meals with minimal impact on hunting time. I figured this out on my first backcountry elk hunt with stock.
We had most of the right “stuff”, but we also had way too much stuff. When it came to food, even though we had a reasonably coordinated grocery list, we were still short in some areas and long in others.

With only four of us in a camp where everyone typically left camp before daylight and returned after dark, it became apparent that we needed to have food items and menus organized so some meals could be prepared in advance. With organization and creativity, the first person back to camp in the evening could start preparing dinner. Thus, I began experimenting.
Typically, we got to our Idaho backcountry elk camp by noon on the day before elk season. The first thing we did to make our backcountry meals easier for the first few days was to simultaneously cook two meals on the afternoon we arrived. One of my hunting partners, Jere Dick, liked to cook and volunteered to be the camp cook the first day.
At the time, we knew almost nothing about Dutch oven cooking, so when I found a rectangular 5-gallon can that had a 10” sealable lid on one end, Jere had an oven to cook a pot roast. He lined the bottom with aluminum pop cans to keep the roast and vegetables up off the bottom so they wouldn’t burn. He browned the roast on both sides in a frying pan and wrapped it in aluminum foil along with spices, onions, carrots, potatoes, and celery. After about three hours in the oven over an open fire, dinner for the first night was ready. Jere was also charged with simultaneously cooking a large pot of beans and ham, which would be dinner for the second night.
Someone usually got an elk on the first day and became the camp “jack” and cook thereafter, at least until someone else got their bull. With someone in camp, it was a lot easier to prepare more elaborate meals with “fresh” items such as potatoes, pasta, steaks, vegetables, and such.
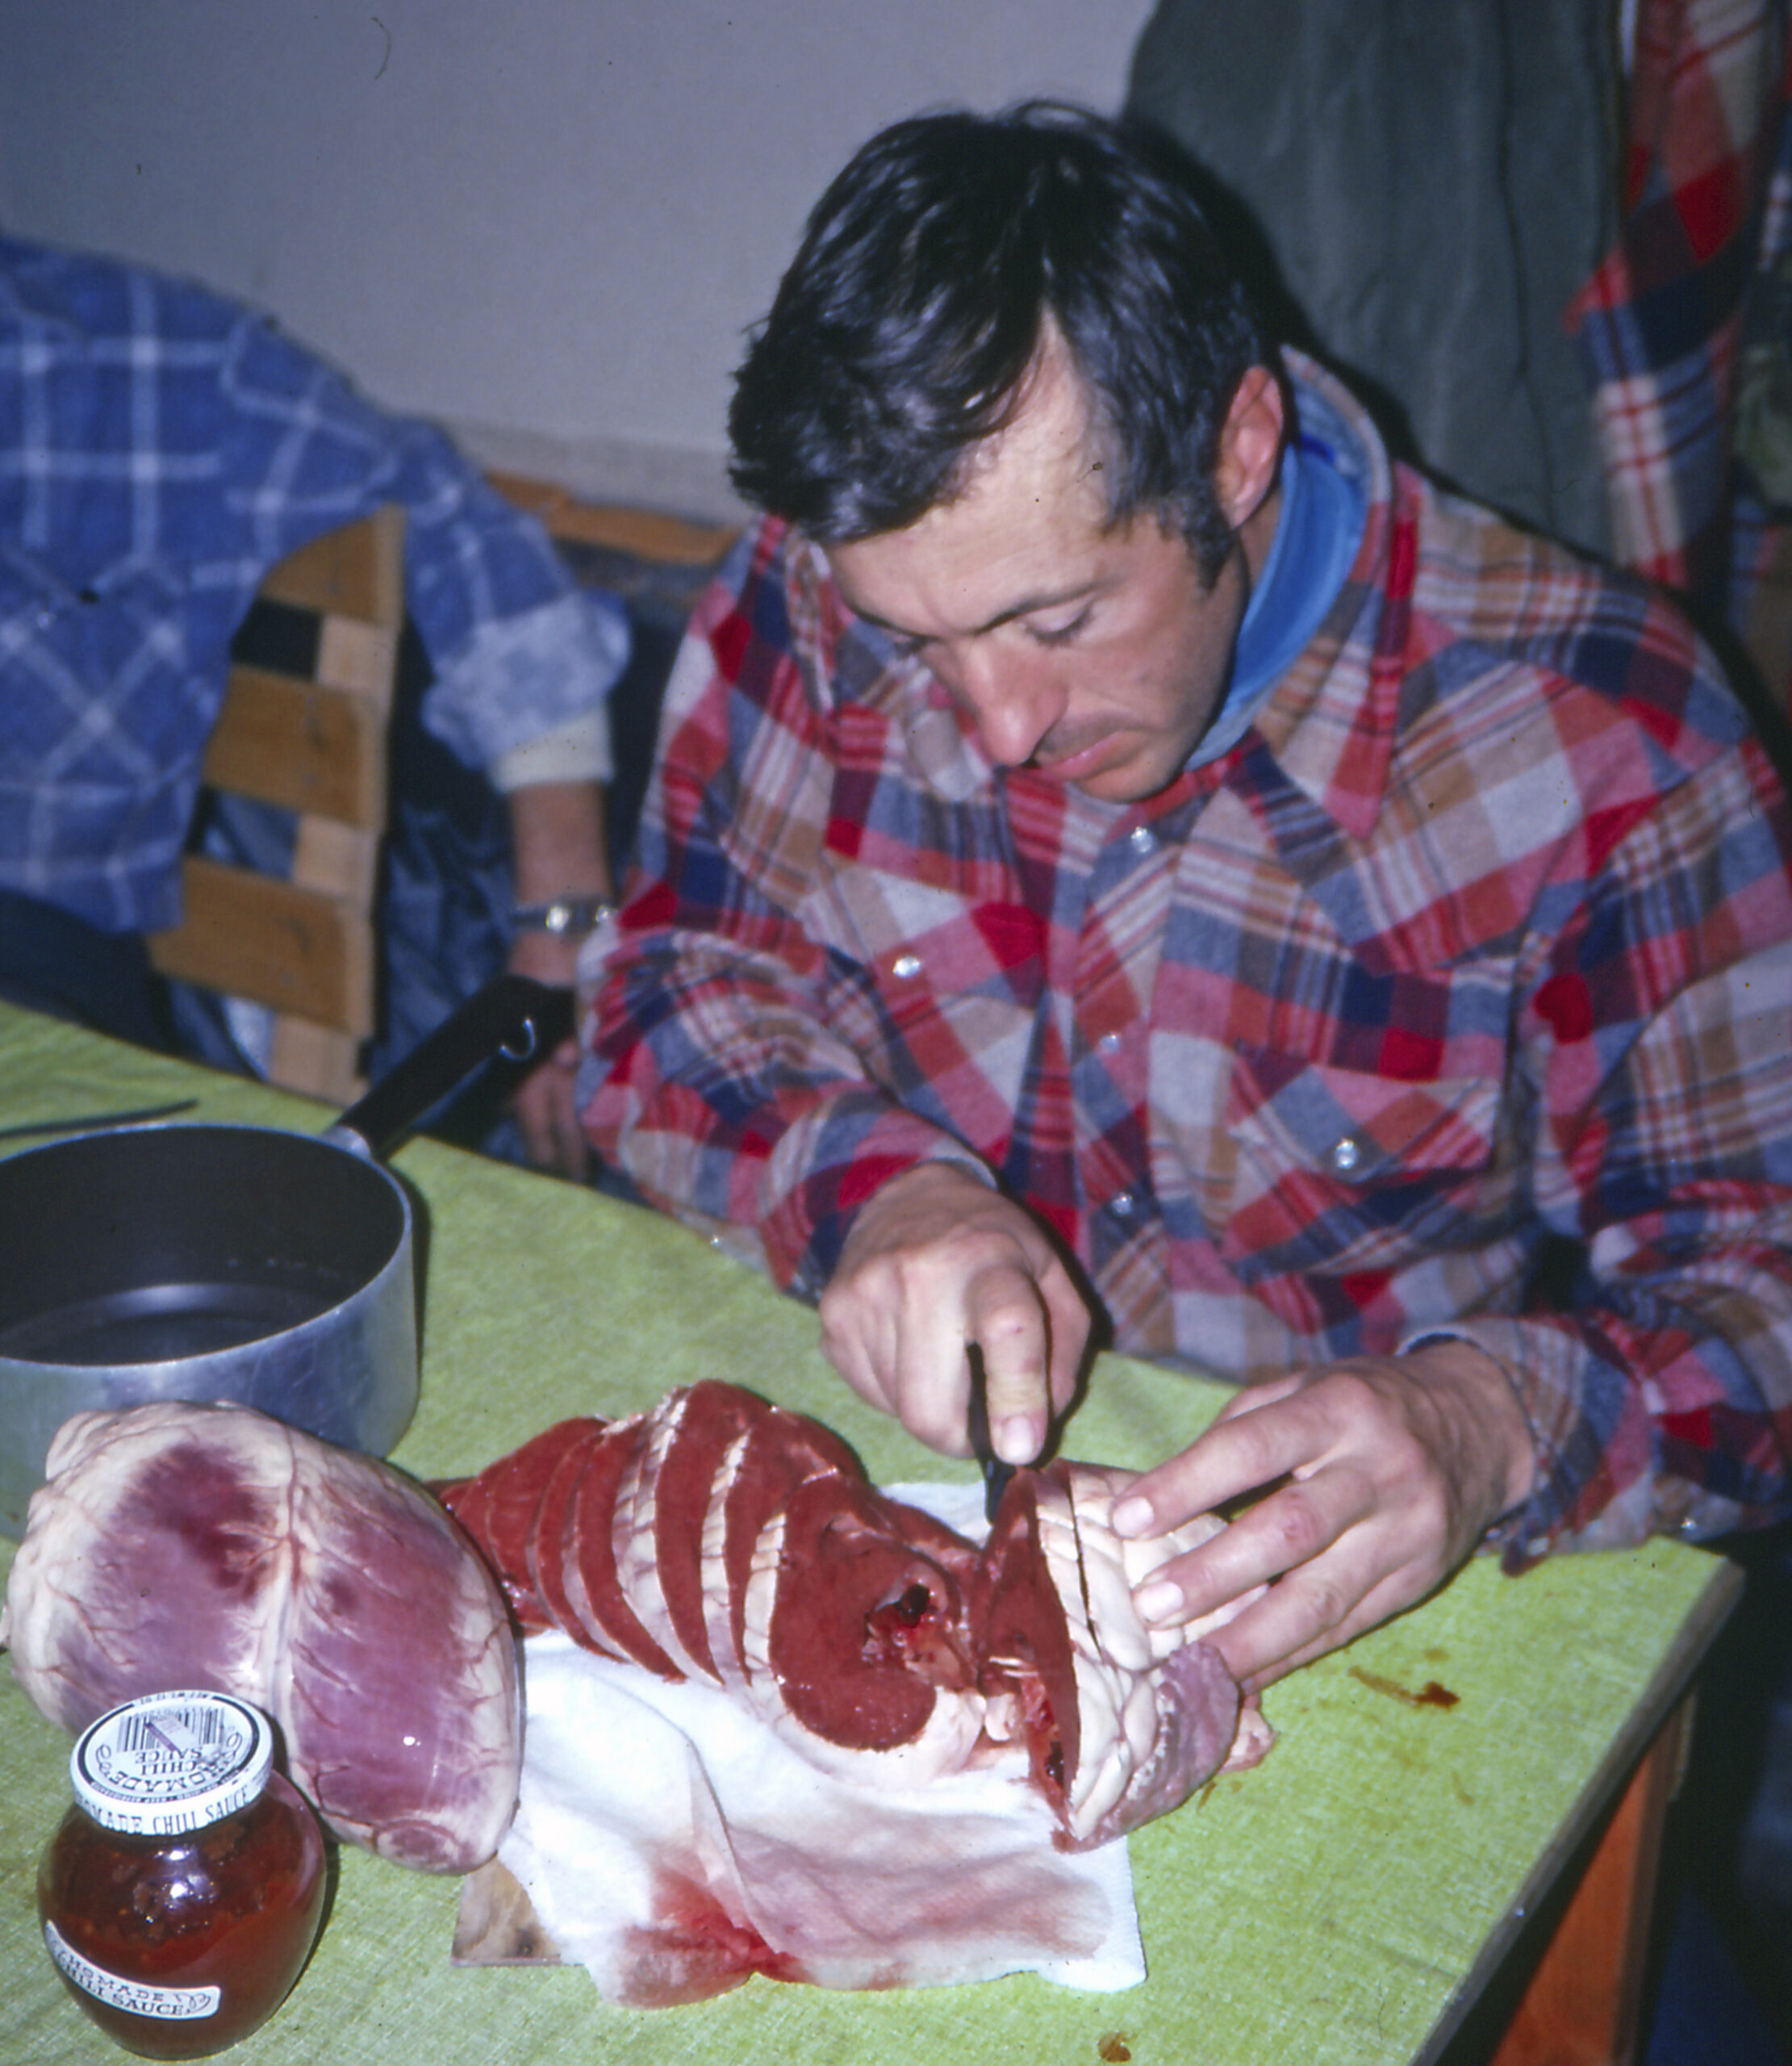
Elk camp memories often relate to camp traditions, and one of the traditions we started the first year in camp was to cook elk heart for at least one dinner midway through the hunt. In those days, we always had elk heart sliced, rolled in flour, and fried in butter and olive oil! Later, when Duane Sidler joined our group, he always prepared a dinner of elk tenderloin, sliced into medallions, breaded in Italian breadcrumbs, and fried in olive oil and butter.
Steaks, pork chops, pasta with sauce, as well as various canned vegetables were standard dinner fare. We packed in pre-cooked spaghetti sauce, chili, and stews that we (and our wives) prepared for the trip. We froze these items in plastic containers before the hunt and did our best to keep them cold enough so they didn’t thaw and spoil before we could eat them.
Breakfasts and lunches were simple; we avoided “heavy” breakfasts like bacon, eggs, pancakes, etc. Breakfasts of cereal, oatmeal, juice, and coffee were sufficient, as were lunches consisting of sandwiches, salami, cheese, fresh fruit, fruit cups, pudding, cookies, various “granola” bars, etc.
It wasn’t until Duane Sidler from Altoona, PA, became one of our regular partners that we really began to put some thought into how to get pre-cooked and perishable food into the backcountry. Everyone contributed something to the “camp” for these trips. Some of us had stock, others had camp gear, vehicles, etc. Duane and his family-owned an Italian restaurant in Altoona, where everything was top quality, fresh, and homemade, so he volunteered to bring his “everything homemade” Italian food as his contribution. The challenge was to figure out how to get the food from Pennsylvania to Idaho!
Duane and I put our heads together and decided to do a test run on getting food from Lena’s Restaurant to Idaho for a spring bear hunt. Duane figured we’d need a 2’x2’x2’ container for seven days of backcountry meals for four. Second-day UPS was the best we could do, so I came up with a “Redneck Yeti” well before Yeti became the cooler of choice. It consisted of a cardboard 2’x2’x2’ U-Haul box lined with 2” blue high-density foam insulation. I cut the foam on a table saw so it fit and lined the box perfectly and sent the empty box to PA.
Duane loaded various food items, ranging from sauce and meatballs to eggplant, broccoli, lasagna, breaded chicken breasts, etc. into double Ziploc bags, froze them, and sent them to me second-day UPS.
When I got the box of food, I wrapped each entree in four layers of newspaper, taped it tight, and put it in my freezer until the day we left for the mountains. The frozen items were transported in a cooler to the trailhead, where they were organized in the order we planned to use them in, and placed into the food panniers with fresh items we wanted to keep cold such as lunchmeats, cheese, milk, salad fixings, etc. The frozen items kept the perishable items cold during the pack in and for several days after we arrived at camp.
If you want milk, you may consider buying the single-serving (16-oz +/-) instead of half-gallon containers. You’ll be surprised how long you can keep small containers fresh if the seals aren’t broken. You can also buy “shelf-stable” milk (Bordens, Parmalat) that doesn’t need refrigeration. Recently, I’ve been adding a few containers of Muscle Milk to my food lists.
Once we arrived in camp, we kept the fresh food and frozen items in the panniers in the shade behind the tent. We also insulated these panniers with manties. With frozen and perishable food organized in this manner and sorted into the order to be consumed, we never had any issues with food spoiling, even on trips with the daytime temperatures in the 70s.
If you are hunting later in the season, lower evening temps will add to the time you can keep frozen items safe to eat. This fall in one of our Montana elk camps at 8,500’ elevation, our perishables were useable for a full ten days.
If you’re in country that requires bear-resistant food panniers, you can put all of the frozen food in one pannier, cover it as much as possible and keep it in the shade. If you have to hang your food, it works well to wrap frozen and perishable items in a sleeping bag or similar insulating material and put it all in a dry bag. Fold the top of the dry bag shut and hang it from a pole or rope.
Packaging and Packing Frozen Food Items
Pre-cooked backcountry meals such as chili, meatballs with sauce, marinara sauce, stews, casseroles, etc. can be put into gallon-size Ziploc bags (double-bagged), wrapped in newspaper, and frozen. Seal-a-meal bags can also be used if you want to vacuum pack food items.
The key to packing these foods successfully without ice or ice chests is to plan your meals carefully and package them properly.
- Plan your backcountry meals so you can supplement perishable items with non-perishable items such as Idahoan brand or equivalent mashed potatoes/casseroles, pasta, Top-Ramen, Stove Top stuffing, etc.
- I like to prepare homemade chili and freeze it for packing to camp.
- Determine how much chili you need for a meal and put that portion into a gallon Ziploc bag.
- Shake the bag so the contents are in the bottom half of the bag…. squeeze as much of the air out as you can, then fold the top half of the bag over the over bottom half.
- Place this bag in a second bag, squeeze the air out, and fold again.
- If you have a way to vacuum pack, that works well too.
- Wrap this in three or four layers of full-size sheets of newspaper and wrap like you would when wrapping meat with butcher paper, keeping the paper tight and taping securely with masking tape or shipping/packing tape.
- In warm climates, wrap this portion again in three more layers of newspaper and tape closed again.
- Freeze this portion two to three days before departure.
- You can use the same procedure for stews, casseroles, steaks, etc.
- Fresh fruit, tomatoes, etc. can be packed if wrapped individually in paper towels and packed in a hard-sided cardboard box or pannier, etc.
- You can always burn cardboard boxes and the newspaper in your stove or a campfire.
When you arrange your packs for your animals, it’s best to pack the frozen items together. I usually dedicate one pack to frozen and fresh items, placing the frozen items in the bottom of the pannier with perishable items at the top. If you have items to pack that will provide insulation for the frozen items, pack them under or around the frozen items. You may also want to put the frozen items in a large plastic bag in case they begin to thaw.
Suggestions for Less Perishable or Non-Perishable Food
Plan your backcountry meals so you can eat frozen items and perishable items first, and then move later in the trip to other meal items that keep well without refrigeration or are not as perishable such as:
- Baked potatoes - wrapped in aluminum foil and baked at home before the trip, are quite versatile and keep a long time without refrigeration.
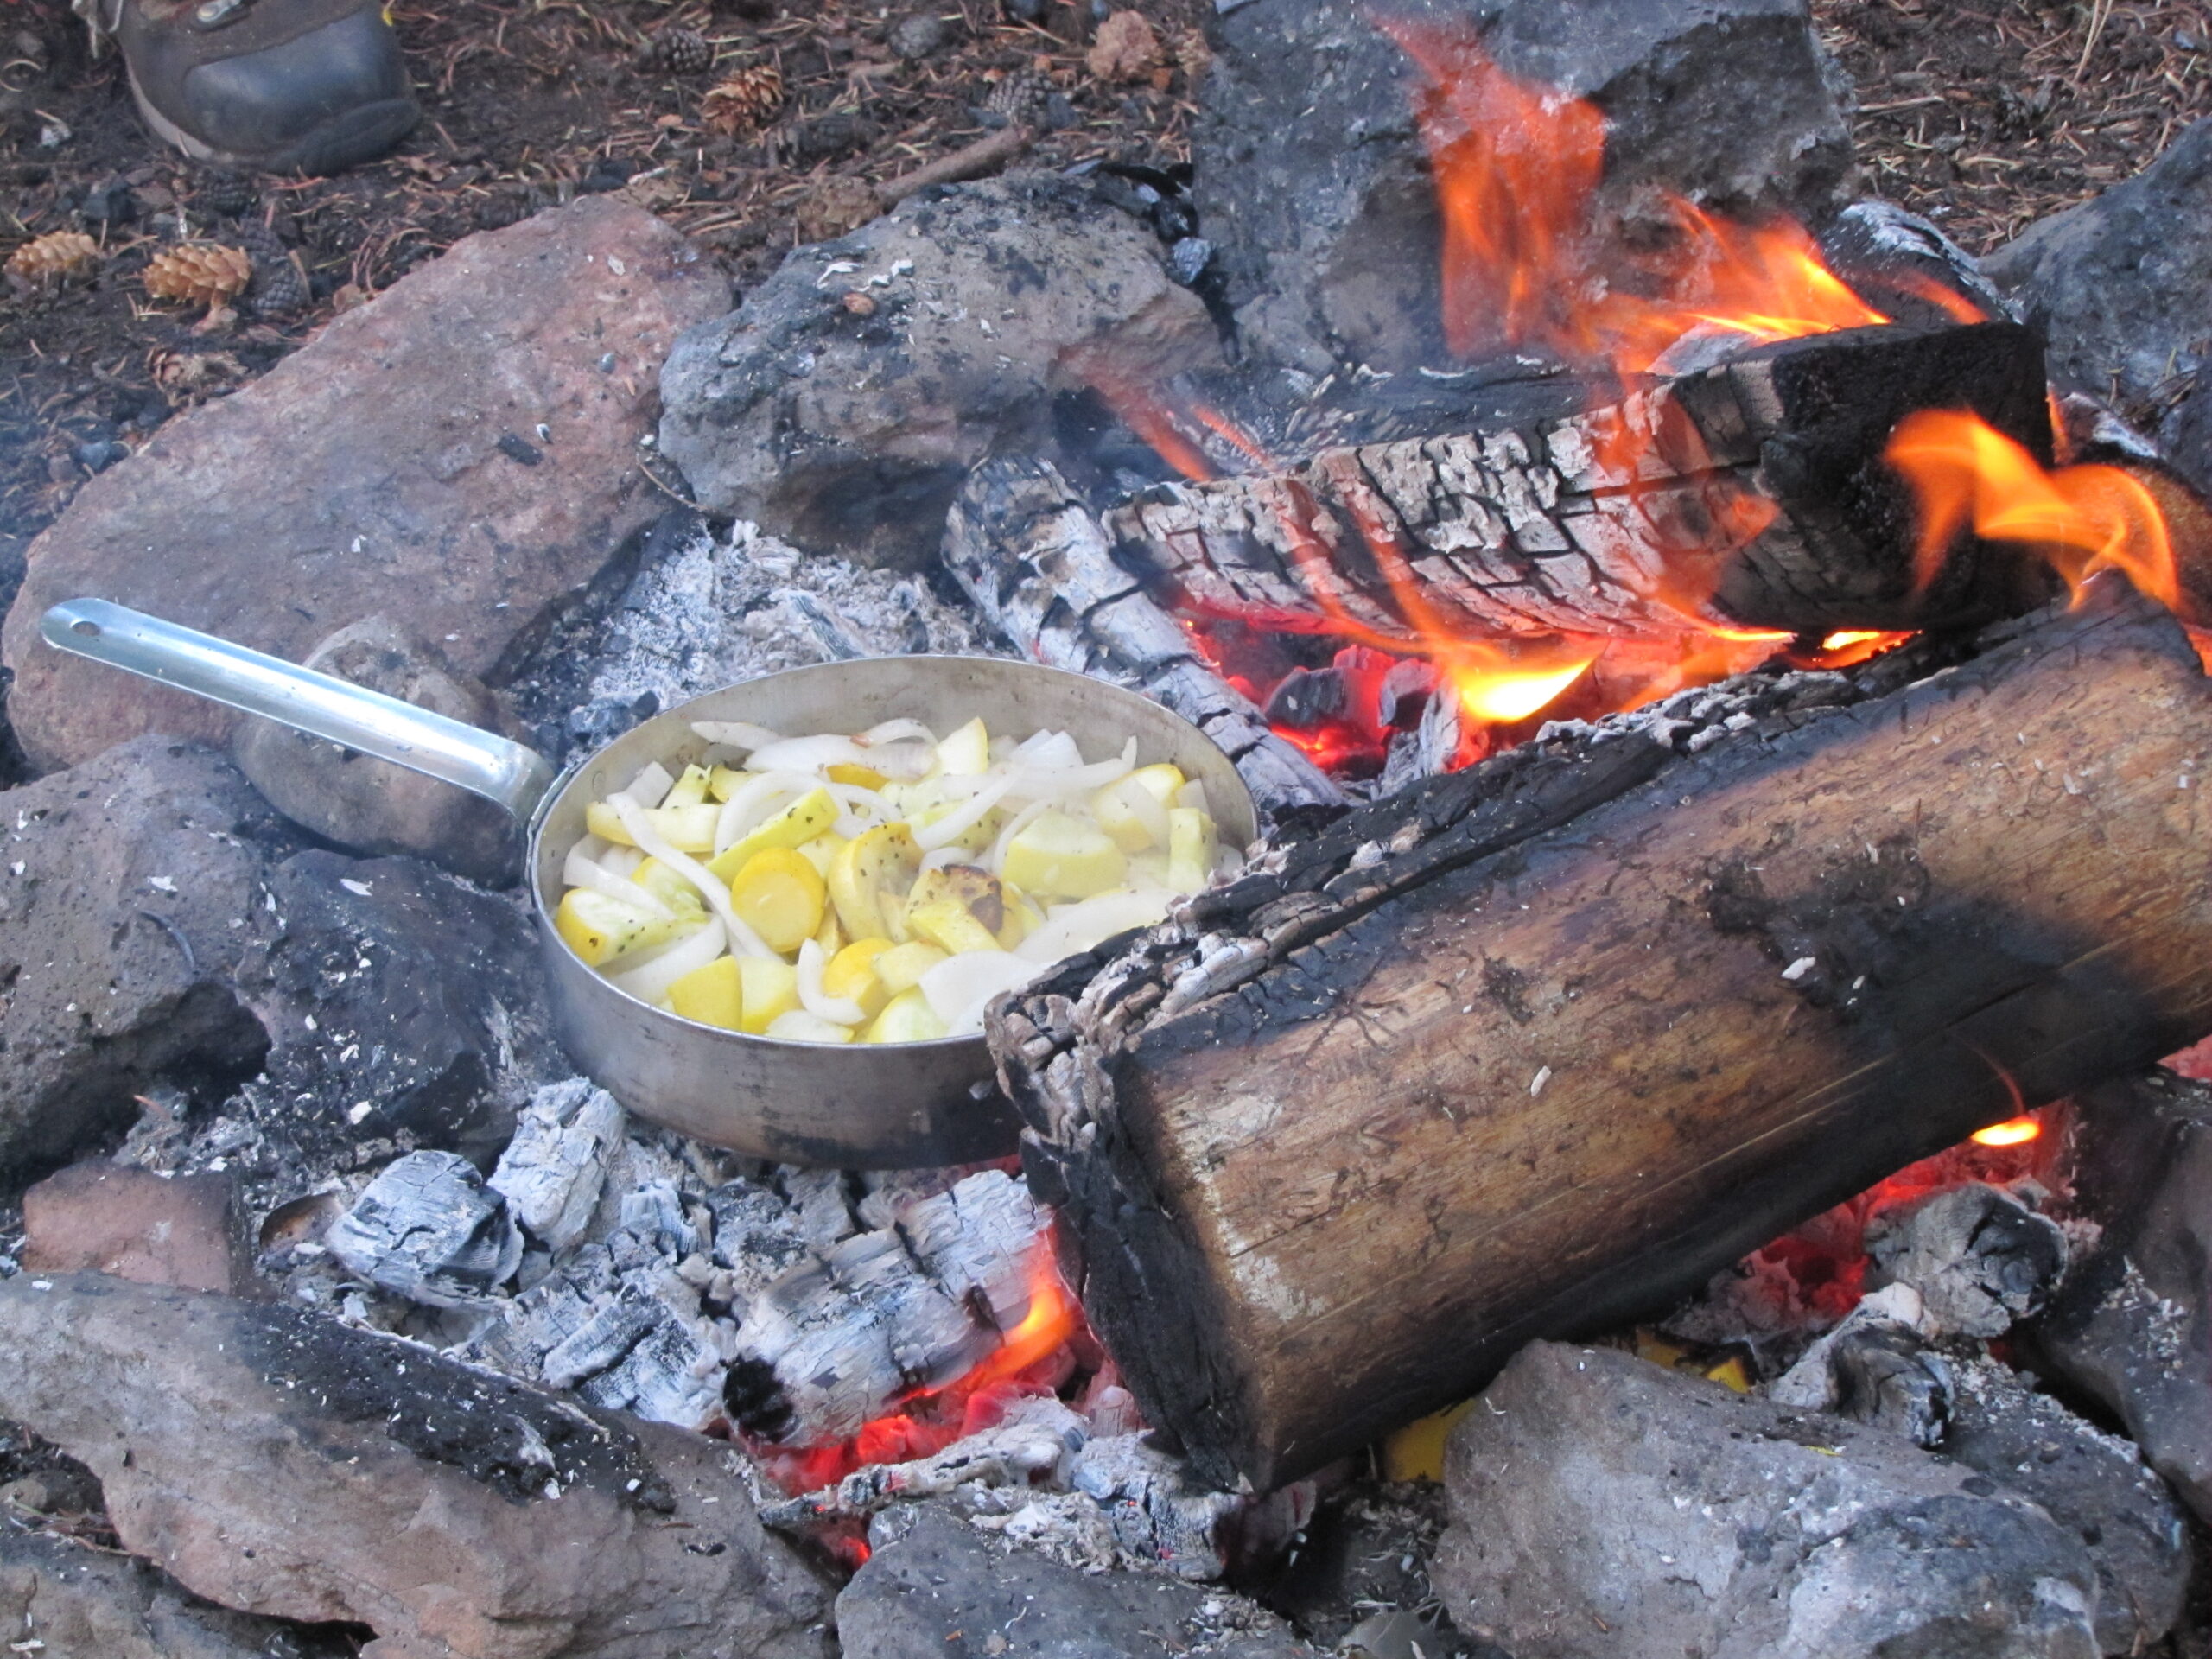
- Fresh vegetables such as squash, onions, and beans make excellent camp meals, are easy to prepare, and don’t require refrigeration.
- Two cans each of Progresso white clam sauce, Geisha whole baby clams, mushrooms, and a half stick of butter over pasta make a great clam sauce and linguine dish.
- Tyson chicken or canned chicken can be added to a pre-made Alfredo sauce and put on pasta for a good meal.
- Hormel canned beef and gravy goes well on Idahoan brand mashed potatoes.
- Canned ham works well too and can be mixed into gravy or another sauce.
- Dry gravy mixes add variety, as do other similar mixes.
- Canned vegetables, tomatoes, etc. add variety and if you stay with the better brands, the quality is still good.
- Canned peaches or pears top off a meal with some fruit that won’t spoil.
How to Make a “Redneck Yeti”
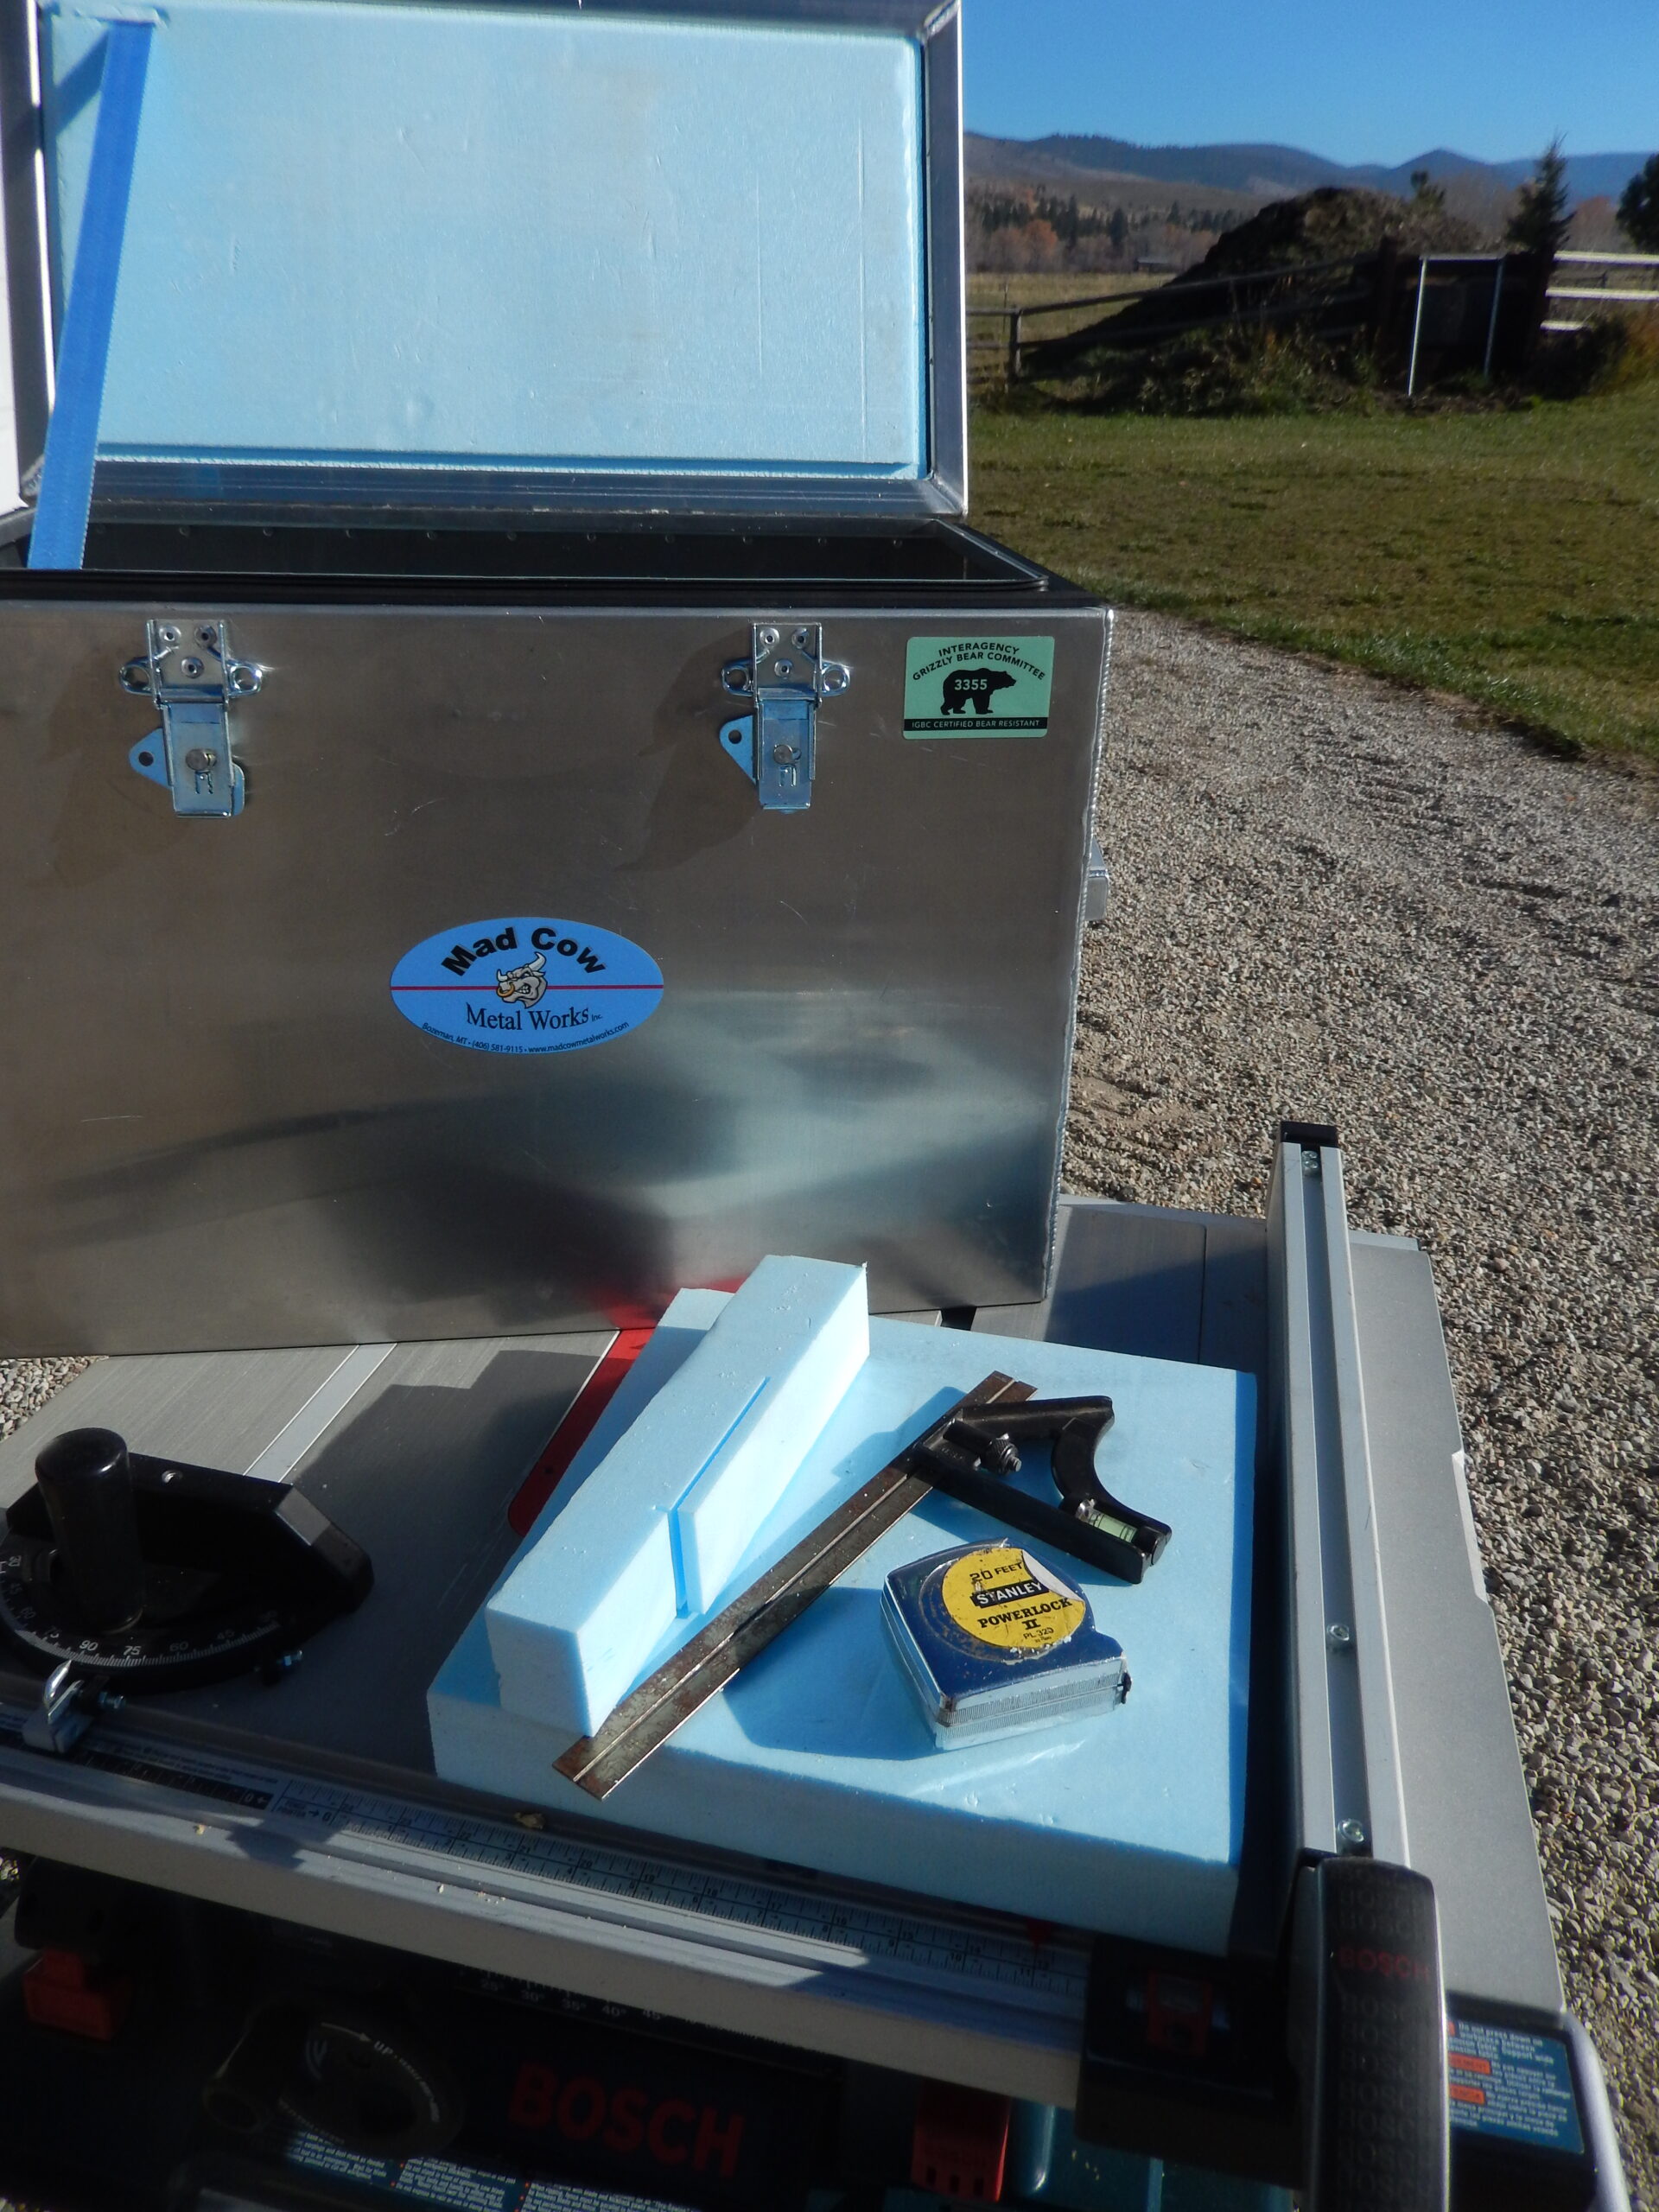
If you’re using panniers with plastic inserts or pack boxes, you can buy a 4’x8’ sheet of 1” or 2” blue high-density foam board at Lowe’s or Home Depot and cut it with a hand saw or table saw so the pieces will fit tightly in a hard-sided pannier. You can also line a cardboard box similarly if you like to mantle your loads. A cardboard box that fits into a soft pannier works well too.
If the foam is cut so it fits tight, you don’t need to use glue to hold it inside the box. If you need to use the pannier to pack elk quarters at the end of your trip, you can take the foam out of the pannier, burn the cardboard box and pack out the foam pieces to be used for your next trip. This works especially well if you can find a common size box such as an apple box, etc.


