NOTICE: Certain links on this post may earn a commission for Western Hunter Magazine from Amazon or our other affiliate partners when you make a purchase. Thank you for your support.
Blister Prevention Made Simple
The importance of taking care of our feet in the field is no secret, yet we’ve all been there at one point or another… trying to go hard on a hunt or during training while blocking out the unblockable pain of a foot blister. It’s amazing how physically and mentally crippling such a small superficial friction injury can be, isn’t it? I used to deal with a blister or two of varying severity on nearly every multi-day hunt I went on. However, over the past couple seasons I’ve made a conscious effort to incorporate blister prevention into my pre-hunt preparation, in-field awareness, and pack items. It’s paid off well as I haven’t had a blister on a hunt since 2018. With the hopes of helping someone else out there improve their foot care routine and overall comfort in the mountains, below are the simple preventative measures that have worked for me.
Boots
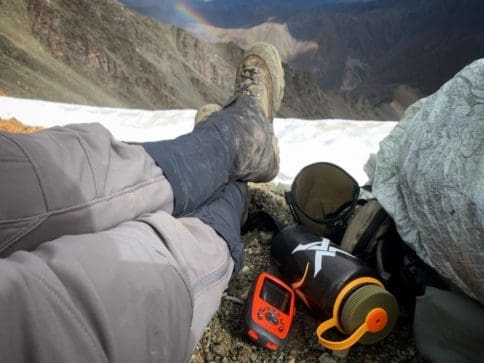
The subject of boot fit and break-in has been pounded into the ground given how obviously critical it is. However I’ve had blisters in well-fitting and thoroughly broken-in boots in the past, so my take is that good boots are only a small part of the equation. Everyone’s feet are so different in design that boots are one of the few gear items that are impractical to select solely based on recommendations from friends or reading on the internet. Just because a boot brand or model is known for its quality or popularity doesn’t mean that it’s going to work well with your feet. With that said I started wearing a pair of Crispi Colorados this year and love them. Anyway, try boots on and wear them around a bit before committing/purchasing if possible. Not only is size (length-wise) critical, but also pay attention to how the width, shape of the toe box, and heel contour match your feet. Any sign of initial discomfort, rubbing, or pressure points in the try-on process is likely to develop into something worse in the field. A common mistake people make is buying boots too small. Remember to consider how your feet swell and elongate slightly while hiking. Also, make sure to allow room for a thicker sock for certain scenarios. A boot too small will create more blister-causing friction than a boot too large, even though it may seem the opposite as a larger boot allows the feet more room to move inside.
Training & Calluses
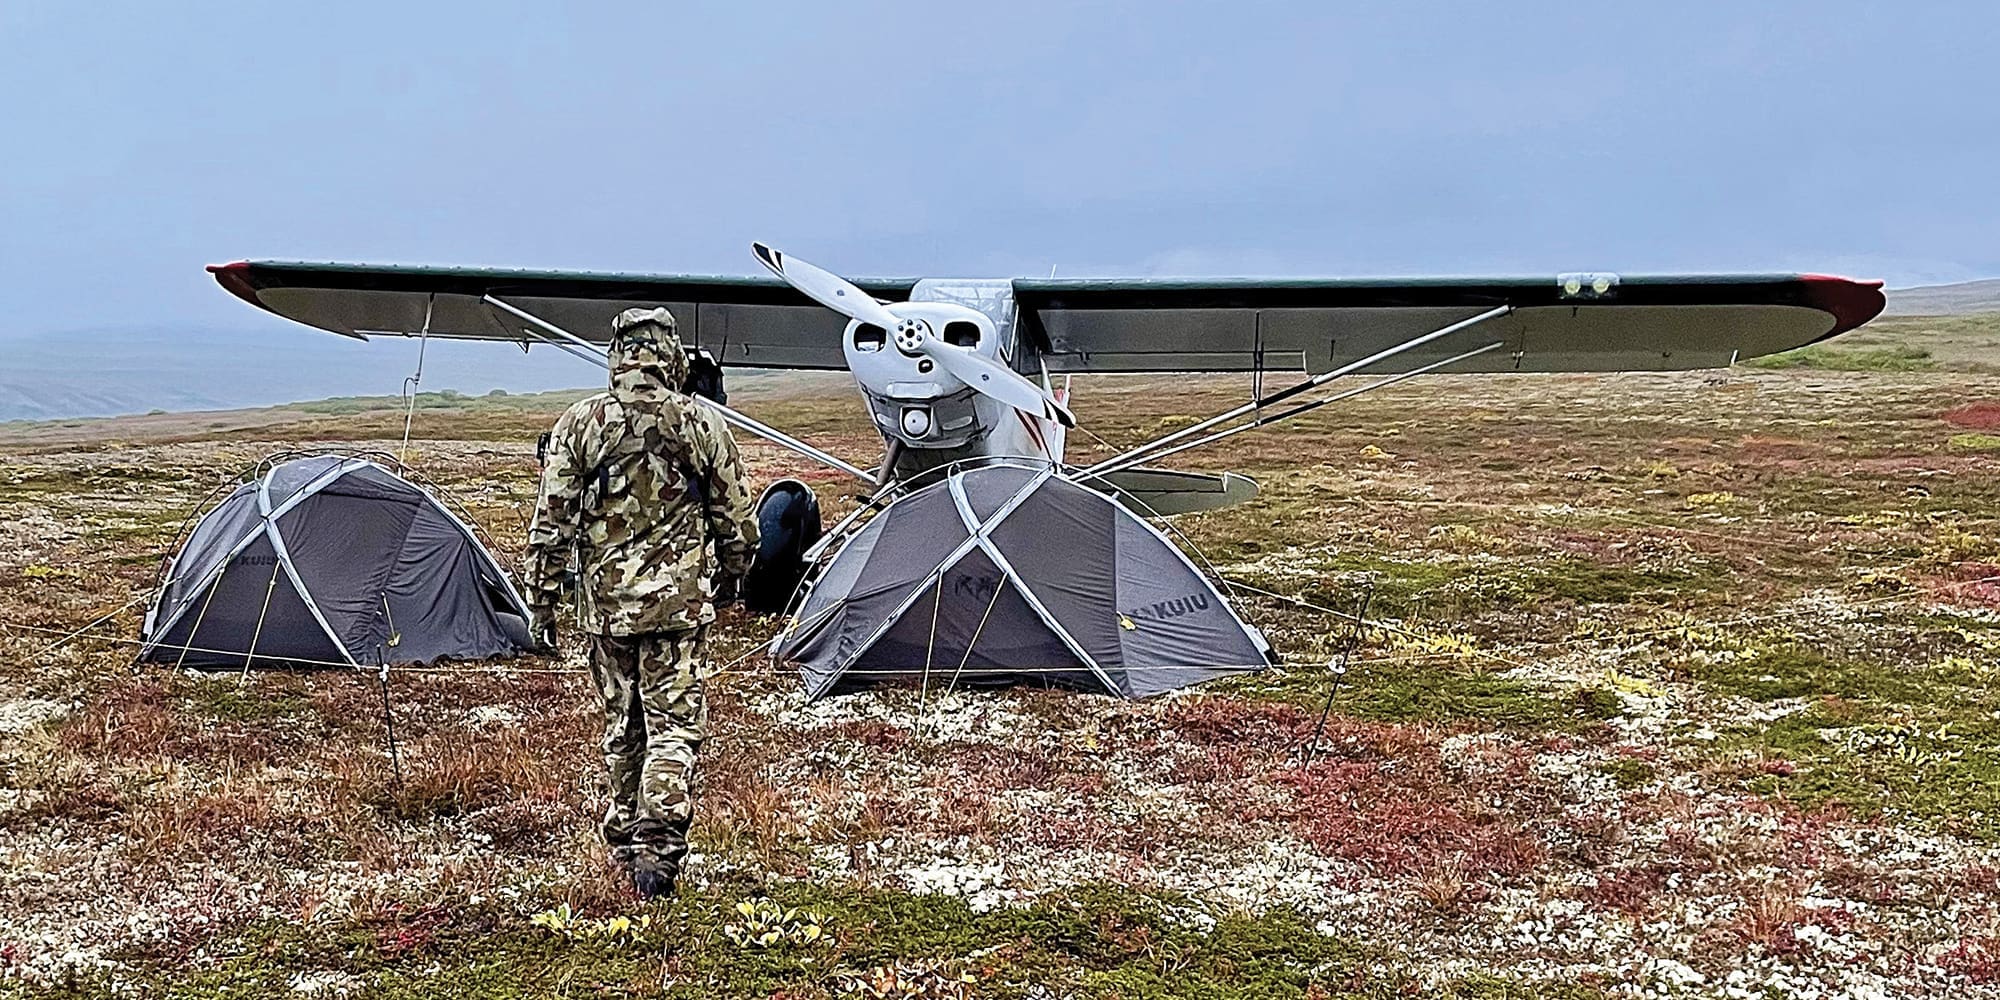
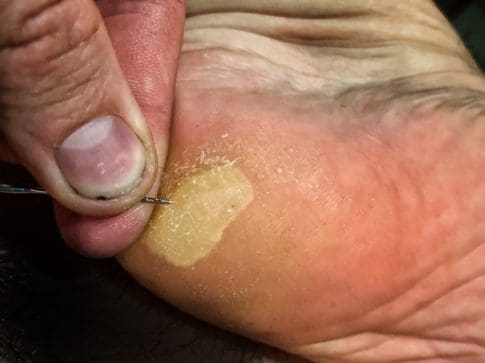
I spent more time than I ever have this summer training in my boots with a weighted pack. With a 10-day backpack sheep hunt in Alaska on the schedule, preparation of my feet was critical. The daily boot time I put in caused my feet to harden with heavy, thick protective calluses. This was all fine and dandy up until a large, painful blister developed deep beneath the callus on my right heel just 5 days before my flight north (notice above I specify that I haven’t had a blister while hunting since 2018). This had me rattled as any weight on the heel whatsoever for a few days was painful. I did a lot of reading on blisters beneath a callus and learned that thick callused skin actually tends to increase the likelihood of a blister, since the callus itself can move (similar to how you can move your kneecap around with a straight leg) and cause friction on the tender second layer of skin beneath. Rather than allowing the calluses to build up as thick as possible, instead I should have been sanding them down to a reasonable thickness with a pumice stone. The takeaway here is that training in boots is beneficial, but there is such a thing as too much callus. I’ll get into how I quickly treated the large, deep blister below.
Leukotape and a Needle
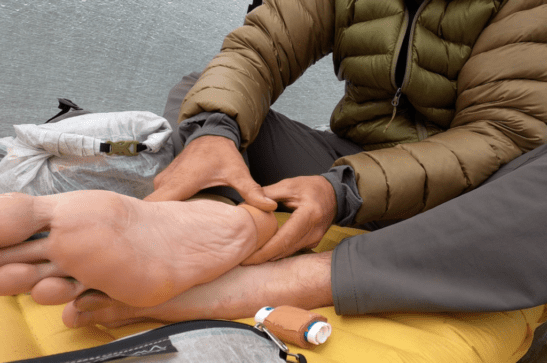
If you’re blister prone, Leukotape and a needle are two items that should absolutely be in your pack at all times. Leukotape is a tough, zero-stretch, high adhesion athletic tape that blows Moleskin away for friction prevention and longevity per application. It’s hard to find in stores so I buy mine from Amazon. Anymore I don’t even bother starting up the trail until I have Leukotape applied to the bottom and back of my heels, and around my pinky toes. I used it the whole time on our Alaska sheep hunt and was blister-free over the course of 10 days and 90+ miles hiked through rugged terrain. Leukotape sticks so well that I only had to change it out once the entire trip. A foot or two neatly wrapped around my chapstick in the pack was plenty for myself and some of the other guys on the hunt. The other must-have pack item is a needle. I just use a 90/14 size sewing machine needle. Unlike the blister preventative Leukotape, the needle comes into play for treatment. Remember that one I had under the callus prior to the sheep hunt? Draining it with the needle was the only way to speed up the healing and relieve pain in the meantime. Whether at home or in the field, a small poke just enough to get rid of the fluid is about the best you can do once a blister has developed. Tearing the whole thing off is no good, as it exposes the tender healing layer underneath before it’s able to toughen and become the new exterior skin layer. A safe way to carry the needle is to slide it into a small piece of cardboard and wrap with a piece of tape. If it needs to be put to work in the field, first make sure the blister area is as clean as the backcountry setting allows. At the very least, gently scrub it down with water and a wet wipe. An alcohol wipe would be even better but hey, it’s a long way from the heart.
Socks
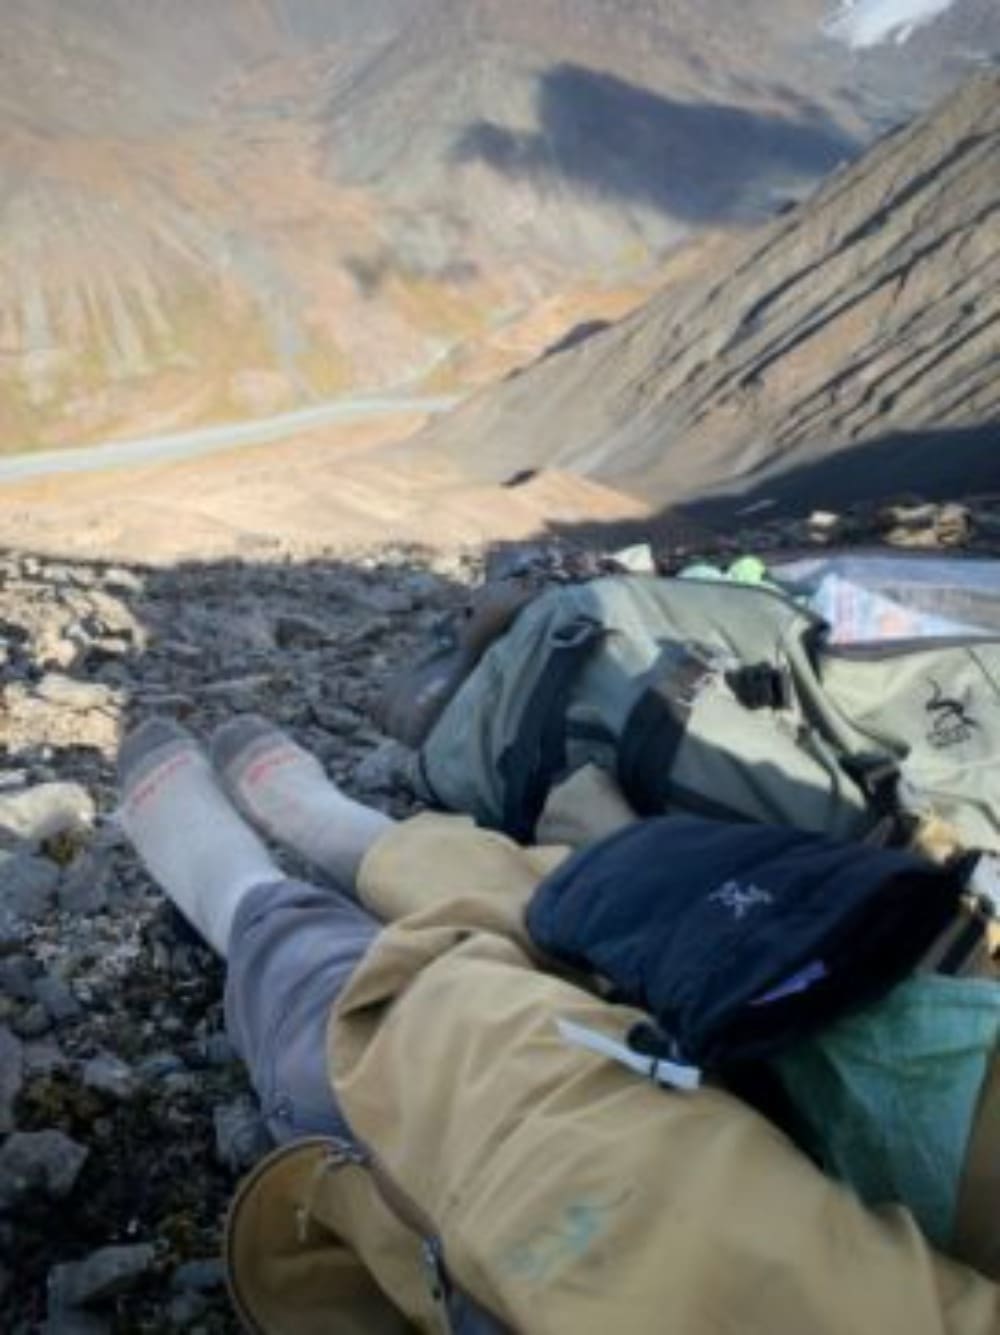
Good socks are nearly as critical to blister prevention as boots. Not just the type of sock, but the frequency at which you change them on a long hunt. I’ve had the best success with midweight merino wool blend socks, the Midweight Hiker by Darn Tough to be specific. They dry quickly, hug the foot tightly, and don’t seem to hold much moisture. Wet socks are a key ingredient to blisters because they soften the skin and cause more friction compared to dry socks. At the very least, carry one extra pair and take the time to switch them out when it feels like the pair you’re wearing is too damp from sweat or wet conditions. Sure it takes a few minutes, but swapping to a dry pair is a major step toward blister prevention even if your boots themselves are still wet on the inside. If you have socks that dry quickly, strapping the wet pair to the outside of your pack or sleeping with them in your sleeping bag should dry them in time for the next change. On this sheep hunt I keep referencing, I had a rotation of three identical pairs which was perfect.
Slow Down and Listen to Your Feet
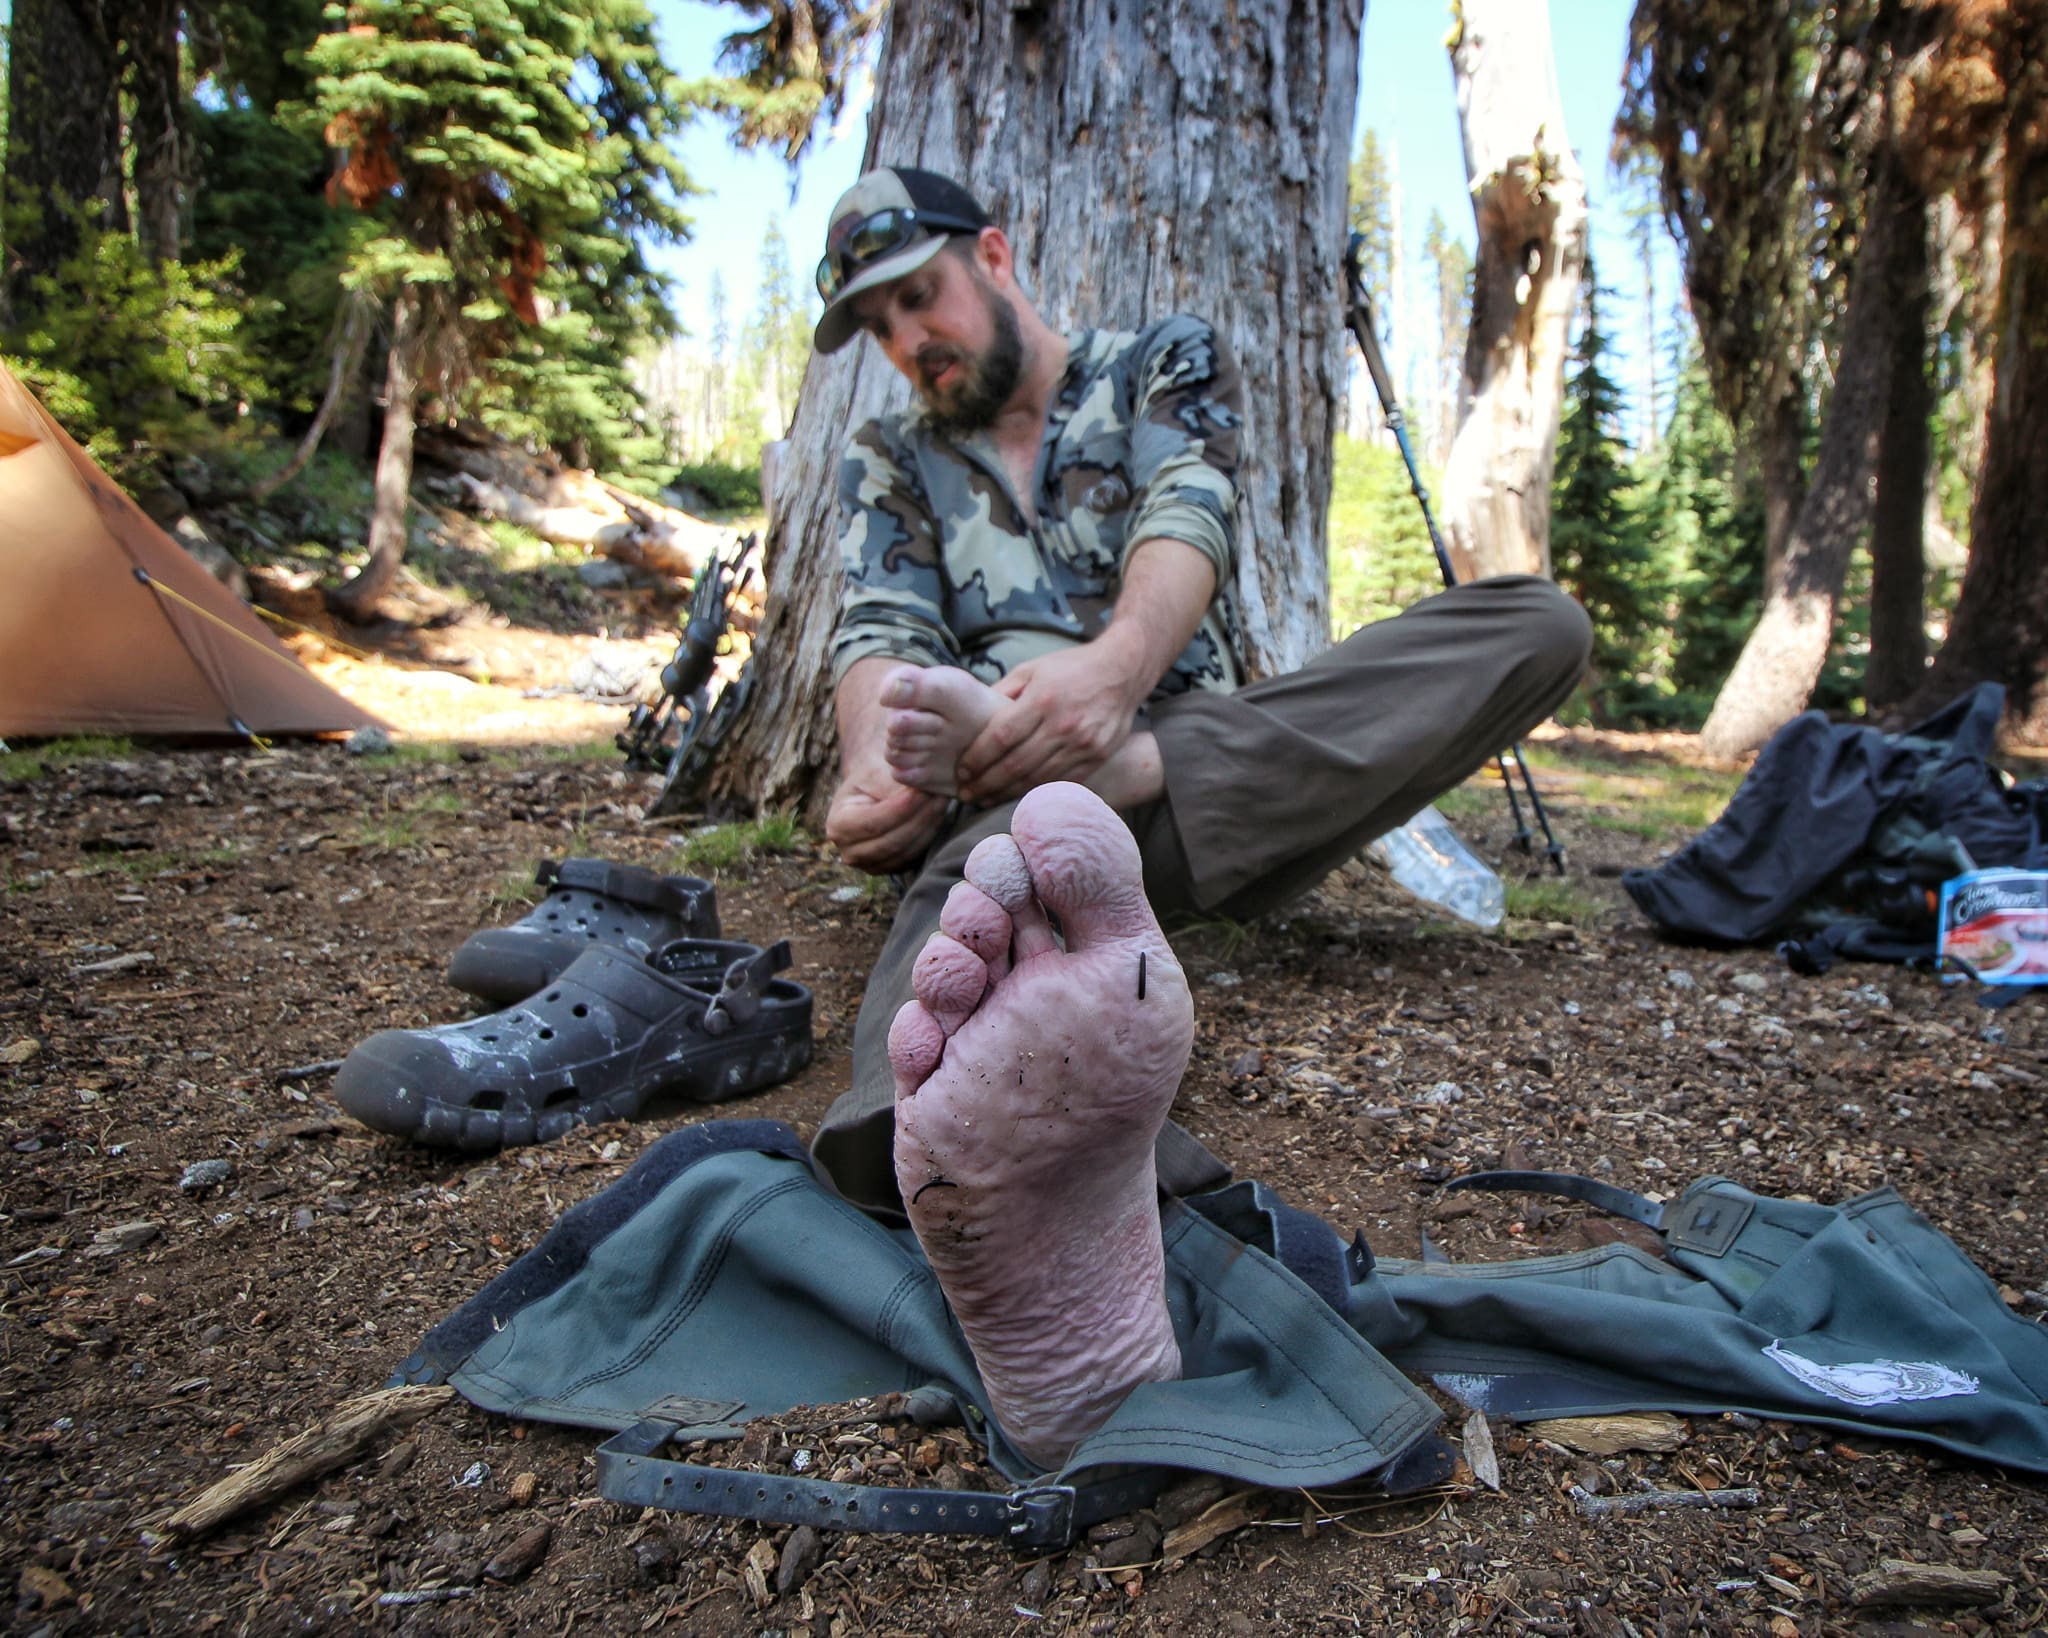
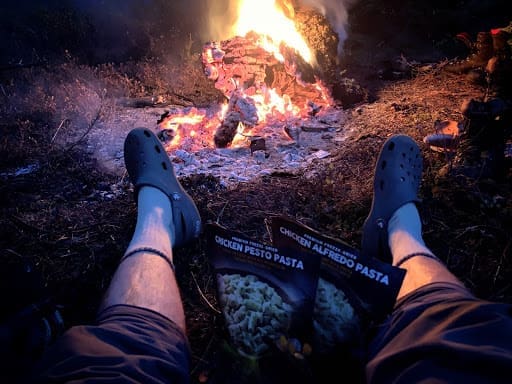
Blisters don’t just show up out of the blue. They start as hot spots, which is your body’s way of telling you “Hey! Something is going on here…”. At that moment, you can choose to ignore it and keep going or take the time to address it before things get worse. At this point, you should have all the tools you need for the next step. Either apply some Leukotape to the area, change your socks, and/or take a break and let the feet dry out. If you’ve already done all of that and the dogs are still barking, simply slow down the pace and take it easy. If you can make it to camp for the night without a hot spot turning into a blister, then a night off of the feet typically results in a fresh start the next day. Camp shoes like Crocs are a good piece of gear to help you get out of the boots earlier in the evening, rather than wearing them right up until bedtime. Don’t be concerned about the time it takes to do all of these things, because the alternative is sure to slow you down even more.

