NOTICE: Certain links on this post may earn a commission for Western Hunter Magazine from Amazon or our other affiliate partners when you make a purchase. Thank you for your support.
24 Tips for Surviving Cold Weather Hunts
When the snow flies and the temperatures drop, many hunters shy away from the backcountry, but this is precisely the best time to head in. Winter weather camping and backpacking can be a daunting task and a major undertaking, but with the right gear and know-how, you can take advantage of late-season bulls that are the last to leave their high country home. It’s time to gear up and master the conditions of cold weather hunts.
With average temperatures hovering around zero and wind chill to boot, I find myself breaking through the snow in my truck. As all the other hunters do the logical thing and chase the elk down low where the snow is lighter and the getting around easier, I do the exact opposite. I head up high. I want to reach the alpine ridges where the wind is so bad it blows the snow off the meadows and is hard to get to from anywhere. The best bulls will be here, but there’s nothing comfortable about it. It requires severe winter camping and unique problems that you don’t find other times of the year.
Winter weather backpack camping isn’t impossible, but it’s difficult and potentially dangerous without the right preparation and knowledge. With the right gear and a few tricks, you can stay as comfortable in the snow as you can in the late fall. There are some special considerations when the weather turns below zero, but it’s nothing you can’t handle.
Late-season backpacking revolves around five main categories: shelter, fire, water, staying warm, winter travel. This can be one of the most productive times to hunt the backcountry for big bulls, especially in general areas, but you have to be comfortable and safe. Here are a couple dozen tips on the main aspects of late-season backcountry hunting that increase your odds of staying safe, having an enjoyable hunt, and coming home successful.
Shelter
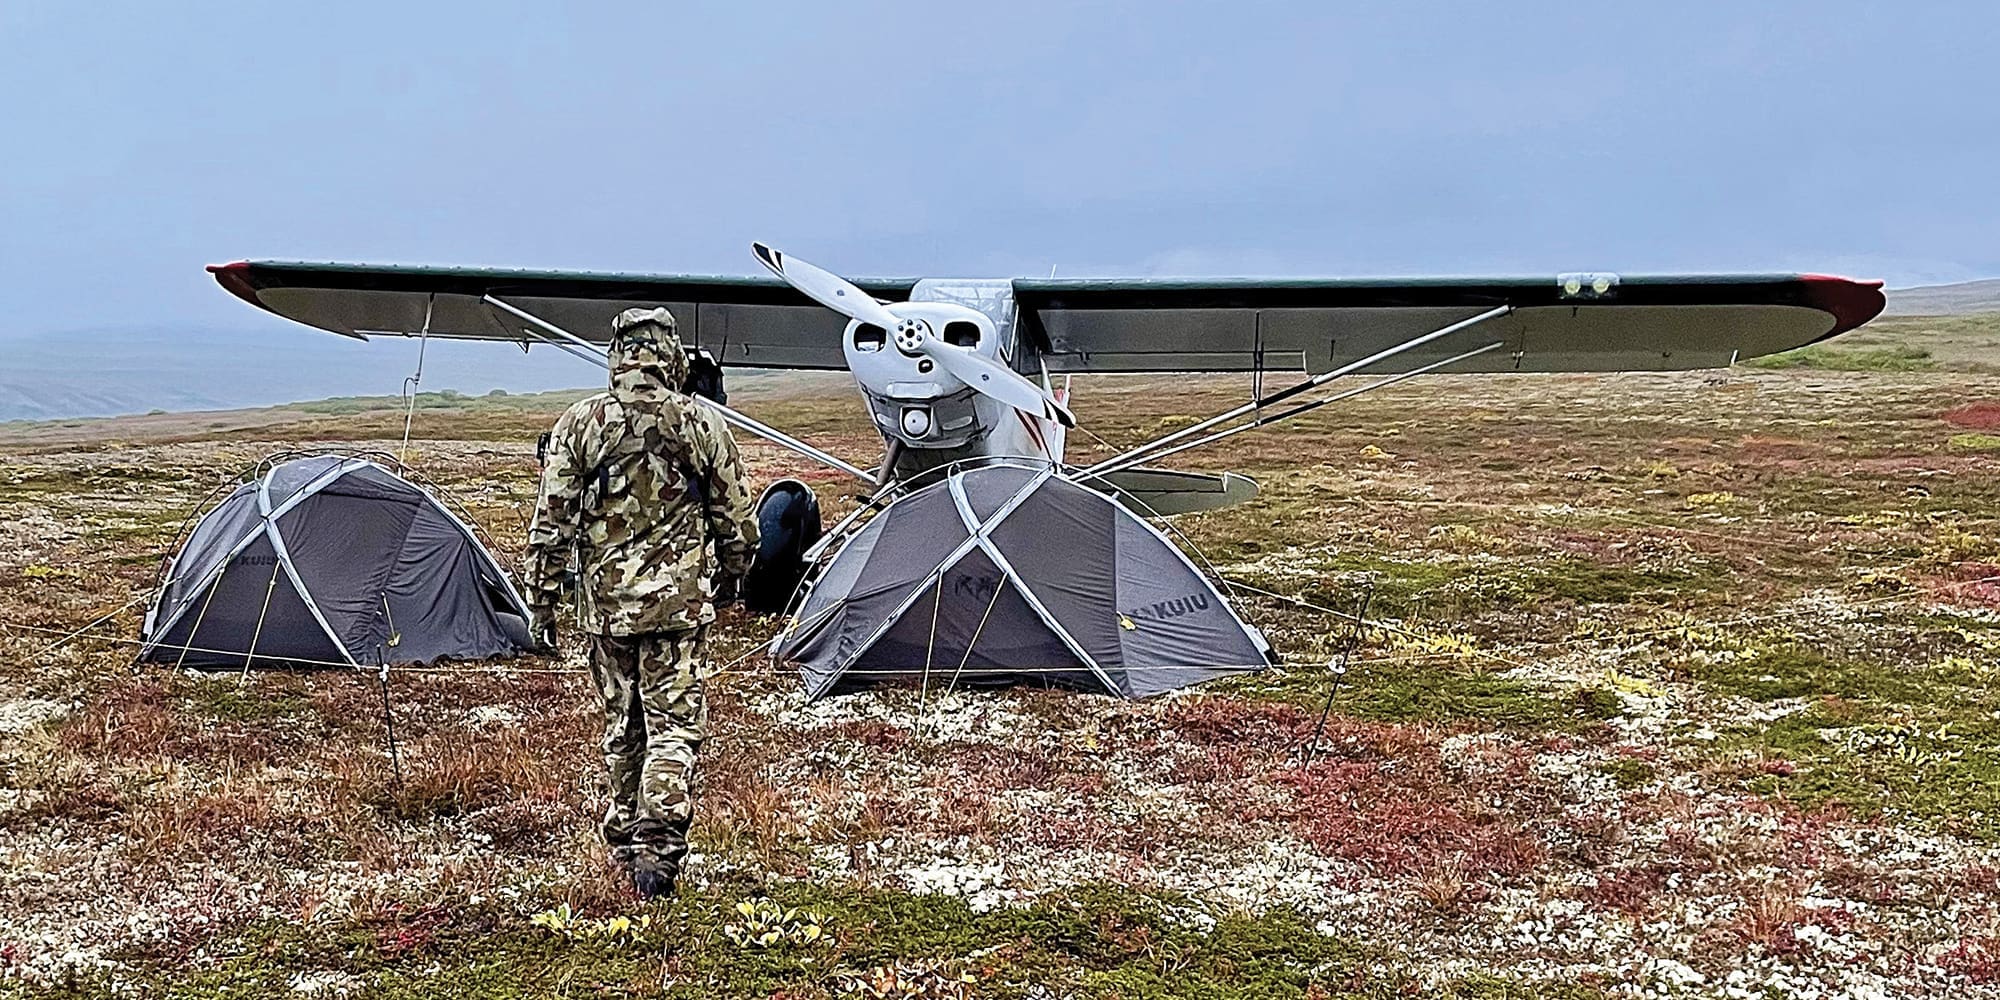
Your tent can really make or break this hunt. You need something that can stand up to the elements. In most late-season high country areas, wind and snow load is a huge factor. Make sure that everything will hold up to the elements. A sturdy three-season or four-season tent is a must.
Four-season tents are built for snow camping, but they come at a heftier price and weight. However, they’re much more comfortable with their waterproof floors, sturdy construction, all-weather flies, and vestibule. When choosing a late-season tent, a vestibule is key. It allows you to keep gear out of the elements while keeping the inside of the tent snow-free. Snow inside turns to water and it’s important you keep water out in extreme cold.
Even with a great four-season tent, there are some tips that will make your backcountry camping experience that much more enjoyable.
1. Pitch the tent with the door away from the wind
This may seem obvious, but it’s important. The door should be on the side away from prevailing winds. This allows snow to drift on the non-door side and also keep the zipper from wind freeze. Some tent designs make it trickier to figure out how to position the tent when there are doors on both sides. For tents with this design, I abandon the door on the wind side. Where the fly and vestibule meet the ground on this side, I’ll bury that tent edge with snow. In case of wind, it will keep snow from blowing in under the fly. I leave the downwind side unburied to allow for ventilation.
2. Ground insulation: try to clear the snow to bare ground before pitching the tent.
Most of the cold in winter camping comes from the ground. A lightweight pack shovel can aid in this excavation. I always keep a light tarp as a snow mat to place under the tent. If it’s really cold or I can’t get to bare ground, I will cut pine boughs and place them between the ground and my tarp underneath my tent. This helps insulate from the frozen ground and also keeps the snow under the tent from turning to water with body heat. This makes the shelter more comfortable in the long run. Always make sure to adequately shake snow and ice from limbs you’re placing under the tent. Fir and pine work the best because of the soft needles. Stay away from spruce.
3. Winter Deadman
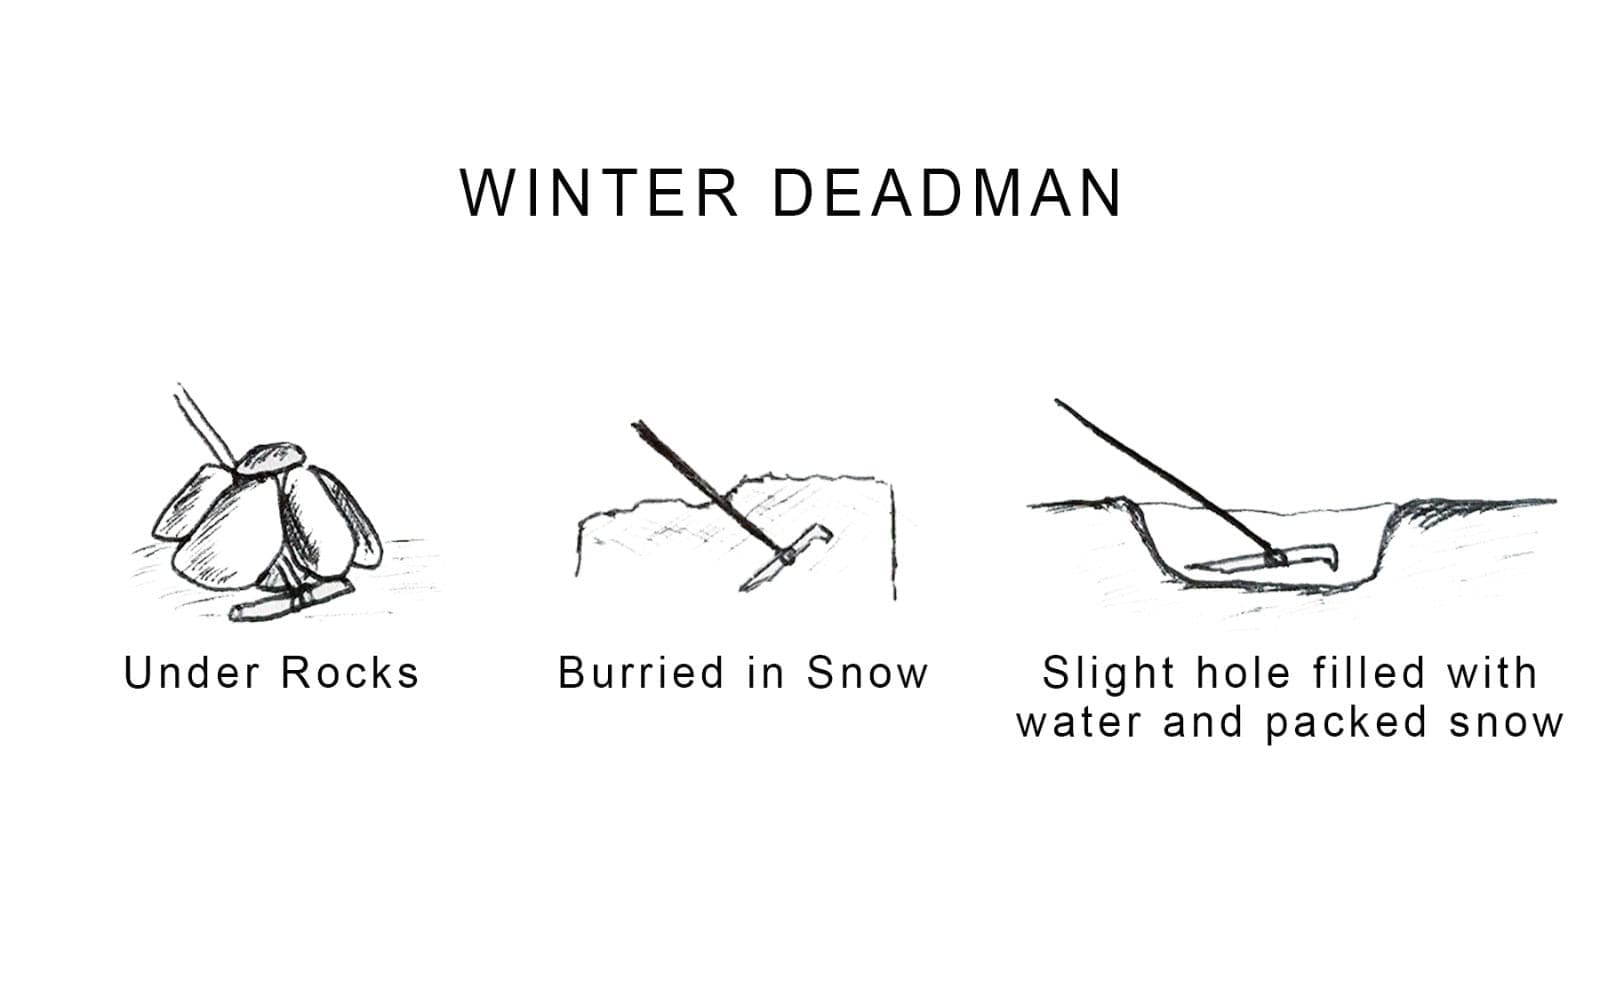
It can be hard to secure your tent because the ground may be frozen or you may be camping on ice or snow. There are three easy ways to secure your tent from strong winter winds: 1) Take your tent pegs or a stout stick and tie your tent line to the middle. For the tent footprint, there are normally no lines because the tent is staked directly to the eyelet on the tent.
For this, have a piece of paracord for every place you would attach the stake. 2) To secure the stake, you can either stack rocks on the chord with the stake on the other side, bury the stake in the snow perpendicular to the chord, or bury the stake in a slight hole then fill the hole with water and pack hard with additional snow, allowing the peg to freeze in place. 3) Once the peg is secure, tighten the paracord to the tent anchor point. Use a loop where you can pull the line extremely tight, and then use a half hitch to secure it. Another good option is a taut-line hitch, allowing you to get the lines tight and secure.
4. Allow the tent to vent
Although it may be cold, many people make the mistake of not venting the tent. As you breathe, the tent builds condensation that will freeze inside and often turn to water during the day. To prevent this, vent the inside of the tent to the fly. Leave a portion of the inner tent open so that water vapor can escape outside the sleeping area. Venting the vestibule to the outside air will help as well. To further prevent unwanted moisture, boil water outside the vestibule to keep unwanted moisture outside. Water makes the cold colder and is the last thing you want.
5. Cover your face
Night is when it gets the coldest. To stay comfortable when you sleep, wear a beanie and even a light facemask to bed. This will keep the exposed parts of your skin warmer at night and allow for better rest. The facemask is nice because it allows the vapor exhaled from breathing to freeze on the outside of the face mask while keeping your nose and lips dry and warm at night.
6. Layer your bag
Just like you wear layers of clothes, I like to layer my bag. It works well if you don’t have a subzero bag. It also helps keep the moisture off your body and out of the bag. A thin bag liner works well and doesn’t hinder the warmth of your bag itself. Just like layering clothes, it creates an insulation layer of air between the layers. I’ve also used a lightweight reflective bivy to act as a bag cover. The breathable bivy will reflect heat back while allowing moisture to wick to the outside and freeze on the outside of the shell as opposed to the outside of the bag. If you only have a summer/early fall bag, this is an easy way to make a bag suitable for later season. I have a 15-degree down bag, but in combination with a liner and heat-reflective bivy, I’ve been comfortable well below zero in a good four-season tent (I like the SOL Escape Lite bivy. It’s inexpensive, light, and works well as a shell.)
7. Sleep on top of your clothes
To keep clothes warmer for the morning (so long as they aren’t wet), lay them above your sleeping pad but below your bag. Your body will keep them much warmer through the night. It helps to put on clothes that are warm and not frozen. It’s more comfortable and also more efficient. It lets you start out warmer and not lose body heat warming up your gear.
8. Shake the frost off your bag and tent
After a cold night, make sure to shake out your tent and sleeping bag. The frost from the night will often turn to water during the day. Even on really cold days, the sun can be magnified. It helps keep your sleeping bag dry and the tent more comfortable for the cold nights.
Fire
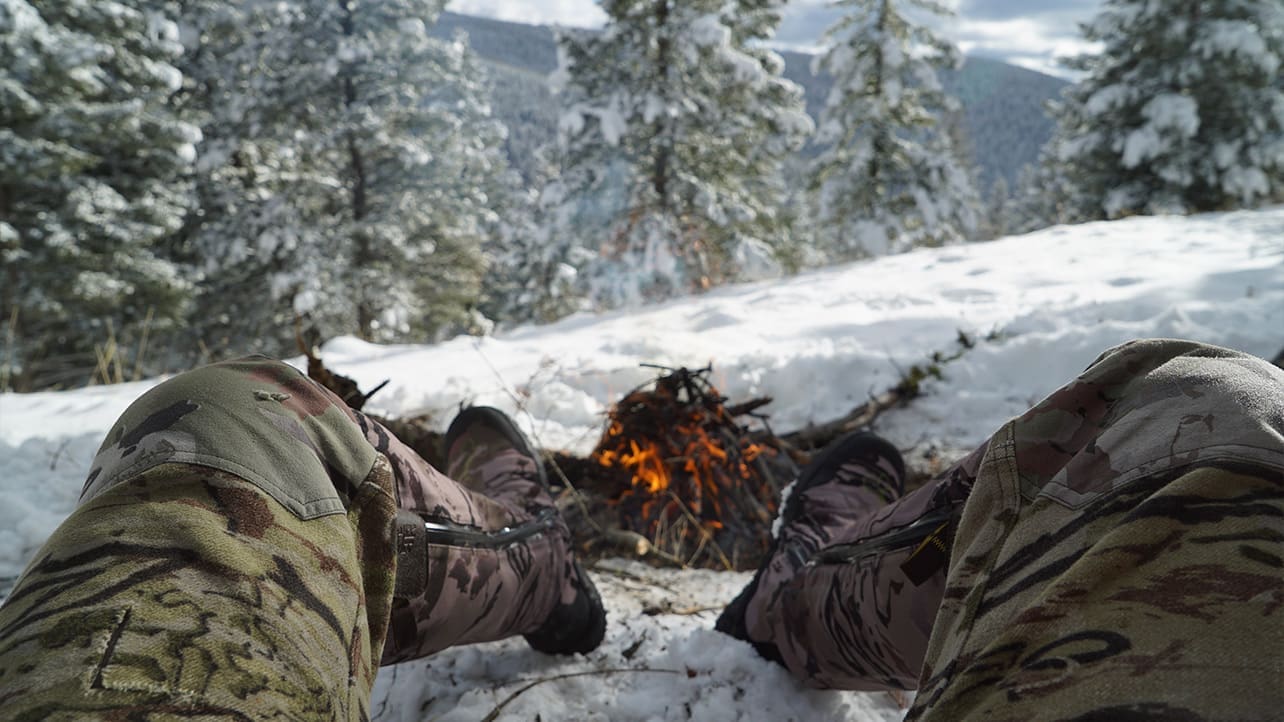
Late-season camping is often only possible with the addition of some sort of fire. Fire plays an important role in your comfort and ability to keep hunting and helps with basic necessities such as acquiring water. Without it, your trip might be cut short. Building multiple fires throughout the day might be necessary to warm up and dry out.
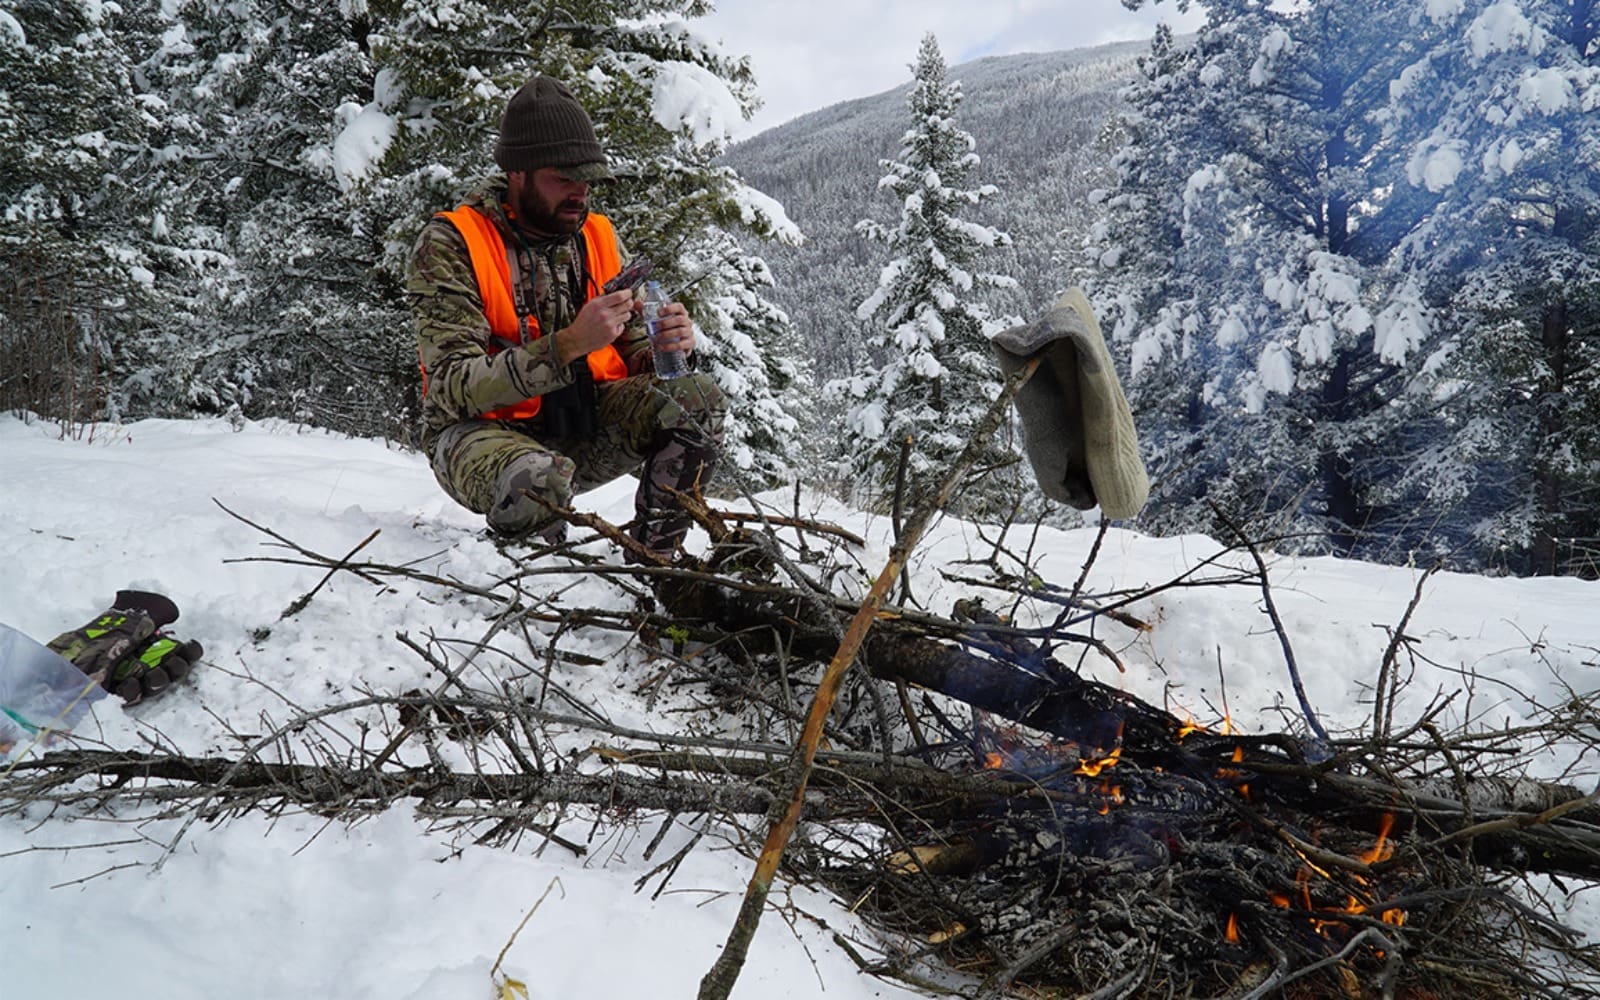
You need the right know-how and a few items to make sure you can always quickly build a fire. Most of the wood will be damp and frozen, so your key to success depends on how well you can make a fire.
9. Carry firestarter
This is a huge asset to building a quick fire. I’ve been in temps cold enough you don’t want to leave your gloves off for very long. Trying to get a fire going with hands that don’t want to work can be problematic. A good lightweight firestarter will quickly ignite and stay burning so you don’t have to fiddle around. I always keep a firestarter on my body; that way I always know where it is and that it will be dry. With it, I keep my lighter and sparker. I like to have a lighter and fire starter that doesn’t rely on fuel that can be affected by temperature or get packed with snow.
10. A fire is only as good as its fuel
Look for the most flammable materials. Late in winter, there is no better fuel than dry, dead pine with brown needles. It lights up like gasoline and can make a roaring fire quickly. Dry needles, wood with pitch, standing dead trees, dead limbs, and moss…all commonly found in elk country. As I hunt, I remember where there are good materials. I build a lot of fires near where I want to glass. It keeps me glassing longer and provides a nice warm-up.
11. Cooking rack
I always carry a small metal cooking rack late in the season. They’re lightweight and I even take it out from camp most days. They work great for heating a pot and melting snow/ice or boiling water. I’ve been on a few late-season hunts where the fuel canisters for the JetBoil and my MSR stove were too cold to work properly. The metal rack came in handy and is a lot lighter than carrying around a stove. I’ll bring a backpacking stove, but for most tasks in winter, I use the fire. It provides heat as well as performs the task of a stove simultaneously.

Water
To keep hunting, you need water. The trouble is that during cold weather hunts, water freezes. Water bottles freeze, creeks freeze, water filters freeze and break, and many days the only source of water is to melt snow or ice. The water you melted may even refreeze.
It’s often easier to suffer from dehydration in extreme cold than it is on a warm day, because you’re still sweating and burning energy and water, but not replacing it at the same rate because liquid water may be in short supply. This will wear you down. There are a few tricks I use to keep hydrated and make water.
12. Metal mug
I carry a metal camp mug in late season. I use it in camp but also when I’m out hunting. I know that any water I store in a bottle will freeze, so carrying a lot of water is pointless. I carry the metal mug because, throughout the day, I can fill it with snow and place on the fires I build. Eating snow actually uses more water than you gain, so you have to melt it. I use the mug with my cooking rack. Don’t forget the cup will be hot! Use multi-tool pliers to move the hot cup and let it cool.
13. Use a large pot
Winter camping means that you’ll want a larger pot to boil water at camp. Snow melts down to around half volume of a packed pot depending on the type of snow and temperature. This means that a larger pot than normal is needed. I suggest a 1.7-liter size. It seems to pack with snow and make enough for a Mountain House.
14. Snow to water
Start by packing the pot completely. Place over the fire. If you have some liquid water, add it to the pot before placing it over a fire or on the burner. The liquid keeps the pot itself from burning. Once the snow has turned to slush or is melted, continue to add more snow to the water. This is much faster than boiling a new pot. I always try to keep a bit of water in the pot to make the new snow boil quicker.
15. Bodywarmer
Before bed, boil some water and pour it into a Nalgene. Then, tightly seal the lid. Keep this bottle in your sleeping bag with you at night to warm the bag up and then you have water ready to drink in the morning.
16. Leave the hydration bladder at home
Hydration bladders are often rendered useless on late hunts. They freeze too easily and are tough to thaw. Stick with a strong bottle and metal cup.
17. Try an insulated or metal bottle
Although heavier, insulated bottles can really be an asset. The thermos-type bottles will protect the contents inside from freezing. It also allows you to put hot water in and have hot water to drink throughout the day. Hot water helps warm your core temperature and is easier to drink when it’s really cold. I carry the Yeti Rambler bottle, fill it with hot water in the morning, and have liquid water during the day. One thing to watch for is the lid freezing shut. I make sure not to wrench the lid on super tight so there is some give in case it freezes. You can also use the hot water to mix with snow in another bottle to help the amount you carry go farther and make up for any added weight of the insulated bottle.
Staying Warm on Cold Weather Hunts
On really cold hunts, staying warm is a huge challenge. If you aren’t warm, you won’t hunt as hard. In extreme cases, the cold can even be life-threatening. Frostbite and hypothermia aren’t fun and are easier to get than you think. The hard part about winter backpacking is there is no truck heater and few ways to escape the harsh elements. With a few added steps, you can protect yourself against harsh elements and stay comfortable.
18. Glass off the snow
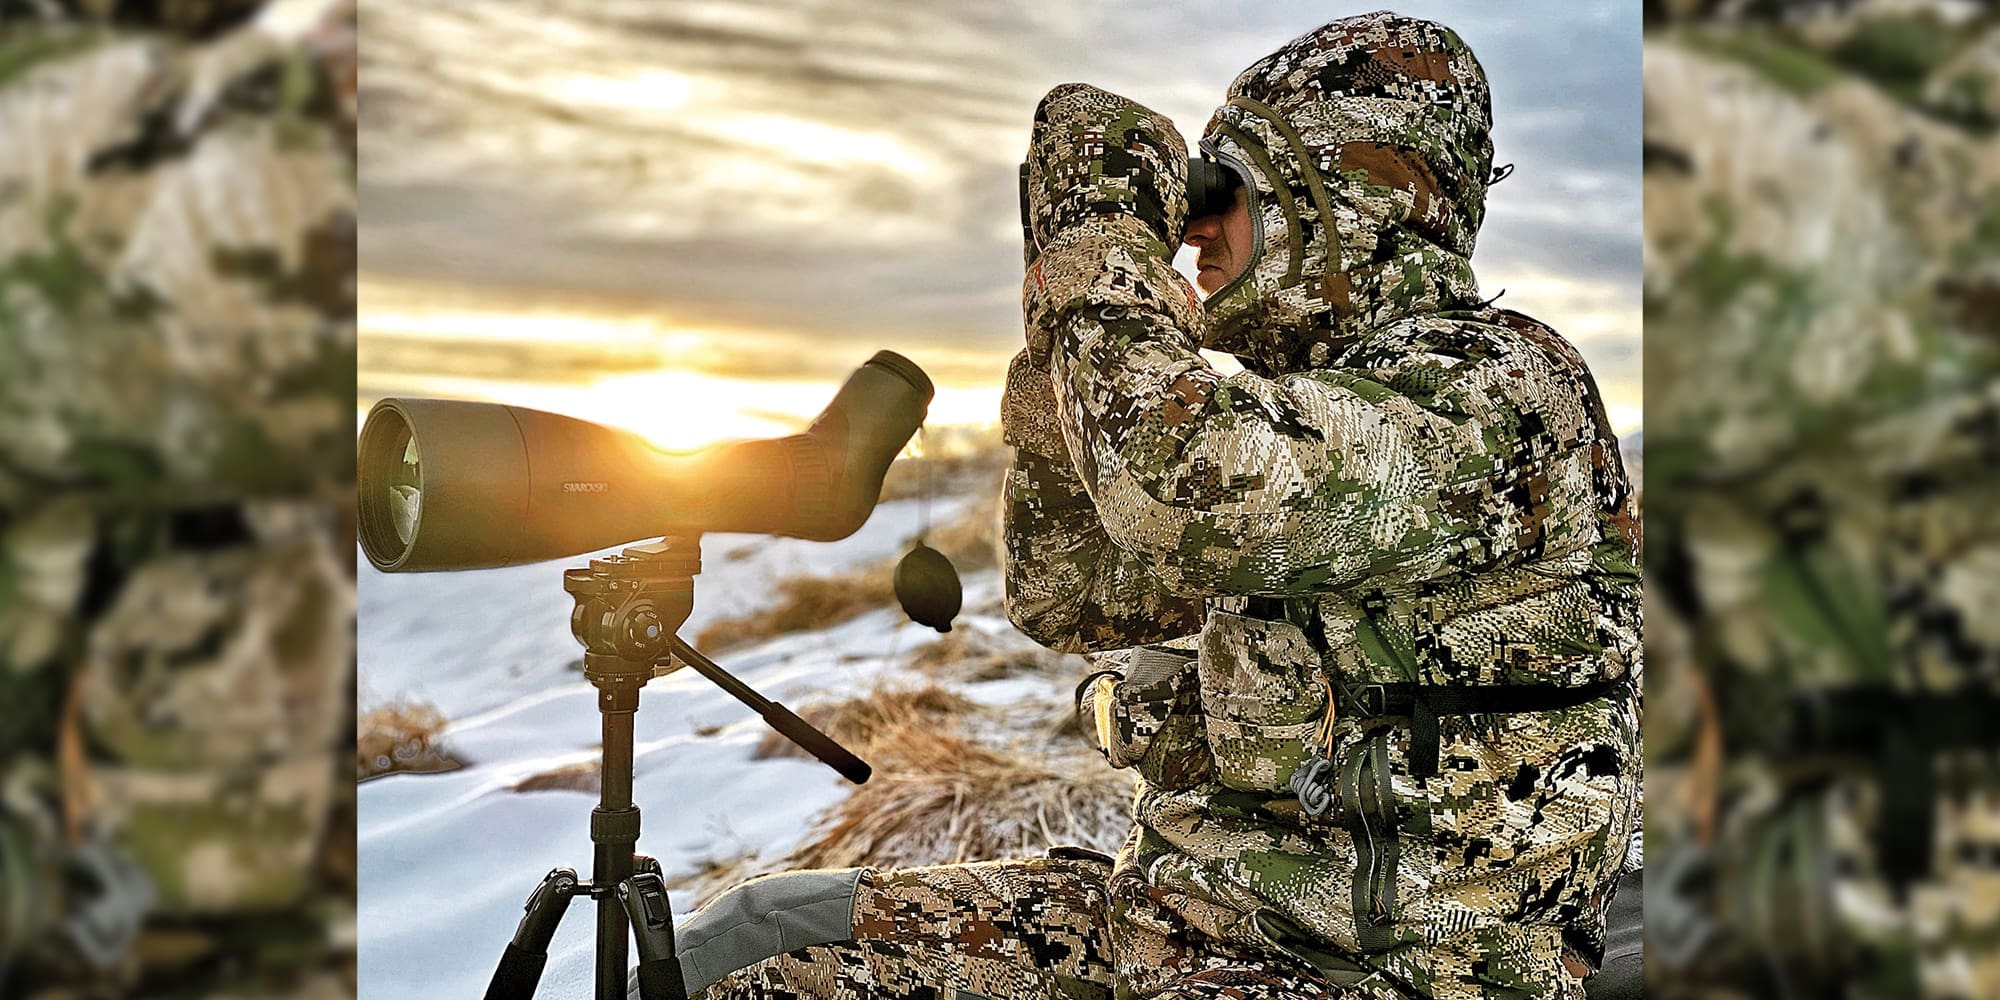
Sitting in the snow is a great way to get wet and uncomfortable. Before I glass, I try to clear an area to bare ground. I then sit on a small Outdoorsmans pad. Other options include sitting on a small tarp or on your pack. Taking little steps like this will keep you more comfortable and keep your core temperature up.
19. Bring hand warmers
Hand warmers can be a lifesaver; they allow you to stay comfortable and provide a heat source on the go. I use them in my gloves and sometimes inside a coat. At night I put them in my boots. The sweat from the day can freeze inside your boots and make them blocks of ice in the morning. This is the easiest way to get frostbite. Place a sock in the boot to help trap the warm air. There have been times I’ve even slept with my boots under my legs below my bivy to further insulate.
20. Carry multiple gloves
Multiple gloves are important, because one pair may get wet. This allows you to have a pair while drying a pair by the fire. Another reason I have two sets is so when I get something down, I can process the animal with gloves on and not worry about them getting wet/bloody. That way I’ll have a warm dry pair for the rest of the trip. I’ve been a part of many elk hunts where I had to process a bull in temps well below zero. I try to have a fire going, but this isn’t always possible. In extreme cold, you ill need to keep insulation on your hands. After the job is done, a dry set of gloves is important.
21. Pot Heater
You can easily construct a heater using rocks and your pot. Start by filling your water pot with hot stones from the fire (keep in mind there is a possibility for some river stones to explode when the water inside is super-heated). Take the pot and turn it upside down onto the bare ground in your shelter (under the vestibule). Make sure your tent won’t touch the pot. Without air, the rocks will heat the pot and radiate heat. This can often be enough to heat a small tent or at least help warm your hands and boost your morale on a cold evening after a hard day of hunting. Keep in mind that mixing heat with anything flammable can always be a fire danger, so be smart.
Winter Travel

22. Packing it in and out
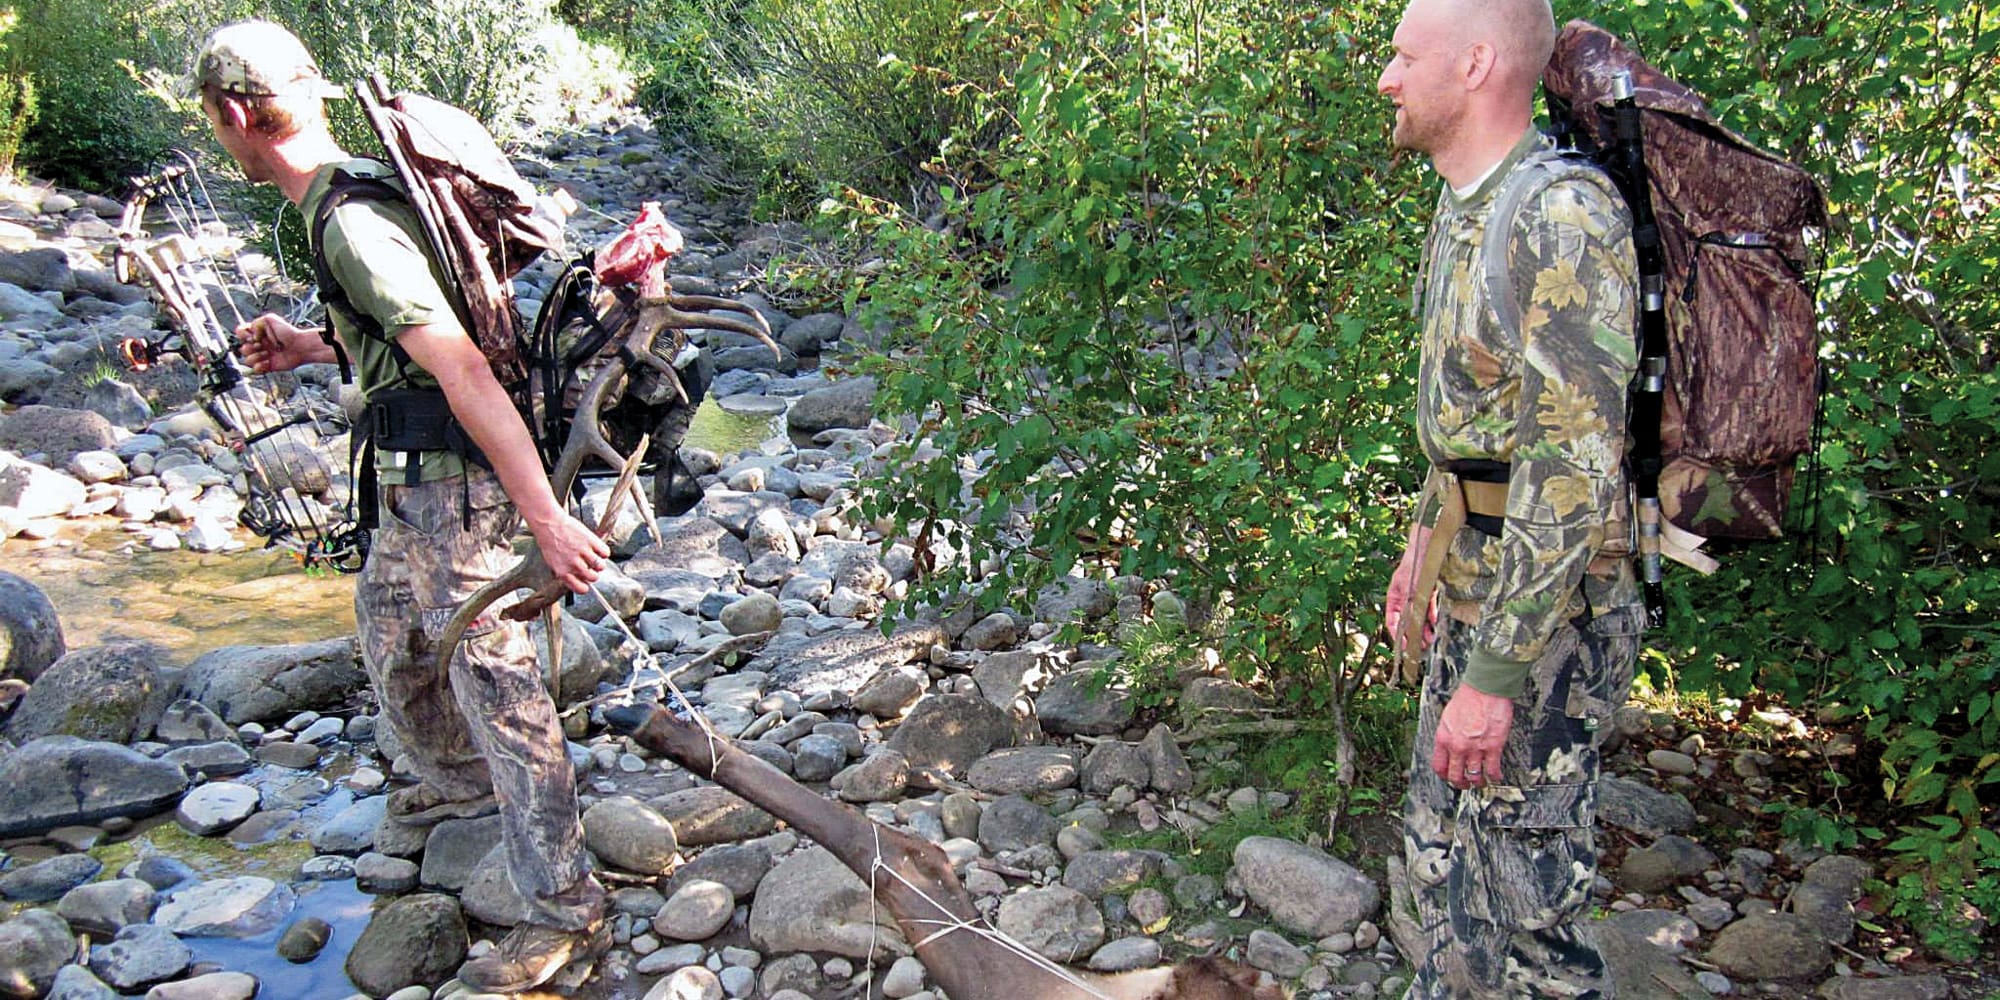
Late-season backpacking will involve more gear than other seasons and will add weight to your pack. You’ll also likely be traveling over snow adding more strain. The best way to travel is to include a gear sled. People hiking to the North Pole and Antarctica use specialized sleds for long expeditions. I use a sled designed for duck hunting. It has multiple points to attach cord or tie-downs, has a strong rope, and glides easily. This is a great way to get gear in and elk out. I’ve been able to take an entire elk out solo in one trip. For places where the sled may not be helpful, I can strap it to my pack and carry it.
23. Snowshoes
Breaking through snow can wear you down quickly! Snowshoes can be lifesavers, saving energy and providing access to areas you wouldn’t otherwise go. This can provide that separation from other hunters you need to reach late-season bulls. Often, they are only needed part of the day, so I prefer smaller ones that can easily be lashed to a pack.
24. Snowshoes on the go
Using a large pine or spruce bough for a makeshift snowshoe actually works well for short crossings and it’s easy to discard. The best thing to carry is a buckle strap and a multi-tool with a saw. The strap allows you to attach the bough quickly and stays on well.
Conclusion
Backpack hunting in winter weather can present challenges. There is nothing easy about it. However, taking extra precautions and a few specialized pieces of gear can make the experience enjoyable or, at the very least, bearable.
Knowing how to deal with it can open up new areas to you where the big bulls are hanging out and the average hunter is avoiding. The experience is unique and with a few outdoor skills, it’s an effective way to chase backcountry elk.


