NOTICE: Certain links on this post may earn a commission for Western Hunter Magazine from Amazon or our other affiliate partners when you make a purchase. Thank you for your support.
How To Properly Fit a Hunting Pack
As hunters, we are nothing without our tools and technology. Having a good quality pack is one of the tools we use to successfully carry out a hunt and haul out the meat.
Here are a few things to focus on with pack fitting, and a review of the pack that has worked for us, as well as what has not.
Pack Fitting
The biggest thing to focus on with pack fitting is to first have a pack that fits you well. With whatever pack you choose, you need to know your torso length and hip belt size to choose what pack size you need.
To do this, you will need a soft tape. Draw an imaginary line at the top of your hip bones across your lower back, top of iliac crest, and measure between that line and the 5th vertebrae, center of C7. The distance between C7 and the line that connects the iliac crests is your torso length. This will help the pack company tell you which size of frame you need. Hip belts are normally sized based on a range of waist sizes, same as the size pants you wear.
Now that you have your pack size, you want to fit the pack to you. To fit and tighten up the pack, first, load the pack with around 30-pounds and loosen all the straps: hip belt, shoulder straps, chest straps, and load lifters. Adjust the lumbar pad to sit in the small of your back.
Put the pack on and start tightening the straps at the bottom, starting with the hip belt, and then work your way up to finish with the load lifters. So tighten the hip belt, then the shoulder straps, then the chest strap, and lastly, the load lifters.
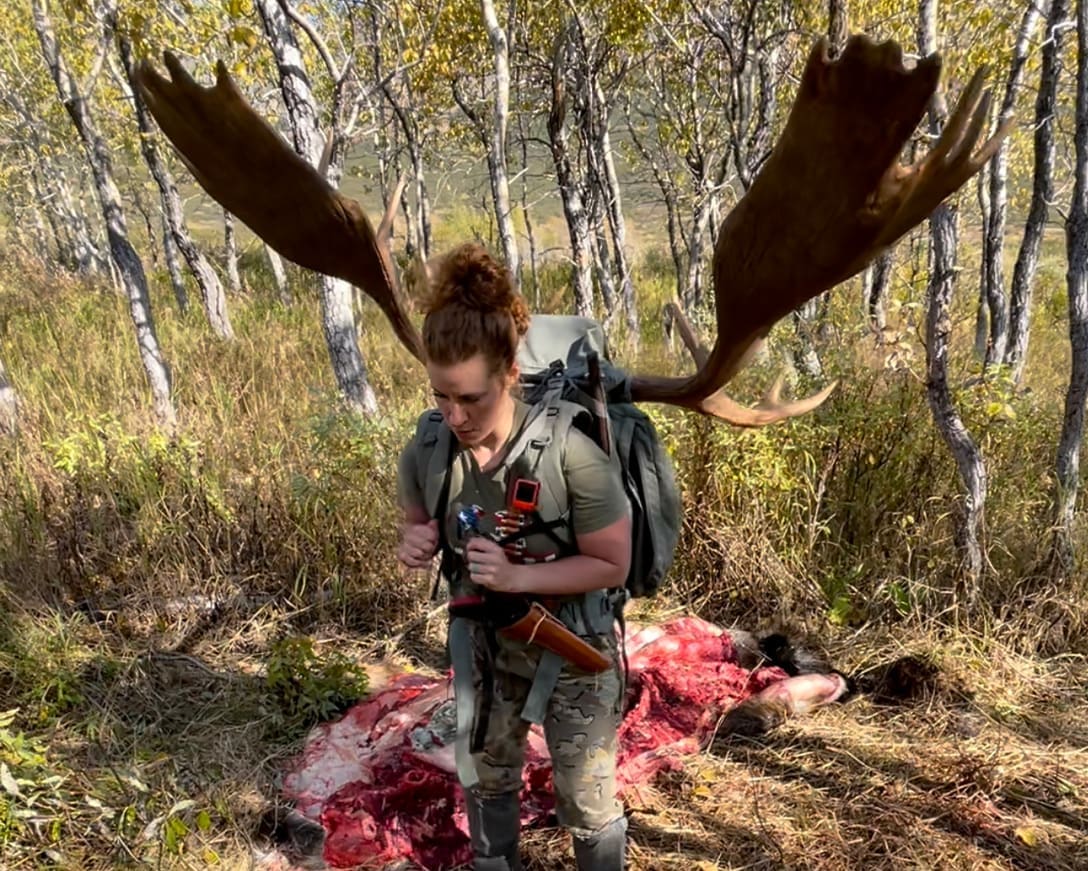
The hip belt should ride on top of your hips and the lumbar pad seated in the small of your back. The shoulder and chest straps, once adjusted, should have a slight gap, about 1-finger wide but not too tight on your shoulders. If it is too tight or too loose, adjust the shoulder straps up or down on the frame to achieve this.
The load lifters should sit at about a 45-degree angle from the top of your shoulder to the top of the frame. Adjusting the shoulder straps properly will fix this angle.
The chest strap should be low enough on your chest to avoid pinching the shoulder straps inward.
These changes will make a massive improvement in comfort and performance.
Organization
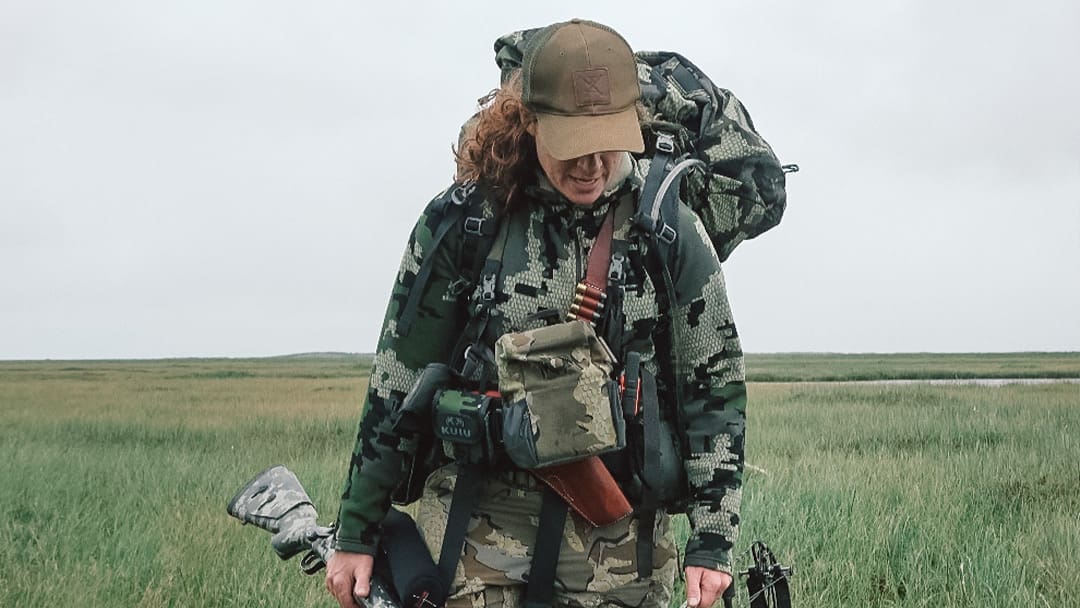
Organizing a pack comes with personal preference but there are a couple of things I always have access to. For us, we film our hunts, so I keep the camera on my hip belt of the pack.
For proper hydration, carrying a water bladder with constant access to the drinking tube will keep you more hydrated than leaving a Nalgene or water bottle in your pack where you have to take your pack off to drink.
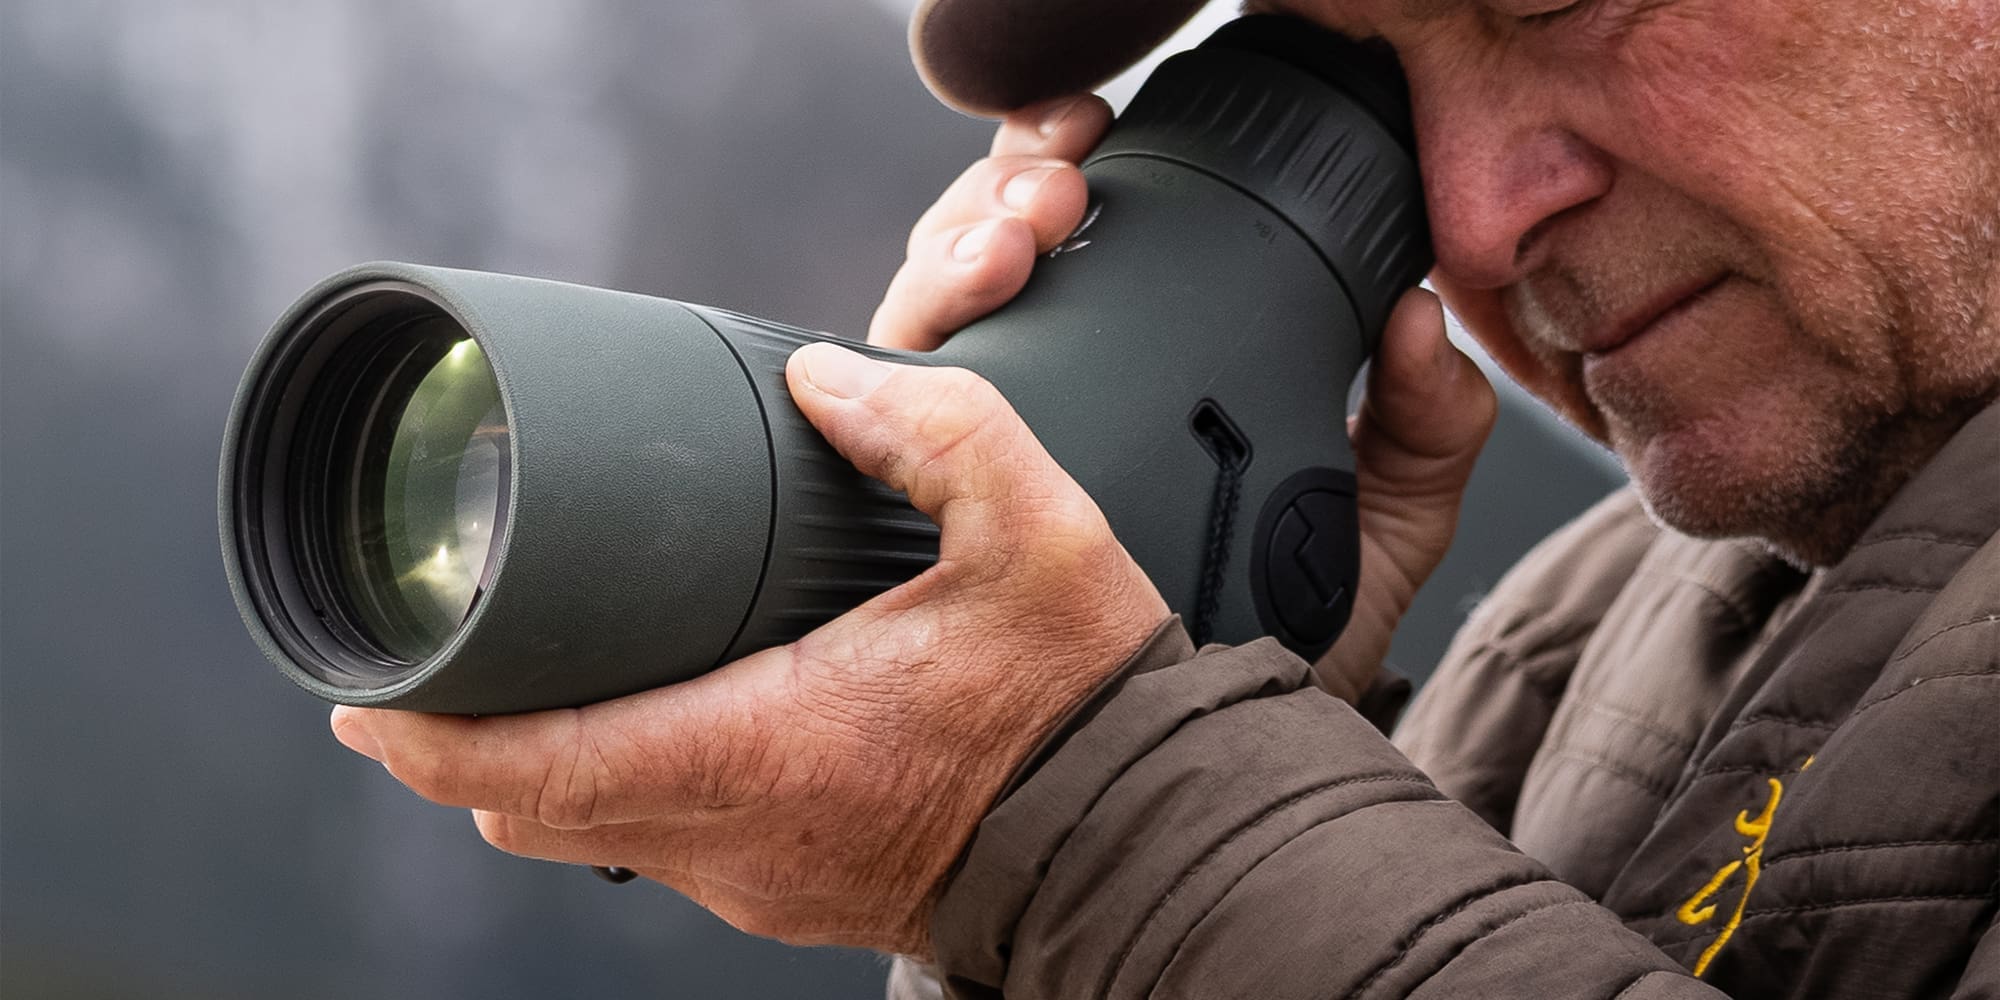
I keep a small dry bag with my rain gear in one of the outer pockets so I can grab those layers quickly when it starts to rain and the puffies, hat, and gloves in the top of the inside of the pack for glassing access with the tripod and spotter. I always have snacks and food at easy access either in a top or side pouch to grab quickly and easily. I keep most everything in dry bags as things get wet fast in Alaska. I also have a rangefinder on the outside pocket for quick, easy access and extra bullets for either the pistol or the rifle.
A couple of must-haves in your pack (that never leaves your pack) include:
- Survival kit dry bag with knives, lighter, small first aid, headlamp, paracord, and a bivy sack at a minimum
- Dry bag of rain gear
- Dry bag of puffies top and bottom with beanie, gloves, and dry pair of socks
- Snacks/food
- Water/water filter
For organizing my pack over my bino harness and pistol, I keep the chest holster hanging lower, with the bino harness on top with both a range finder and extra bullet pouch on the side, then the pack over that.
Pack Review
First and foremost, select a good quality pack that fits what your hunting missions are. If you are going on day hunts, have road access, and do not need to carry over 100-pounds in your pack, carry a lightweight pack that will do the job.
If you are doing big hunts like brown bears, long trips into the backcountry, and big game like moose, you can plan on over 100-pound packs for the pack out.
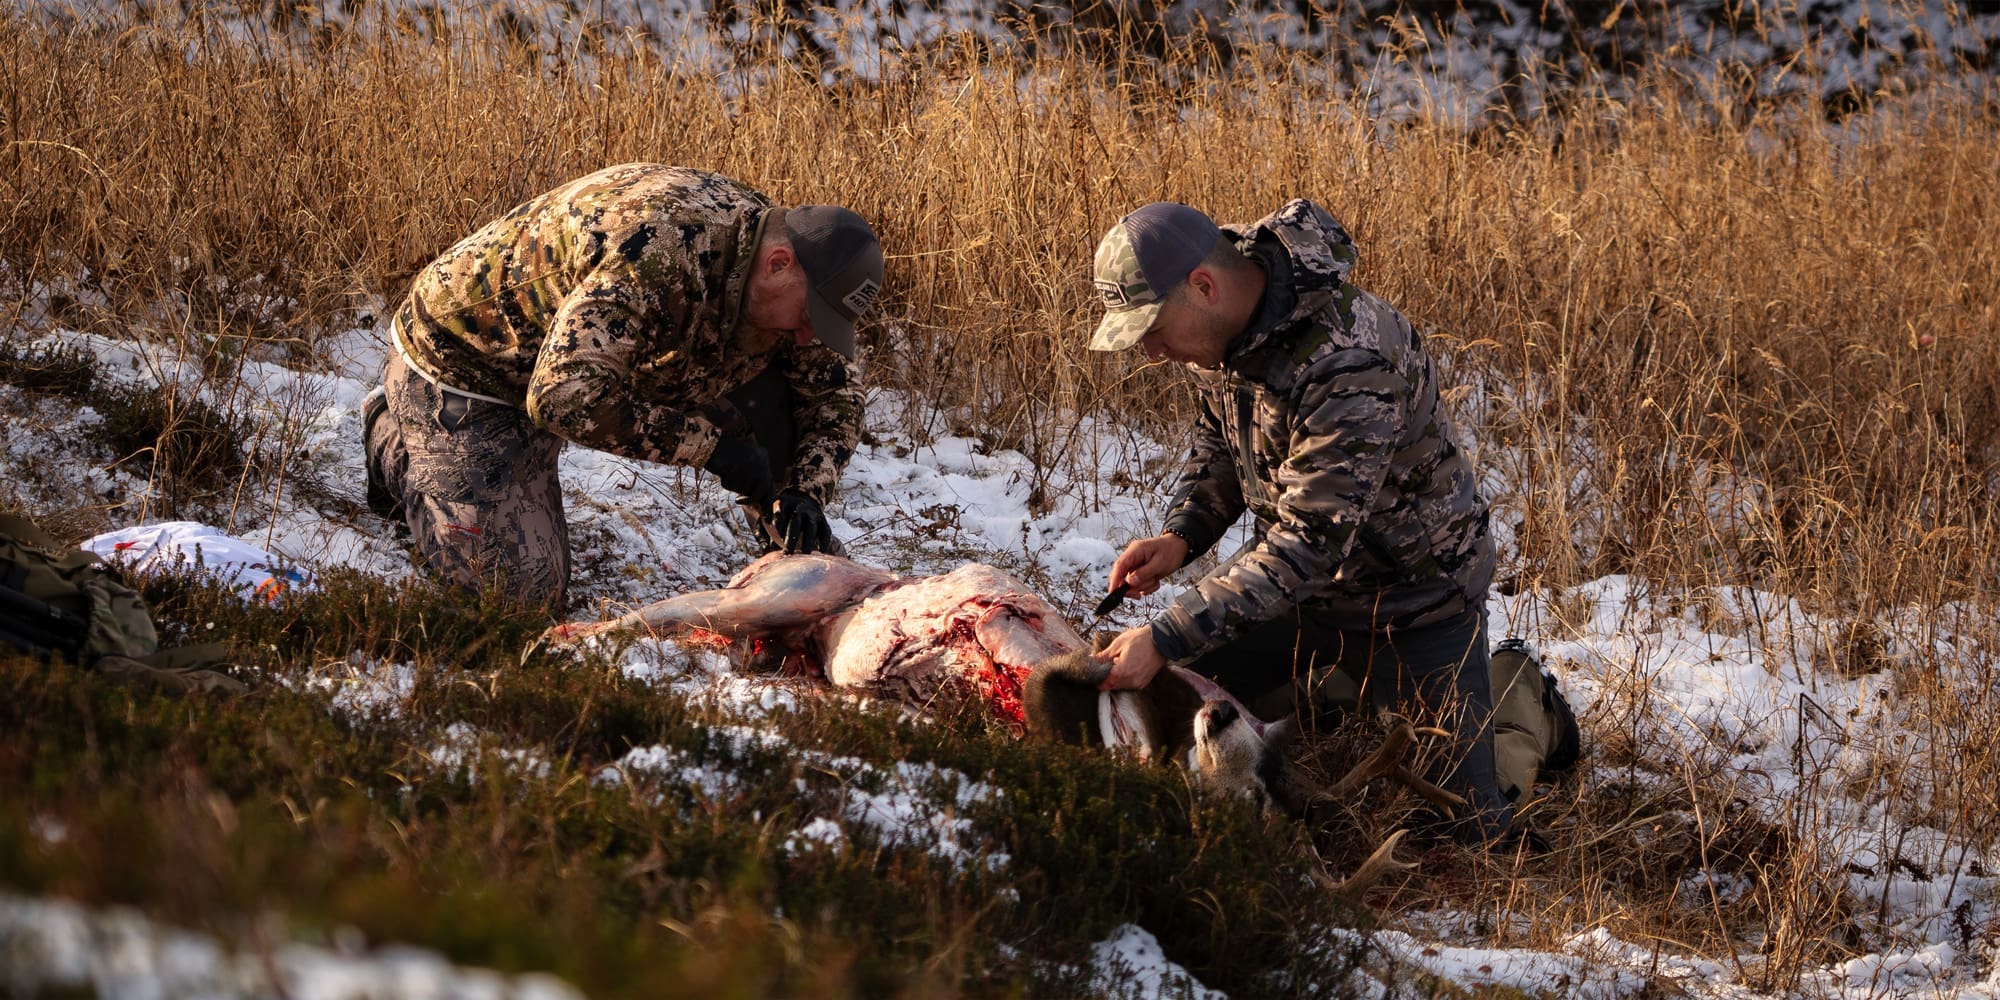
My ultimate pack test is not how much gear it can fit or how many pockets it has. The true pack test for me is putting a moose quarter in it. It has to first, fit a moose quarter and secondly, not bust the straps when it’s lifted. We do at least two moose per year so this is where we use the pack the most. Bear hides weigh a lot. We also do a lot of shed hunting for 20-25 lb moose sheds and that weight adds quickly.
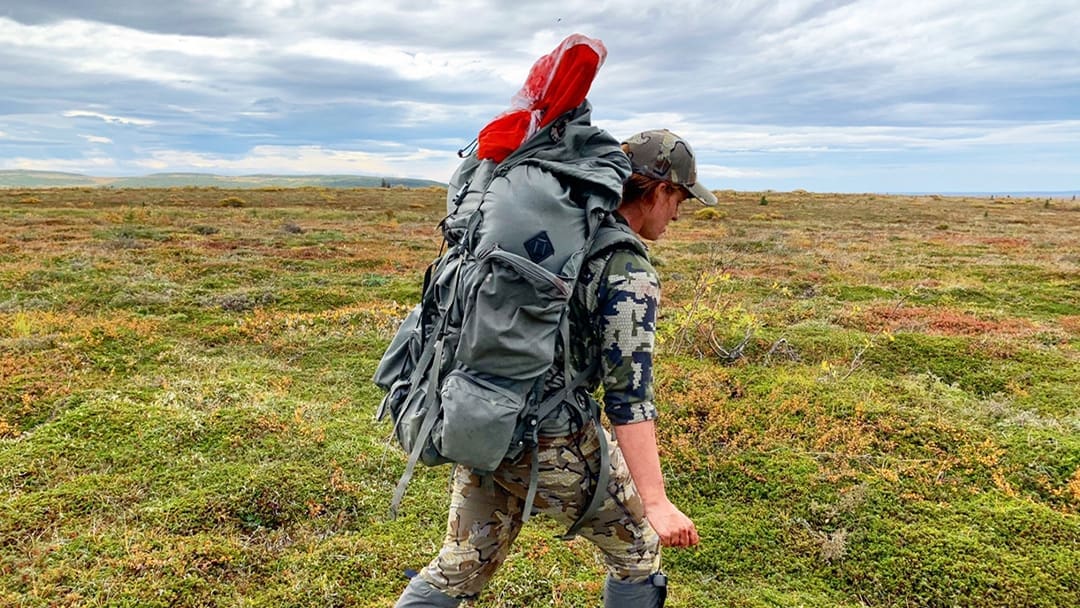
There is only one pack that I have found that holds up to the test of heavy packs year after year and it is the Barney’s Sports Chalet Pack. I will be completely honest with my pack review. Every other pack brand that I have tried and I have tried them all! does not hold up to heavy packs or moose quarters year after year.
My husband is a big guy. He is 6’2, 255. I am 5’5”, 155, and I have shorter legs. From both perspectives of a tall guy that breaks everything to a shorter woman, there is not a single pack that will hold up like a Barney’s pack will. We use it for everything in Alaska. It holds everything you need, and you can put your meat in the pack and still have room for the gear. You can throw it down and throw it around and nothing breaks or rips. The frame and straps are tough enough for any condition, any wear, any tear, any abuse, and we often have packed over 100-pounds.

As a woman, I struggle to carry over 100-pounds in most packs. I can do it in a Barney’s more comfortably than I can with 70-80 pounds with other packs. I can just carry a lot more weight in a Barney’s with the way it is built.
The shoulder straps are extremely thick and it’s durable. The only downside is it is not waterproof at all, and it has an actual frame (not carbon fiber) so that adds weight, and it is made from a durable canvas material so the pack itself is about 9-pounds.
It is well worth the extra weight and bulk for its functionality and durability.
Loading Meat
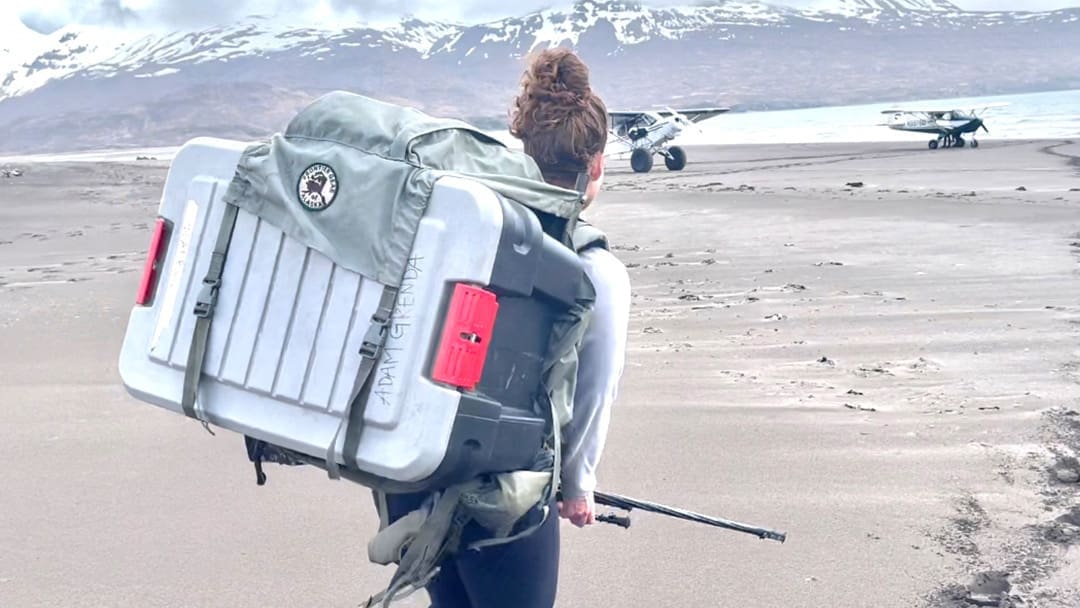
Always load the meat as close to your body as possible. This Barney’s pack has a built-in zippered meat shelf which I do not use often because I had them make a custom frame for my shorter torso.
Using the shelf makes the meat too top-heavy for my body. This whole pack puts the center of gravity at the middle of my back. If you are taller, a meat shelf may be a good idea to put lighter stuff at the bottom (sleeping bags, puffys, etc) and meat starting at the top of your hips.
Load the meat as close to your body as possible with the center of gravity and the majority of the weight at your mid-back. Tighten down the outer straps as tight as possible to avoid any pack shifting or top-heavy shifting as you walk. You want a pack that, once there is meat loaded, is secure, does not shift, and still has enough room to put your gear on the outside and the sides still to make as few trips as possible.
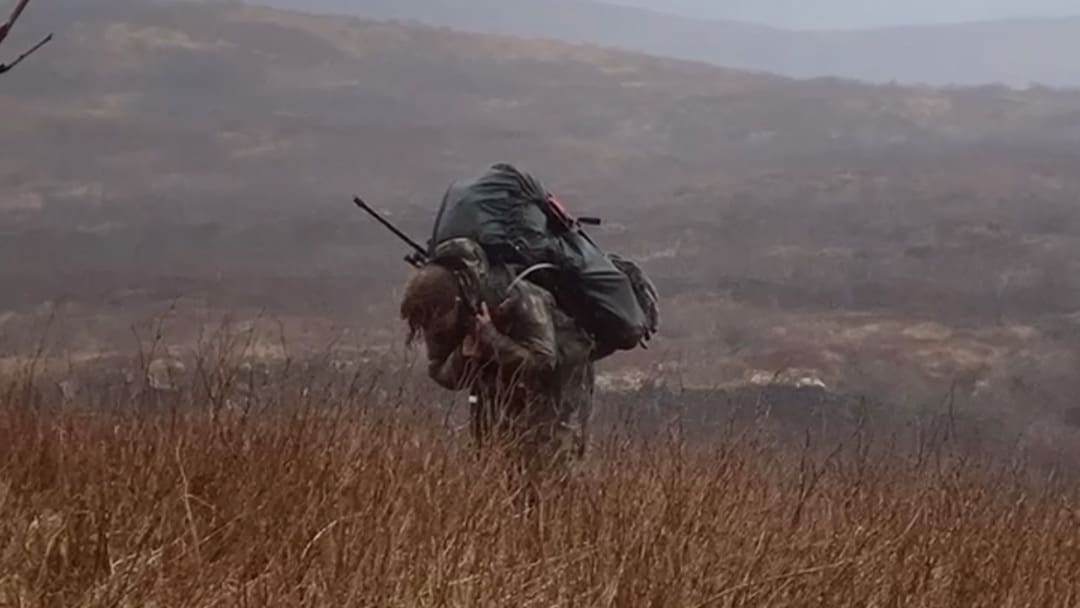
Your pack is your lifeline for any hunt. It is basically an extension of you. Going for durability and comfort with the size and the ability to complete your hunting missions should always be a priority. Be prepared and your hunts will be more enjoyable and successful!

