NOTICE: Certain links on this post may earn a commission for Western Hunter Magazine from Amazon or our other affiliate partners when you make a purchase. Thank you for your support.
Cape Care Basics - Preserving a Once-in-a-Lifetime Memory
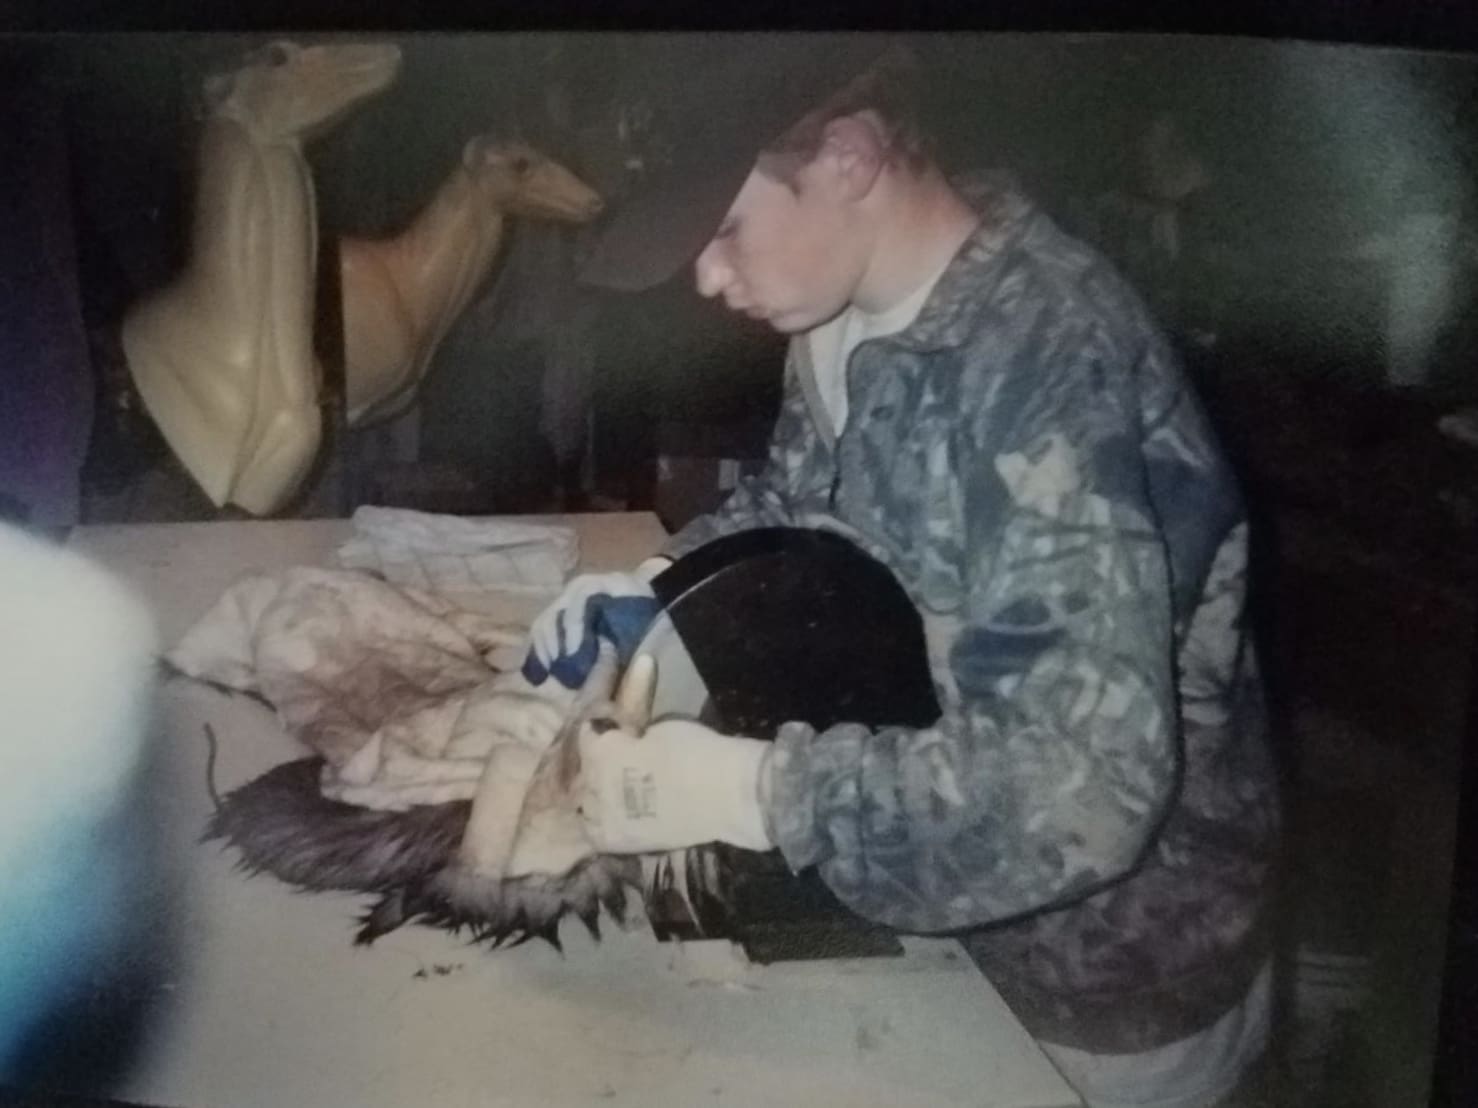
Born an avid Western hunter and outdoorsman, my love for animals goes far beyond the field, and past the tasty table fare produced by my adventures. I like to take it a step further and preserve the memories of the hunt in the form of taxidermy. I have over 20 years of experience doing taxidermy. That may seem like a lot for someone like myself being in my early 30s.
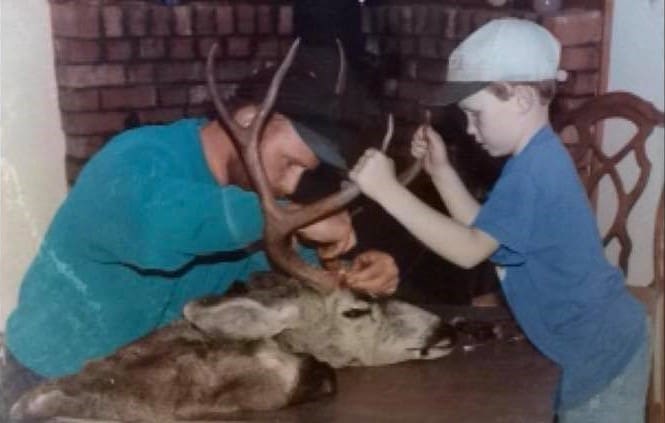
However, I was blessed to be brought up in my father’s taxidermy shop. Some kids had chores such as doing the dishes or taking out the trash, but my chores included skinning out deer heads and prepping manakins.
I truly believe that the shop helped instill the work ethic in me that still exists today. As the years passed I have since worked at many taxidermy shops. Call me a “traveling taxidermist”. I come in and work at a shop for a month or so, help them play catch up and be on my way. Because let’s be real, do you know a taxidermist that is ever caught up? Those guys seem to take forever!!
While working in a variety of shops I have learned and benefited from all the different approaches and techniques acquired from different people. With that said, there have been many similarities as well. As I swap taxidermy stories with other taxidermists there always seems to be a common subject. CAPE CARE! Or at least the lack of cape care.
Personally, I care how your mount looks. I want it to look the best that it can be. I want to be recognized for putting out grade-A quality work. Sometimes this is an extreme challenge, or even impossible, due to the condition of the animal a client has brought in to mount. So, I wanted to go over some cape care basics and what I do to help preserve a once-in-a-lifetime memory.
First off, I recommend talking to your taxidermist about how THEY prefer a cape is prepped for them. Every taxidermist has their own preferences and I’m just sharing mine. My goal here is to shed some light on common problem areas, and mistakes I see every year from hunters.
Cape Too Short
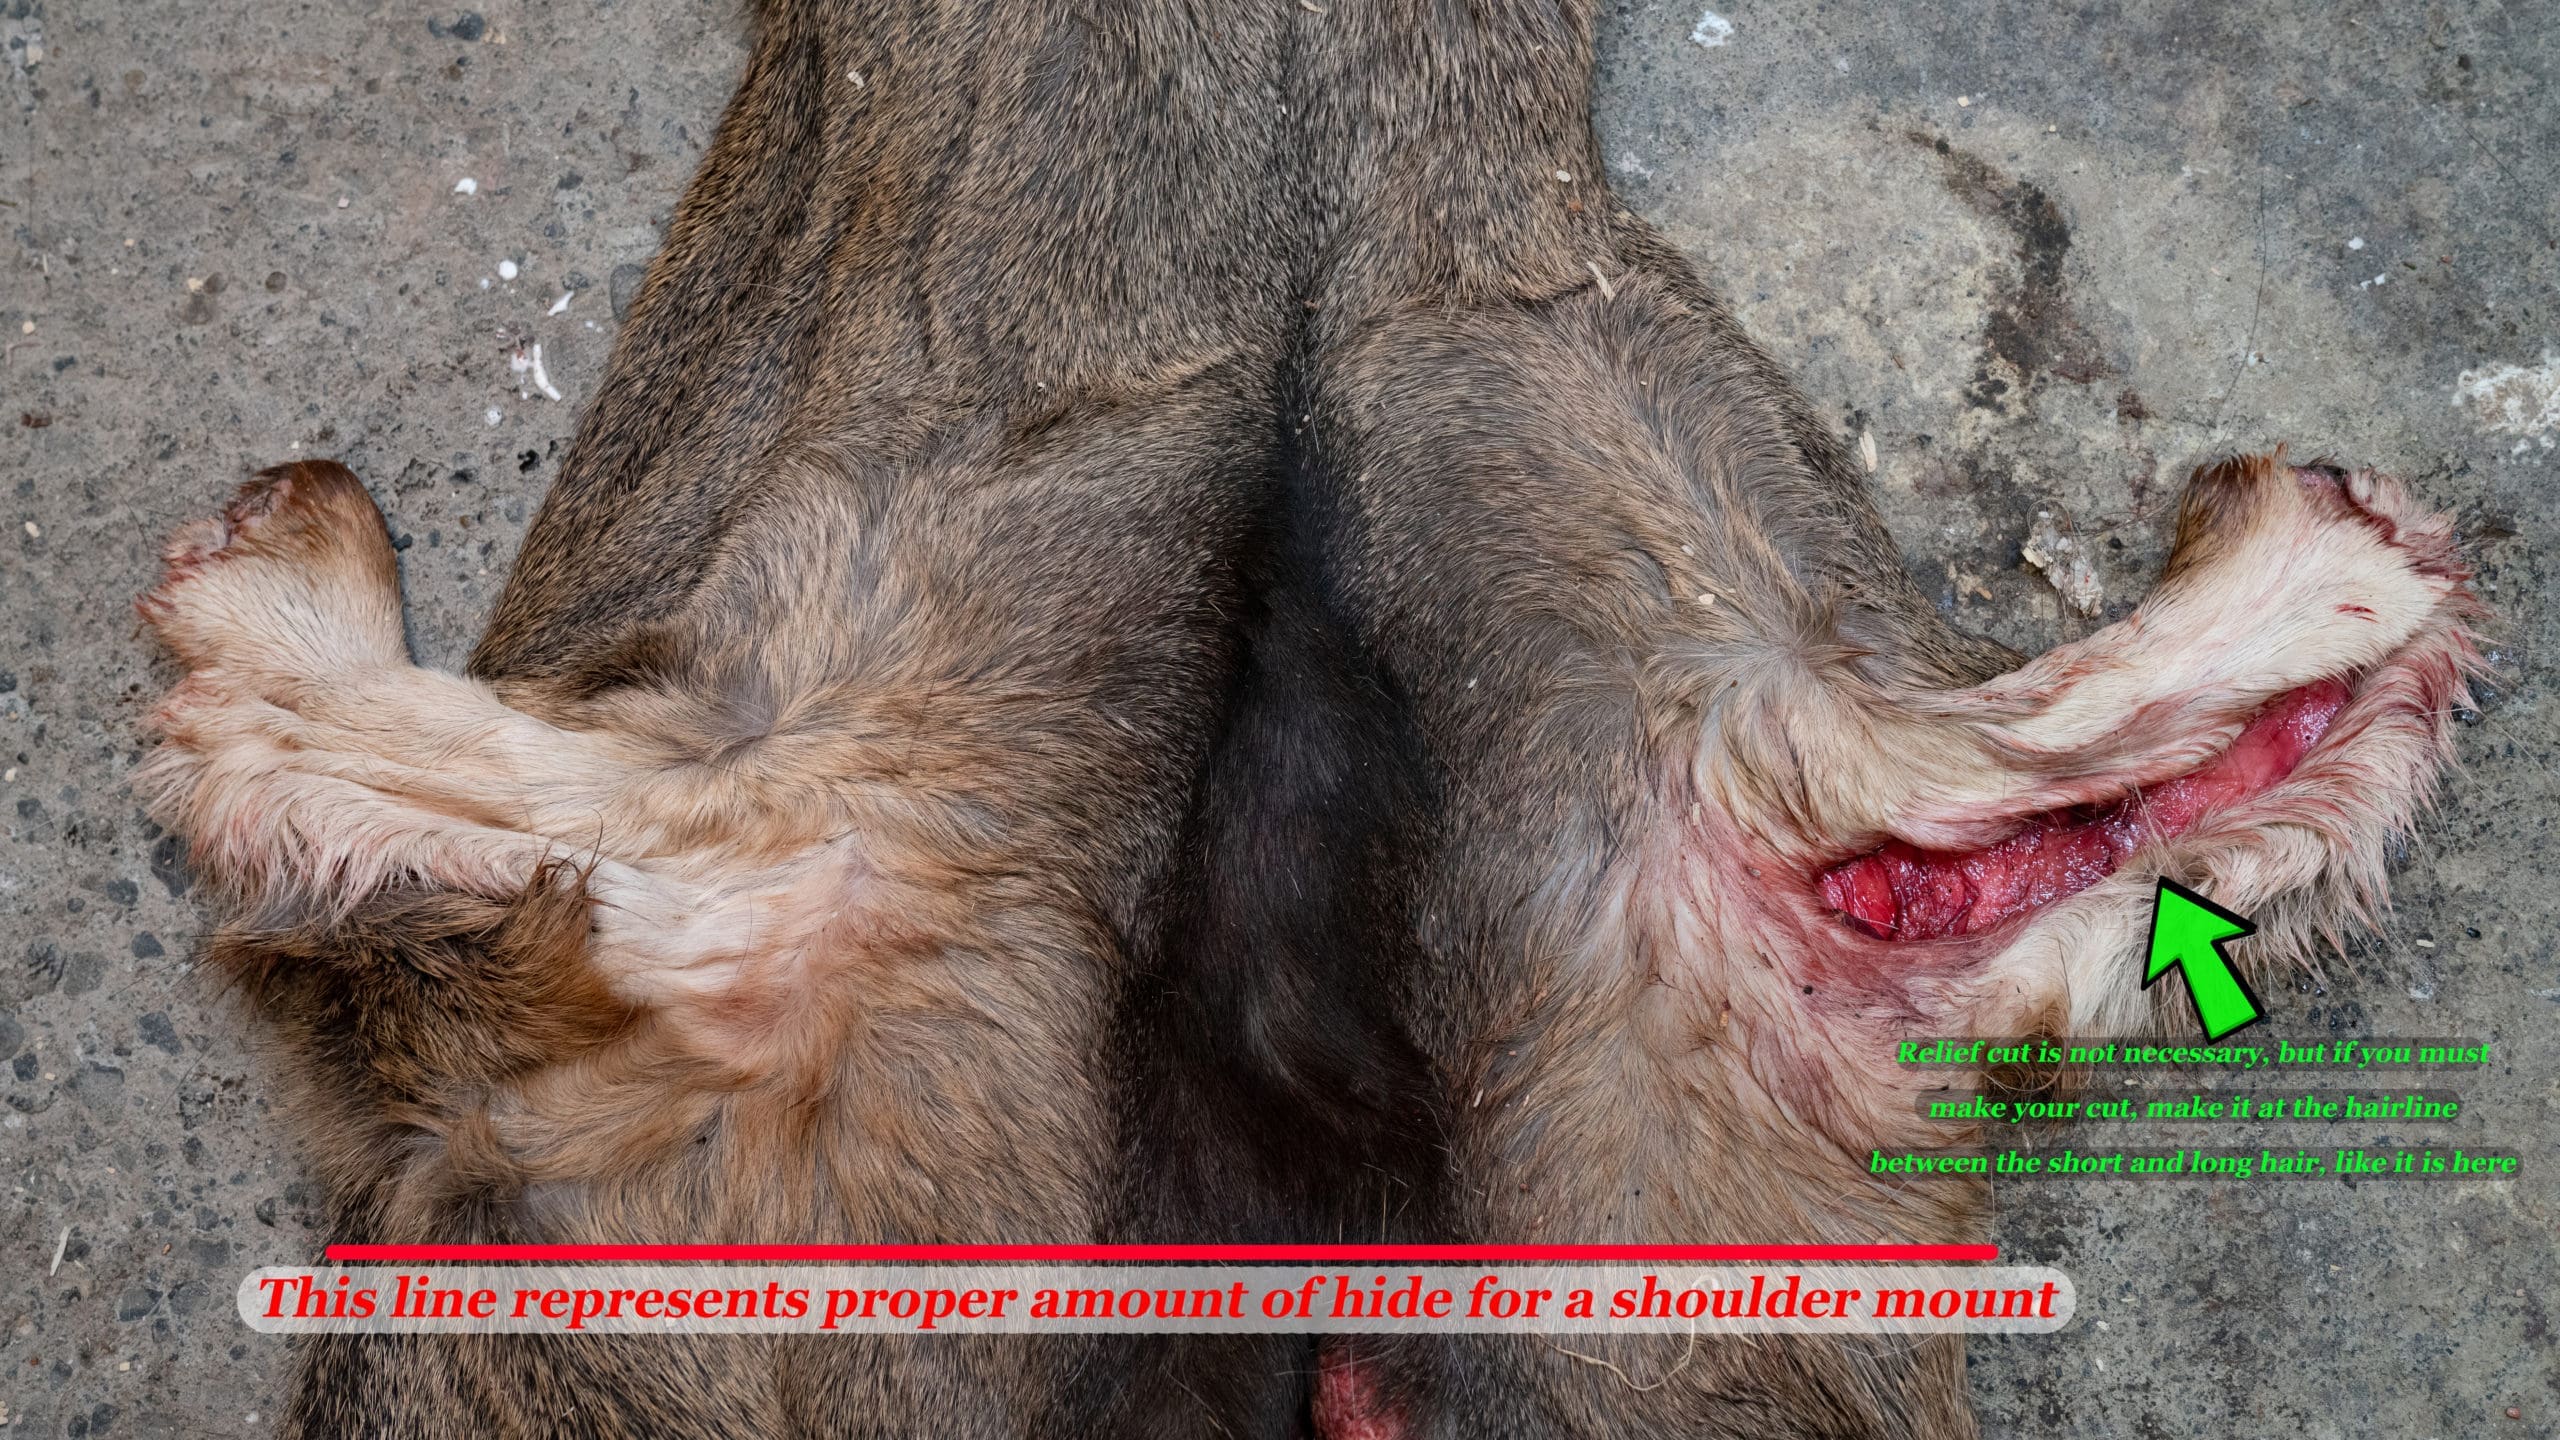
I understand that as a hunter you don’t harvest an animal worthy of a shoulder mount every year. It could be that you still haven’t killed one big enough for the wall. I’m here to ask you to bring more hide than you think you need! You can see in image “A” that the armpit calics and brisket are needed to properly wrap around the manakin. Please avoid cutting the armpits while skinning. It is tough to hide a skinning hole because the hair is very thin and stitches can be exposed.
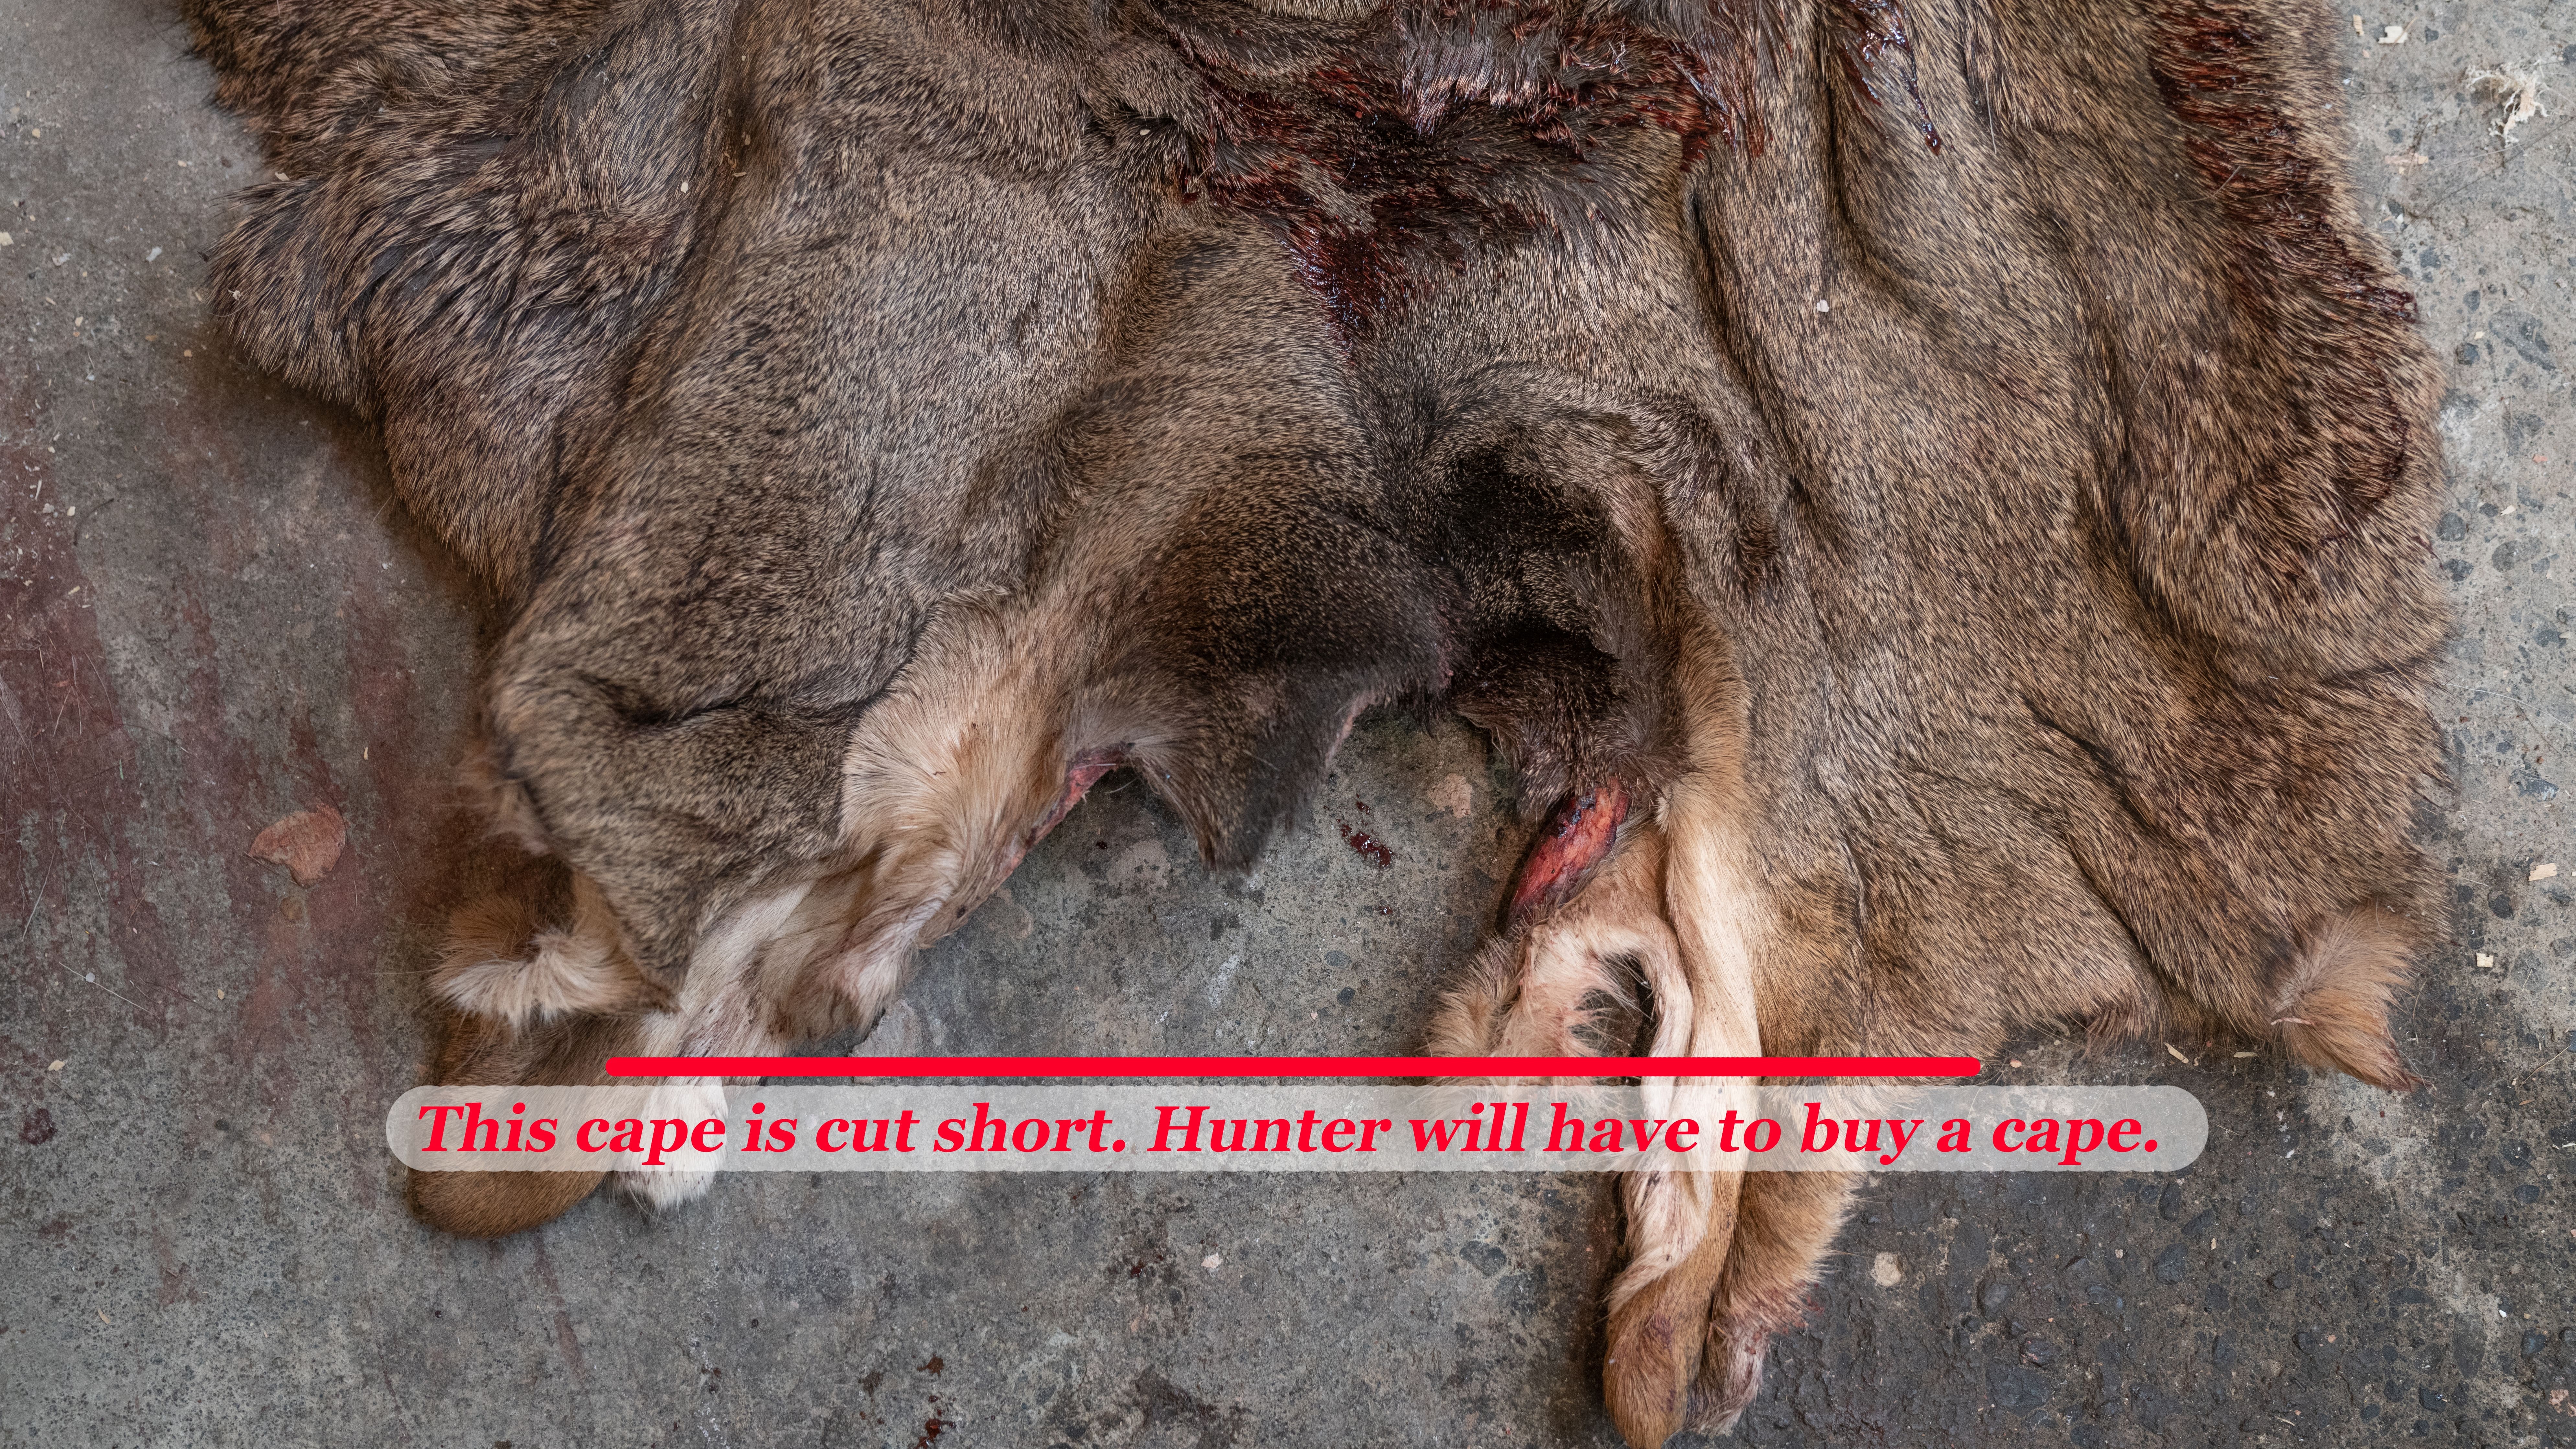
Image “B” shows a brisket/armpit area that is skinned properly and has plenty of hide for a shoulder mount. Remember, I can always cut off extra cape, but it’s hard to make more hide appear out of thin air! Even if you think your cape appears short, I recommend still bringing in your animal. Sometimes taxidermists can put together some kind of habitat to cover up areas of missing cape.
Hair Is Falling Out "Slipping"
Unfortunately, there is no set number of days, hours, or minutes I can tell you for how long a cape will survive before being salted. There are just too many variables. General rule of thumb is to get your hide to a freezer or a taxidermist ASAP. Slipping is caused by bacteria beginning the breakdown process of dead flesh. Here are a few ways to slow the process to avoid slippage.
Cool it down
In the same way you would cool your animal’s meat, you can cool your cape. For example, in the field you can lay it open in the shade or above a creek. If it’s hot enough outside that your meat might spoil, your hide could also slip. But on the flip side of that, I have had capes on cooler late-season hunts, last many days in base camp before getting them to a cooler/freezer. Best case scenario you get that cape to a freezer ASAP. That’s the best assurance that your cape will be good.
Flesh it
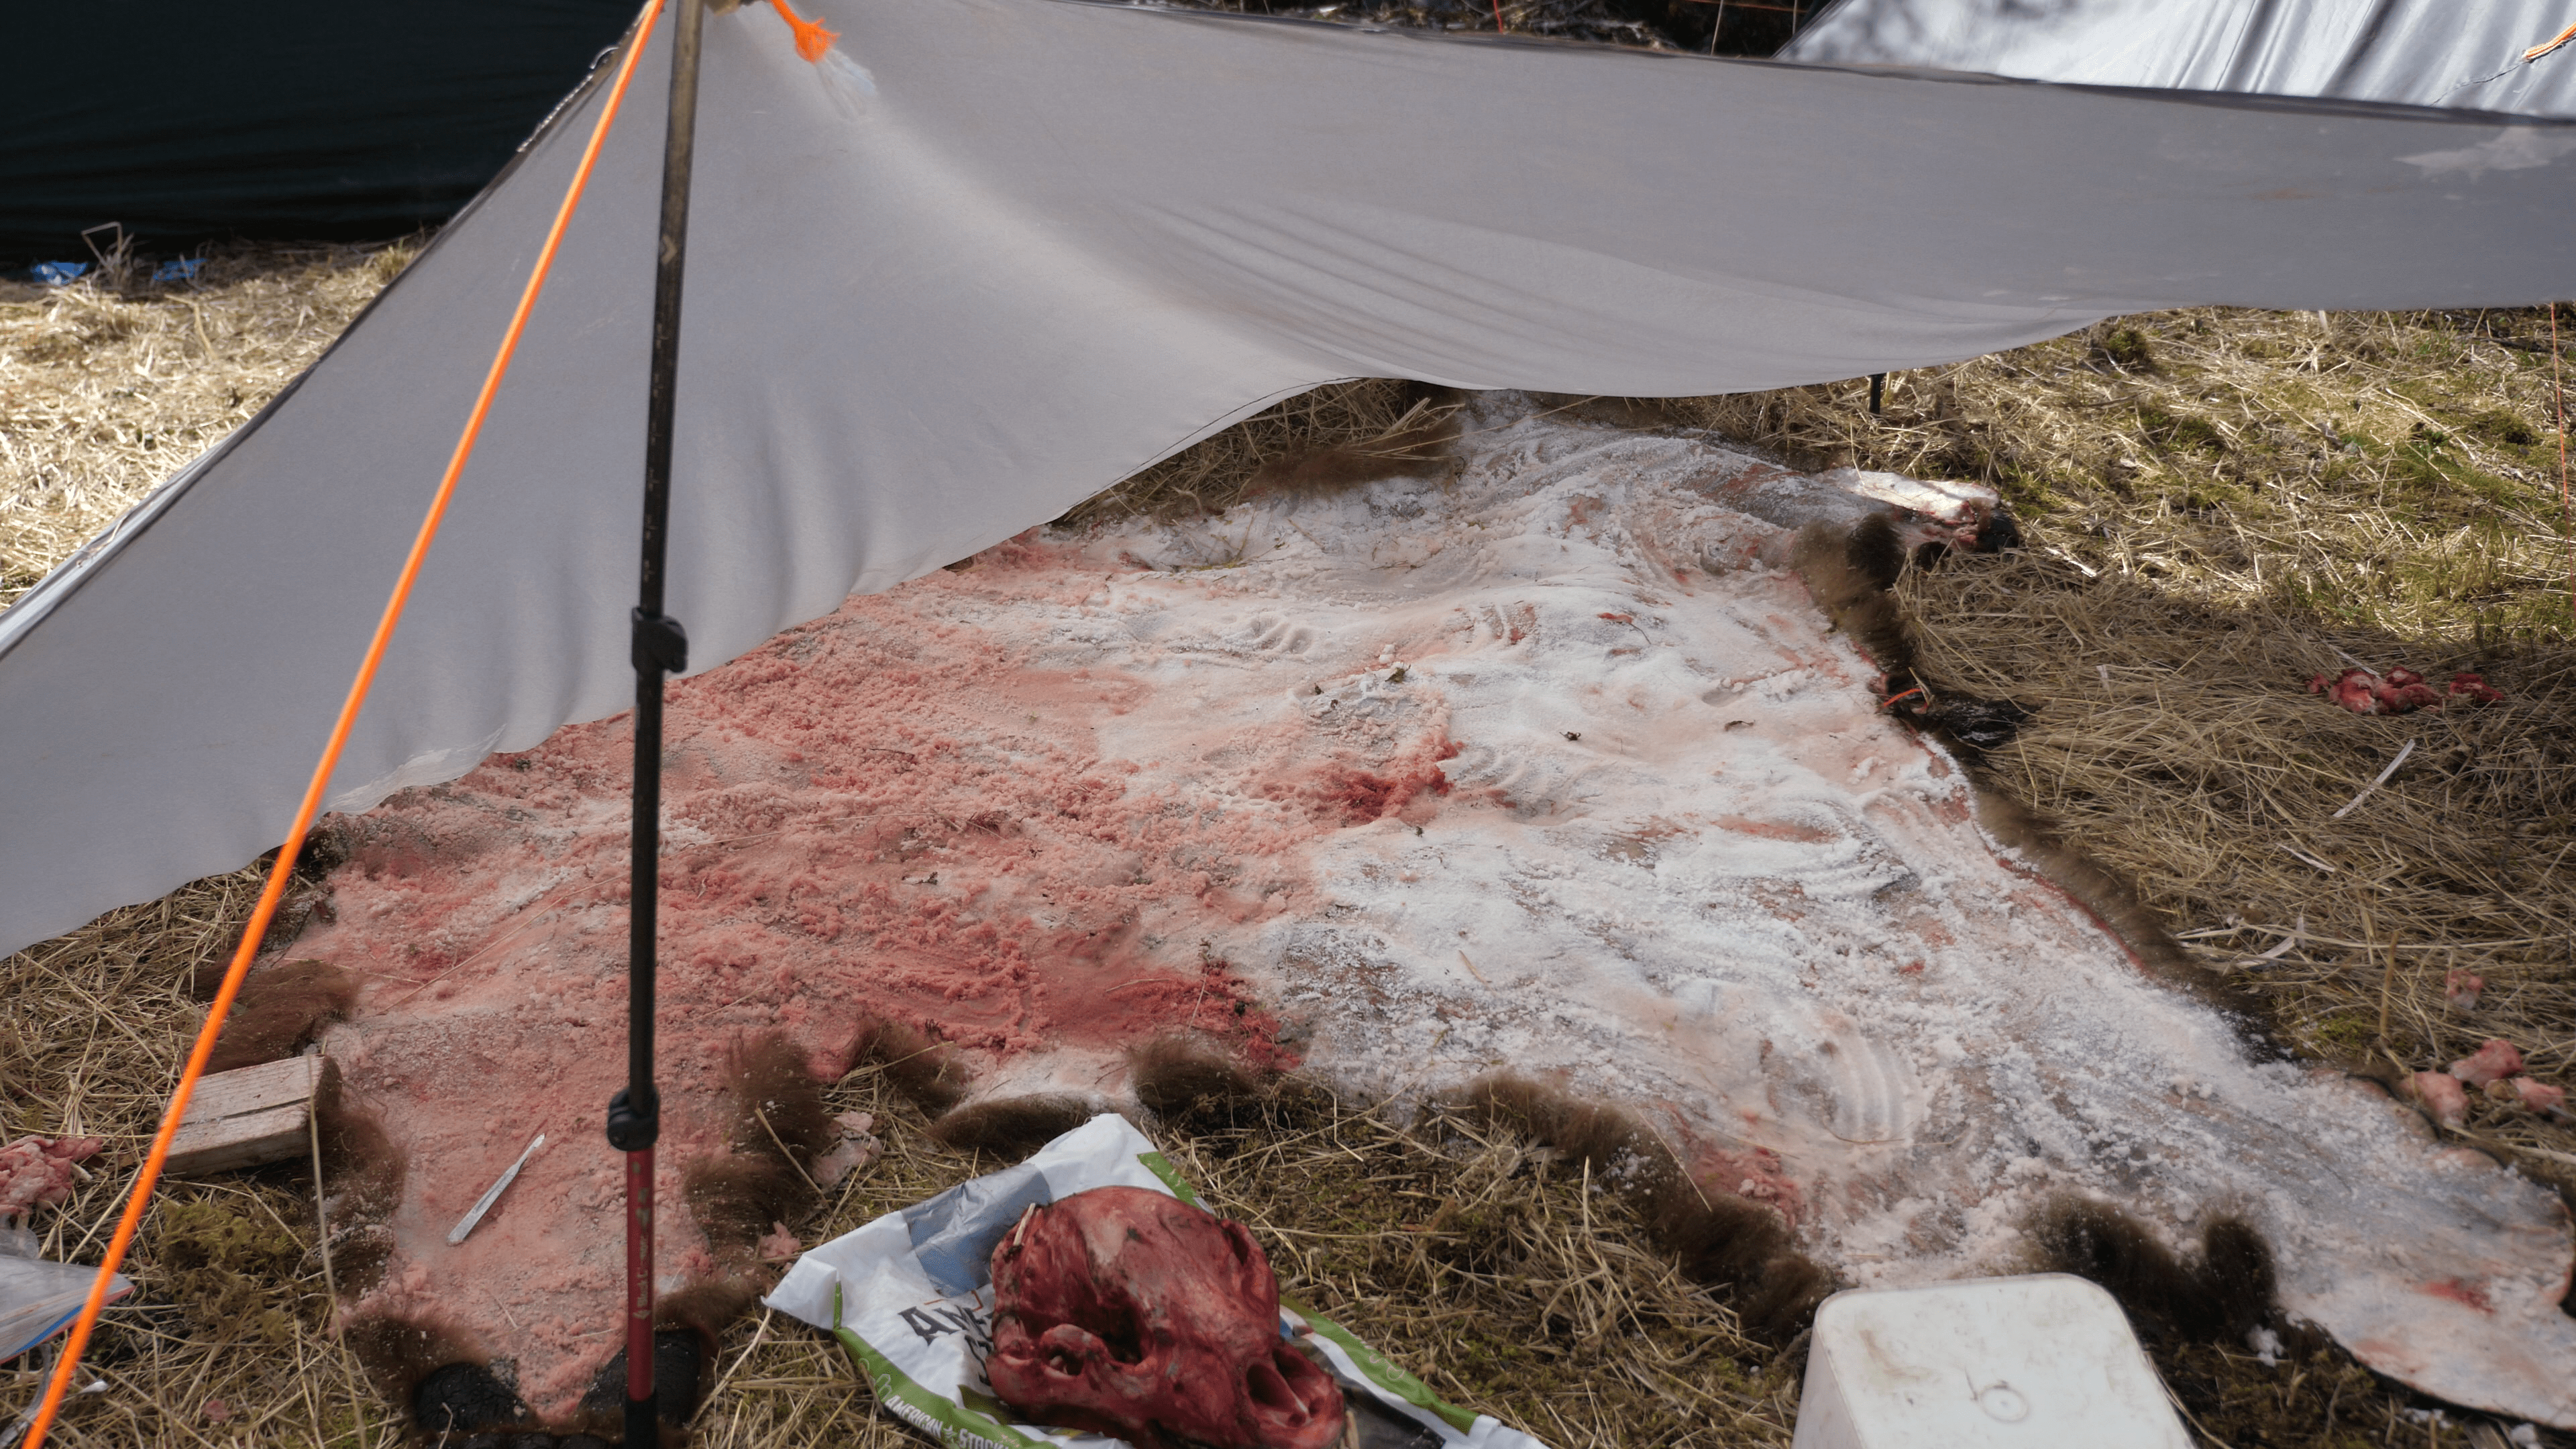
This is a worst-case scenario for extreme hot temps or in a drop camp/ten-day hunt with no access to a freezer. The areas of the hide that have meat left on it will slip first. If you feel savvy enough to flesh your hide on the mountain, it is the best thing to do for buying some time. I have even packed in salt to my base camps. Especially on fly-in hunts or horse packing trips. After I remove the excess meat and turn the lips, eyes, nose, and ears. I then apply a light layer of salt over the hide. The salt creates an unpleasant environment for bacteria and begins the drying/hair setting process.
Lysol
Another uncommon practice is to spray/rub some Lysol on the cape. On the skin side, not the hair side. Lysol creates an unpleasant environment for bacteria, just like salt. This helps slow the slipping process. Temperature depending, applying Lysol may buy you a day or two before salting.
Cuts In The Face From Caping Out The Head
If you are a backpack hunter your goal is to pack the least amount possible. This includes caping out your animal, meaning skinning the face off of the head. Then, you cut off the antlers and leave the skull and bottom jaw in the field, saving weight on the pack out! There are some tricky spots when doing this and I will highlight them:
The Antler Bases
the hide will peel off around the bases of elk and deer. Once I create my Y incision between the antlers I normally use a screwdriver to peel around them. Horned animals such as sheep or antelope do have to be cut all the way around separating the skin/hair from the horn.
The Back Corner Of The Eyes
these are the most crucial and seem to be cut the most! A hole in the back corner of the eye (or front corner) is hard to fix. There is no hair around the eyes to hide stitches! The best way to skin that out without cutting a hole is to place your index finger of your left hand into the eye from the hair side. Then as you skin, you can tell where the back corner is and know where not to cut. If you cut in the wrong spot you cut your finger! This is very hard to explain in writing so I created a video! This concept also goes for the back corner of the mouth.
Blood
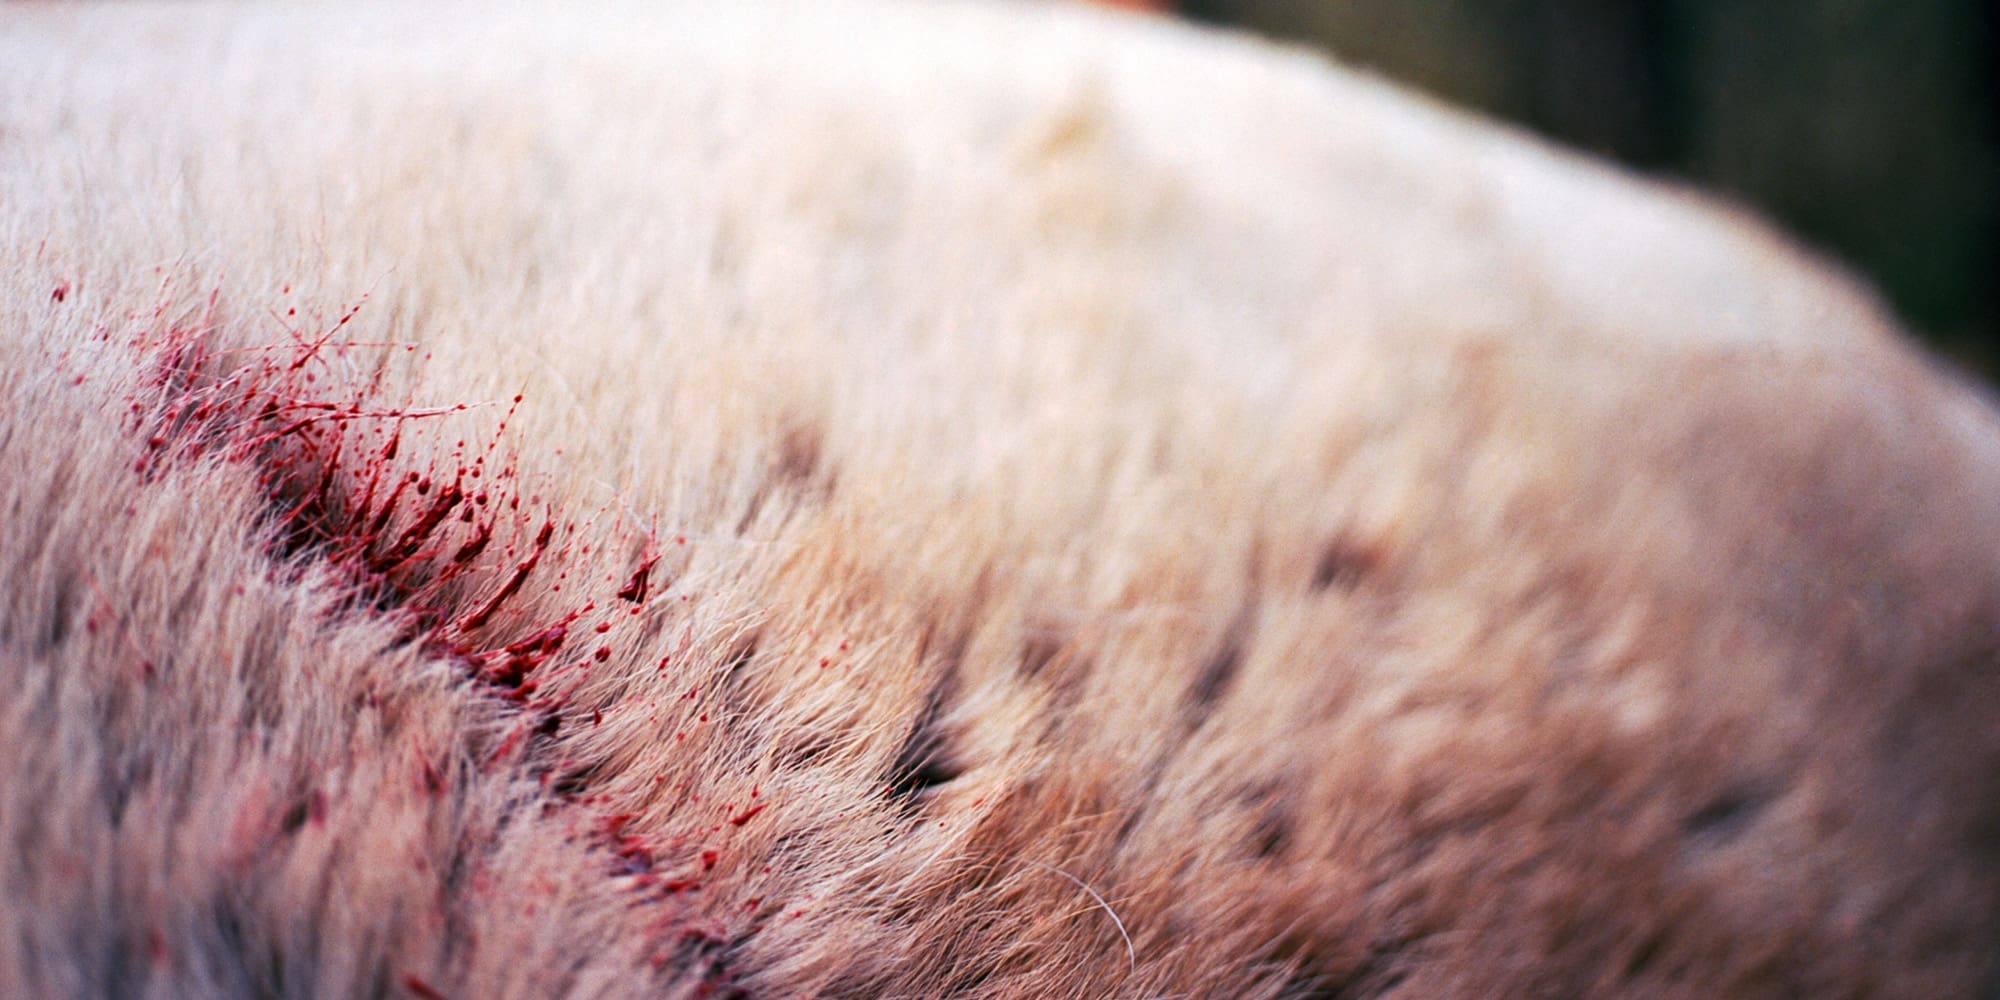
Another thing to think about when caring for your hide is blood staining. Getting blood on commonly hunted animals such as deer, elk, coyotes, and bears is normally not a problem. The blood rinses out in the tanning process. However, that is not the case for animals like pronghorn or wild sheep! These critters have hair that is more hollow and susceptible to staining! It is crucial to do your best to not let the blood dry on the hair of these animals. Some blood stains are impossible to get out and will affect the look of your mount.
Freezer
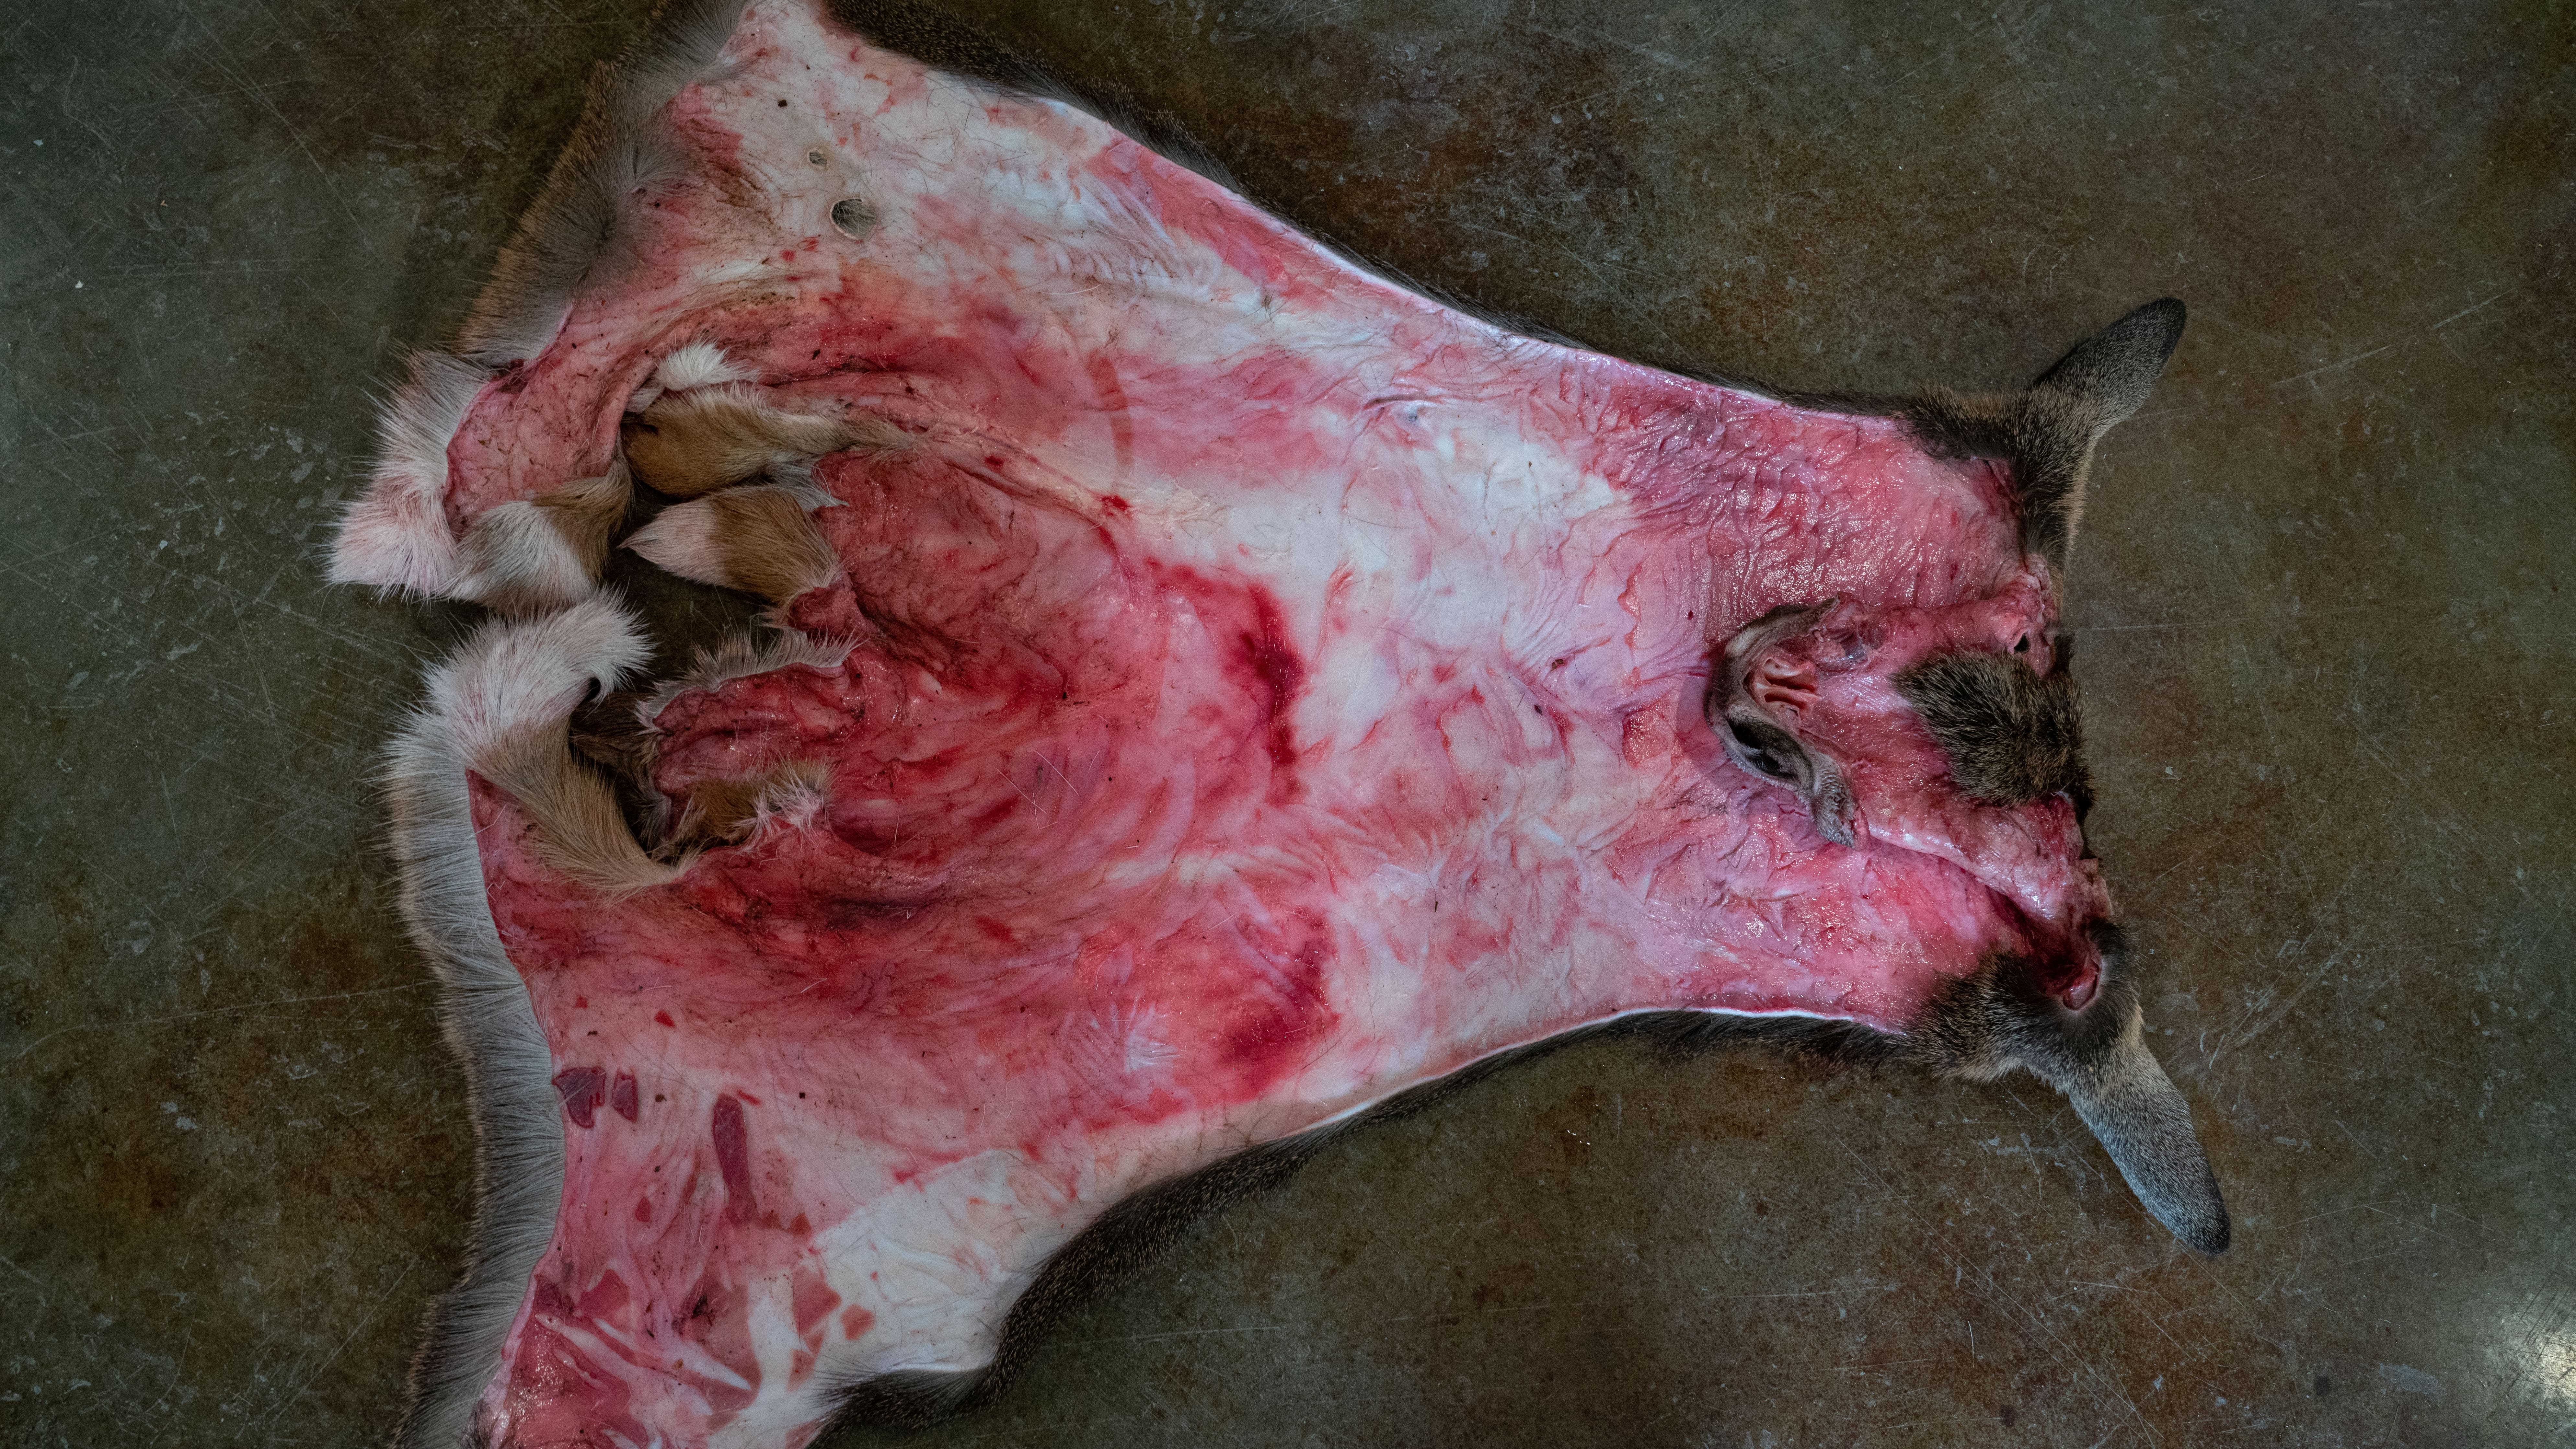
I also get questions about storing your cape in the freezer. Like how long is it good for? What is the best way to store it? The biggest problem I see on client’s frozen capes is freezer burn. Again, treat your cape like your meat. What is the best way to keep a backstrap?? Vacuum seal it! Yes, this isn’t quite practical for larger capes like elk or life-size sheep. But the concept is there. Don’t just throw your cape in a freezer unprotected.
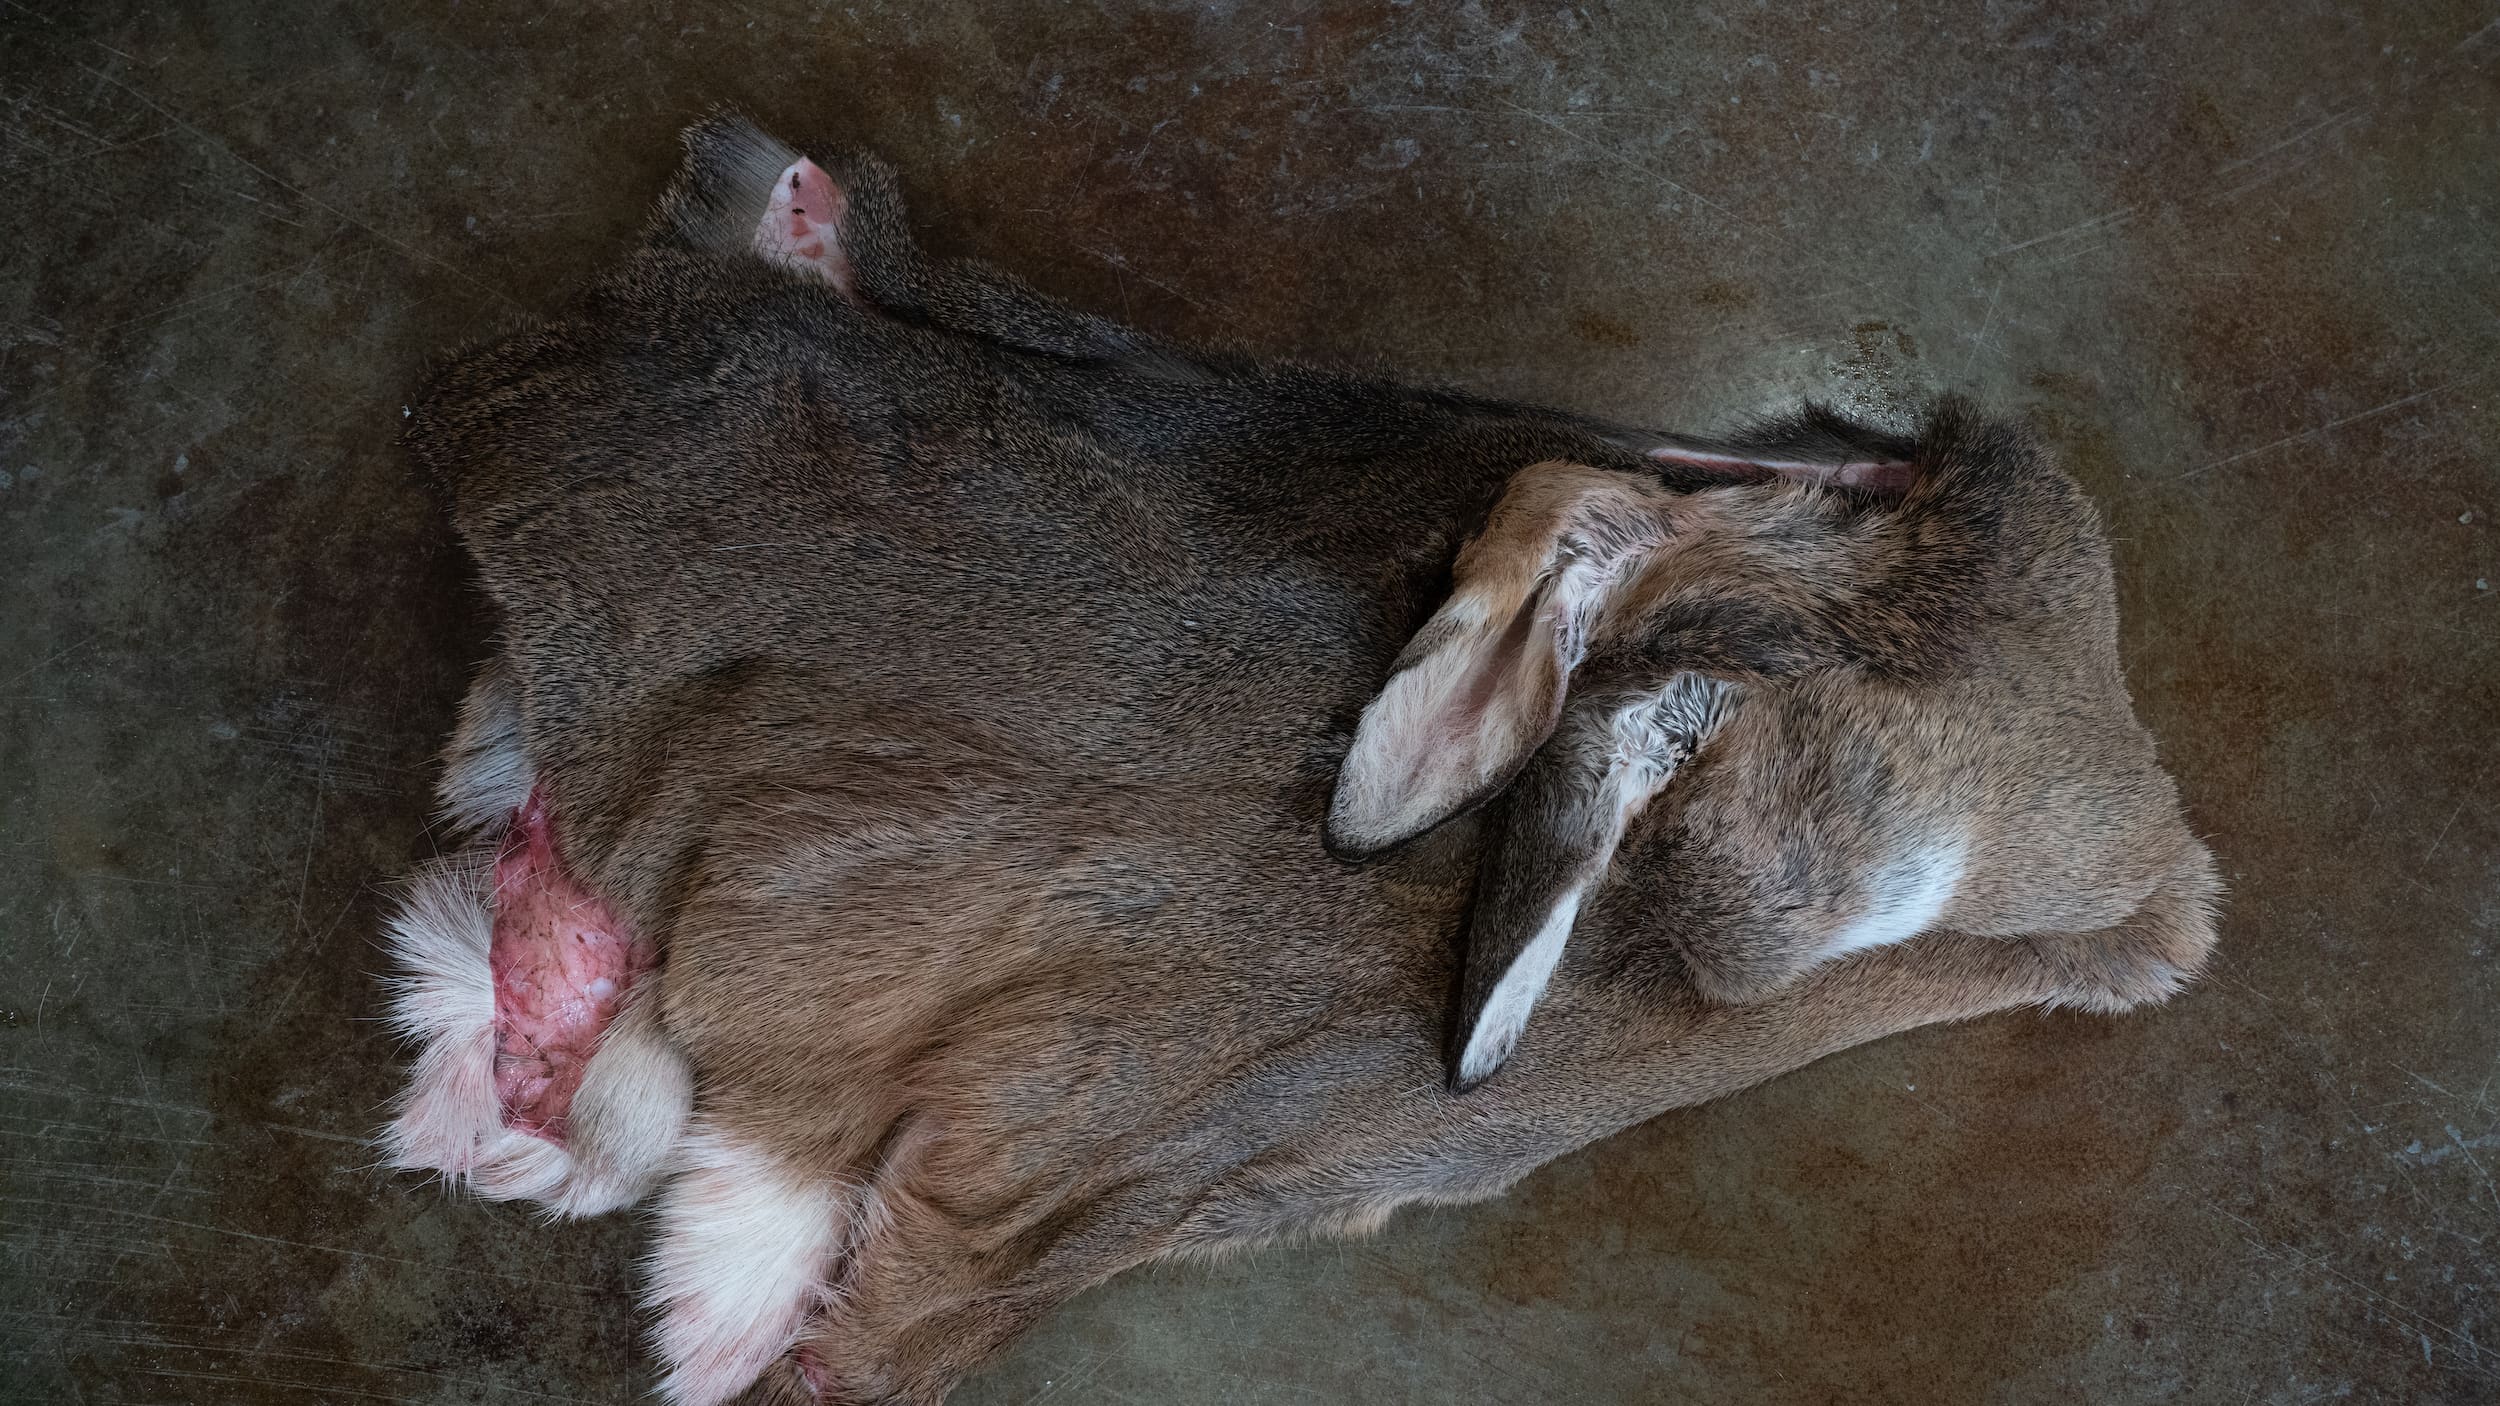
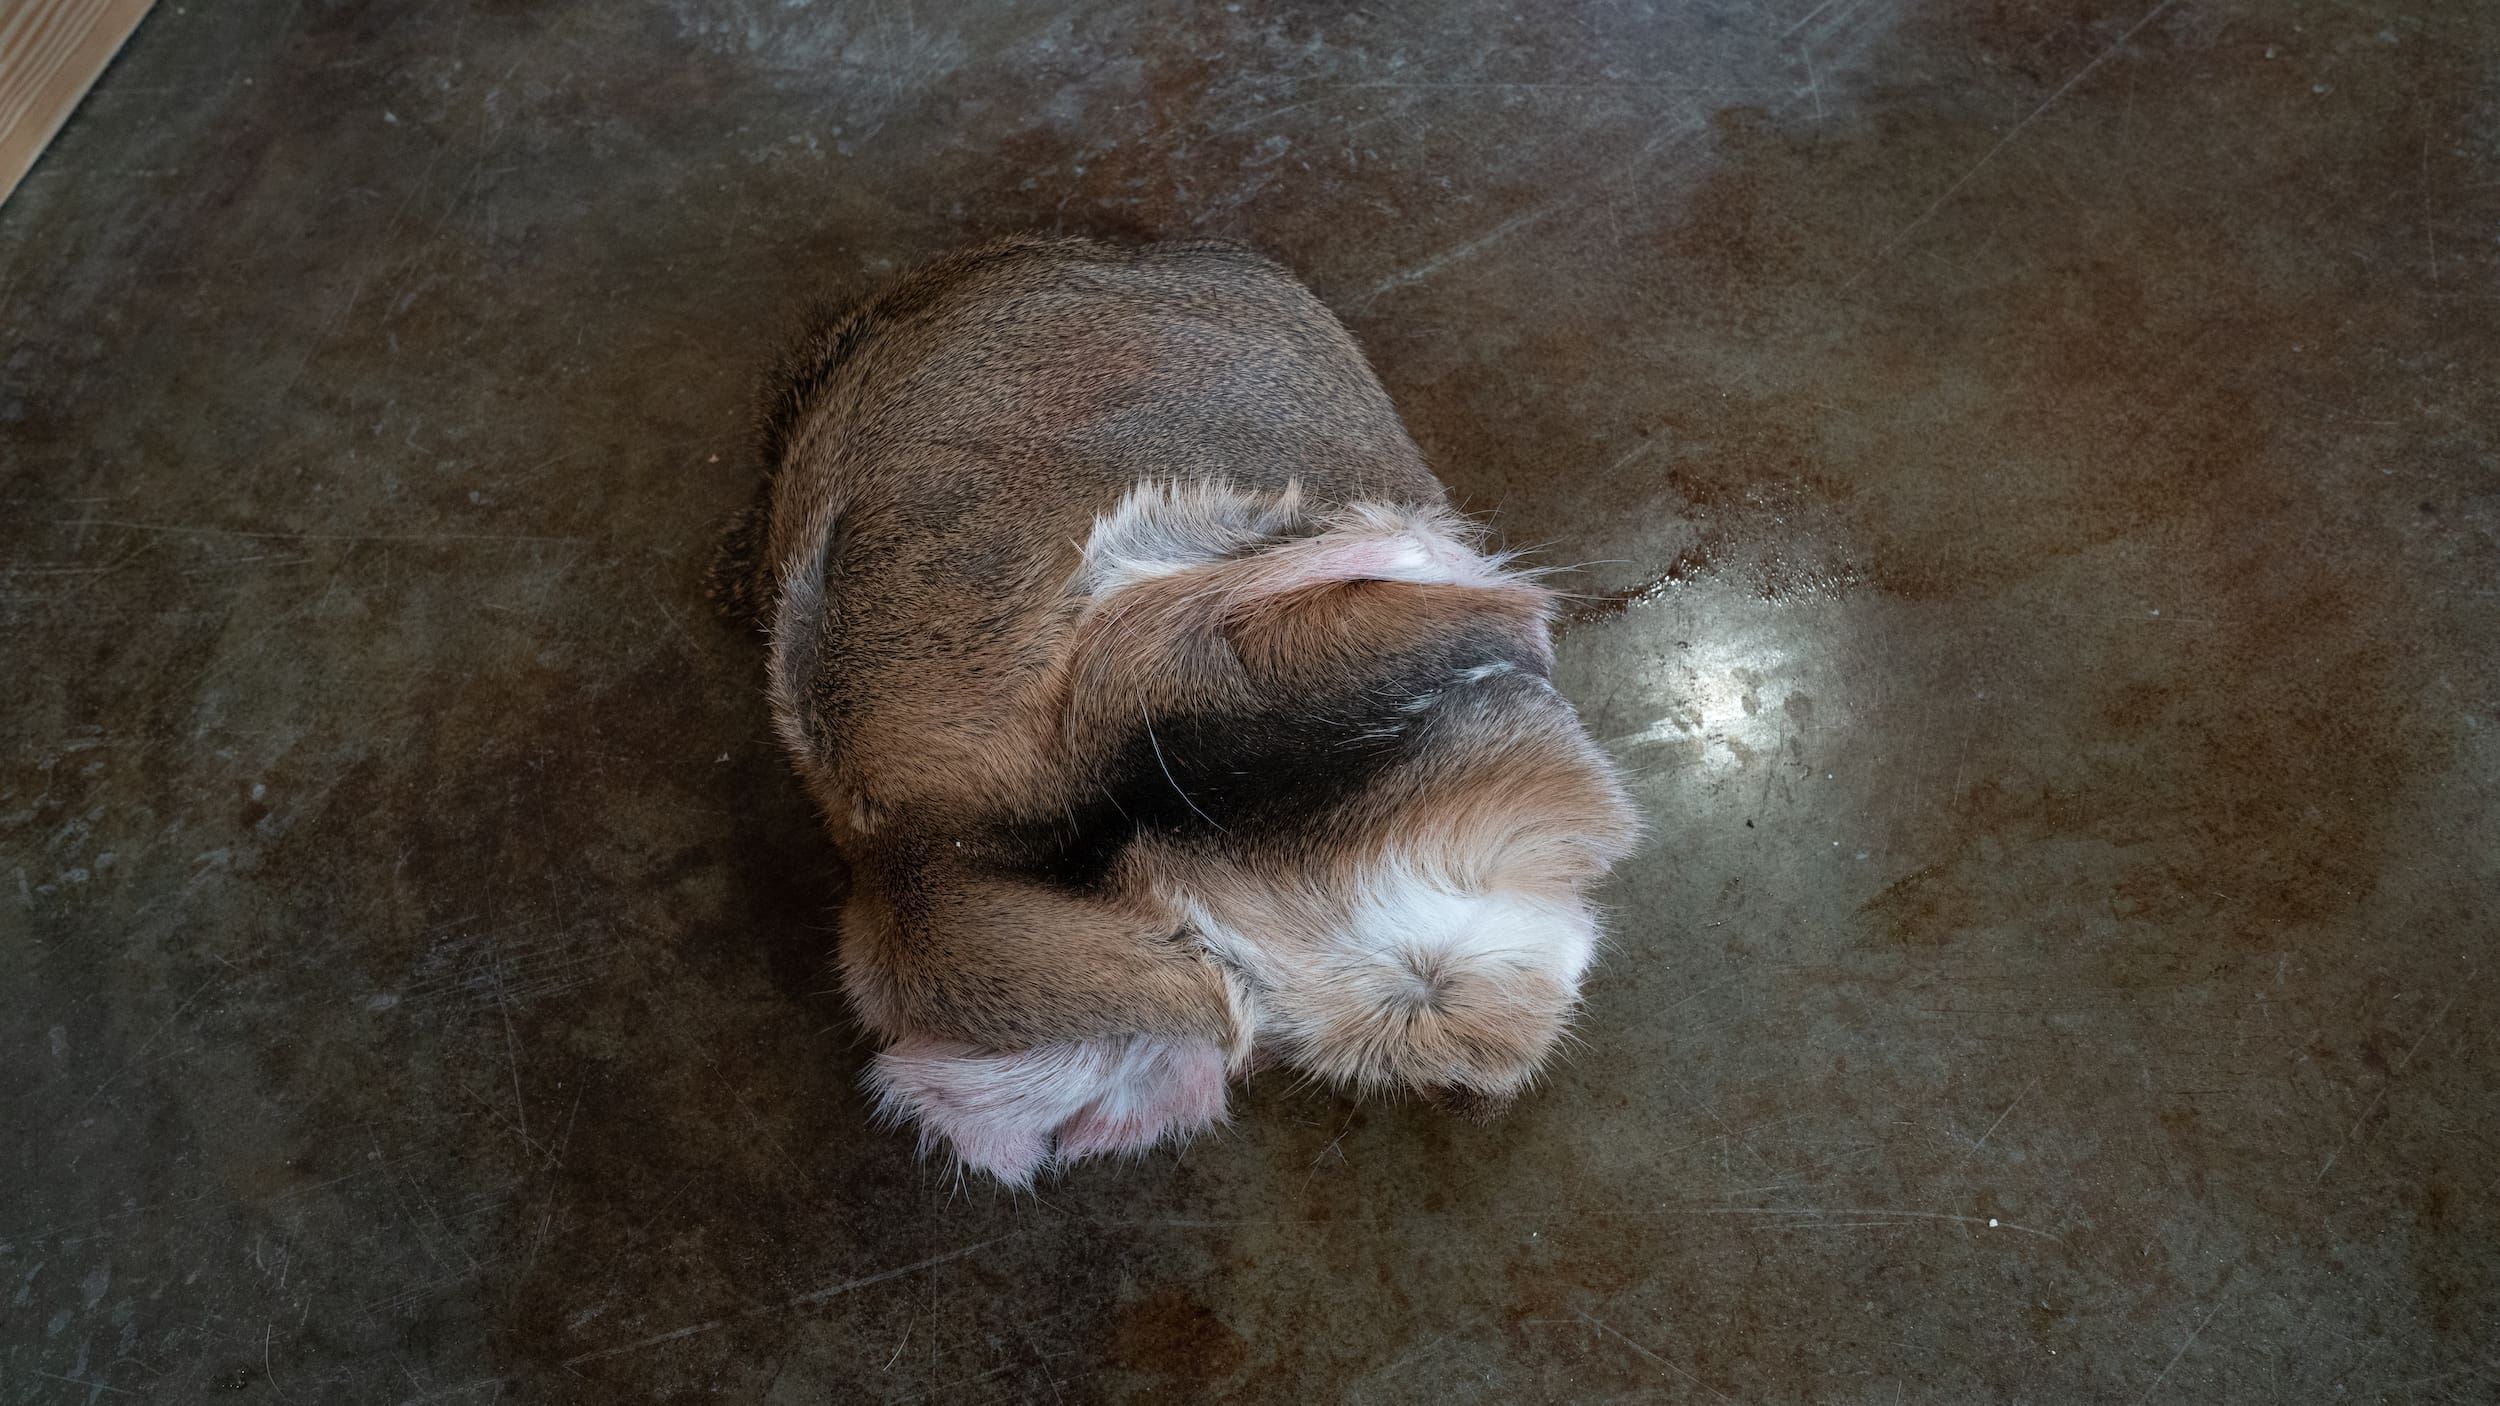
Freezer burn can make it difficult for your taxidermist to properly flesh your hide and then, in turn, affect the tan. (However, just because it’s freezer burnt doesn't mean it's ruined. It just means it's going to be more difficult on your taxidermist. Take it in anyway and let them look it over. I have salvaged some pretty bad capes in the past.) Some ways to extend the life of your cape in the freezer is to roll the hide up where the face and ears are balled up in the middle of the hide. The face and ears Are the most susceptible to freezer burn and they are more protected by being in the center of the cape. Lastly, use a thicker garbage bag (or multiple bags) to conceal your cape from the freezer. Again, treat it like a good steak! Don’t let the air get to it and it will last many years in the freezer!
Knife Control
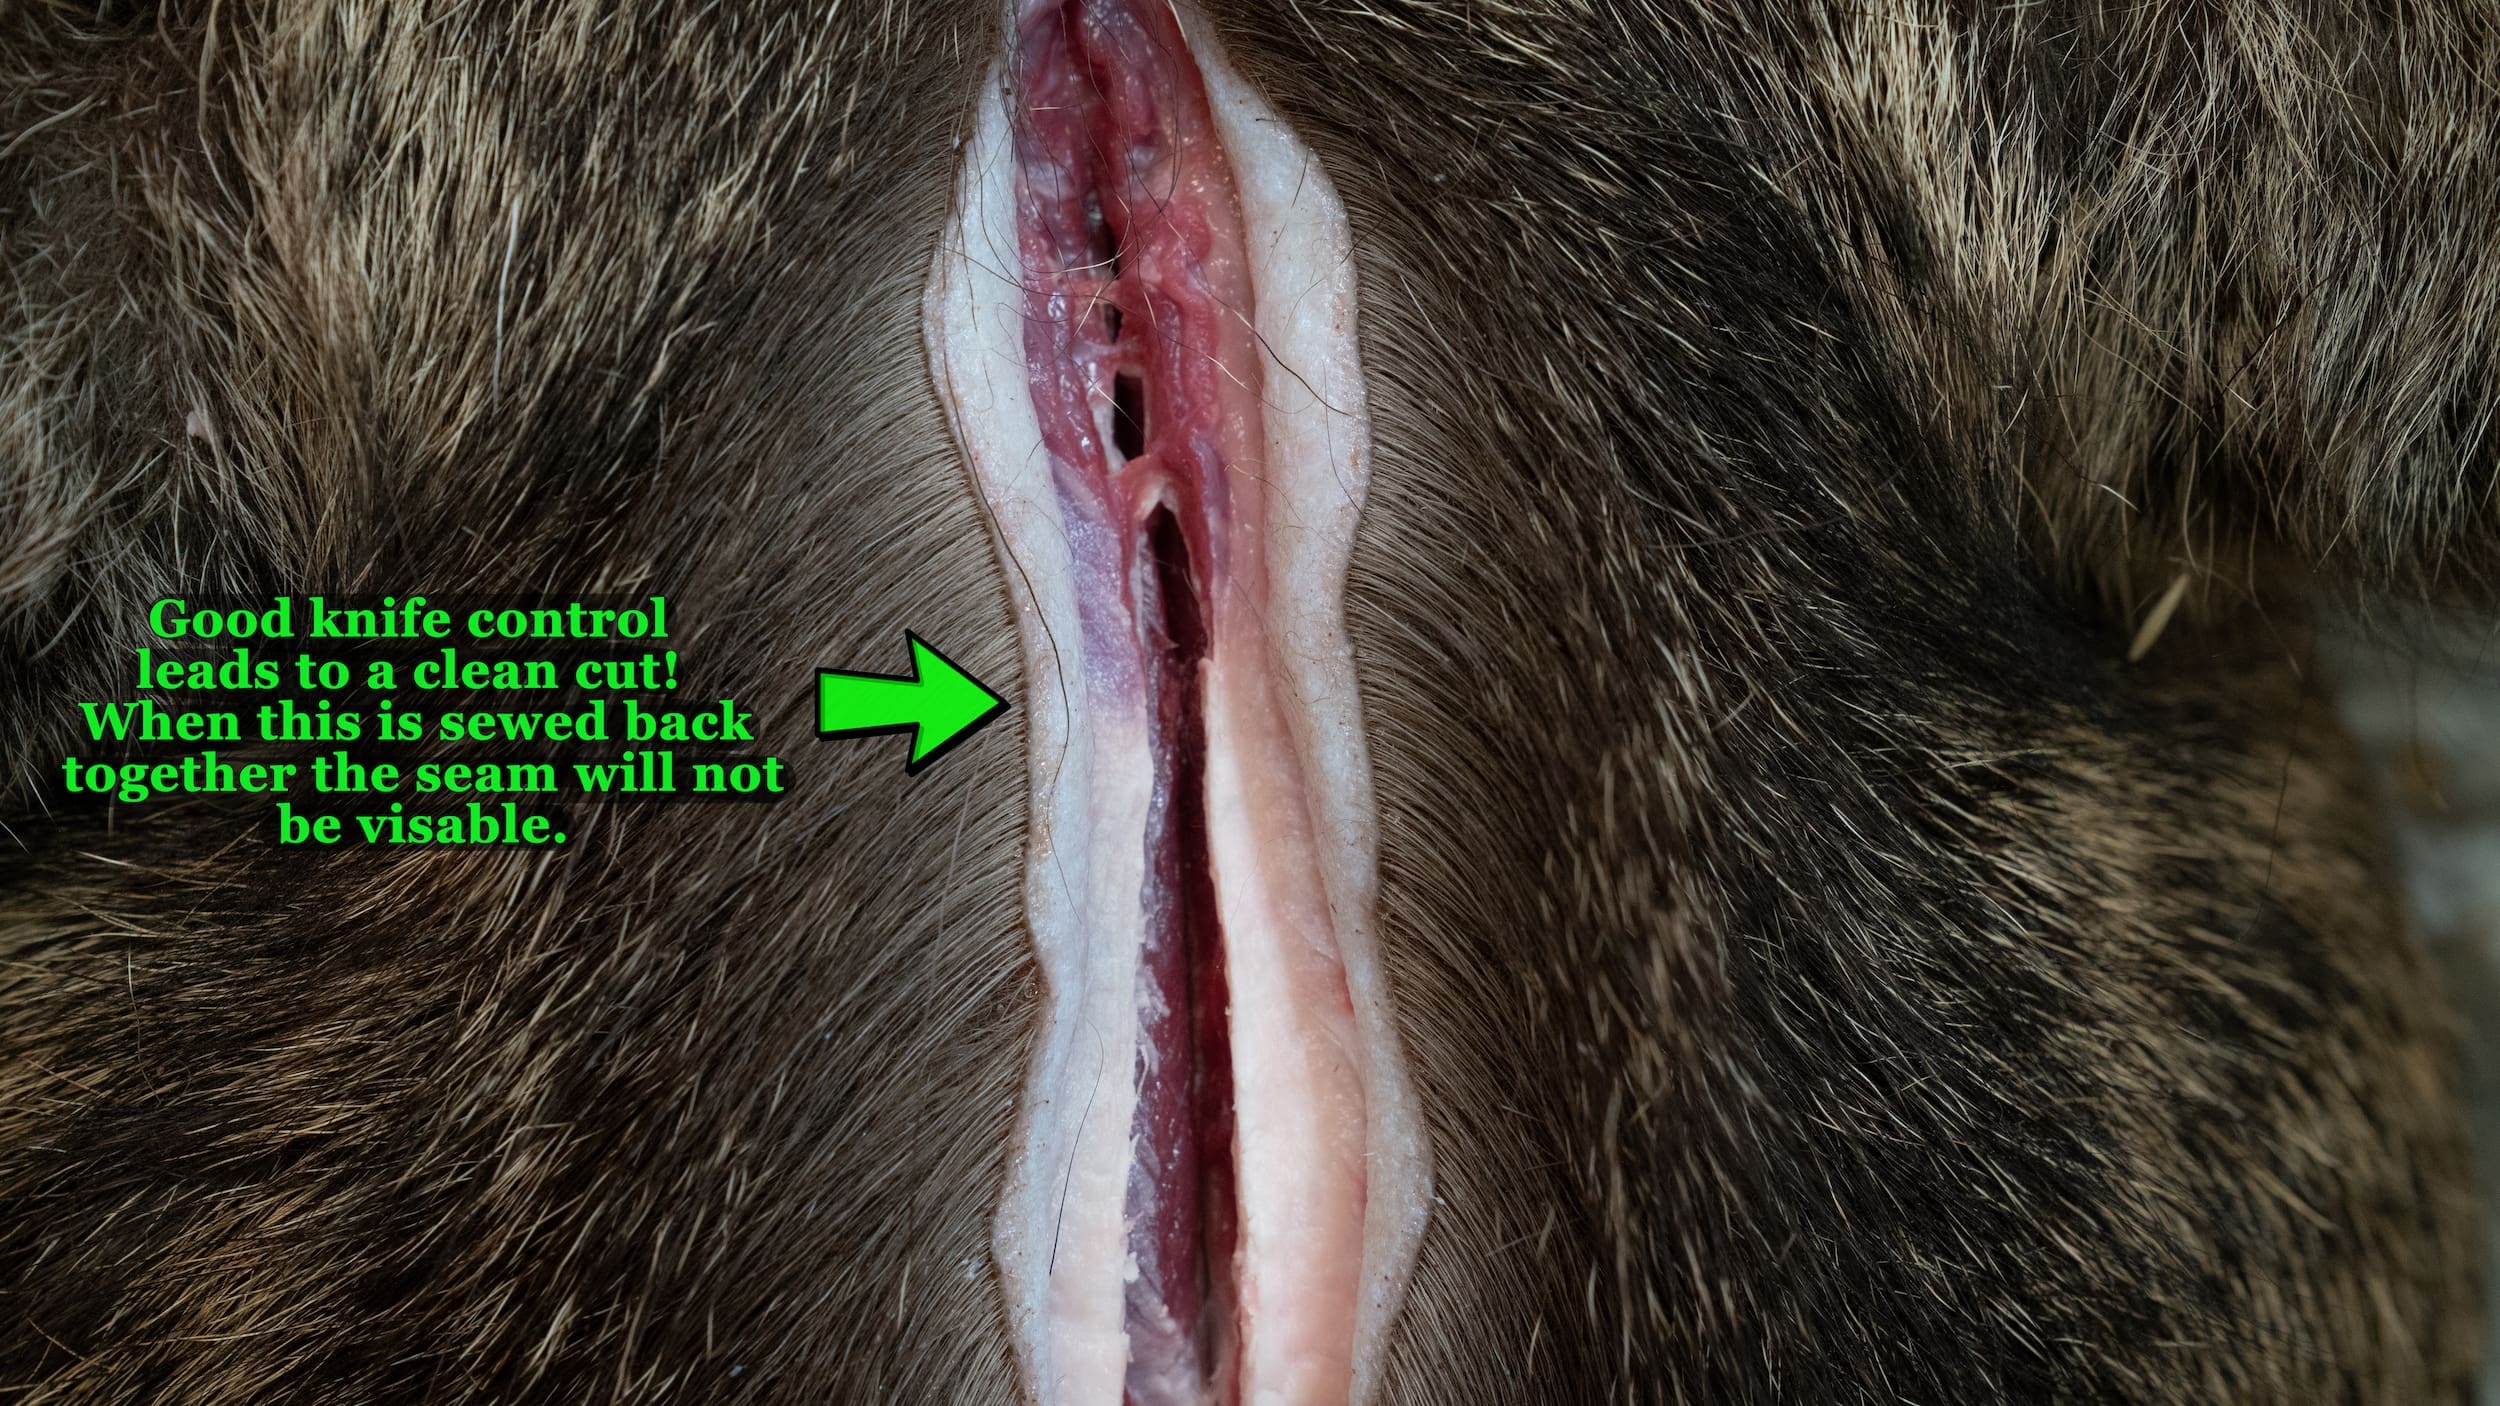
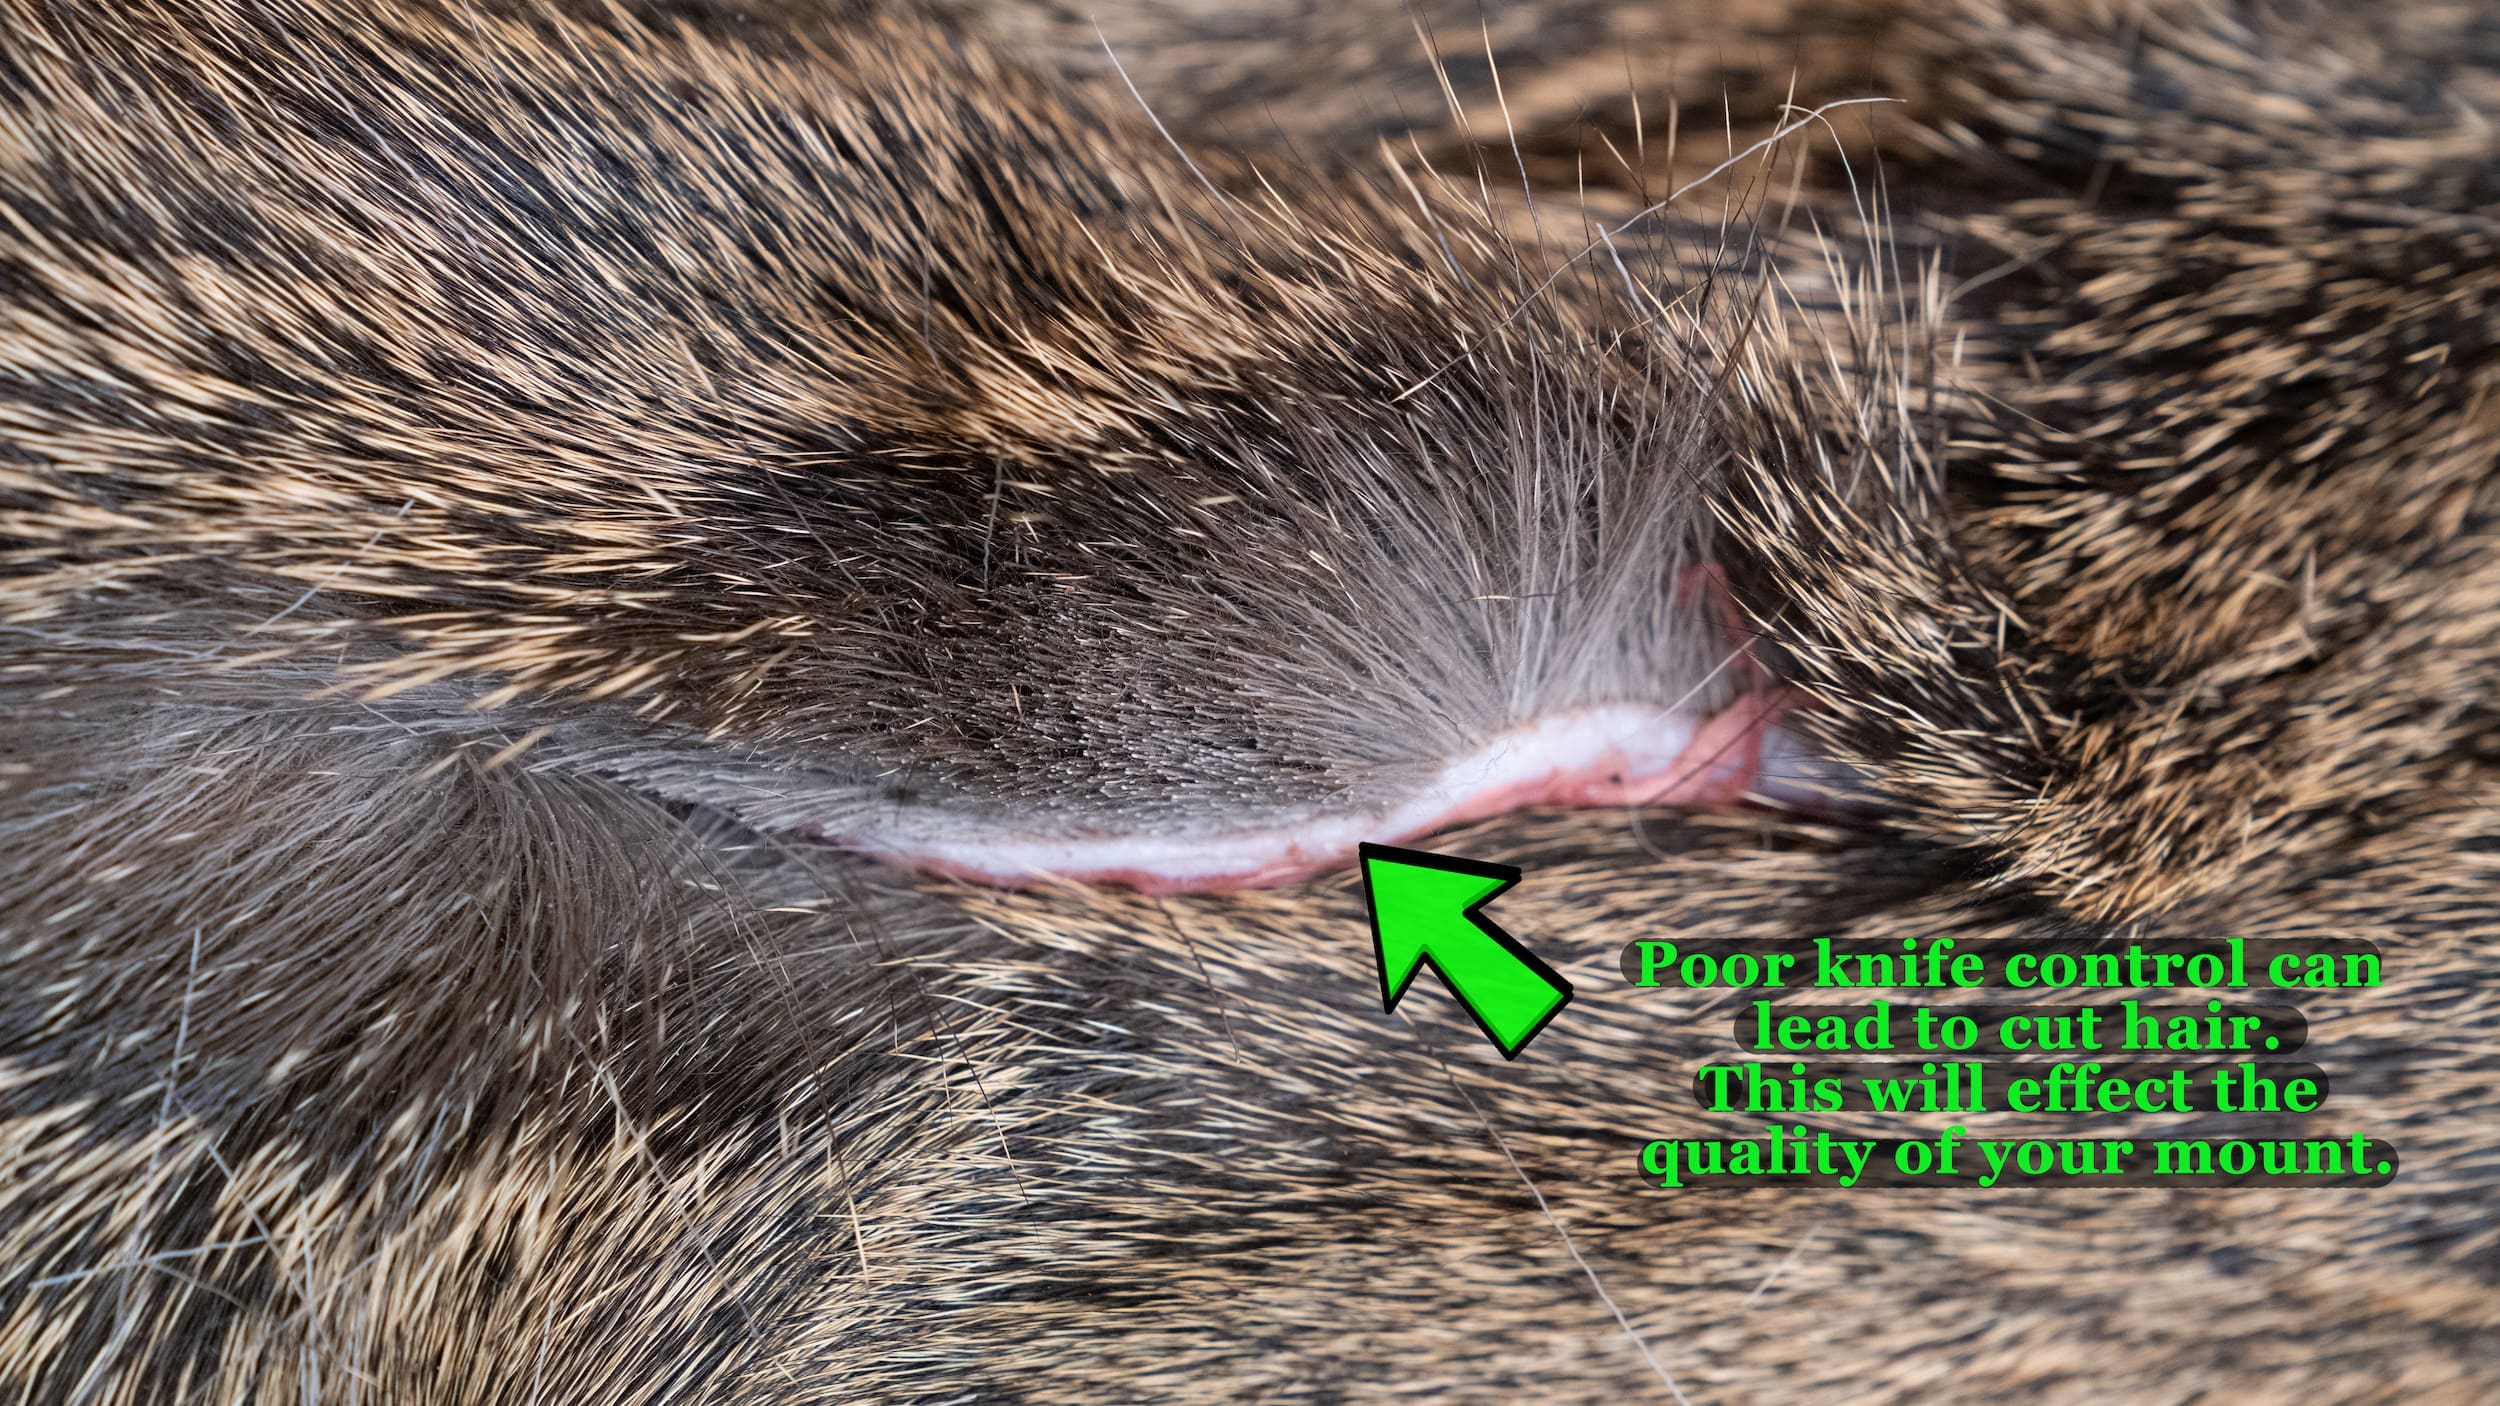
Lastly, I want to mention knife control. The obvious consequence of poor knife control is cutting a hole. A hole anywhere in the hide can potentially make the hair lay funny when it is sewed up, thus affecting the look of your mount. The other part of knife control is when you're cutting your line down the neck when skinning your animal. A clean straight line is much easier to conceal stitches and creates a much better finished product in your mount. (photo 1) If you happen to cut at an angle you might cut the hair along the seam. The areas of cut hair can be difficult to repair and therefore resulting in a mount with imperfections. (Photo 2)
