NOTICE: Certain links on this post may earn a commission for Western Hunter Magazine from Amazon or our other affiliate partners when you make a purchase. Thank you for your support.
DIY Taxidermy- Boiling a Skull
European mounts have become very popular over the last several years. Why? Affordability, space savings within the home, and simply the classic eye-catching look of a skull. In many ways, skulls are artistic in and of themselves. Plates of bone, separated by fissures, create ivory-colored, three-dimensional puzzles. Optic canals, incredibly complex nasal passages, worn teeth, and more are all clearly designed with a specific function. Add dark, sweeping antlers or horns, and a European mount can be the centerpiece of any studio.
Even if you don’t prefer the look of a skull mount, having your skull boiled prior to leaving the unit might be a requirement, depending on where you hunt or live. Here’s how to do it:
Recommended tools/supplies: Bridger Boiler, sharp stout-bladed knife, multi-tool, water, baking soda, Dawn detergent, 40 volume hydrogen peroxide, Basic White powder, and clear matte spray paint.
Remove all Flesh and Tissue from the Skull
- To remove the skin, simply cut through the skin from the throat to the nose, then straight over the top of the skull. With antlered game, make an additional cut between the antlers from burr to burr. Be careful not to press the knife’s tip too hard into the skull as you can score the bone itself. Touching the bone is fine, just don’t press too hard.
- Peel/cut the skin off each side of the skull. Use a flathead screwdriver to pry stubborn hide away and around the base of the antlers. Use pliers to grab and pull the hide if necessary.
- To remove the lower jaw, cut all connective tissue of the jaw muscles. The lower jaw extends at a 90-degree angle toward the eye socket, behind the eye. Cut all tissue on both sides of each jawbone, effectively disconnecting the working part of the jaw. Now, begin to force the animal’s mouth open. Keep spreading the jaws apart, cutting any remaining tissue, until the jaw, tongue, and throat become completely freed from the skull.
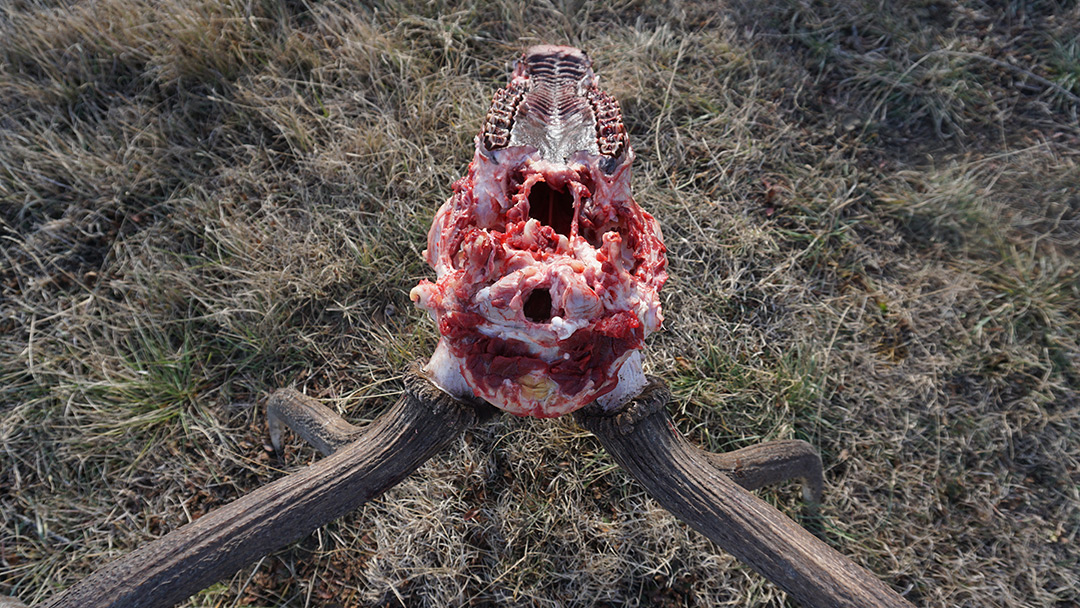
- Trim ALL meat, fat, and connective tissue from the skull, as this will save boiling time.
- Remove the eyes by cutting the optic nerve, ocular muscles, and vessels. Keep cutting until you can grab the eye and pull it out of the socket.
- Removing the brain can be the most tedious part of the process. It is essential to remove the brain prior to boiling as the brain is about 60% fat. These oils will stain the skull if not removed prior to boiling. Being a soft organ, the brain will turn to mush if you vigorously swirl a long screwdriver/stick in the big hole where the spinal cord exits the skull. Once the brain is whipped, withdraw the gray matter with the tip of the screwdriver. That said, a much faster and more effective way to accomplish this is with the aid of a cordless drill and a hole saw. I use a two-inch hole saw for deer-sized animals and larger. Centering the center bit of the hole saw on the bottom side of the brain cavity, drill directly through the bottom of the skull. You’ll now have a two-inch hole to easily remove the brain. (This hole will only be visible if you look at the bottom side of the skull.) Use water to rinse the brain cavity of any remaining tissue, and prepare to boil.
Simmer the Skull
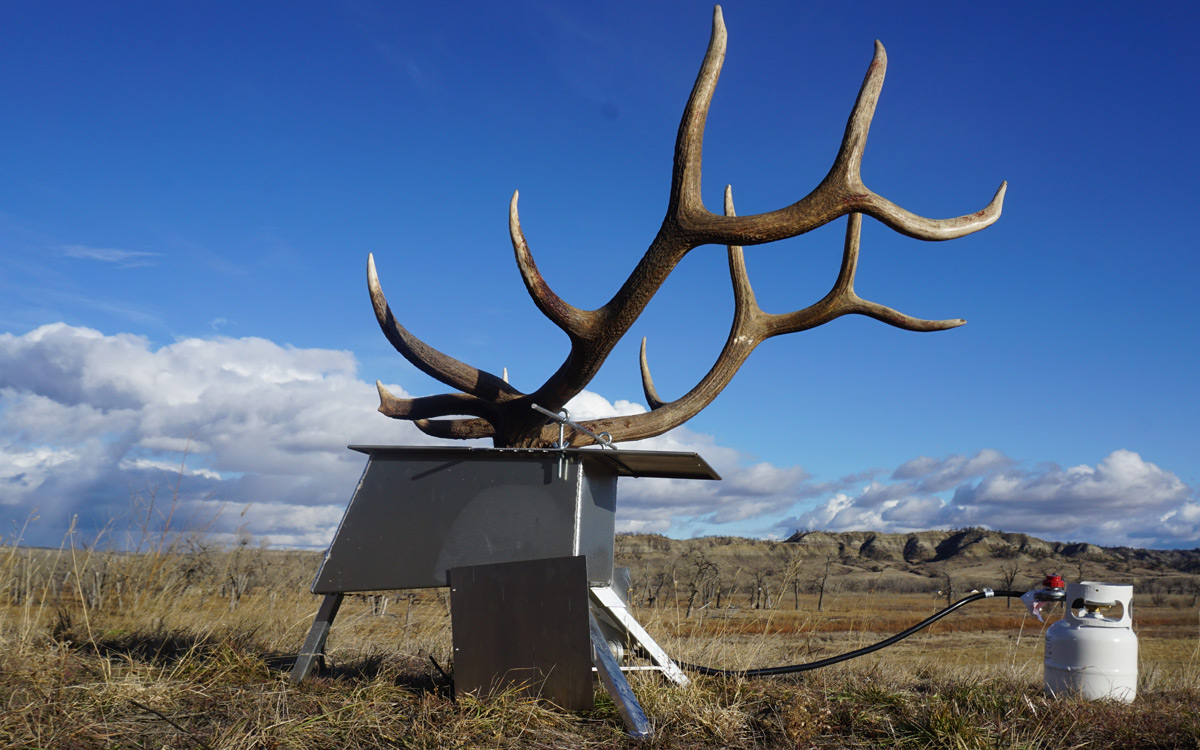
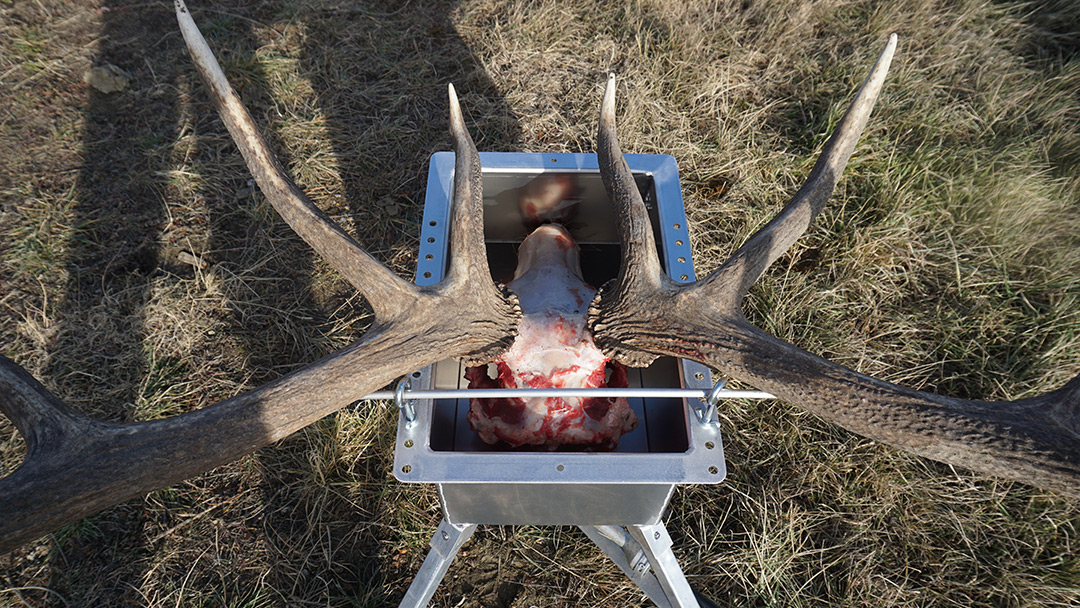
With the proper setup, boiling is the easiest part. Convincing your wife to let you do this in your kitchen, well, that’s a bit more difficult. That’s where the Bridger Boiler comes in. Designed by western hunter Eric Doering, this setup can save the day (and your marriage). Eric lives in Minnesota, and he designed this product specifically with CWD regulations in mind. Its portability allows you to do this entire process at the trailhead, allowing for legal transport of cervid skulls throughout the country. Failure to comply with CWD laws could result in confiscation and incineration of your trophy, not to mention fines. It’s not worth the risk.
- Add one box of baking soda and ½ cup of Dawn detergent to the water, and bring to a simmer. The baking soda will help soften the tissue, the Dawn will help break down any grease. A rolling boil will cook the skull too fast, compromising the integrity of the bone. A simmer is ideal.
- Submerge the skull completely into the water. Balance can be a real challenge with a large elk skull in a conventional pot, as there is great potential for the entire thing to tip over. The Bridger Boiler works great with its angled front, wide base, and antler support bar. Avoid submerging the antlers if possible, as some discoloration can occur.
- Cover the pot. The Bridger Boiler has a split cover that works excellent at retaining heat as your skull boils.
- Allow the skull to simmer for about an hour, then remove it in order to trim any loosened tissue. The nasal septum can be removed with needle-nose pliers and a screwdriver. The ear canals can be removed by inserting a screwdriver and prying them out. I like to punch holes in the back of the sinuses to remove any sinus tissue. Replace the skull into the water.
- Repeat steps 8-10 until there is NO tissue remaining.
Whiten the Skull
- Wearing gloves, mix a slurry of 40 volume hydrogen peroxide and Basic White (about the consistency of a smoothie), and apply it liberally to the entire skull, avoiding the antlers.
- Place the skull in a waterproof bag such as a kitchen trash bag.
- Place the bagged skull in hot water and allow it to sit for 30 minutes. The heat will activate the whitening process.
- Remove the skull from the bag, and rinse the skull with hot water.
- If further whitening is desired, repeat steps 12-14.
- Allow to dry completely, then spray with a quality clear matte spray paint and allow to dry.